Last updated on
Discover the simple yet effective method to season a chalkboard, ensuring a smooth writing surface and easy erasing for all your creative endeavors.
Chalkboards are a versatile and practical addition to any home or office space. Whether you want to use them for organization, decoration, or simply as a fun way to express yourself, chalkboards offer endless possibilities.
However, if you’re new to the world of chalkboards, you may be wondering how to properly season them. Seasoning your chalkboard is an essential step that will help ensure it lasts for years to come and provides a smooth surface for writing and drawing.
In this article, we’ll walk you through everything you need to know about seasoning your chalkboard so that you can get the most out of this wonderful tool!
Key takeaways:
- Choose the right chalkboard for your needs.
- Seasoning creates a smooth writing surface and prevents ghosting.
- Clean and inspect the chalkboard before seasoning.
- Follow step-by-step instructions for effective seasoning.
- Proper chalking techniques and regular maintenance are important.
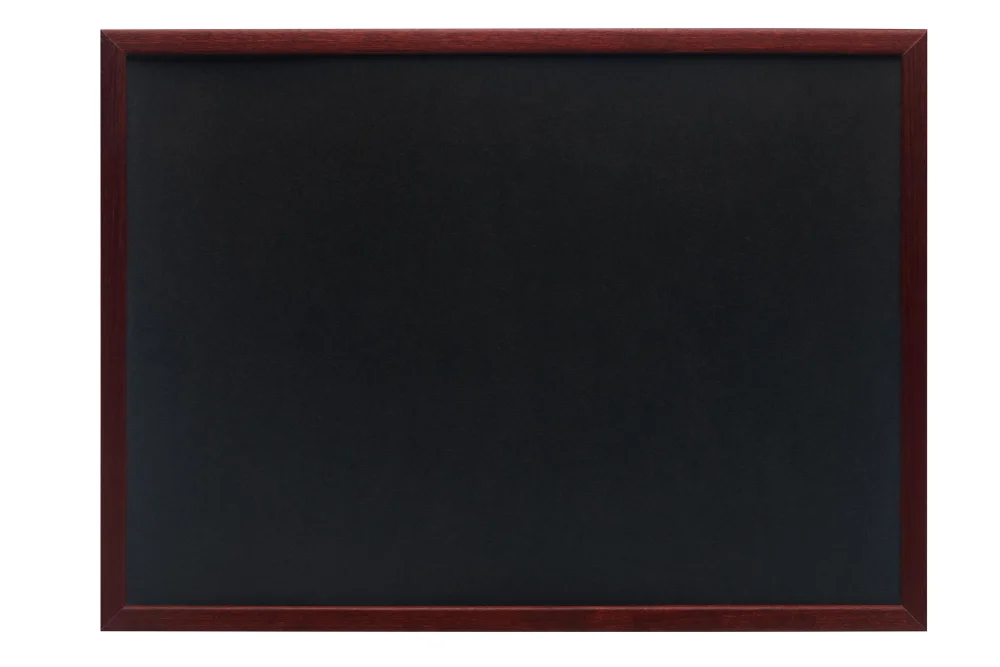
Choosing the Right Chalkboard
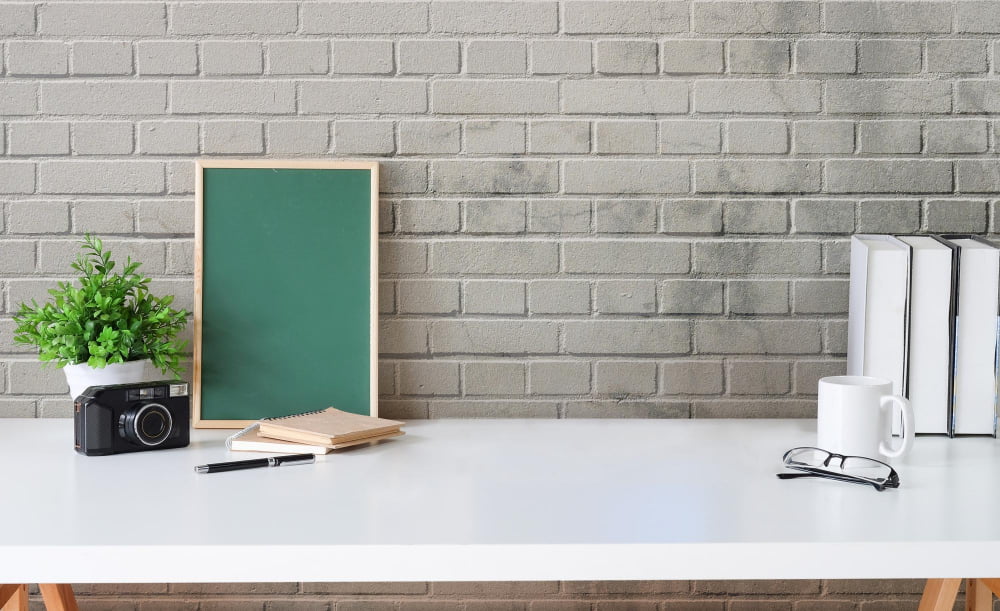
When it comes to choosing the right chalkboard, there are a few things to consider. First and foremost, you’ll want to think about where you plan on using your chalkboard.
Will it be in a classroom or office setting? Or will it be used as part of your home decor? The size and style of the board may vary depending on its intended use.
Another important factor is the material of the board itself. Chalkboards can come in various materials such as slate, porcelain-coated steel, or even glass.
Each material has its own unique properties that affect how well they hold up over time and how easy they are to clean.
Lastly, consider any additional features that may enhance your experience with the chalkboard such as built-in trays for holding supplies or magnetic surfaces for added functionality.
Why Season a Chalkboard?
When you first purchase or make a new chalkboard, it may look clean and ready to use, but without seasoning the surface, you risk damaging it over time. Seasoning helps to create a smooth writing surface by filling in any microscopic pores or scratches on the board’s surface.
This process also helps prevent “ghosting,” which occurs when previous markings are still visible after erasing.
Seasoning your chalkboard will help extend its lifespan by protecting it from damage caused by moisture and humidity. Without proper seasoning, your board may become warped or discolored over time due to exposure to these elements.
Preparing the Chalkboard Surface
This will ensure that the seasoning process is effective and that your chalkboard lasts for a long time. The first step in preparing your chalkboard is to clean it thoroughly with a damp cloth or sponge.
Make sure you remove any dust, dirt, or debris from the surface of the board.
Next, inspect your chalkboard for any scratches or dents on its surface. If there are any imperfections present on the board’s surface, they can affect how well it holds onto seasonings and how smoothly you can write on them later.
If there are minor scratches present on its surface then sanding them down with fine-grit sandpaper should do just fine but if there are deep gouges then filling those areas up with wood filler before sanding would be necessary.
Initial Chalkboard Cleaning
This will remove any dirt, dust or debris that may have accumulated on the surface and ensure that the chalkboard is ready for seasoning.
To clean your chalkboard, start by using a soft-bristled brush or dry cloth to remove any loose dust or debris. Next, dampen a clean cloth with water and gently wipe down the entire surface of the board.
Be sure not to use too much water as this can damage the board.
If there are stubborn stains on your chalkboard that won’t come off with just water, you can try using a mild soap solution instead. Mix some warm water with a small amount of dish soap and dip your cloth into this mixture before wiping down the board again.
Materials Needed
Most of these items can be found at your local craft or hardware store, and they won’t break the bank. Here’s what you’ll need:
- Chalkboard: You can choose from various types of chalkboards such as porcelain-coated steel, slate or MDF.
- Chalk: Choose high-quality white chalk for seasoning purposes.
- Soft cloth or eraser
- Clean water
- Paper towels
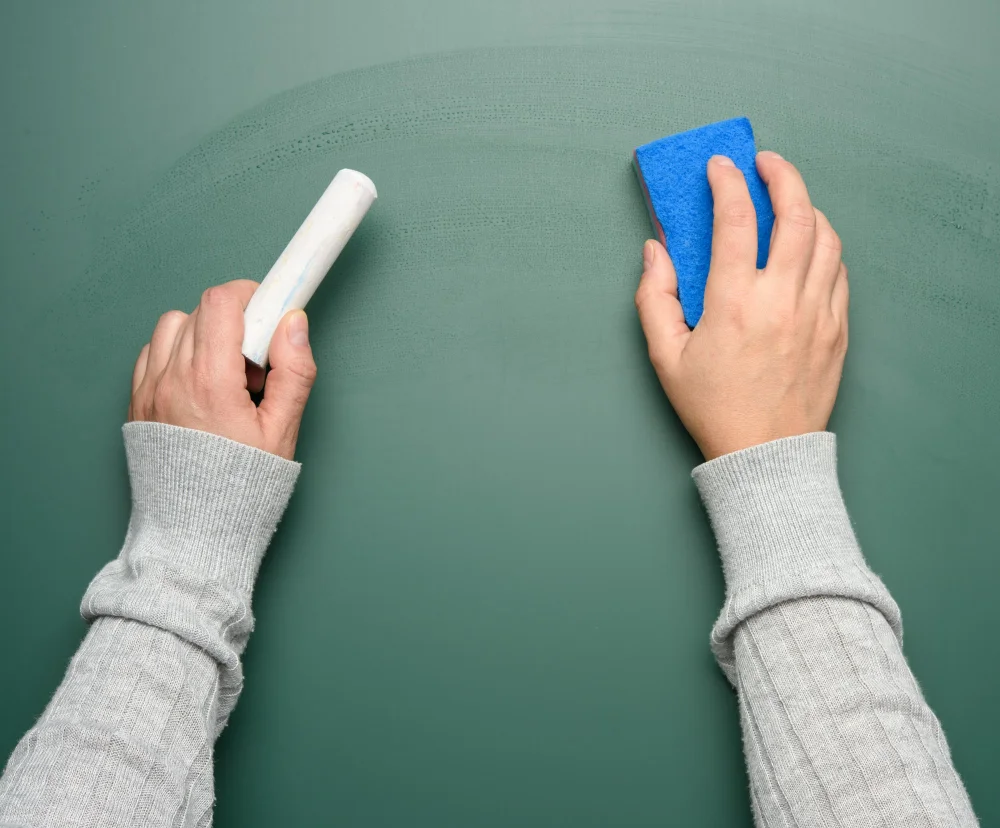
Step-by-Step Instructions
Follow these simple step-by-step instructions:
- Clean the surface of your chalkboard with a damp cloth and let it dry completely.
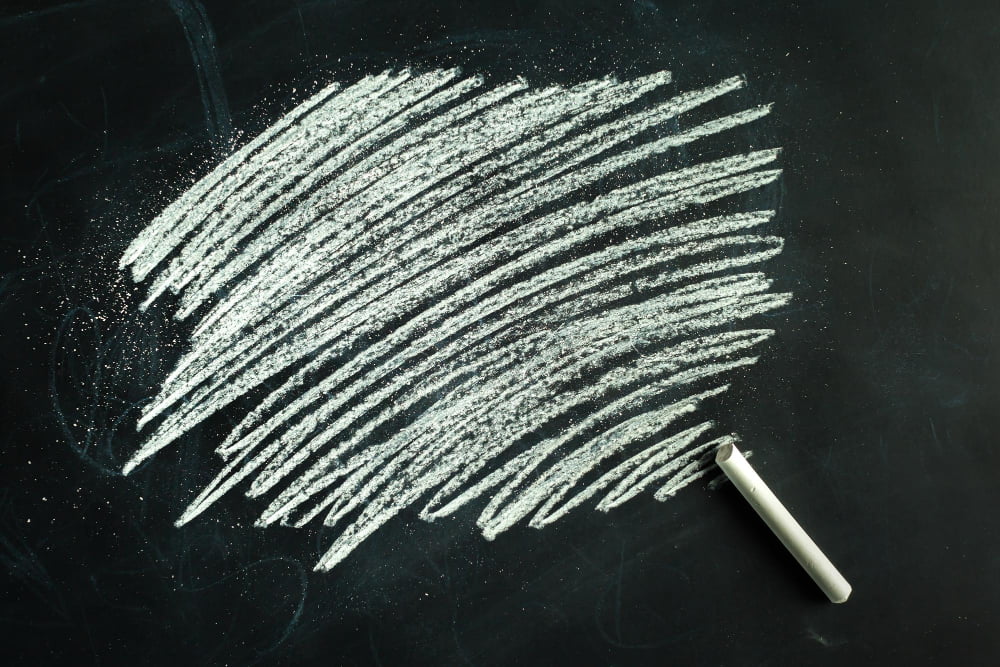
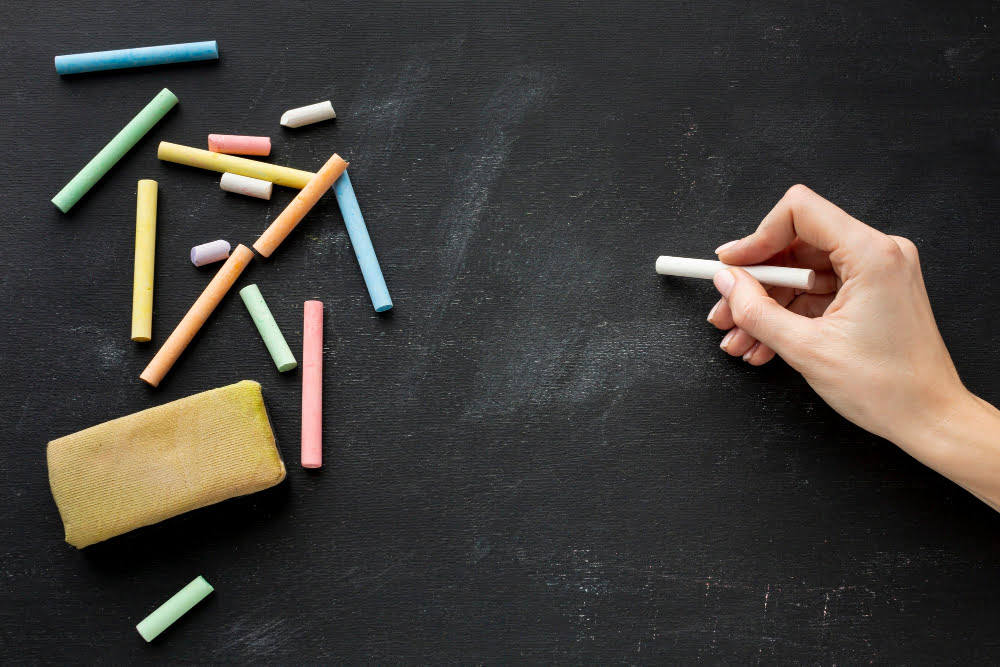
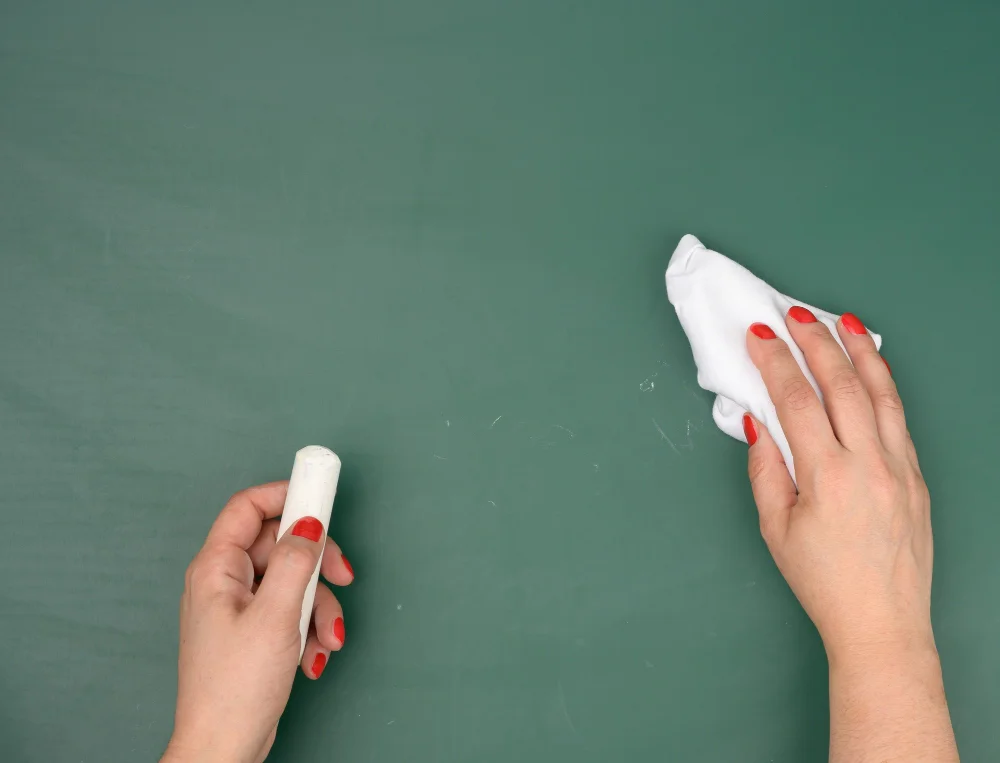
- Rub a piece of white chalk over the entire surface of the board, making sure to cover every inch.
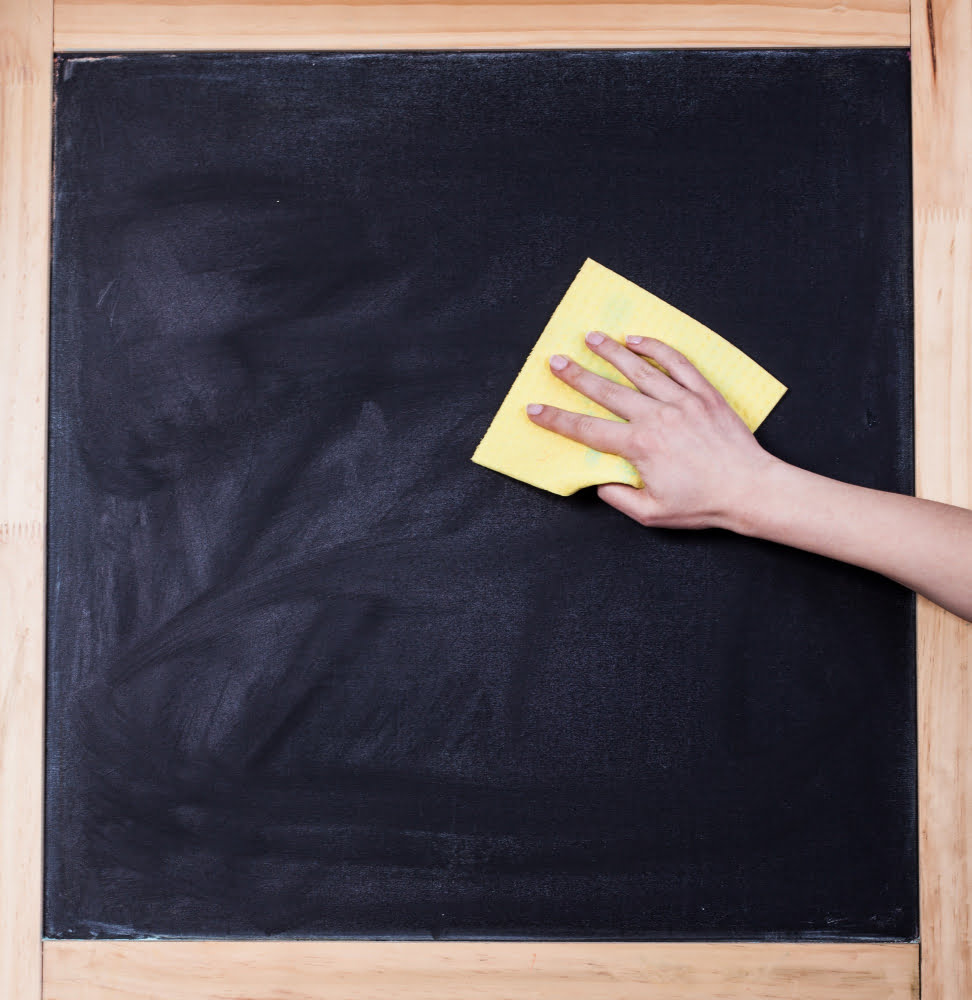
- Use a clean cloth or eraser to wipe off all excess chalk dust from the board.
- Repeat steps 2-3 two more times for a total of three layers.
It’s important not to skip any steps in this process as each layer helps create an even coating that will prevent ghosting and ensure easy erasing in future use.
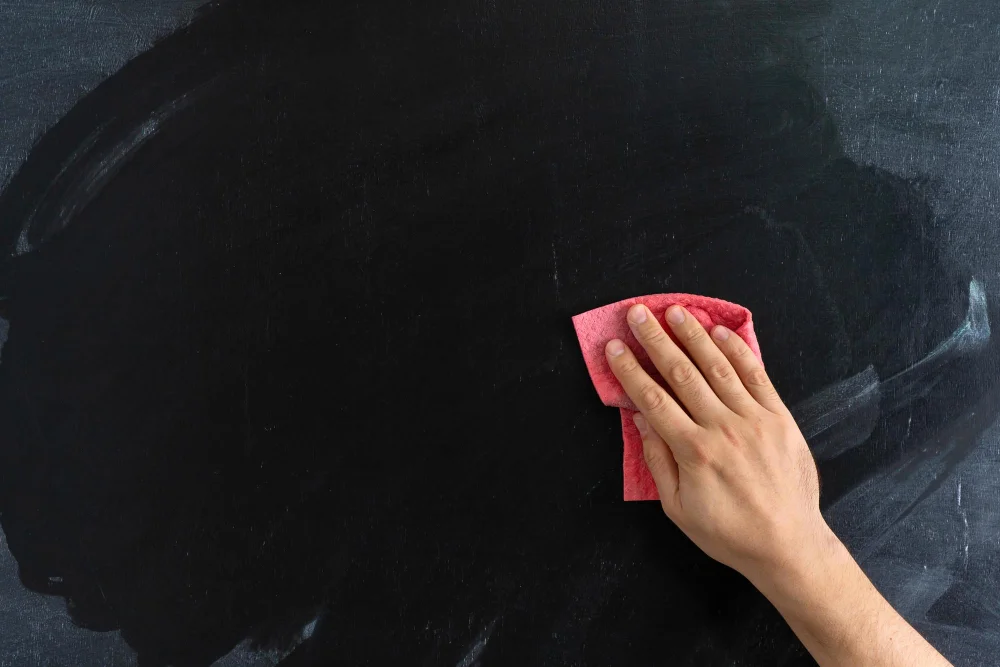
Seasoning Techniques
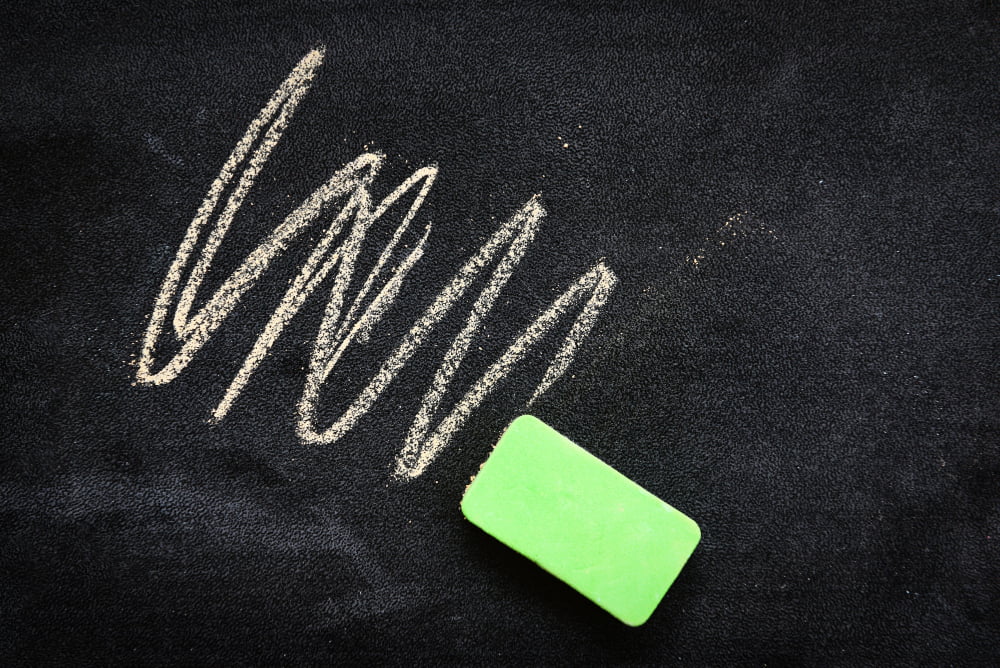
There are several techniques for seasoning a chalkboard, but the most common method is to cover the entire surface with a layer of chalk and then erase it. This process fills in any microscopic pores or imperfections on the board’s surface and creates an even texture that will allow for smooth writing and easy erasing.
Another technique involves rubbing white vinegar onto the board before applying a layer of chalk. The vinegar helps remove any residue or oils left behind from previous use, ensuring that your new artwork won’t be marred by old markings.
Regardless of which technique you choose, make sure to apply enough pressure when chalking so that every inch of the board is covered evenly. Once you’ve finished seasoning your chalkboard using one or more methods described above, wipe off all excess dust with a clean cloth or eraser.
Proper Chalking Methods
First and foremost, always use high-quality chalk that is designed for use on chalkboards. Low-quality or sidewalk chalk can scratch the surface of your board and make erasing difficult.
When writing on your board, hold the piece ofpiece of chalk perpendicular to the surface for best results. This will help prevent uneven lines and ensure that your writing is legible from a distance.
It’s also important not to press too hard when chalking – this can cause scratches or indentations in the surface of the board. Instead, let the weight of the chalk do most of the work as you write or draw.
Be sure to clean off any excess dust after each use with a soft cloth or eraser. This will help prevent buildup over time and keep your board looking its best!
Selecting Chalk and Supplies
First, you’ll want to choose high-quality chalk that is specifically designed for use on a chalkboard. Low-quality or off-brand options may not adhere properly or could scratch the surface of your board.
In addition to choosing the right type of chalk, you’ll also need some basic supplies such as an eraser and cleaning cloth. A soft-bristled brush can be helpful for removing excess dust from the board before writing.
If you plan on using your chalkboard frequently or for more detailed designs, consider investing in additional tools such as stencils or rulers. These can help ensure precise lines and shapes while minimizing mistakes.
Chalk Types and Accessories
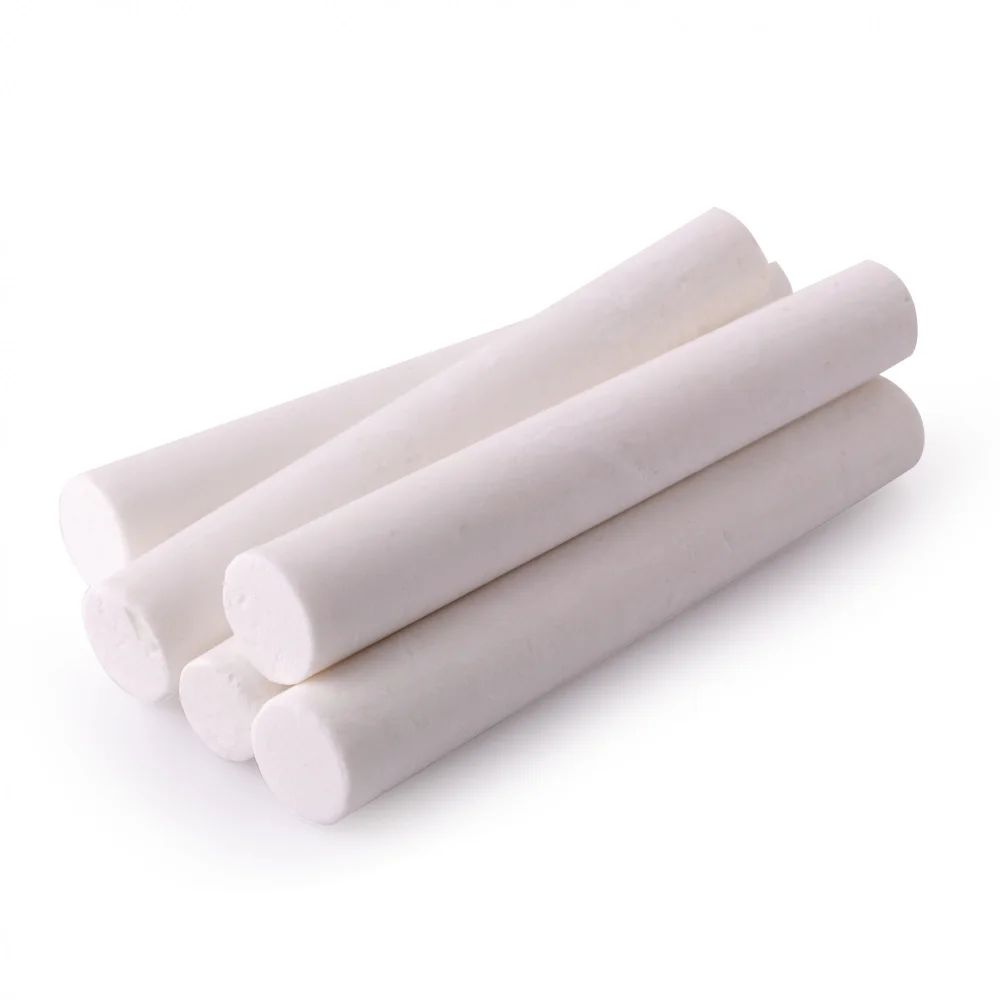
There are several types of chalk available on the market, each with its own unique properties. Traditional white school chalk is a popular choice for many people due to its affordability and versatility.
However, if you’re looking for something more vibrant or specialized, there are also colored and specialty chalks available.
Another important accessory to consider when using a chalkboard is an eraser. While some people prefer traditional felt erasers or even just their fingers, others may opt for newer options such as microfiber cloths or magnetic erasers that attach directly to the board.
Ultimately, choosing the right type of chalk and accessories will depend on your personal preferences and intended use for your board.
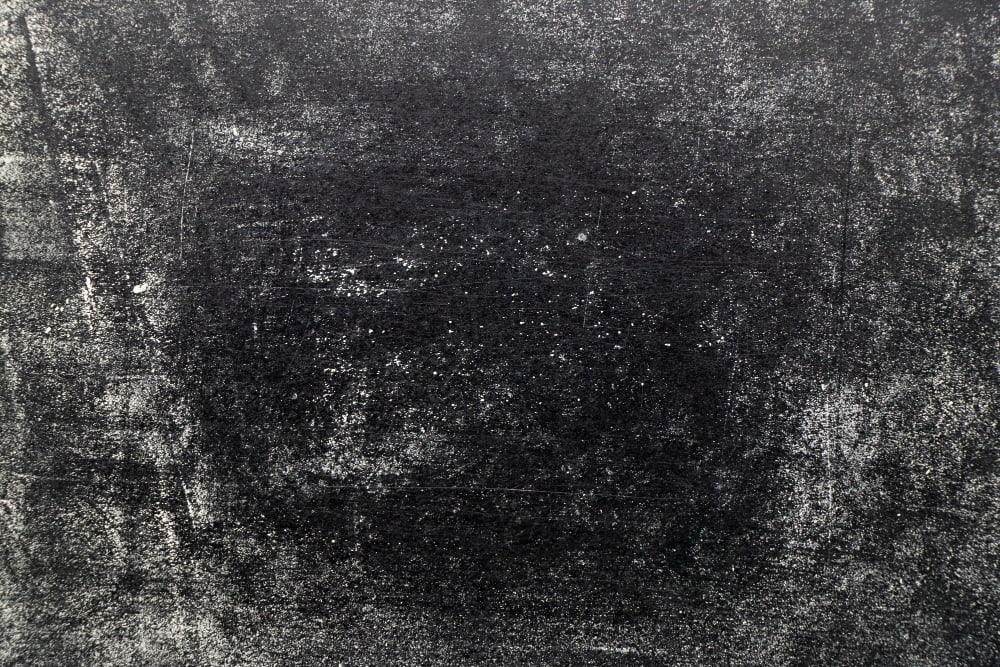
Curing Time and Care
Curing is the process of allowing the seasoning mixture to fully dry and adhere to the surface of your chalkboard. This can take anywhere from a few hours up to 24 hours depending on the type of seasoning mixture used and environmental conditions.
During this curing period, avoid writing or drawing on your chalkboard as this can disrupt the seasoning process. Instead, allow plenty of time for it to dry completely before using it again.
After curing, be sure not to leave any marks or smudges on your board for too long as they may become difficult or impossible to remove later. To keep your board in top condition over time, clean regularly with a soft cloth and avoid using abrasive cleaners that could damage its surface.
Regular Chalkboard Maintenance

Regular maintenance will also help keep the surface smooth and easy to write on. Here are some tips for maintaining your chalkboard:
1. Erase regularly: To prevent ghosting or staining, erase your chalkboard regularly with a soft cloth or eraser.
2. Clean with water: If there is stubborn residue left on the board after erasing, use a damp cloth and mild soap solution to clean it off.
3. Avoid abrasive cleaners: Harsh chemicals can damage the surface of your chalkboard over time, so avoid using them when cleaning.
4. Use high-quality supplies: Invest in good quality chalks and accessories that won’t scratch or damage the board’s surface.
5. Store properly: When not in use, store your supplies away from direct sunlight and moisture as they can cause fading or warping of both materials.
Cleaning and Maintenance
Regular cleaning will help prevent ghosting (when previous markings are still visible after erasing) and ensure a smooth surface for writing. To clean your chalkboard, use a soft cloth or eraser to remove any excess dust or debris.
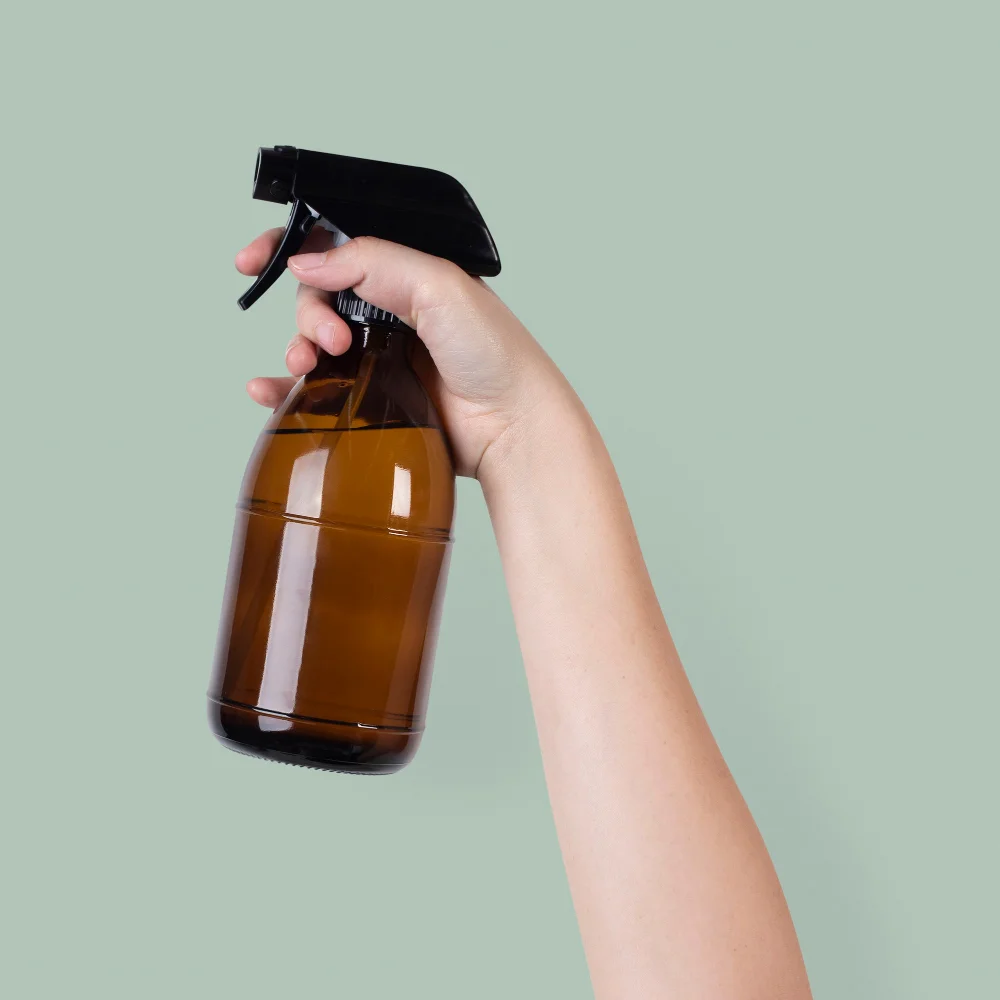
For tougher stains, mix equal parts water and vinegar in a spray bottle and apply the solution to the affected area before wiping with a damp cloth.
It’s also important not to leave markings on your chalkboard for too long as they can become more difficult to erase over time. If you notice ghosting or stubborn marks that won’t come off with regular cleaning methods, try using an ammonia-based cleaner specifically designed for chalkboards.
In addition to regular cleaning, proper maintenance is key in ensuring the longevity of your chalkboard. Avoid using abrasive materials such as steel wool or harsh chemicals that can damage the surface of your board.
Instead, opt for gentle cleaners like soap and water when necessary.
Troubleshooting Common Issues
Don’t worry; these problems are easy to fix with a few simple troubleshooting techniques.
One issue you might face is ghosting or shadowing, which occurs when previous markings remain visible after erasing. To prevent this problem, make sure to use high-quality chalk and erase the board thoroughly between uses.
Another issue is chalking difficulty or skipping, where the chalk doesn’t adhere well to the surface or skips while writing. This can be caused by using low-quality chalk or not properly seasoning your board before use.
Make sure to follow our step-by-step instructions for proper seasoning techniques.
Lastly, if you notice scratches on your board’s surface after cleaning it with harsh chemicals or abrasive materials like steel wool pads – avoid them at all costs! Instead of using such products for cleaning purposes try mild soap solution instead.
Tips and Tricks
Here are some tips and tricks that will help you get the most out of your chalkboard:
1. Use high-quality chalk: Low-quality or cheap chalk can leave behind residue or scratch the surface of your board.
2. Erase properly: Always use a clean eraser when wiping away old messages, as leftover dust can cause ghosting on the board.
3. Avoid moisture: Keep your board dry at all times, as moisture can damage both the surface and any writing on it.
4. Store supplies nearby: Keep extra pieces of chalk within reach so that you don’t have to search for them every time you want to write something down.
5. Experiment with different colors and styles: Don’t be afraid to mix things up by using colored or even scented chalks!
Chalkboard Alternatives
One popular alternative is the dry erase board, which uses markers instead of chalk and can be easily wiped clean with a cloth or eraser. Another option is the magnetic board, which allows you to attach notes and papers using magnets for added convenience.
For those who prefer a more modern look, digital whiteboards offer an interactive experience with features such as touch screens and wireless connectivity. Adhesive blackboard vinyl sheets can be applied to walls or other surfaces for an easy DIY project.
No matter what type of alternative you choose, it’s important to consider factors such as durability, ease of use/cleaning/maintenance before making your decision.
Creative Chalkboard Uses
They can be used for a variety of purposes, from jotting down reminders and to-do lists to creating beautiful works of art. One creative use for chalkboards is as a menu board in your kitchen or restaurant.
You can easily update the menu with daily specials or seasonal items, making it an attractive and functional addition to any dining space.
Another fun way to use chalkboards is as photo backdrops at events such as weddings, birthdays, or baby showers. Guests can write messages on the board and take photos against it for a personalized touch that will make memories last forever.
If you have kids at home, consider using chalkboard paint on their bedroom walls so they can draw and express themselves freely without damaging the walls (or furniture!). Chalkboard paint comes in various colors so you could even match it with their room decor.
Lastly, if you’re feeling crafty why not create DIY gifts by painting small pieces of wood with blackboard paint? These mini-chalkboards make great place cards at dinner parties or thoughtful gifts when paired with some colorful chalks!
Safety Precautions

First and foremost, make sure you’re working in a well-ventilated area since the dust from the chalk can be irritating to your lungs. Wear gloves if you have sensitive skin or are using harsher cleaning agents during preparation.
When handling the chalk itself, be careful not to inhale too much of it as this can cause respiratory issues over time. Always follow manufacturer instructions for any products used during seasoning and maintenance.
FAQ
What is the best way to season a chalkboard?
The best way to season a chalkboard is to cover the entire surface with chalk and then wipe it clean, preventing faint images of initial writings.
Are you supposed to prime a chalkboard?
Yes, you should prime a chalkboard to fill its porous surface, ensuring future drawings go on smoothly and erase easily.
How do you prime a new chalkboard?
To prime a new chalkboard, first cover the entire board with chalk in an up-and-down motion using the chalk sideways, then repeat the process with a side-to-side motion.
How do you seal a chalkboard?
To seal a chalkboard, use a matte-finish spray sealant or satin-finish sealant, and in a real pinch, opt for hairspray.
What types of chalk are suitable for seasoning a chalkboard?
Suitable types of chalk for seasoning a chalkboard include traditional white chalk made of calcium sulfate or calcium carbonate.
Can you use a chalkboard paint to create a custom surface, and if so, how do you season it?
Yes, you can use chalkboard paint to create a custom surface, and to season it, simply rub a piece of chalk over the entire surface and then erase it to prepare for use.
What are the benefits of seasoning a chalkboard before using it for the first time?
Seasoning a chalkboard before its first use ensures a smoother writing surface, prevents ghosting or permanent marks, and allows better chalk adherence for improved readability.
Read More Like This
 15 Funny Graduation Cap Ideas to Make Your Big Day Unforgettable
 15 Unique DIY Christmas Decorations Ideas for a Festive Home
 15 Creative Science Fair Board Ideas to Amaze Your Audience
 15 Handmade Envelope Decoration Ideas for Creative Gifting
 10 DIY Gifts for the Whiskey Lover in Your Life
Recap: