Last updated on
Discover the essential steps to effectively prime your chalkboard, ensuring a smooth surface for all your creative and informative endeavors.
Have you ever wanted to create a fun and functional chalkboard wall in your home, but weren’t sure where to start? Look no further! Priming a chalkboard is the first step in creating the perfect surface for all of your artistic endeavors. Whether it’s for a playroom, kitchen, or office space, priming a chalkboard can be an easy and rewarding DIY project.
In this article, we’ll walk you through the steps on how to prime a chalkboard so that you can unleash your creativity and enjoy your new feature wall. Let’s get started!
Key takeaways:
- Priming a chalkboard is essential to prevent ghost images.
- Choose the right type of chalk based on your needs.
- Clean the chalkboard thoroughly before priming.
- Rub chalk on the surface to fill in any pores or imperfections.
- Buff the surface to remove excess chalk dust before use.
Why Prime a Chalkboard?

Priming a chalkboard is an essential step in creating the perfect surface for all your artistic and informative endeavors. Without priming, you may experience ghost images or “burn-in” from previous drawings that can be difficult to remove.
Priming creates a barrier between the porous surface of the chalkboard and any residue left behind by traditional or liquid chalks.
By priming your chalkboard, you’ll ensure that it’s ready for use as soon as possible without worrying about any unwanted marks or stains. Properly primed surfaces will allow for smoother writing and drawing experiences with less smudging.
Importance of Priming
The same goes for chalkboards. Priming your chalkboard is crucial to ensure that the surface is ready to be written on, erased, and re-written without leaving behind ghost images or stains.
Without priming, you may find it difficult to write legibly or erase cleanly from the board’s rough surface. Ghost images can also appear when you try to erase previous writings from an unprimed board.
By taking the time to prime your chalkboard correctly, you’ll save yourself frustration in the long run by ensuring that your writing looks neat and tidy every time.
Ghost Images Explanation
These are called ghost images and they can be frustrating to deal with. Ghost images occur because the porous surface of an unprimed chalkboard absorbs some of the pigment from your writing, leaving behind a faint residue even after erasing it.
To avoid this issue, it’s important to prime your chalkboard before using it for any purpose. Priming creates a barrier between the surface and any pigments used on it so that there is no absorption or staining left over once erased.
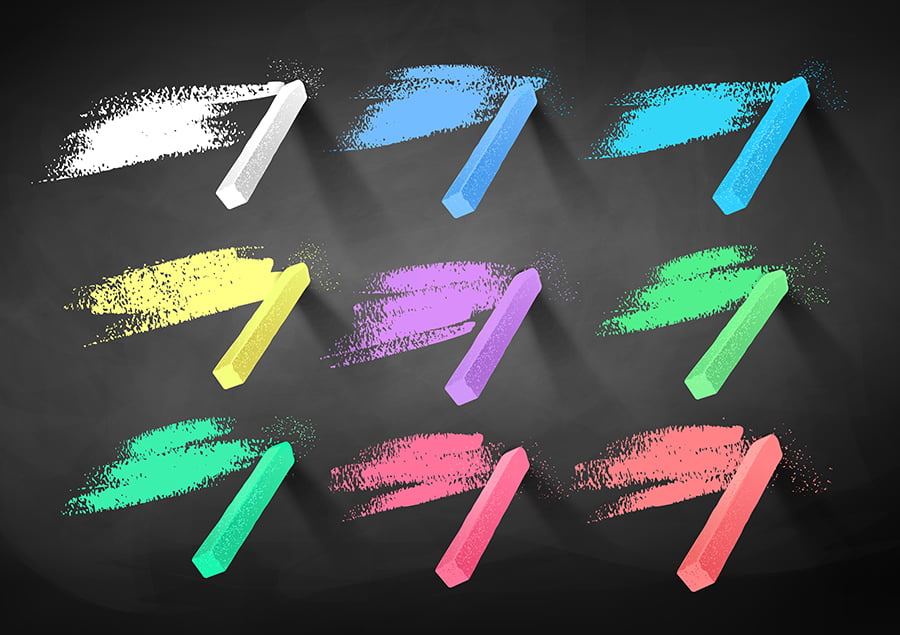
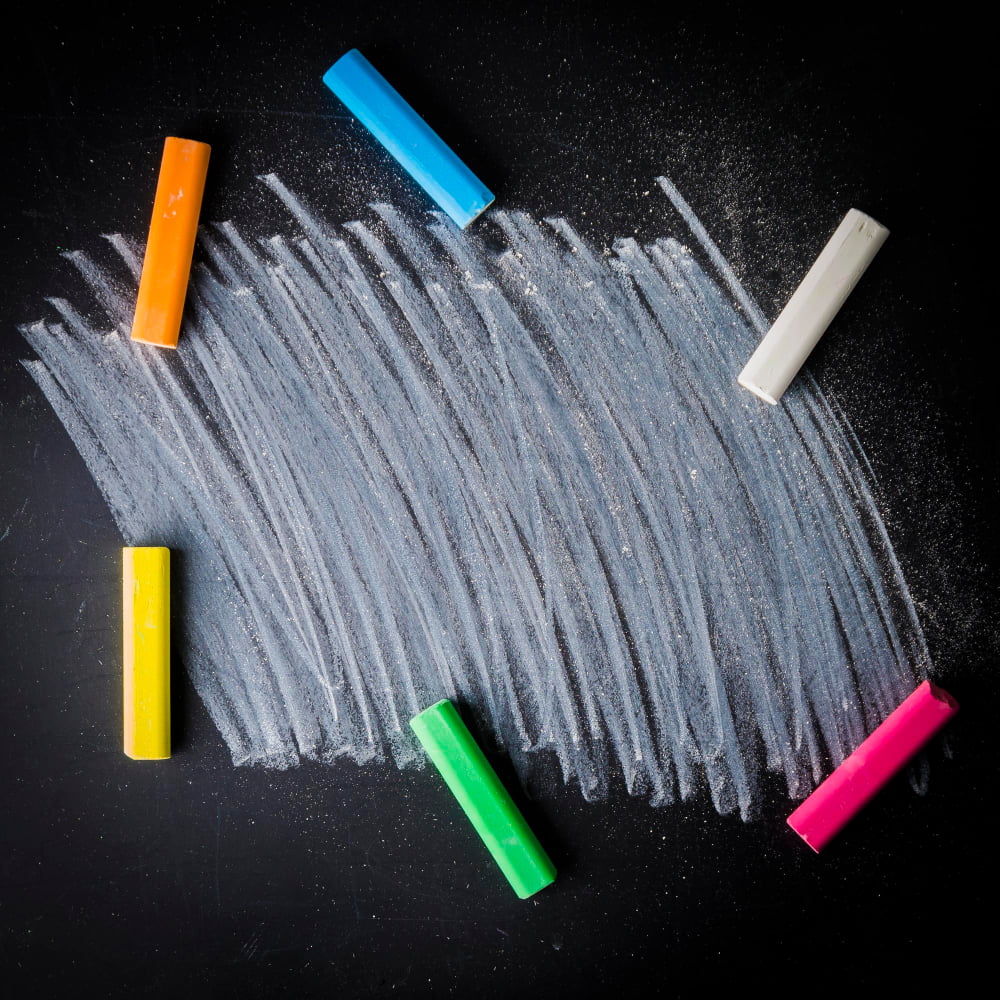
Choose the Right Chalk
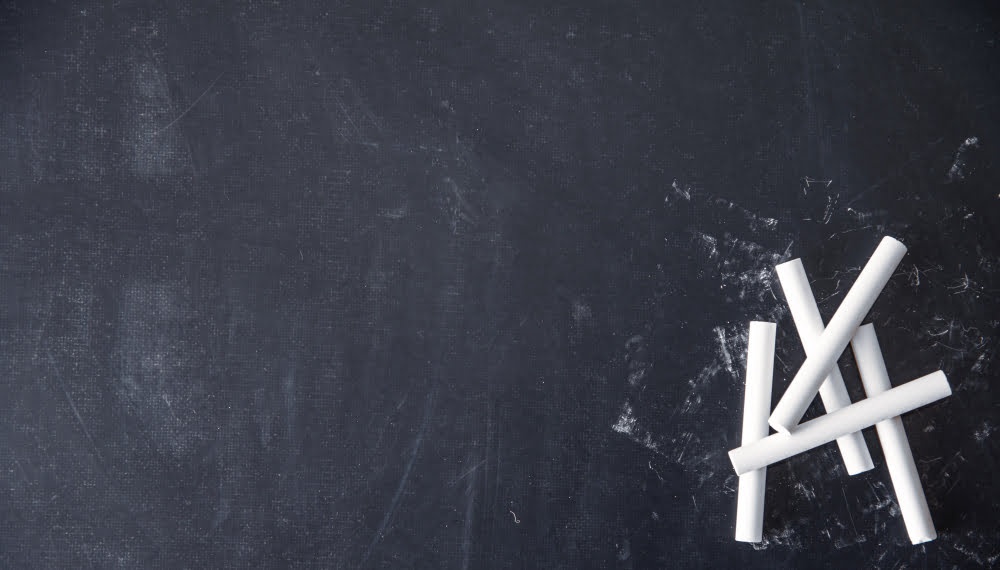
First and foremost, you want to make sure that you’re using high-quality chalk that won’t scratch or damage your surface. Traditional white or colored school chalk is a great option for most projects and can be found at any office supply store.
However, if you plan on using liquid or neon-colored markers on your board in addition to traditional chalk, then it’s important to choose a primer specifically designed for those types of materials. These primers will create an even smoother surface than traditional ones and help prevent ghost images from appearing after erasing.
Ultimately, the type of primer you choose will depend on how often you plan on using your board and what kind of materials you’ll be writing with.
Types of Chalk for Priming
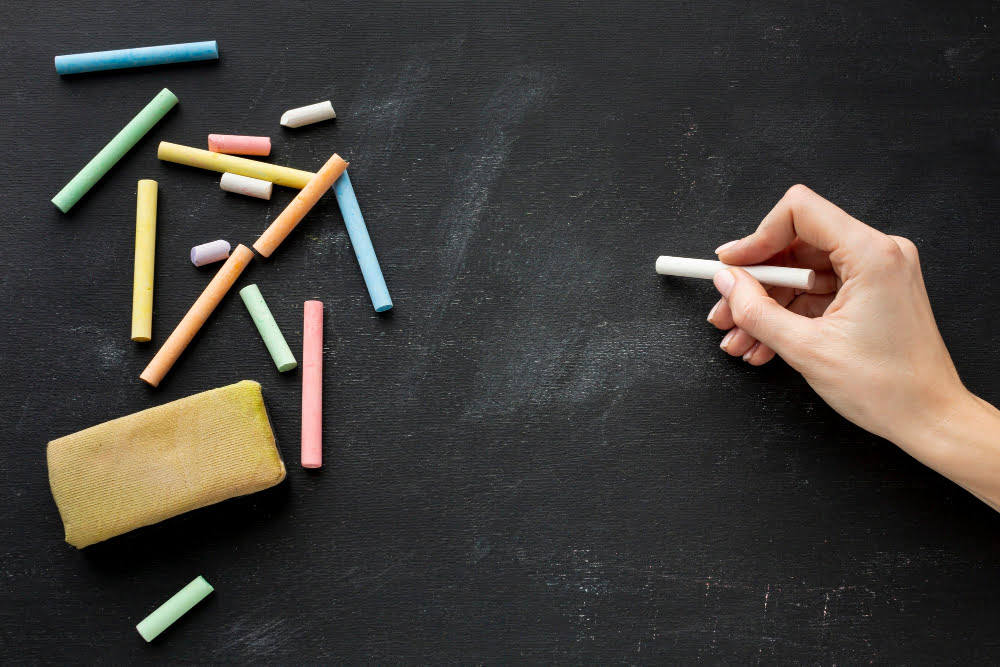
There are two main types of chalk: traditional and liquid. Traditional chalk is the classic option that most people are familiar with, while liquid chalk has become increasingly popular in recent years.
Traditional Chalk: Traditional white or colored school-style sticks work well for priming a new board because they’re easy to find and inexpensive. However, they can be messy and produce dust that may cause allergies or respiratory problems.
Liquid Chalk: Liquid markers have gained popularity due to their vibrant colors and ease of use on non-porous surfaces like glass or metal boards. They come in various tip sizes ranging from fine point pens up through broad chisel tips which make them versatile for different projects.
Choosing between traditional versus liquid depends on personal preference as both options will prime your board effectively if applied correctly.
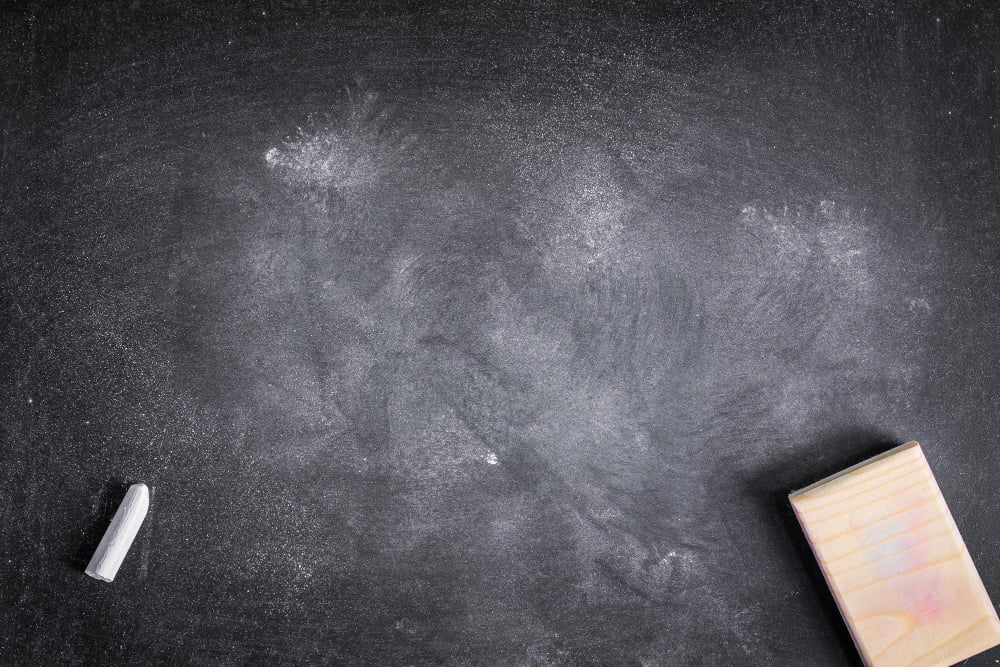
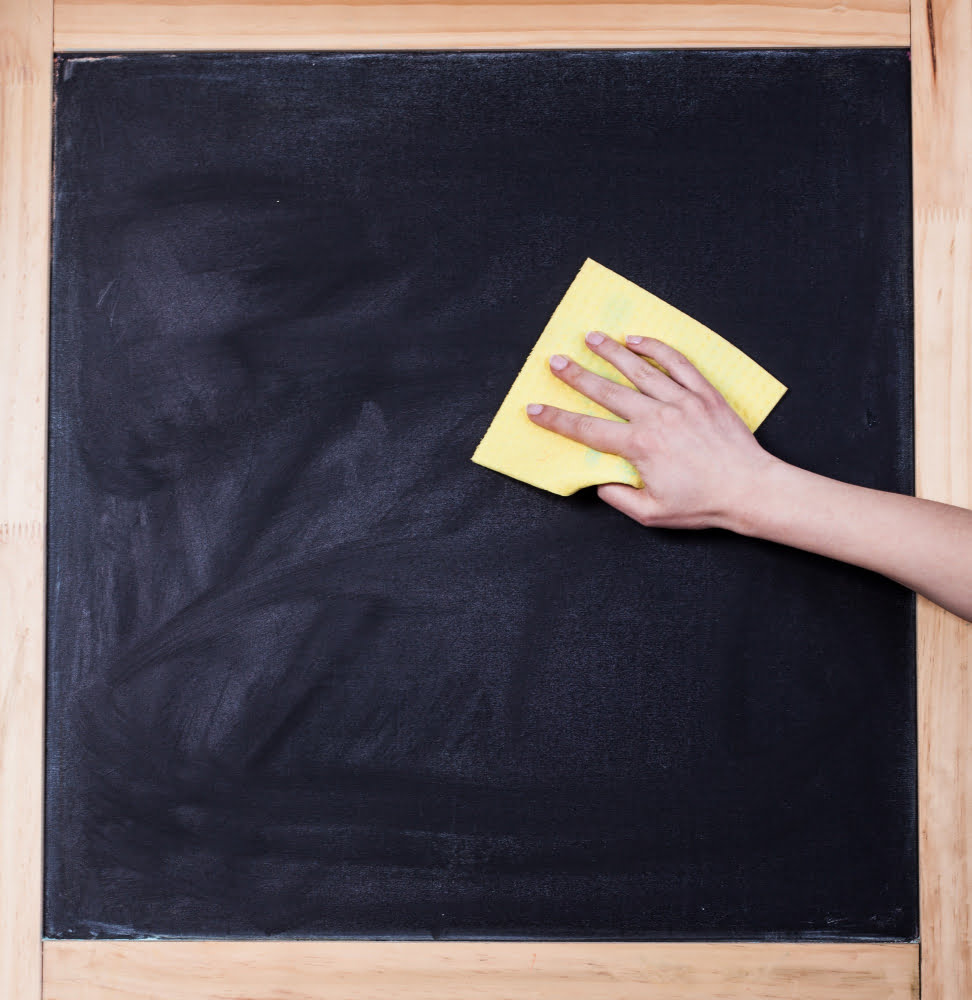
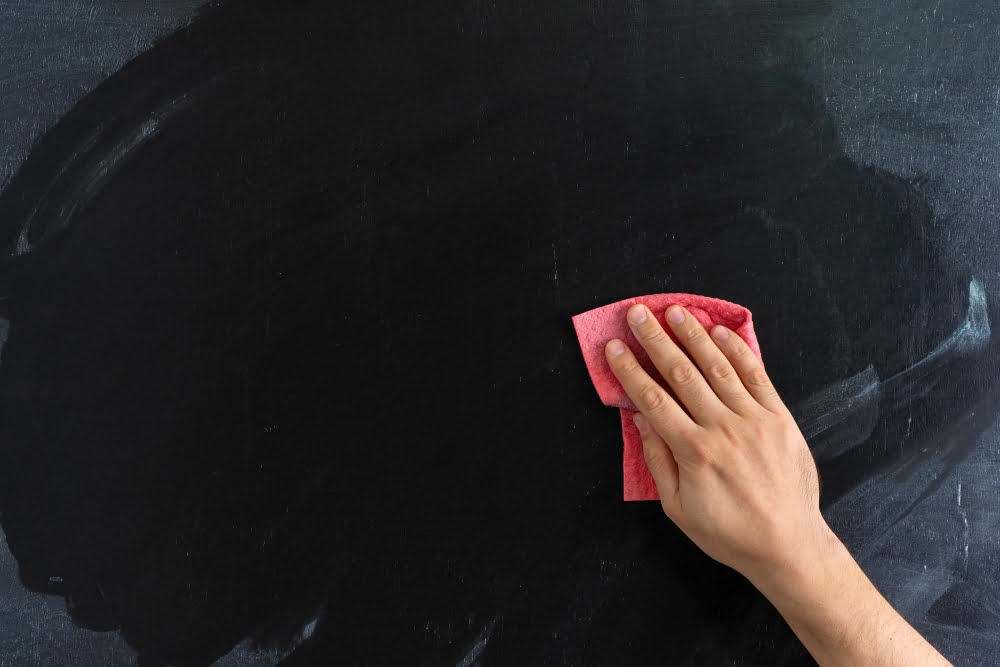
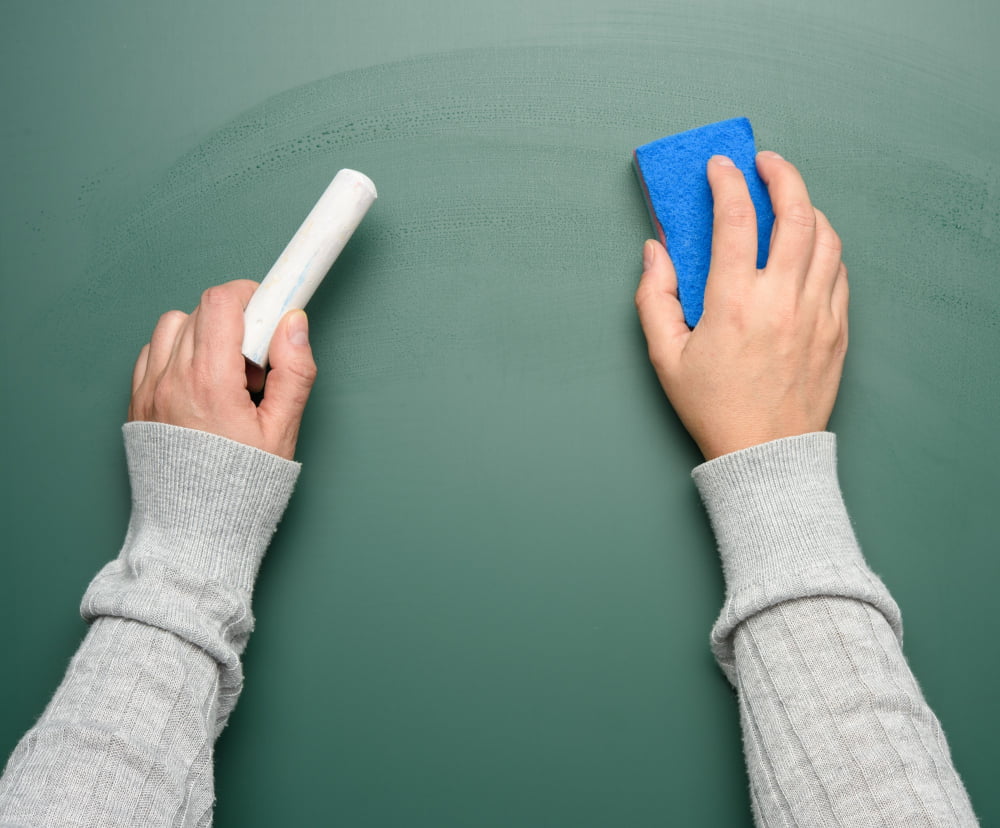
Clean the Chalkboard

Start by wiping down the chalkboard with a dry cloth to remove any loose dust or dirt. Next, use a damp cloth to wipe down the entire surface of the board, making sure to get into all of the corners and edges.
If there are stubborn stains on your chalkboard that won’t come off with just water, try using a mixture of warm water and mild dish soap. Dip your cloth in this solution and gently scrub away at any marks until they disappear.
Once you’ve thoroughly cleaned your chalkboard, allow it to air dry completely before moving on to priming. This will ensure that there is no moisture left behind which could affect how well the primer adheres.
Prepare the Surface
This will ensure that the primer adheres well and creates a smooth finish for writing and drawing.
Firstly, clean your chalkboard thoroughly with a damp cloth or sponge. Make sure to remove any dust, dirt or debris from the surface as this can affect how well the primer sticks.
Next, inspect your chalkboard for any scratches or dents. If there are any imperfections on the surface of your board, use sandpaper to gently buff them out until they’re smooth.
Once you’ve cleaned and inspected your board carefully, make sure it’s completely dry before moving onto priming. Any moisture left on the board can cause issues with adhesion later on in this process.
Preparing for Traditional Chalk
First, take a piece of white chalk and rub it all over the surface of your newly primed board. This will help to fill in any remaining pores or gaps that may have been missed during the priming process.
Next, use a clean cloth or eraser to wipe away any excess dust or debris from rubbing in the white chalk. You’ll want to make sure that there is no residue left behind before moving onto regular colored chalk.
Preparing for Liquid Chalk
First, make sure the surface is completely dry before applying any liquid chalk. Next, shake the bottle of liquid chalk well and then test it on a small area of the board to ensure that it will wipe off cleanly once dry.
Once you’ve confirmed that your chosen brand of liquid chalk works with your primed surface, apply it evenly across the entire board using either a brush or sponge applicator. Be careful not to apply too much pressure as this can cause streaks or smudging.
After applying the first coat of liquid chalk, let it dry completely before adding another layer if desired. Once all coats have been applied and dried thoroughly (usually within 24 hours), be sure to “season” your new board by rubbing traditional white or colored stickchalk over its entire surface and wiping clean with a damp cloth.
Supplies for Priming
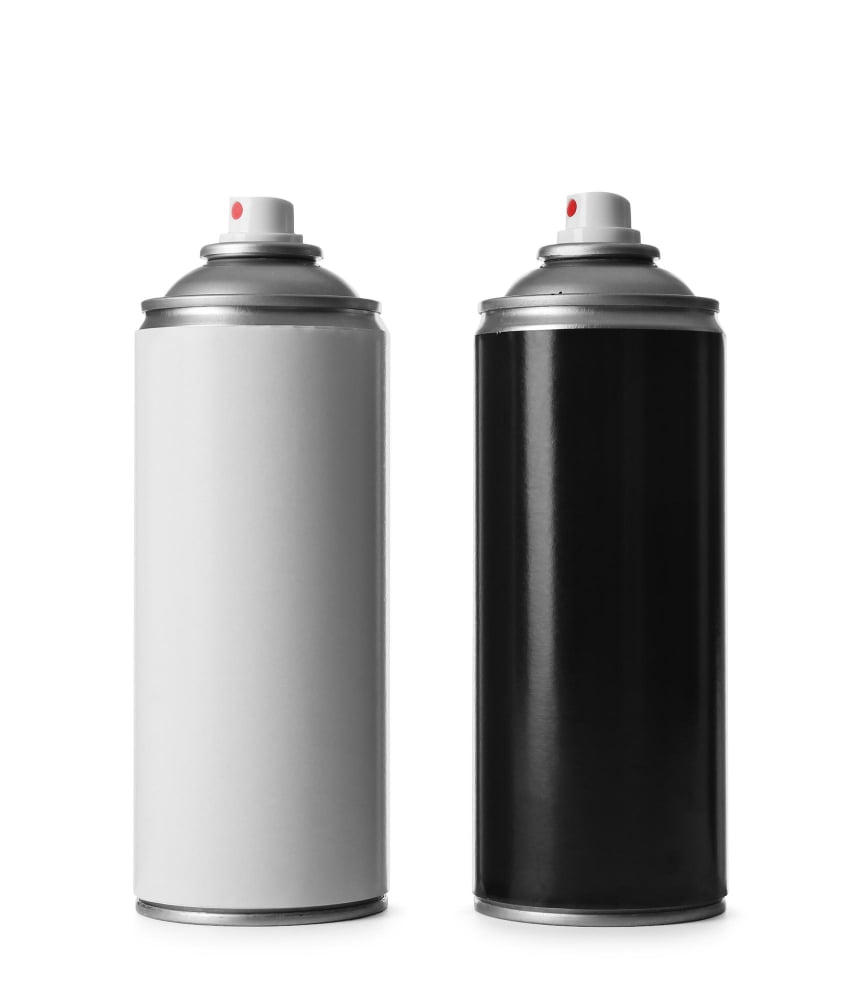
You’ll need a few basic items that can be easily found at any hardware or craft store. First and foremost, you’ll need primer paint specifically designed for chalkboards.
This type of paint is available in both spray cans and liquid form.
In addition to the primer, you will also require sandpaper with a fine grit (220-grit), painter’s tape or masking tape, a foam roller brush or regular paintbrushes depending on your preference and project size.
It is essential to have clean rags handy as well as gloves if using spray-on primer paints since they tend to get messy quickly without proper protection gear.
Apply the Chalk
Before starting, make sure that you have all of your supplies ready and within reach. Begin by rubbing a piece of chalk on its side over the entire surface of your primed board.
This will help to condition it for future use.
Next, cover every inch of the board with a layer of chalk dust using either traditional or liquid chalk depending on what type you plan to use in future projects.
Allow this layer to settle for at least 24 hours before removing any excess dust with a damp cloth or eraser. Be careful not to press too hard as this may damage your newly primed surface.
Rub Chalk On Surface
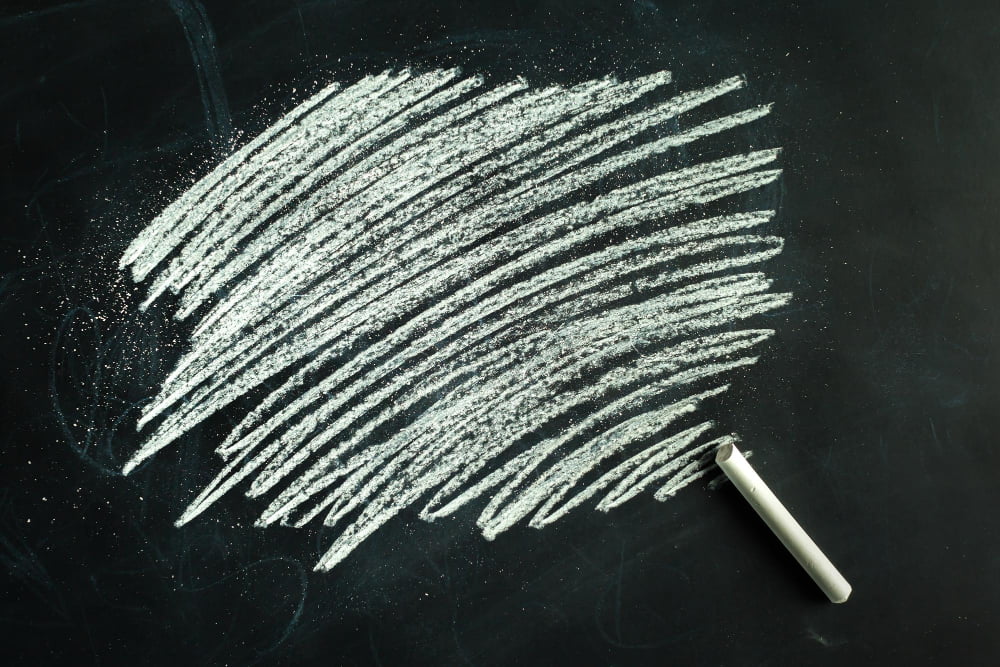
This step is crucial in ensuring that your chalkboard is primed and ready for use. Rubbing a piece of white chalk over the entire surface will help fill any pores or imperfections in the board, creating a smooth and even writing surface.
To begin rubbing, take a piece of white chalk and hold it at an angle against the board. Move your hand back and forth across one section of the board until you’ve covered it completely with dust from rubbing.
Repeat this process until you’ve covered every inch of your new DIY feature wall with dust from rubbing. Once complete, use a dry cloth to wipe away any excess powder left behind by this process.
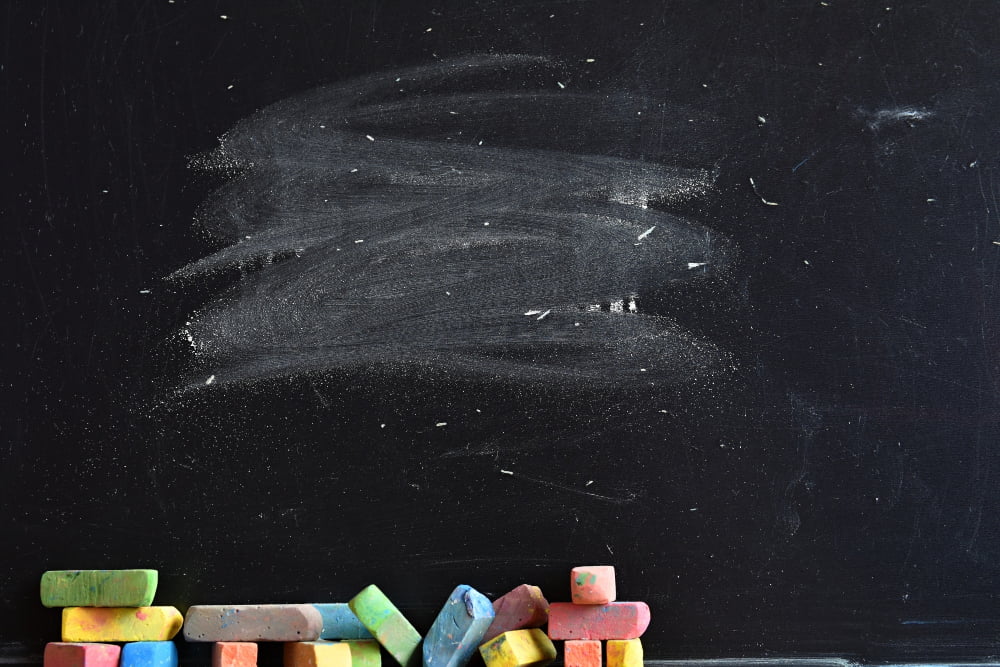
Cover Entire Chalkboard
Use a piece of felt or a soft cloth and gently rub over all areas of your board. This will ensure that every inch is covered with an even layer of chalk dust.
Be sure not to miss any spots as this can cause ghost images when you try to erase later on. Ghost images are leftover marks from previous drawings that were not fully erased, making it difficult for new artwork or writing to be seen clearly.
Covering your entire board with an even layer of chalk also helps prevent uneven wear and tear on certain areas, ensuring longevity for your newly primed surface.
Let Chalk Settle
This will allow the primer to fully adhere and dry onto the surface of your board. During this time, avoid touching or rubbing against the surface as this can cause smudging and unevenness in coverage.
After letting it sit for a few minutes, take a clean cloth or eraser and gently remove any excess chalk that may be left on top of your newly primed board. This step is crucial as leaving excess dust on top of your primer can lead to ghost images when you start using traditional chalk.
By allowing enough time for settling before removing any excess material from its surface, you’ll ensure that all areas are evenly coated with primer while avoiding potential issues down the line.
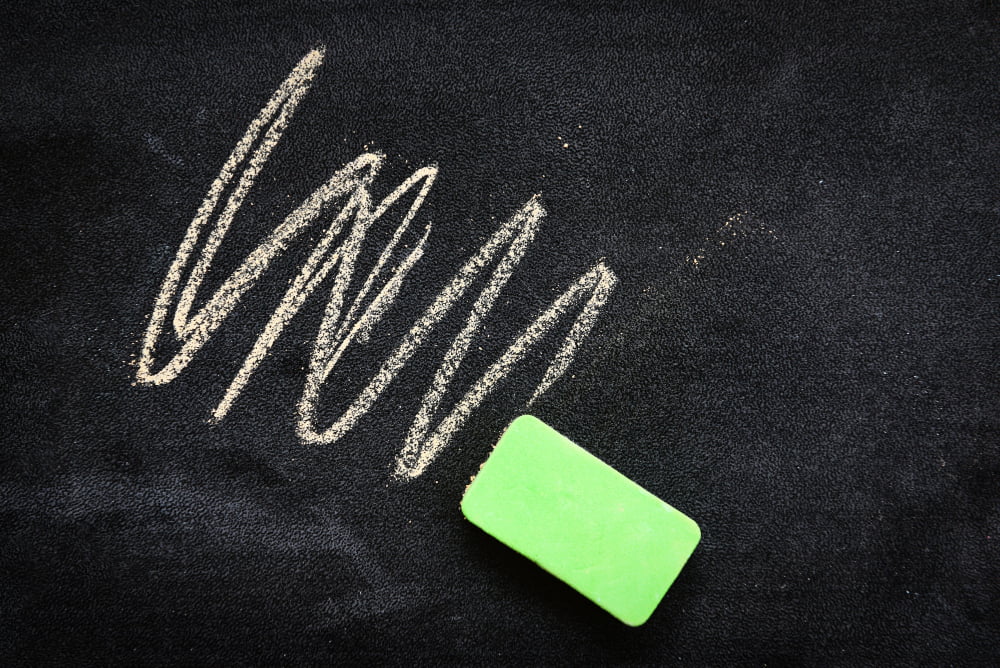
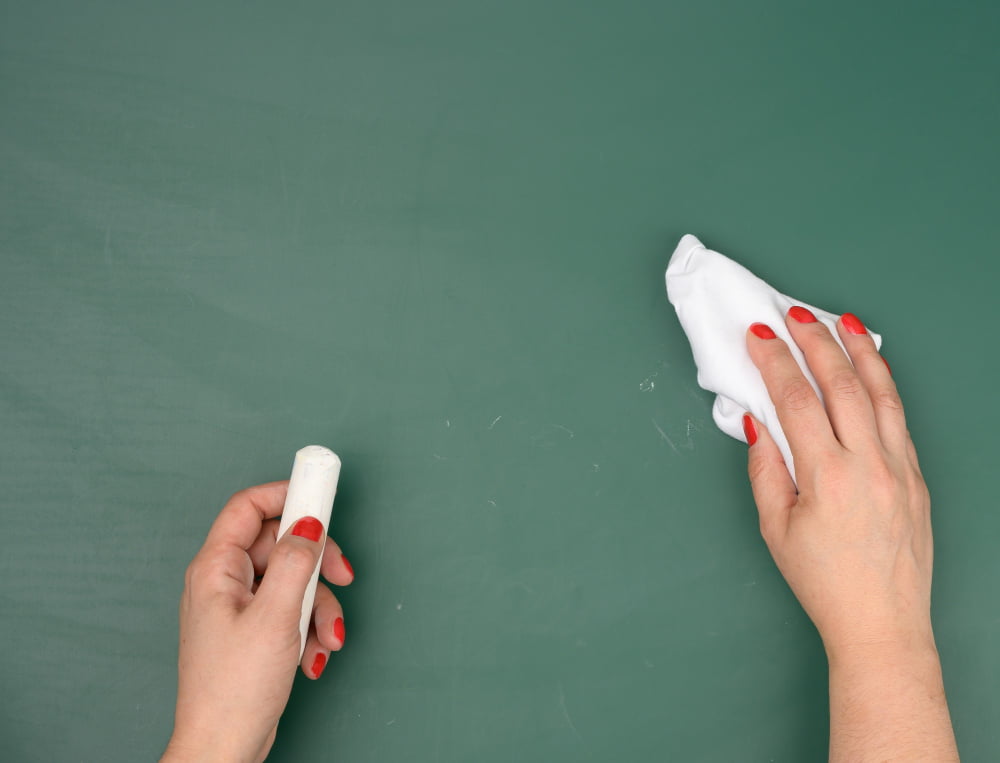
Remove Excess Chalk

This step is crucial in ensuring that your chalkboard is primed correctly and ready for use. To do this, take a clean cloth or eraser and gently wipe away any leftover residue on the surface of the board.
Be sure not to press too hard as this can cause smudging or damage to the newly primed surface. If there are still some stubborn spots left behind after wiping with a dry cloth, try using a damp one instead.
Removing excess chalk will help prevent ghost images from appearing on your board when you start writing or drawing on it later. Ghost images occur when previous markings are visible even after being erased due to leftover residue remaining on an unprimed surface.
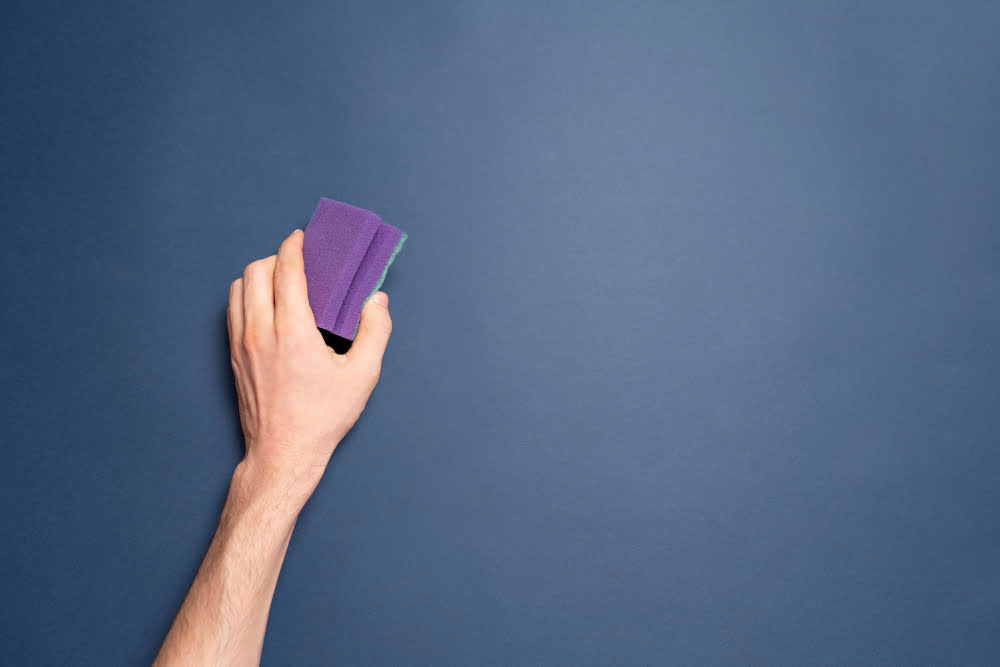
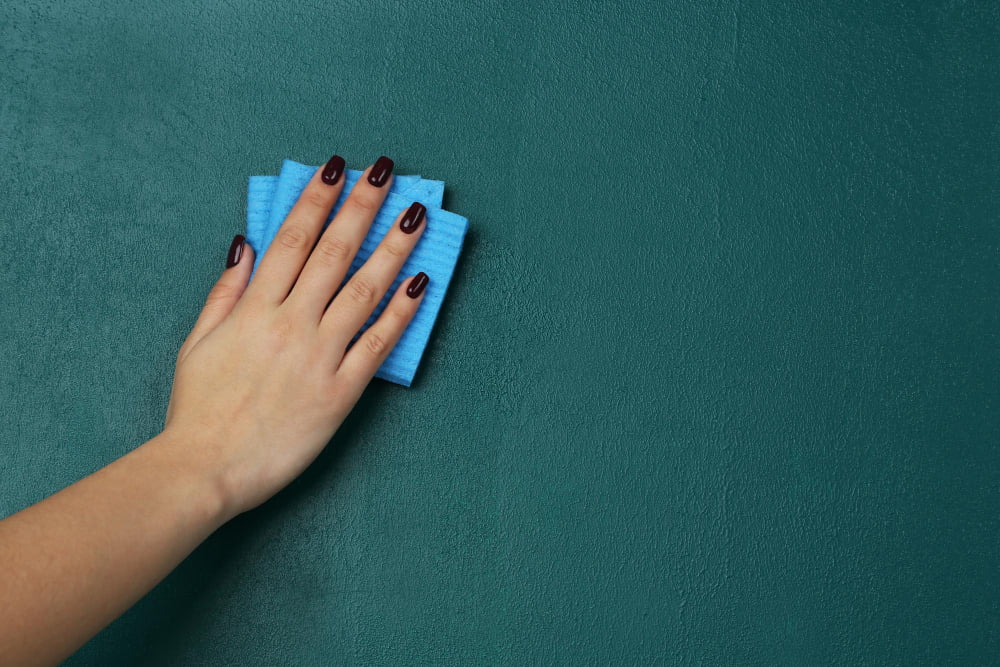
Use a Damp Cloth
This step is crucial in ensuring that your chalkboard is primed correctly and ready for use. Take a clean, damp cloth and gently wipe away any remaining residue from the surface of the board.
Be sure not to press too hard or scrub too vigorously as this can damage the newly applied primer.
Using a damp cloth will also help smooth out any bumps or rough spots on your chalkboard surface, creating an even writing area for all your future designs and messages.
After wiping down with water, let it dry completely before moving on to using traditional or liquid chalks. Once dried up completely buffing off with another clean dry towel would be ideal before starting drawing anything on it.
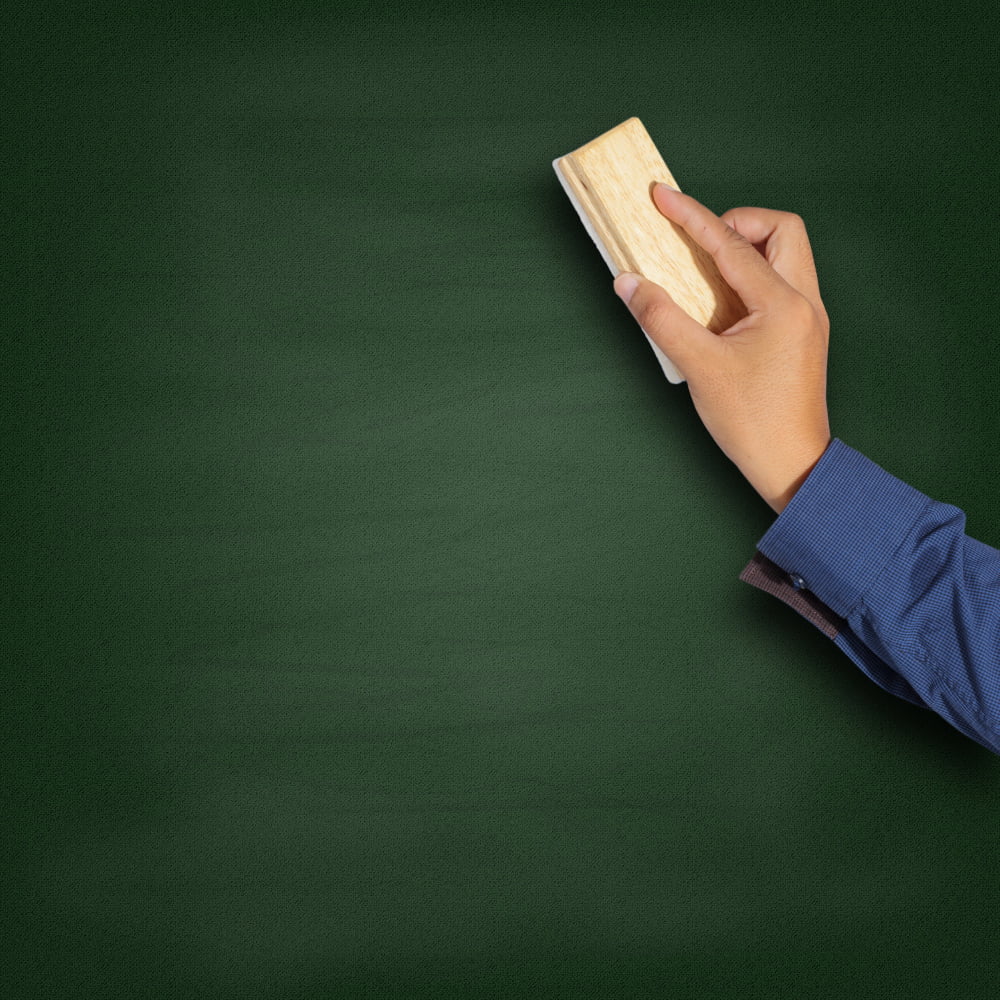
Buff the Surface
This step is crucial in ensuring that your chalkboard is ready for use. Using a clean and dry cloth, gently rub over the entire surface of your chalkboard.
This will help remove any excess dust or residue left behind from priming.
Buffing also helps create a smooth and even texture on your board, making it easier to write on with both traditional and liquid chalks.
Be sure not to press too hard while buffing as this can damage the newly primed surface. A light touch should suffice in removing any remaining debris.
Board Is Primed
Then, using a damp cloth or sponge, gently wipe away any excess chalk dust. This will help ensure that your board is primed and ready for use.
After removing the excess chalk dust, take another clean cloth and buff the surface of your newly primed board. This step helps to create an even smoother writing surface by removing any remaining residue from the primer.
Congratulations! Your board is now primed and ready for use with traditional or liquid chalk markers.
Repeat If Necessary
Once you’ve allowed ample time for drying, inspect your chalkboard surface. If there are any areas that appear thin or unevenly coated, repeat the priming process until you achieve a smooth and consistent finish.
It’s better to apply multiple thin coats than one thick coat as this will help prevent ghost images from appearing in future use. Remember that each layer should be allowed enough time to dry before adding another layer.
Maintenance Tips
Here are some maintenance tips to keep in mind:
- Clean the board regularly with a damp cloth or eraser.
- Avoid using abrasive cleaners or materials that can scratch the surface.
- Use high-quality chalk that is easy to erase and won’t leave residue behind.
- If ghost images start appearing on the board, simply re-prime it by repeating the priming process.
By following these simple maintenance tips, you’ll be able to enjoy your newly primed chalkboard for years to come!
FAQ
How do you prime a chalkboard surface?
To prime a chalkboard surface, lay a piece of chalk on its side, cover the entire board liberally with chalk, rub it in with a dry rag, and then erase to prevent permanent markings due to its porous nature.
How do you prep a chalkboard?
To prep a chalkboard, season it by covering the entire surface with chalk and then wiping it clean to prevent faint images of initial writings.
How long does it take to prime a chalkboard?
Priming a chalkboard typically takes 2 to 4 days, considering the application of 2 to 4 coats with a 24-hour drying time between each coat.
What is the best type of chalk to use for priming a chalkboard?
The best type of chalk to use for priming a chalkboard is Calcium Carbonate-based chalk.
Can you use a chalkboard marker to prime the surface instead of traditional chalk?
Using a chalkboard marker to prime the surface is not recommended, as traditional chalk is specifically designed for this task.
Are there any specific techniques to ensure an even priming of a chalkboard surface?
One effective technique to ensure an even priming of a chalkboard surface is to apply multiple coats of primer and sand gently in between each coat for a smooth finish.
Read More Like This
 15 Funny Graduation Cap Ideas to Make Your Big Day Unforgettable
 15 Unique DIY Christmas Decorations Ideas for a Festive Home
 15 Creative Science Fair Board Ideas to Amaze Your Audience
 15 Handmade Envelope Decoration Ideas for Creative Gifting
 10 DIY Gifts for the Whiskey Lover in Your Life
Recap: