Last updated on
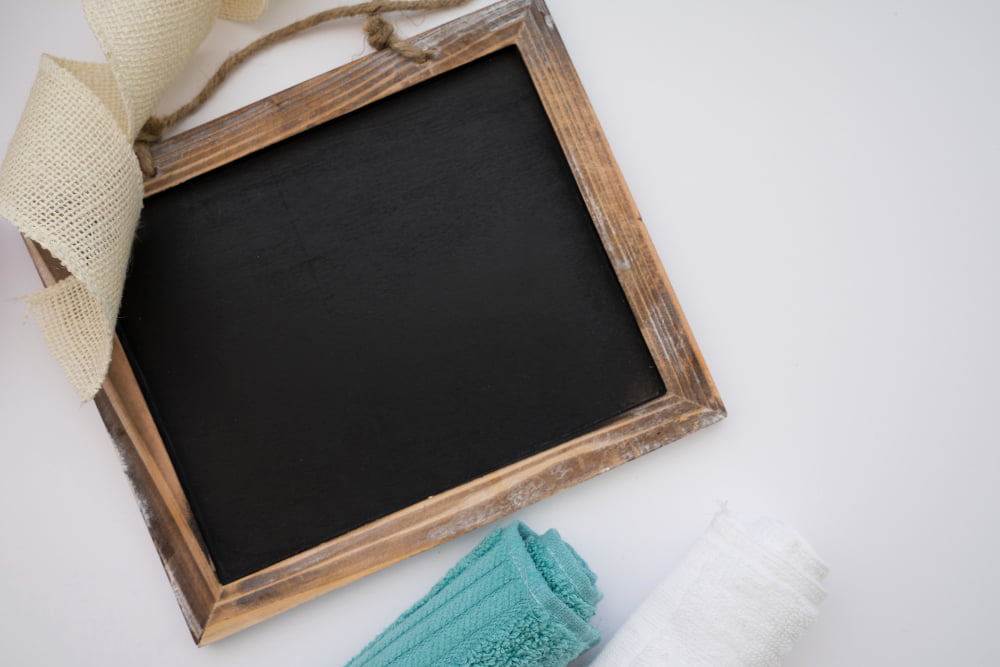
Discover a creative and budget-friendly way to make your own chalkboard without using chalkboard paint. This is perfect for versatile home décor and functional organization.
Are you tired of the same old boring walls in your home? Do you want to add a touch of creativity and fun to your space? Look no further than a DIY chalkboard! But what if you don’t have any chalkboard paint on hand?
No need to worry. With just a few simple materials and some easy-to-follow steps, you’ll be able to transform any wall or surface into a functional and stylish chalkboard that will impress all your guests.
So let’s get started!
Key takeaways:
- Gather materials: sandpaper, foam roller, primer, black acrylic paint, unsanded grout powder.
- Choose surface: wood, metal, glass, or walls.
- Sanding process: smooth and even base for primer and paint.
- Apply primer: helps chalkboard paint adhere and prevent discoloration.
- Create chalkboard finish: mix unsanded grout with latex paint, apply evenly.
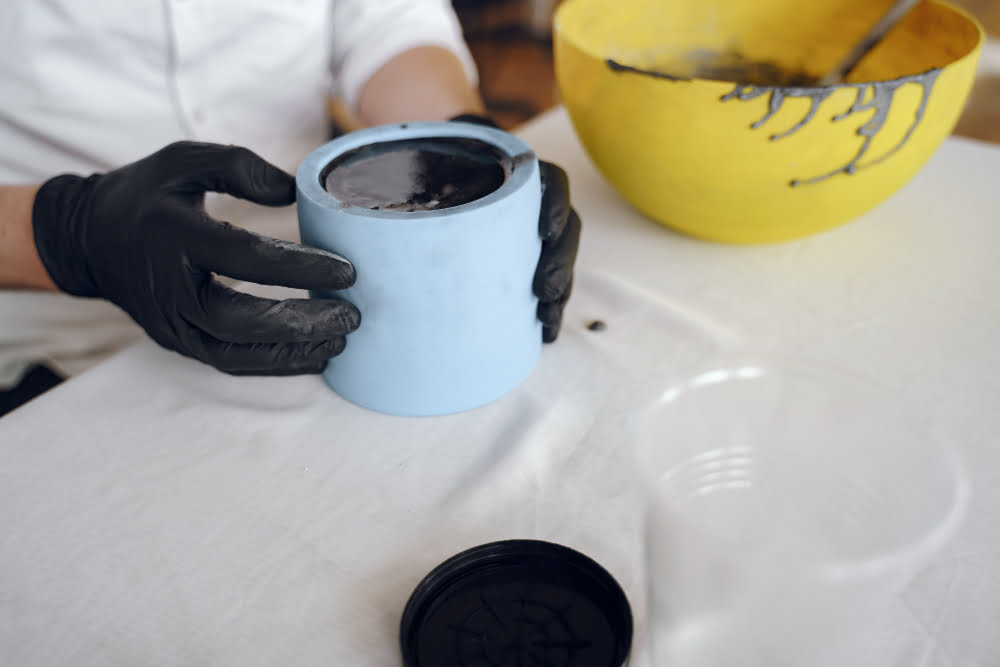
Gather Materials
The first step in making a chalkboard without using chalkboard paint is to gather all the necessary materials. You’ll need some sandpaper, a foam roller or brush, primer, and black acrylic paint.
You’ll need some unsanded tile grout powder which will be used to create the textured surface of your chalkboard.
All these materials can easily be found at any hardware store or online retailer. Make sure that you purchase enough supplies for the size of your desired chalkboard as well as any additional frames or decorative elements that you may want to add later on.
Choose Surface

The great thing about this DIY project is that you can turn almost any surface into a chalkboard! Here are some options:
- Wood: A wooden board or panel is an excellent choice for creating a rustic-looking chalkboard.
- Metal: If you want something more industrial and modern, consider using metal as your base material.
- Glass: For a sleek and sophisticated look, try making a glass chalkboard by painting the backside of clear glass with black paint.
- Walls: You can also transform any wall in your home into a functional and stylish chalkboard!
Sanding Process
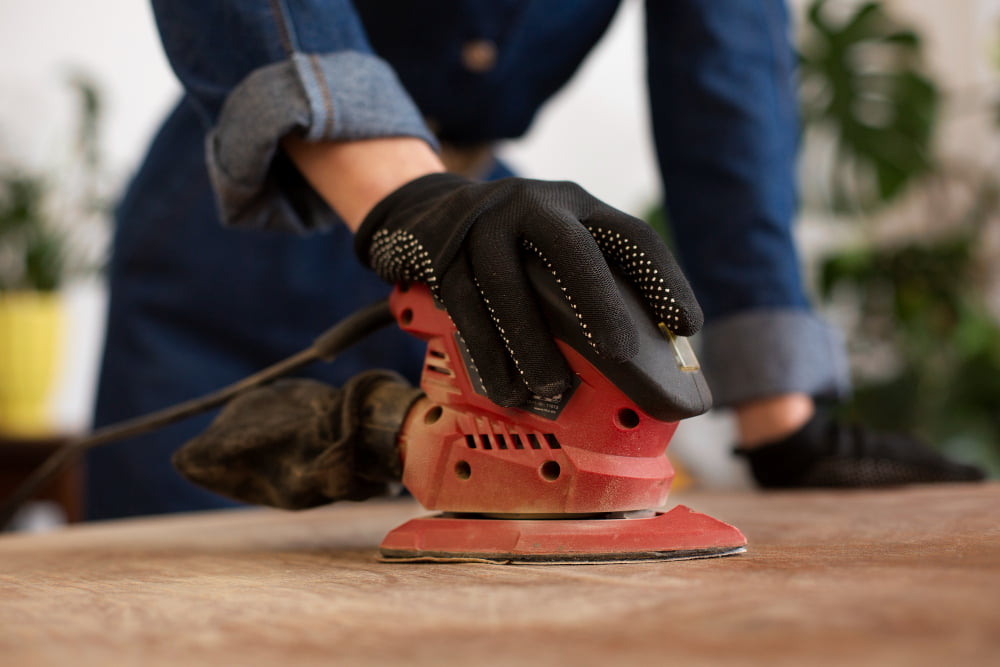
The first step in this process is sanding down your surface. This will help create a smooth and even base for the primer and paint to adhere to.
Using a fine-grit sandpaper, gently rub over the entire surface of your chosen area until any bumps or rough spots are smoothed out. Be sure to wipe away any dust or debris with a clean cloth before moving on to the next step.
Sanding may seem like an unnecessary extra step, but trust me – it’s worth it! A well-sanded surface will ensure that your chalkboard finish looks professional and lasts longer without chipping or peeling off easily.
Apply Primer
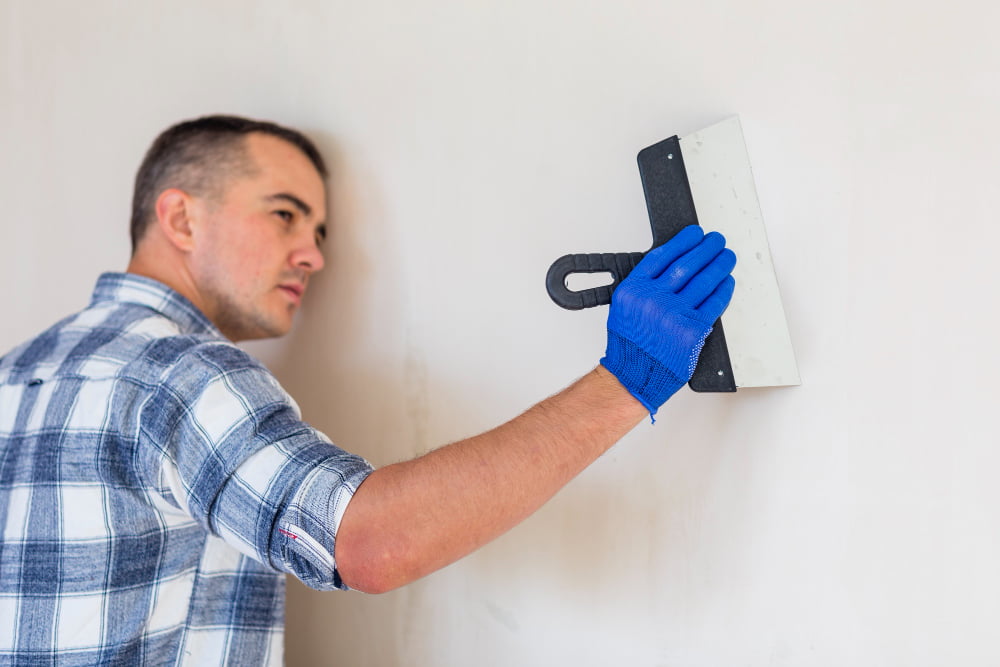
This step is crucial as it helps the chalkboard paint adhere better and prevents any stains or discoloration from showing through. You can use a regular primer or opt for a tinted one if you want your chalkboard to have a specific color undertone.
To apply the primer, use a foam roller or brush and make sure to cover every inch of the surface evenly. Let it dry completely before moving on to applying your chalkboard paint.
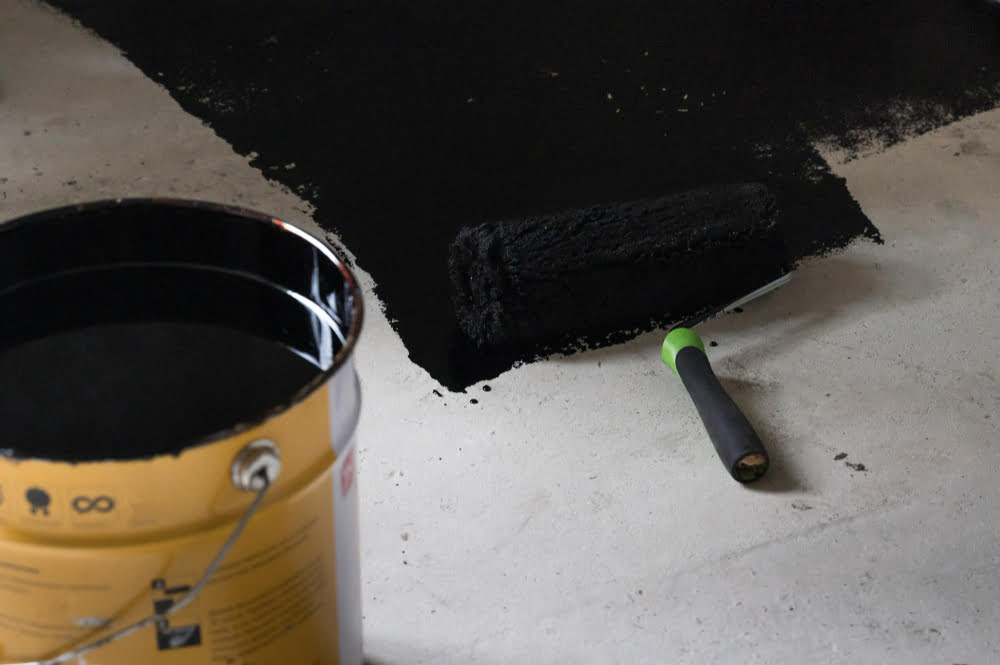
Create Chalkboard Finish
This step is where the magic happens! You’ll need to mix unsanded grout with latex paint in a 1:8 ratio (one part grout to eight parts paint). Be sure to mix thoroughly until there are no lumps or clumps left.
Next, use a foam roller or brush and apply the mixture evenly onto your primed surface. Make sure you cover every inch of the area you want as your chalkboard space.
It may take two coats for full coverage depending on how dark or light you want it.
Once applied, let dry completely before moving on to any additional steps like attaching a frame if desired. After drying overnight, use fine-grit sandpaper (220 grit) lightly over entire surface in order for smooth writing experience when using chalks.
Attach Frame (optional)
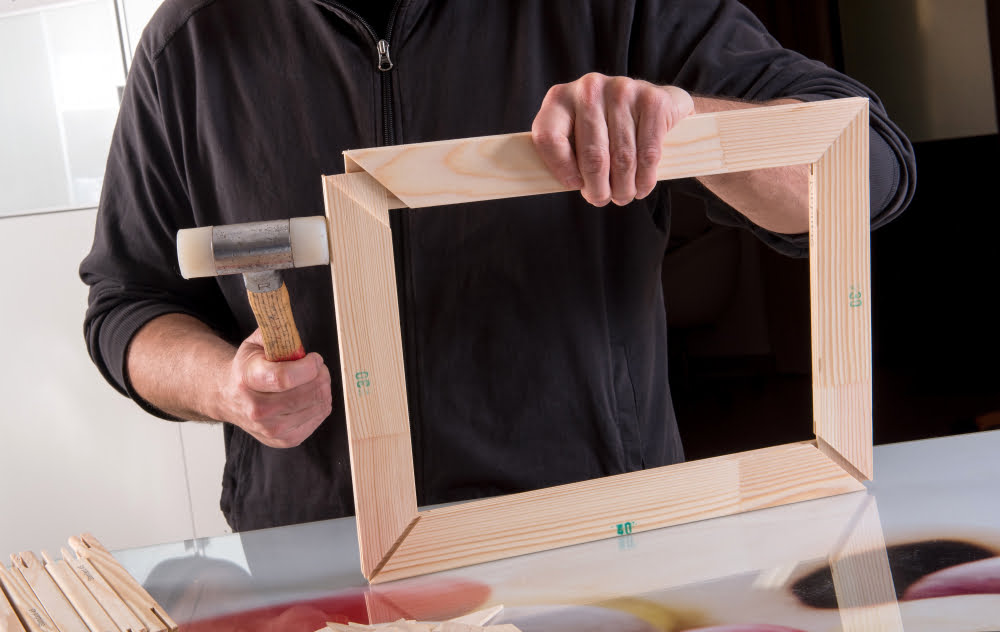
This step is optional but highly recommended if you want to elevate the overall aesthetic of your DIY project. You can use any type of wood or molding that fits the size and style of your chalkboard.
Simply measure the dimensions needed for each side, cut them accordingly with a saw, then attach them using wood glue or small nails.
If you’re feeling extra creative, consider painting or staining the frame in a color that complements your décor scheme. A white-washed finish would look great in shabby-chic interiors while black frames are perfect for modern spaces.
Adding a frame not only enhances its appearance but also provides additional support and protection against chipping or cracking over time.
Dry and Cure Time
This will ensure that the surface is fully set and won’t smudge or smear when you write on it.
The drying time for your chalkboard will depend on a few factors, such as the type of paint or primer used, humidity levels in your home, and temperature. Generally speaking, most surfaces should be left to dry for at least 24 hours before use.
After the initial drying period has passed, you’ll want to “cure” the surface by rubbing a piece of white chalk over its entire area. This step helps prepare the board for regular use by filling in any microscopic pores that may exist on its surface.
To do this simply take a piece of white chalk (not colored) lay flat against board then rub all over until covered with dust from top to bottom then wipe off with an eraser or soft cloth. By following these simple steps and allowing enough time for proper curing after painting your new DIY Chalkboard without using any special paint.
You can enjoy writing notes reminders quotes etc., without worrying about smudging!
Read More Like This
 15 Unique DIY Christmas Decorations Ideas for a Festive Home
 15 Creative Ribbon Decoration Ideas You’ll Love
 15 Creative Science Fair Board Ideas to Amaze Your Audience
 15 Ingenious Pool Noodle Decoration Ideas
 15 Creative Ideas for Wedding Car Decoration
Recap: