Last updated on
Discover the simple steps to create your own customizable chalkboard paint. Transform any surface into a fun and functional space.
Are you tired of the same old white walls in your home? Do you want to add a touch of creativity and personality to your space without breaking the bank? Look no further than DIY chalkboard paint!
This versatile and easy-to-make paint can transform any surface into a fun and functional canvas. Whether you want to create a chalkboard wall for your kids to draw on, label jars in the kitchen, or make custom signs for events, this paint is the perfect solution.
Plus, it’s affordable and customizable – choose any color you like! In this article, we’ll walk you through everything you need to know about making and using DIY chalkboard paint so that you can get started on your next home decor project today.
Key takeaways:
- Make DIY chalkboard paint using non-sanded grout and acrylic/latex paint.
- Prepare the surface by cleaning, roughening glossy surfaces, and filling cracks.
- Apply the paint with a brush or roller, allowing each coat to dry before adding another.
- Let the chalkboard dry for at least 24 hours and follow manufacturer instructions.
- Season the chalkboard by rubbing chalk all over the surface before use.
Chalkboard Paint Ingredients
Before you start making your own chalkboard paint, it’s important to know the ingredients required. The good news is that most of these items can be found at your local hardware or craft store.
Here are the essential ingredients:
- Non-sanded grout: This will act as a binding agent and give the paint its characteristic texture.
- Acrylic or latex paint: You can choose any color you like for this base coat, but keep in mind that darker colors work best for creating a contrast with white chalk.
- Water: To thin out the mixture and achieve a smooth consistency.
Mixing the Paint
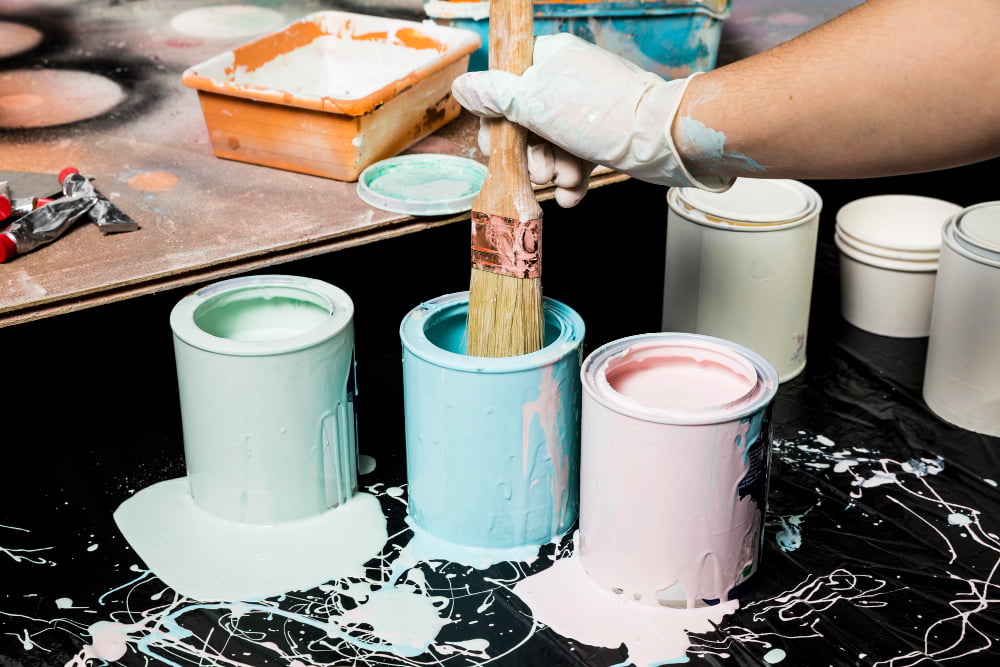
The process is simple and straightforward, requiring only a few basic tools.
To start, pour your chosen color of acrylic paint into a mixing bowl. Next, add in an equal amount of unsanded tile grout powder and stir until the mixture is smooth and free from lumps.
It’s important to note that different brands of acrylic paint may require slightly different ratios or amounts of grout powder for optimal results. Be sure to read the instructions carefully before beginning.
If you’re making a large batch or using multiple colors, consider using a power drill with an attachment mixer for faster blending.
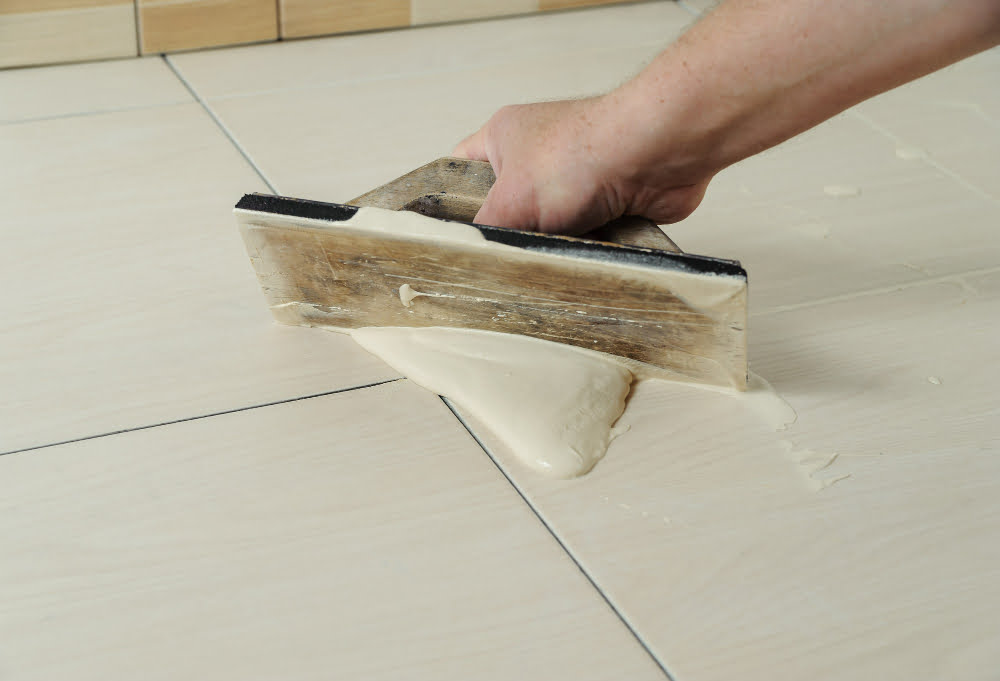
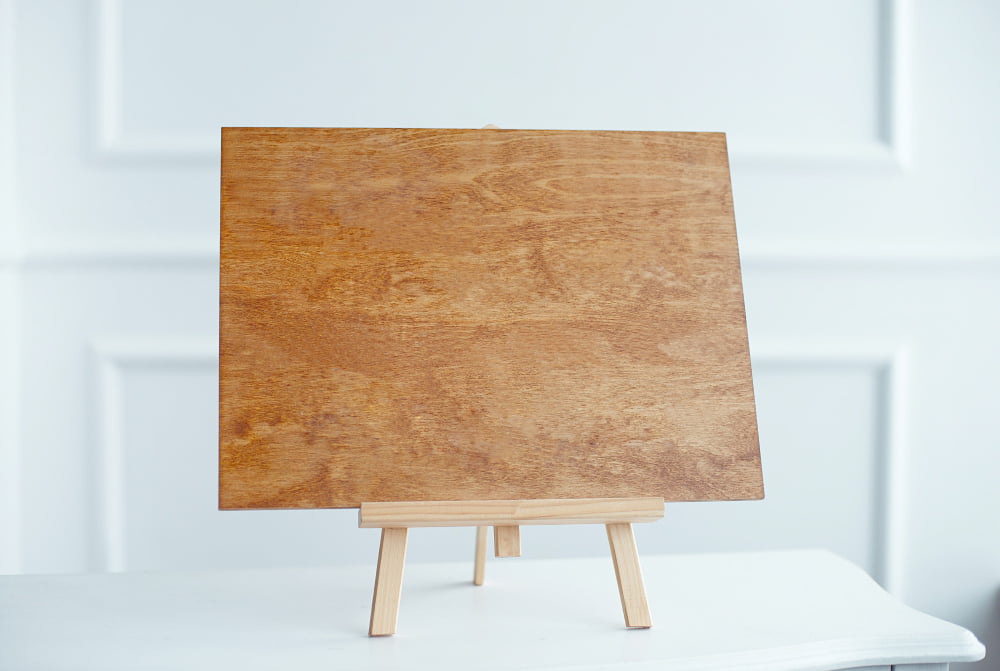
Surface Preparation
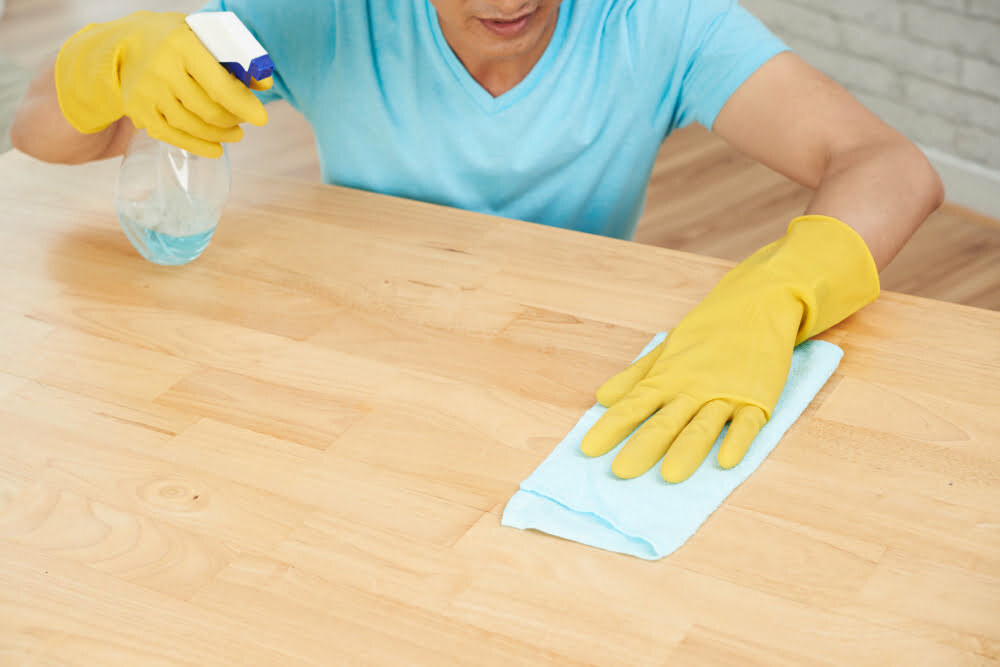
The first step is to clean and dry the area thoroughly. Any dirt or dust on the surface can affect how well your paint adheres, so make sure you wipe down with a damp cloth and let it dry completely.
Next, if you’re painting over a glossy or non-porous surface like glass or metal, use sandpaper to roughen up its texture slightly. This will help create tiny grooves that allow for better adhesion of your chalkboard paint.
If there are any cracks or holes in your wall that need filling before painting, now is also an excellent time to do so using spackle paste. Once filled and dried according to instructions on packaging sand them smooth with fine-grit sandpaper until they are flush with surrounding surfaces.
Application Techniques
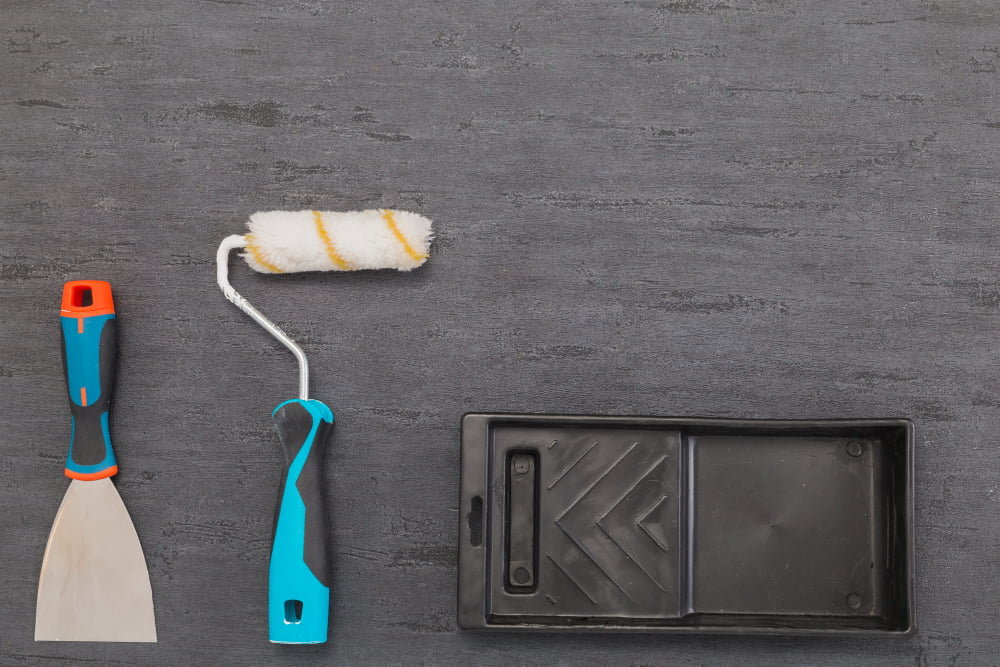
The application process is relatively simple and straightforward, but there are a few techniques that can help ensure a smooth and even finish.
Firstly, make sure that the surface you’re painting is clean and dry before applying any paint. Any dirt or debris on the surface can affect how well the paint adheres.
Next, use a high-quality brush or roller to apply an even coat of chalkboard paint onto your chosen surface. It’s important not to overload your brush with too much paint as this can lead to drips and uneven coverage.
When applying multiple coats (which may be necessary depending on how dark you want your chalkboard), allow each layer of paint ample drying time before adding another coat. This will prevent smudging or damage when trying to add additional layers later on.
Once all coats have been applied and dried completely according manufacturer instructions, lightly sand down any rough spots with fine-grit sandpaper for an ultra-smooth finish.
Drying Time and Tips
The drying time can vary depending on factors such as humidity and temperature, but generally speaking, you should wait at least 24 hours before using the chalkboard. It’s also a good idea to follow any specific instructions provided by the manufacturer of your chosen paint.
To ensure that your DIY chalkboard is fully cured and ready for use, there are a few tips you can follow:
- Avoid touching or writing on the surface until it has completely dried.
- Once dry, lightly sand down any rough spots with fine-grit sandpaper.
- Before using colored or liquid chalks on your board for the first time after painting it with DIY Chalk Paint; test them in an inconspicuous area first.
- When cleaning up after use avoid harsh chemicals like bleach which may damage painted surfaces.
Seasoning the Chalkboard
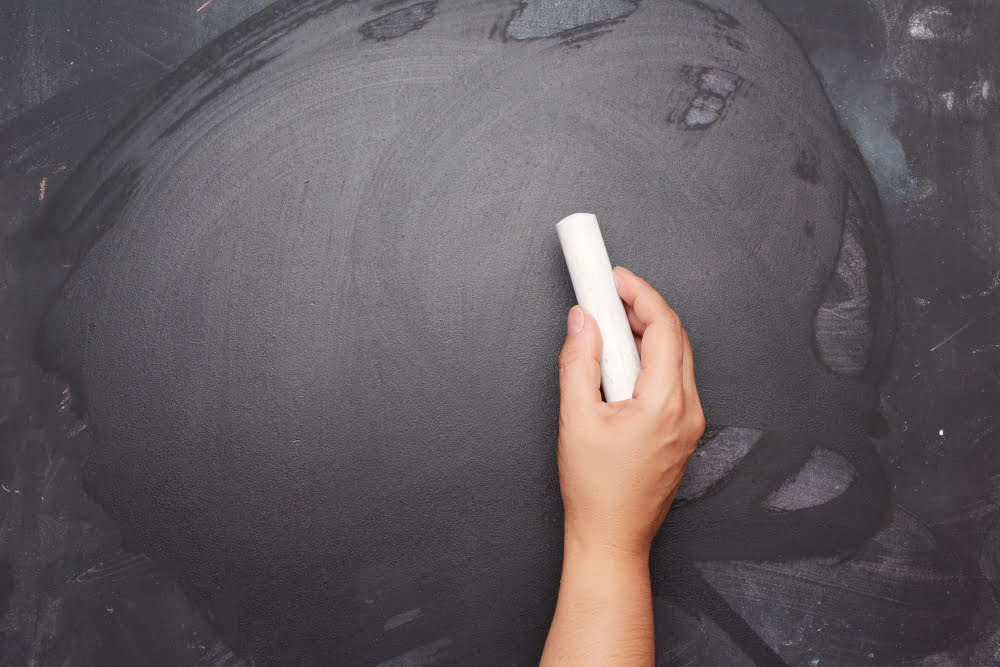
This process involves rubbing a piece of chalk over the entire surface and then wiping it off with a dry cloth or eraser. Seasoning helps to prevent “ghosting,” which occurs when previous markings are still visible after erasing.
To season your new chalkboard, simply take a piece of white or colored chalk and rub it all over the surface in one direction. Then, turn your chalk sideways and repeat in the opposite direction until every inch has been covered with dust from the chalk.
Afterward, use an eraser or clean cloth to wipe away any excess powder left on top of your board’s writing area before using it for drawing or writing purposes.
Caring for Your DIY Chalkboard
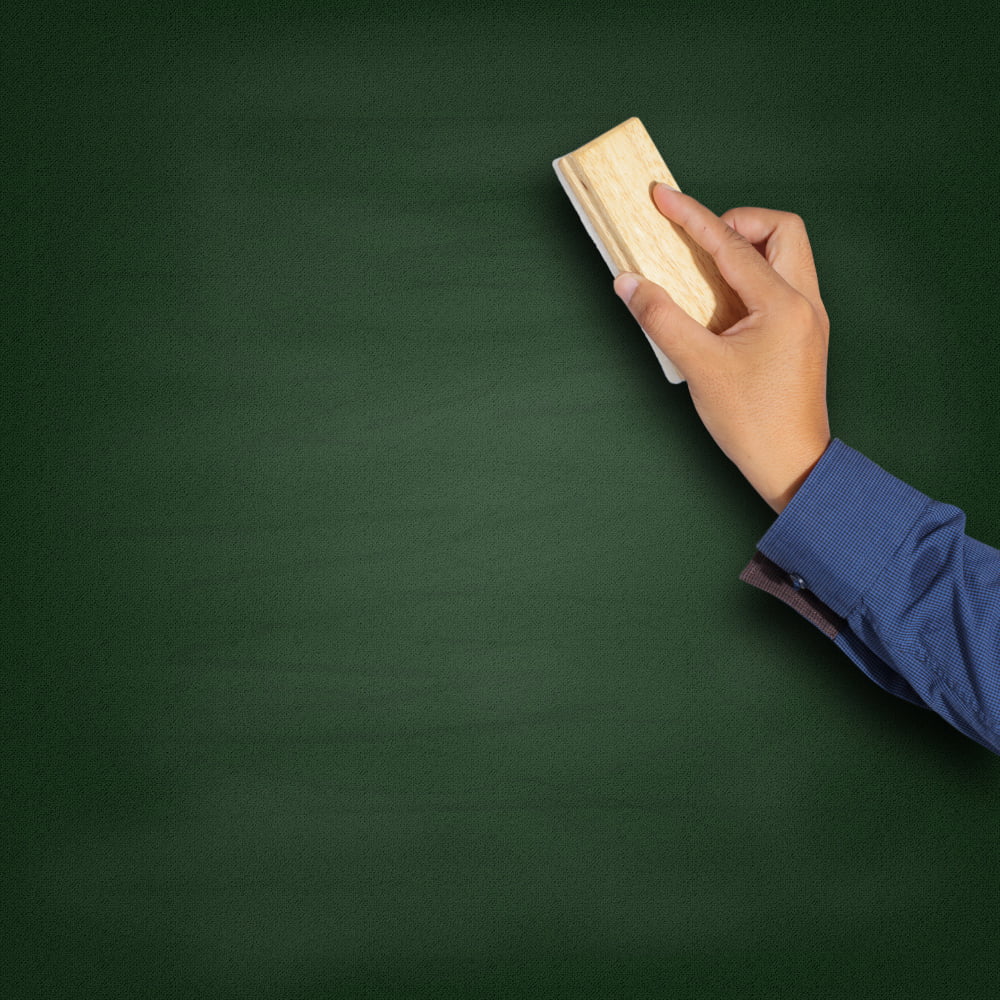
Here are some tips on how to maintain and clean your chalkboard:
- Use only soft materials: When cleaning the surface, use a soft cloth or sponge instead of abrasive materials like steel wool or rough scrubbers.
- Avoid harsh chemicals: Harsh chemicals can damage the paint and make the surface difficult to write on in the future.
- Erase regularly: Leaving chalk marks on a board for too long can cause them to become permanent stains over time, so be sure to erase regularly with a damp cloth.
- Re-season as needed: Over time, your board may lose its ability to hold onto chalk well due to frequent erasing or heavy usage; if this happens simply re-season by rubbing white school-grade chalk all over its surface then wiping off with dry paper towels before using again.
By following these simple steps you’ll ensure that your DIY Chalkboard stays looking great while providing endless opportunities for creativity!
Read More Like This
 15 Homecoming Decoration Ideas to Elevate Your Celebration
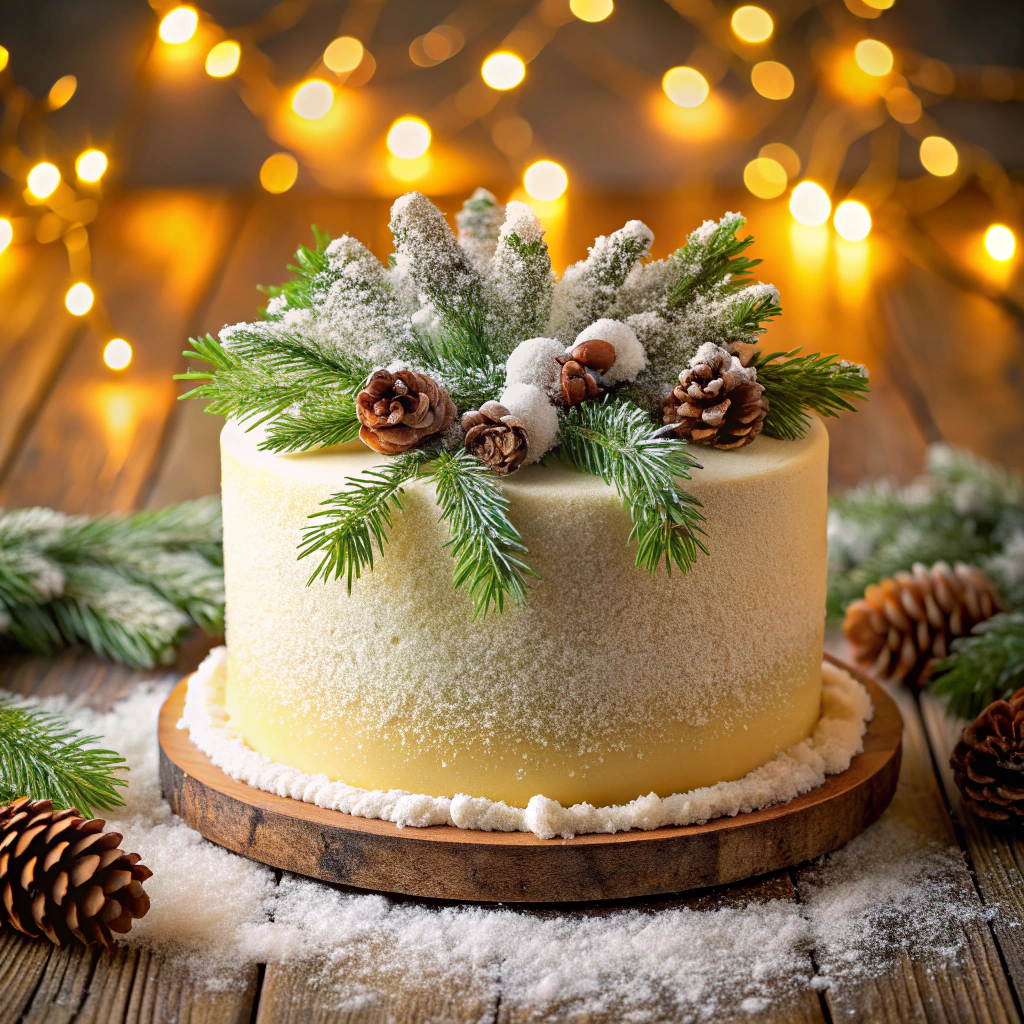 15 Christmas Cake Decorating Ideas to Sweeten Your Holidays
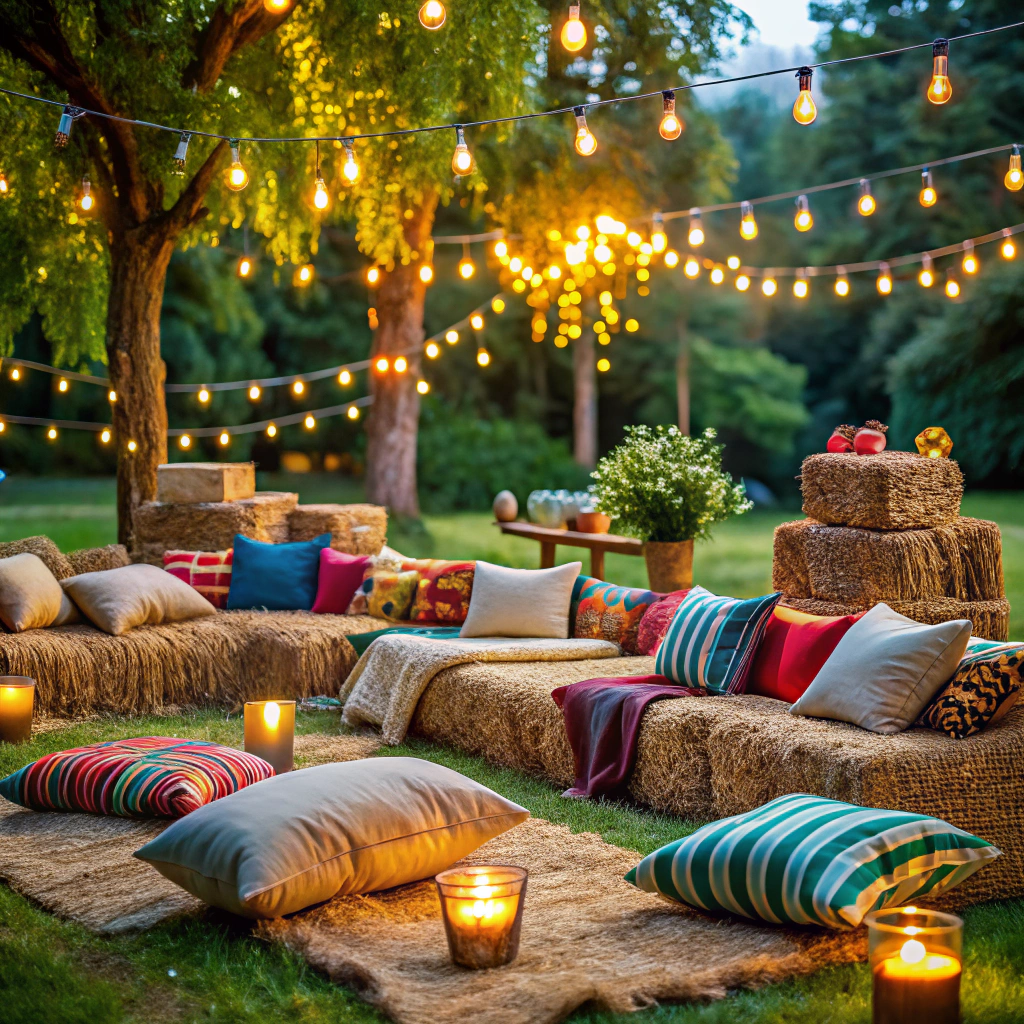 15 Outdoor Party Tent Decorating Ideas for a Magical Celebration
 15 Ideas for Welcome Home Decorations
 15 Funny Graduation Cap Ideas to Make Your Big Day Unforgettable
Recap: