Last updated on
Discover the straightforward steps to successfully install a pendant light without a junction box, transforming your space with an eye-catching lighting solution.

Are you tired of staring at your outdated light fixtures? Do you want to add a touch of elegance to your home without breaking the bank? Installing pendant lights is an easy and affordable way to elevate any room’s style. However, what happens when you don’t have a junction box in the ceiling to hang it from? Don’t worry; this doesn’t mean that you can’t install a pendant light.
In this article, I’ll show you how to install a pendant light without a junction box, so grab your tools and let’s get started!
Key takeaways:
- Pendant lights add style and functionality to any room.
- Consider the purpose and size of the pendant light.
- Gather basic hand tools and electrical supplies.
- Turn off power and take safety precautions.
- Locate the ceiling joist and install the mounting bracket.
Pendant Light Basics

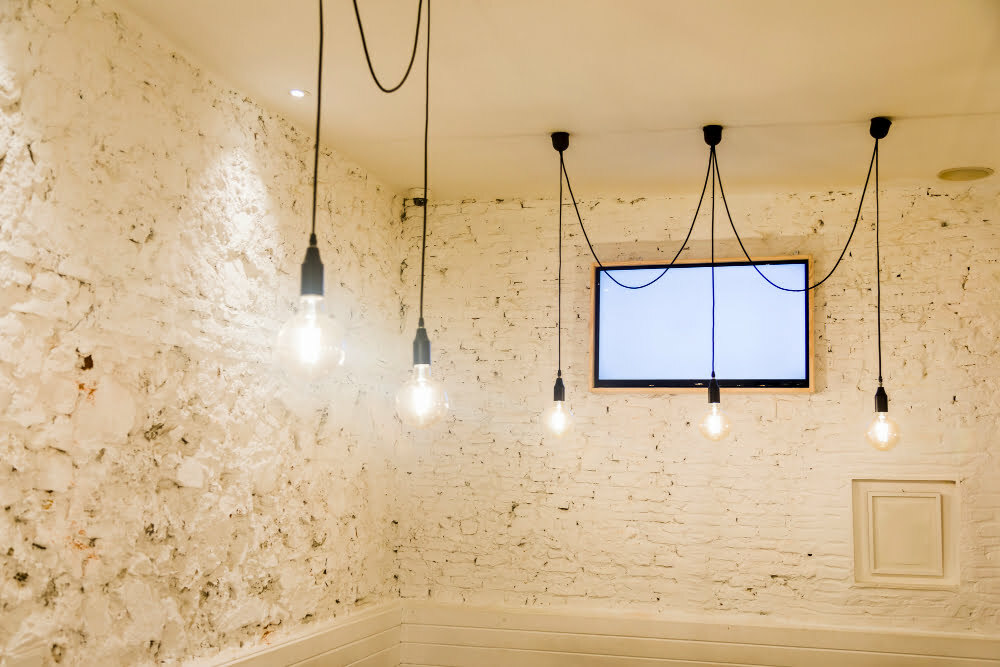
Before we dive into the installation process, let’s go over some pendant light basics. Pendant lights are a popular lighting solution that can add style and functionality to any room in your home.
They come in various shapes, sizes, and styles to fit your decor needs. Pendant lights hang from the ceiling by a cord or chain and provide direct or ambient lighting depending on their design.
When choosing a pendant light for your space, consider its purpose. Do you want it as an accent piece? Or do you need it to provide task lighting? Also, think about the size of the fixture concerning your room’s dimensions; too small will look out of place while too big may overwhelm space.
Tools and Materials

You’ll need a few basic hand tools such as a drill, screwdriver, wire stripper/cutter, pliers or wrenches. You’ll need some electrical supplies like wire connectors and electrical tape.
As for materials needed to install your pendant light without a junction box; you will require an adjustable mounting bracket that can be screwed directly into the ceiling joist or support beam. This bracket will serve as your anchor point for hanging your fixture.
You also want to ensure that you have enough wiring length from where it is mounted on the ceiling down to where it connects with your pendant light fixture itself. It’s always better to err on having too much than not enough wiring length so plan accordingly before starting this project.
Safety Precautions
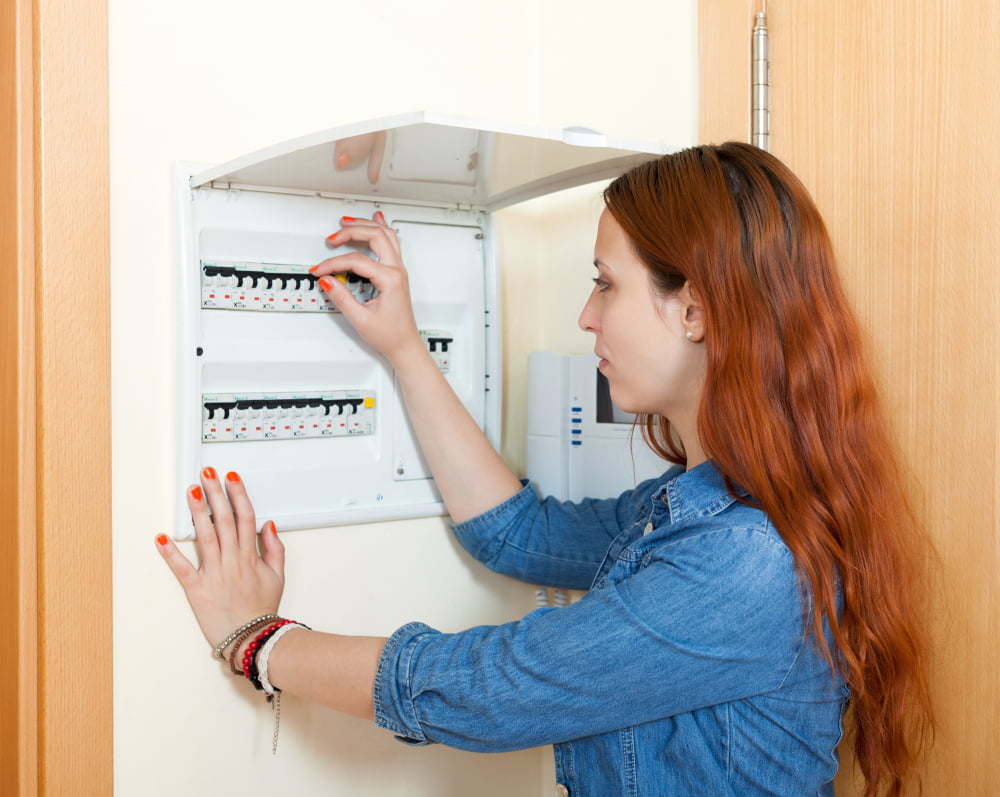
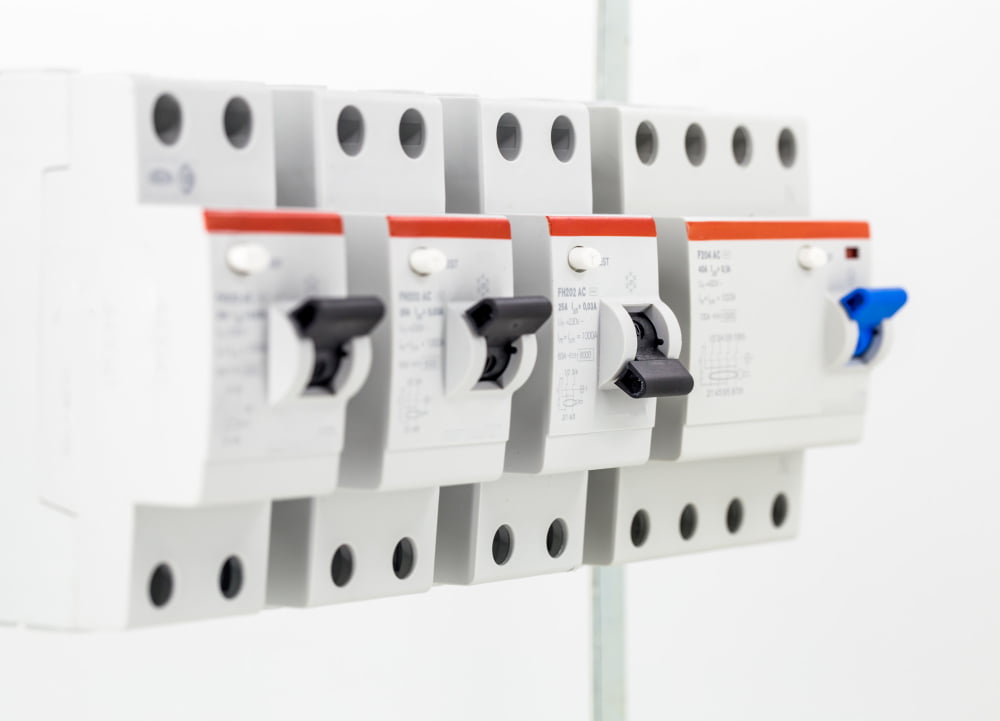
First and foremost, make sure that you turn off the power supply to the room where you’ll be working. You can do this by turning off the circuit breaker or removing the fuse from your electrical panel box.
Next, use a voltage tester to ensure that there is no electricity running through any of your wires before touching them. It’s also crucial to wear protective gear such as gloves and safety glasses while handling electrical components.
Lastly, if you’re not confident in your ability to install a pendant light without a junction box safely, don’t hesitate to call an electrician for assistance.
Locate Ceiling Joist

This will provide the necessary support for your new fixture. To do this, you can use an electronic stud finder or tap on the ceiling until you hear a solid sound indicating that there’s something behind it.
Once you’ve located the joist, mark its position with a pencil so that it’s easy to find later on. It’s important to note that if your pendant light is heavy or large, then one joist may not be enough support and additional reinforcement may be needed.
Install Mounting Bracket

The mounting bracket is a crucial component of your pendant light installation as it provides support for your fixture.
To begin, hold up the mounting bracket against the ceiling and mark where you will drill holes for screws using a pencil or marker. Make sure that these marks align with your previously marked spots on the ceiling joist.
Next, use an electric drill to make pilot holes in each of these marked spots on both sides of where you plan to attach your mountings brackets.
After drilling pilot holes into both sides of each spot, screw in bolts through one side until they are flush with their respective surfaces before repeating this process from another angle so that all four corners have been secured tightly together by screws.
Wire the Pendant Light

First, thread the wires through the center of the mounting bracket and then connect them to your electrical box’s wires using wire connectors. Make sure that you match each color-coded wire correctly: black with black (hot), white with white (neutral), and green or bare copper with green or bare copper (ground).
Next, carefully tuck all of your wiring into the electrical box while holding onto both ends of your fixture canopy. Gently push up on one side until it clicks into place before repeating this process for each remaining side.
Attach any additional hardware needed to secure everything in place before turning on power at its source again! Remember always to double-check that everything is securely fastened and connected properly before flipping any switches back on.
Secure the Fixture Canopy
The canopy is a decorative cover that hides the wiring and attaches to the mounting bracket. To install it, first, slide it over the wires and up towards your ceiling.
Next, align its holes with those on your mounting bracket before screwing them together tightly using screws provided in your kit. Ensure that all connections are tight but not too tight as this may damage or break some parts of your fixture.
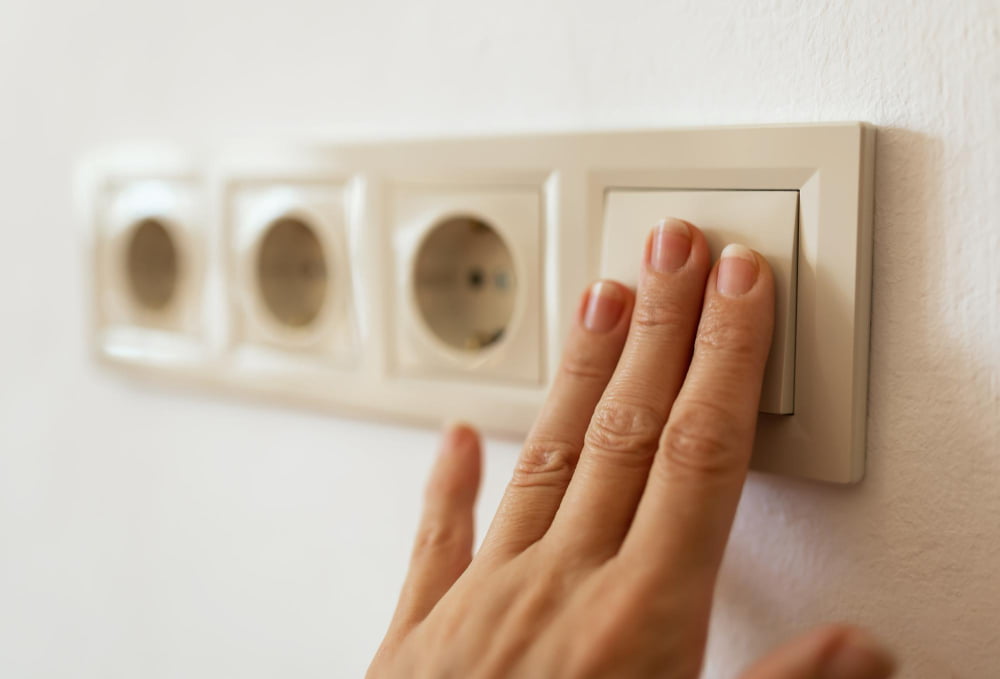
Turn on power at circuit breaker box and test if everything works correctly by flipping switch(es) connected to new pendant light(s). If there are any issues such as flickering lights or dimming when other appliances are turned on/off nearby then consult an electrician for further assistance.
Installing a pendant light without a junction box might seem daunting at first glance but following these simple steps can make all difference between success or failure!
Liked reading this? Here’s more:

Recap: