Last updated on
Discover the simple steps to transform your pendant light into a sleek flush mount, adding a modern touch to your home’s lighting design.
Are you tired of your pendant light hanging too low and getting in the way? Or maybe you just prefer the sleek look of a flush mount light fixture. Whatever your reason may be, converting a pendant light to a flush mount is easier than you might think.
In this article, we’ll walk you through the steps to transform your pendant light into a stylish and functional flush mount fixture. So grab your tools and let’s get started!
Key takeaways:
- Start by assessing your pendant light for conversion.
- Gather the necessary tools and materials for the conversion.
- Prepare for the conversion by clearing the area and turning off power.
- Detach the pendant light from its current mounting.
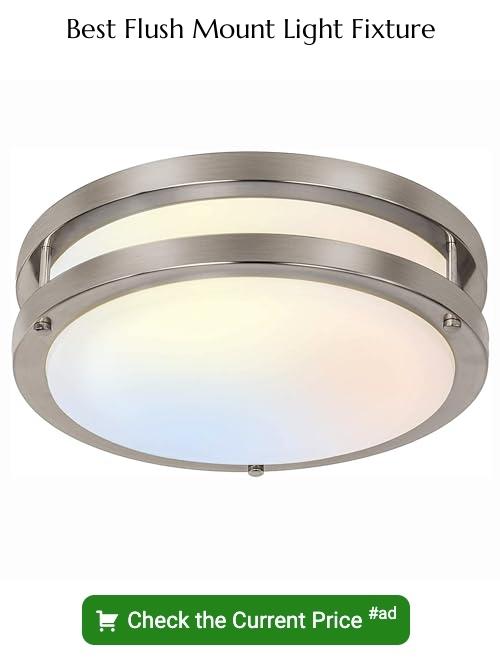
- Choose a flush mount conversion kit that suits your needs.
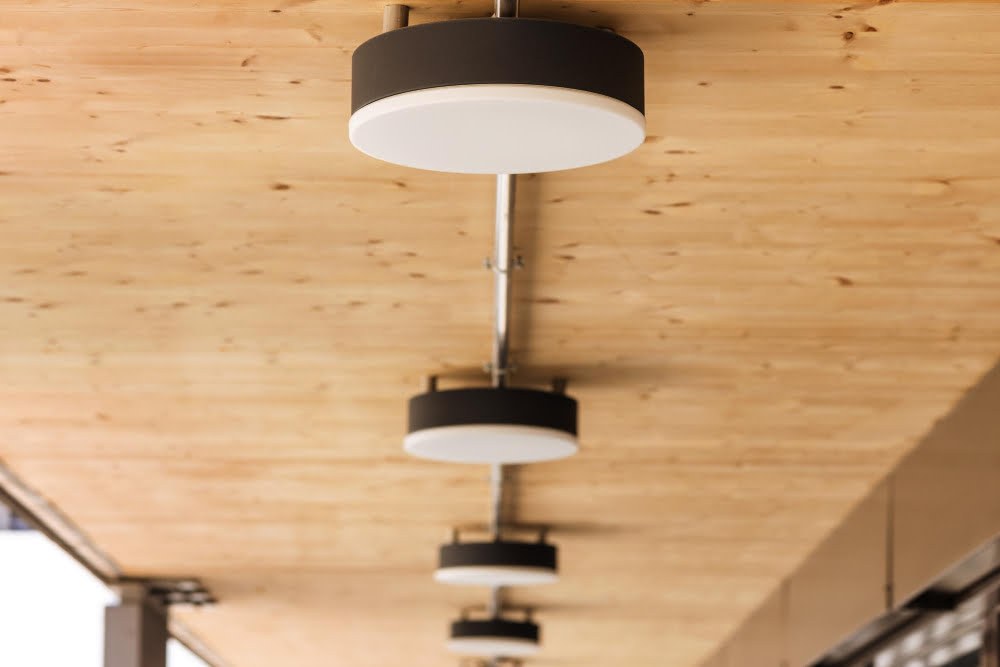
Assessing Your Pendant Light for Conversion

Start by examining the length of the cord or chain that suspends your pendant light from the ceiling. If it’s too long and would prevent a flush mount canopy from sitting snugly against the ceiling, then this may not be an ideal candidate for conversion.
Consider if there are any decorative elements on your pendant light that might interfere with its ability to sit flat against a surface. For example, if there are large glass globes hanging down below where you want to attach a new canopy cover plate, these could get in the way and make installation difficult.
Take note of how much weight is being supported by your current mounting hardware – some fixtures may require additional support when converted into flush mounts due to their size or weight distribution.
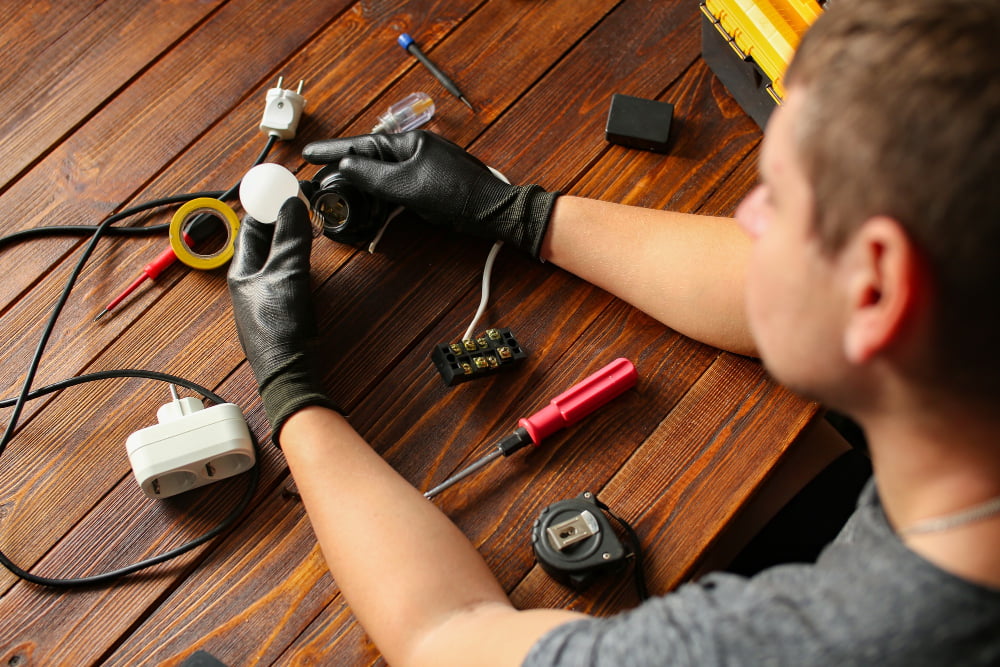
Necessary Tools and Materials

Here is a list of what you’ll need:.
1. Screwdriver – You’ll need both flathead and Phillips head screwdrivers for removing screws.
2. Wire cutters/strippers – These will be used to strip wires and cut them down if needed.
3. Voltage tester – This tool ensures that there is no electrical current running through the wires before working on them.
4. Flush mount conversion kit – This kit includes everything you need for the conversion process, including mounting hardware, canopy cover plate, wire nuts or connectors etc.
5. Ladder or step stool – Depending on how high up your pendant light fixture is installed in your home; this may require some height adjustment during installation.
6. Safety glasses- To protect eyes from any debris that might fall while working overhead.
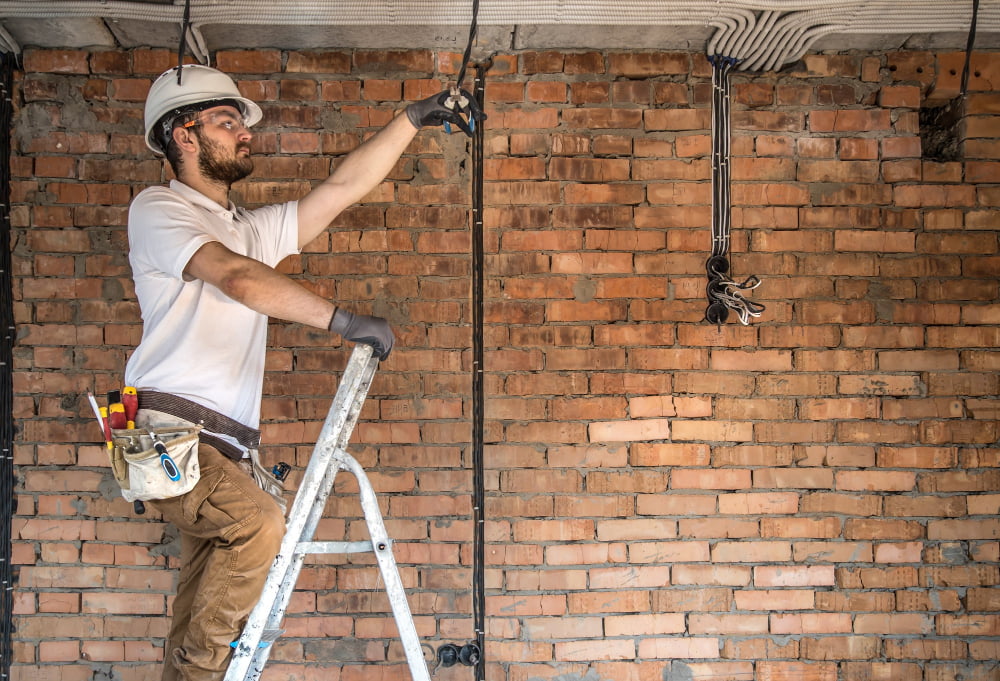
Preparing for the Conversion
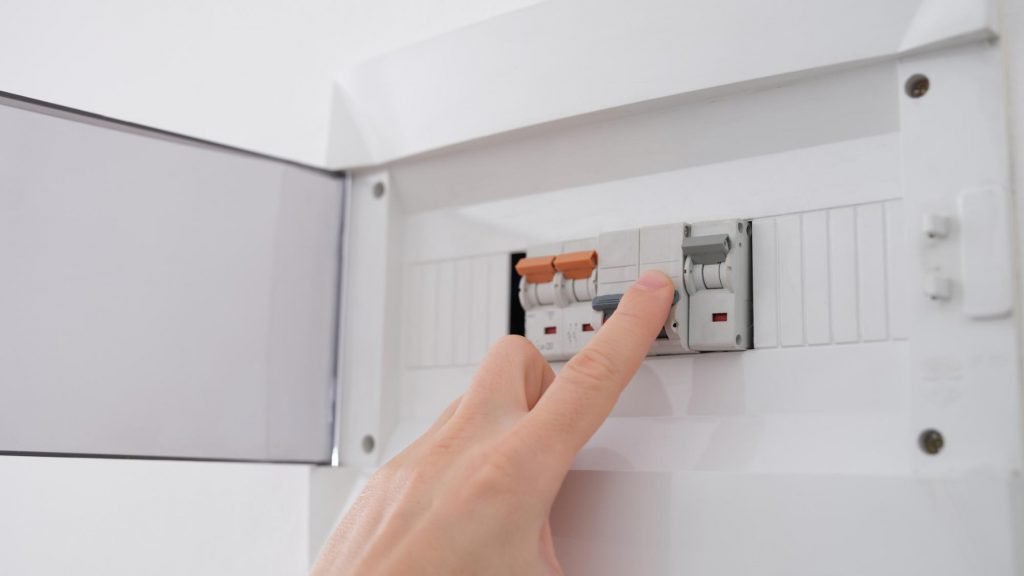
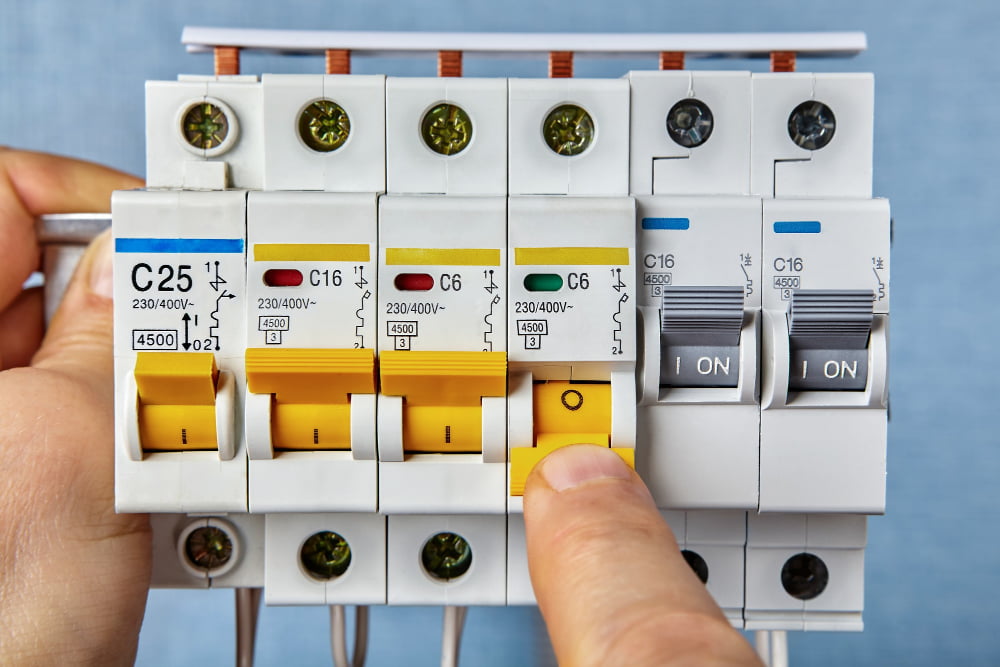
Start by clearing the area around your pendant light fixture to create a safe working environment. Next, turn off power to the fixture at the circuit breaker box or fuse panel.
To convert your pendant light into a flush mount, you’ll need several tools including wire cutters/strippers, pliers (needle-nose and regular), screwdrivers (flathead and Phillips), electrical tape, wire nuts/connectors of appropriate size for wiring gauge used in existing installation.
You will need a flush mount conversion kit that matches both the style of your current pendant light as well as its dimensions. These kits can be found at most home improvement stores or online retailers.
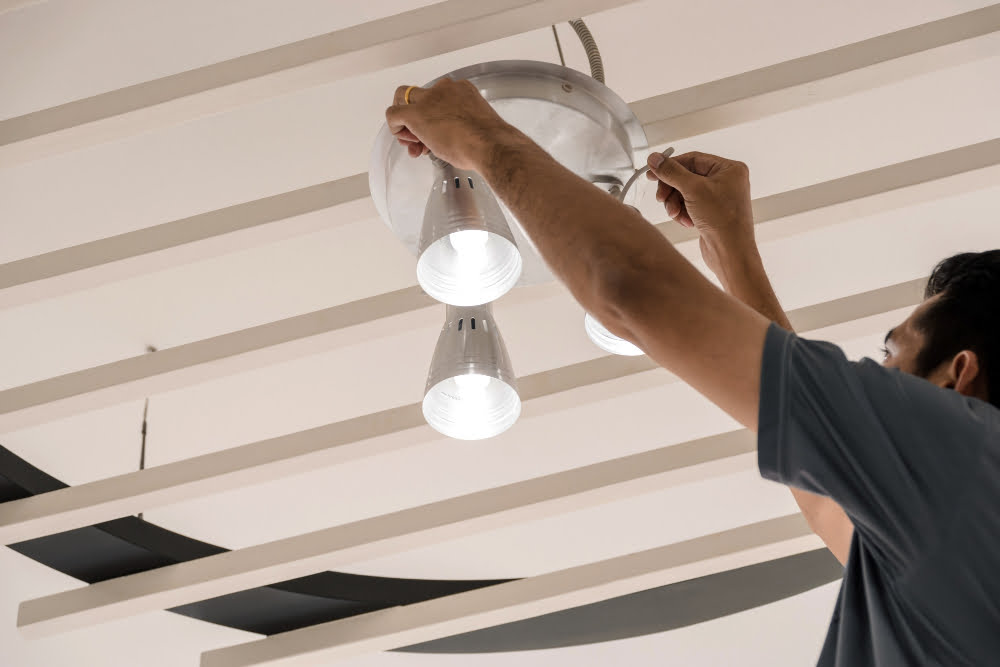
Detaching the Pendant Light
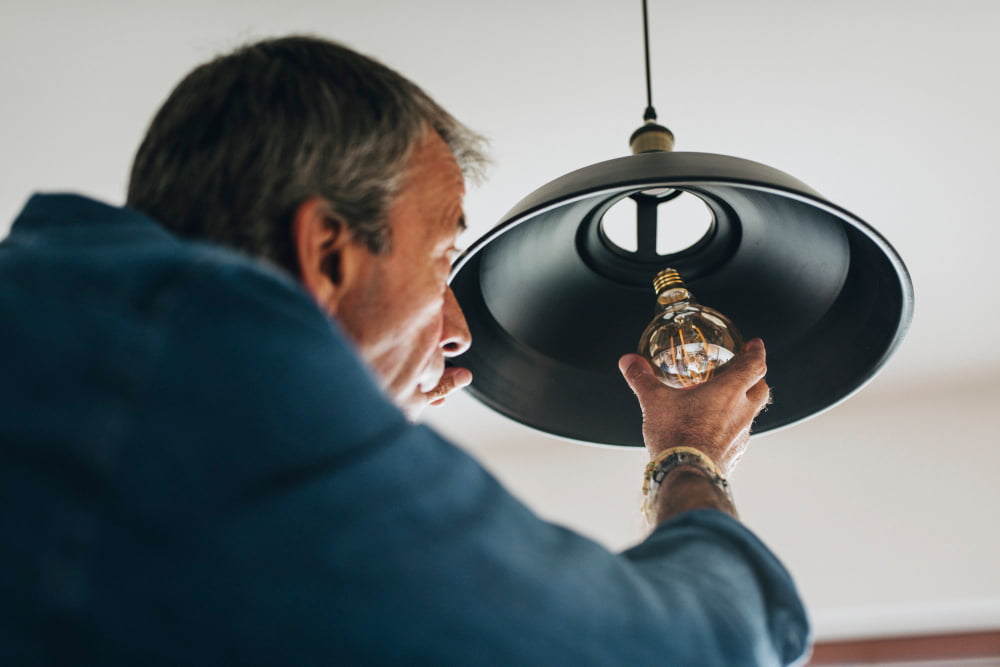
This process may vary depending on the type of pendant light you have, but generally involves removing screws or twisting off a cap that holds the fixture in place.
First, turn off power to the fixture by flipping its corresponding circuit breaker switch. Next, remove any decorative elements such as bulbs and shades from your pendant light.
Then locate and remove any screws or bolts holding it in place using a screwdriver or pliers.
If there are no visible screws holding up your fixture, check for other fasteners like clips that hold onto mounting brackets attached directly onto electrical boxes. If this is not possible either then try turning counterclockwise while pulling down gently until it comes loose.
Once detached safely lower down your old lighting system carefully so as not to damage anything below and set aside for later use if needed.
Choosing a Flush Mount Conversion Kit
There are various types of kits available in the market, so it’s essential to select one that fits your specific needs.
When selecting a flush mount conversion kit, consider factors such as size and weight capacity. Ensure that the canopy can support both your fixture’s weight and size without compromising safety or aesthetics.
Another crucial factor to consider is compatibility with electrical wiring systems. Some kits may require additional wiring adjustments or adapters for proper installation.
Lastly, choose a kit that complements your home decor style while providing adequate lighting for its intended use.
Wiring Adjustments
First, turn off the power supply to avoid any electrical accidents. Then, remove the wire nuts that connect your pendant light wires with those in your ceiling box.
Next, take a look at your flush mount conversion kit and identify its wiring instructions. Depending on which type of kit you’ve chosen (hardwired or plug-in), there may be different steps involved in making these adjustments.
If you’re using a hardwired conversion kit, strip about 1/2 inch of insulation from each wire end and twist them together according to their color codes (black-to-black; white-to-white; green/bare copper-to-green/bare copper). Secure each connection with a wire nut and wrap it tightly with electrical tape for added safety.
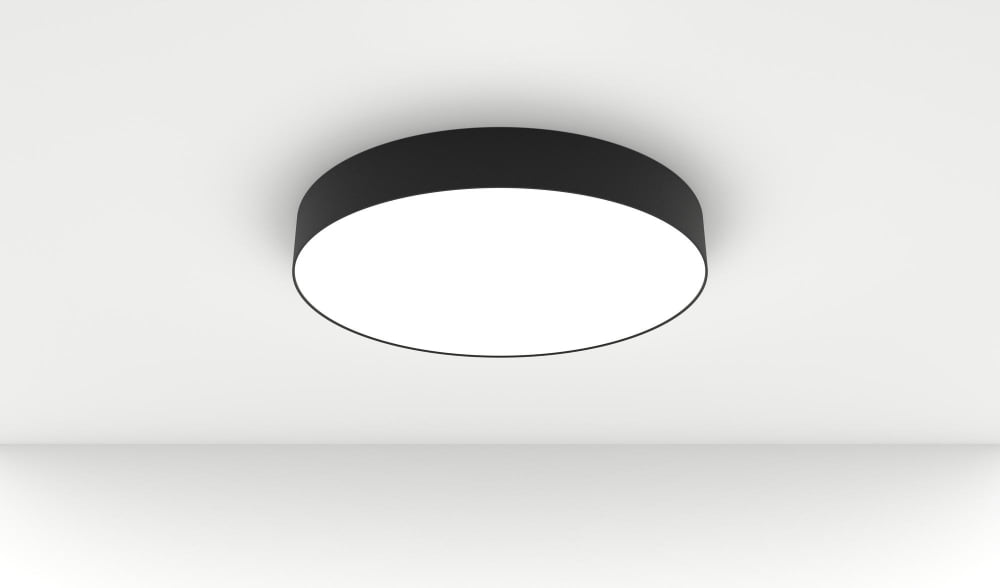
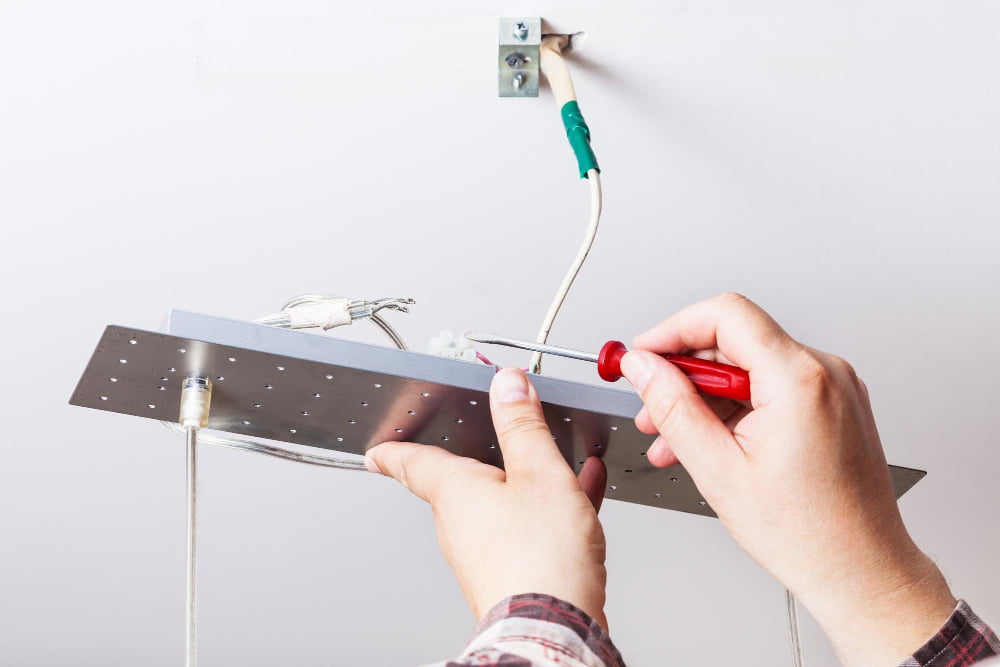
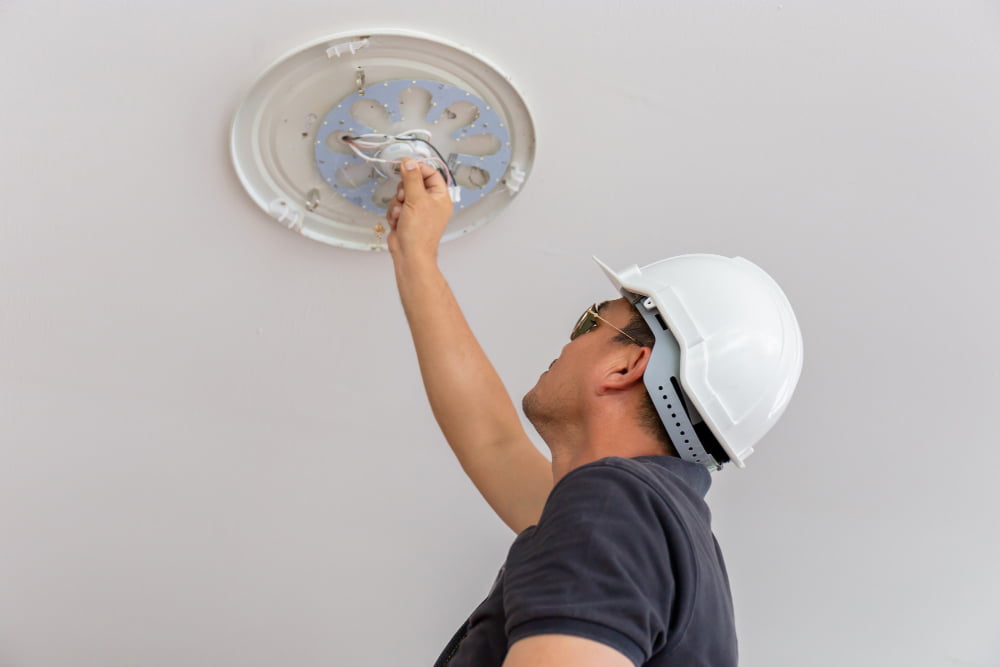
Installing the Flush Mount Canopy
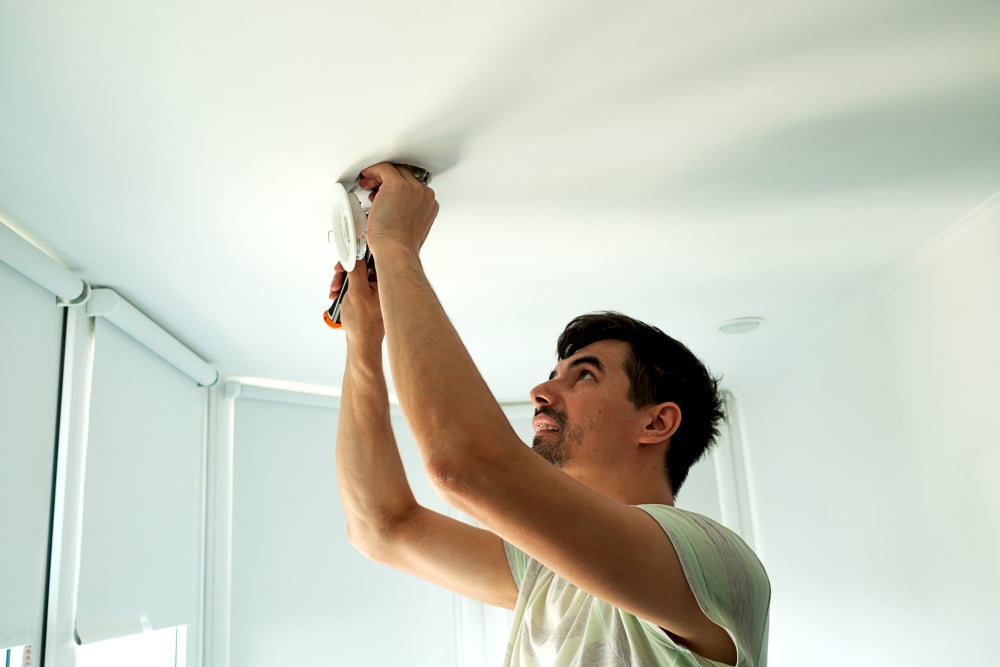
The canopy is a circular metal plate that covers the electrical box in your ceiling and provides support for your new light fixture.
To begin, turn off power to the electrical box by switching off its circuit breaker or removing its fuse. Then remove any screws or bolts holding up your old pendant light fixture and carefully lower it down.
Next, take out all of the parts from your flush mount conversion kit and locate the mounting bracket that came with it. Attach this bracket onto your electrical box using screws provided in order to secure it firmly into place.
Now attach a threaded nipple (also included in most kits) onto this mounting bracket by screwing them together tightly with pliers until they are snugly fitted together.
Slide on top of these pieces another part called “crossbar” which will hold up both ends securely while also providing an anchor point for attaching wires later on during installation process.
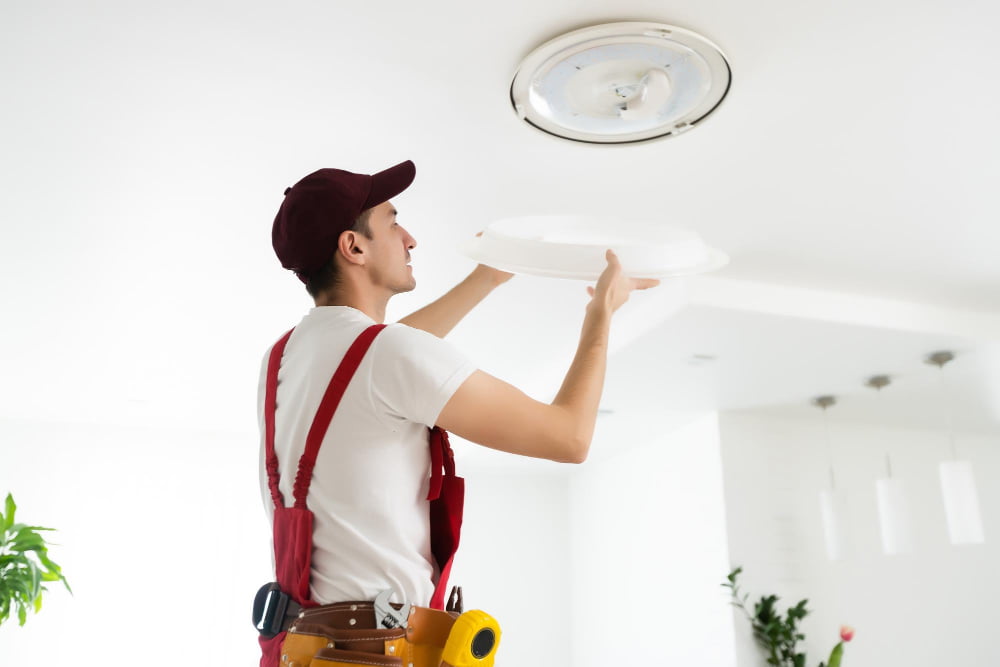
Attaching the Light to the Canopy
First, ensure that your conversion kit includes a mounting bracket for attaching the fixture to the canopy. If not, you may need to purchase one separately.
Next, align your mounting bracket with the holes on top of your flush mount canopy and secure it in place using screws or bolts provided in your kit. Once attached securely, carefully thread any wires through both brackets before connecting them together.
Gently lift up and position your light fixture onto its new home atop of its new base (the mounting bracket). Securely fasten all screws or bolts provided by tightening them until they are snug but not too tight as this could damage either component over time if done incorrectly.
Connecting the Light to the Flush Mount
First, locate the wires that are coming out of your ceiling and those from your new flush mount conversion kit. You will need to match up these wires according to their color coding: black with black, white with white and green or bare copper wire with green or bare copper wire.
To make a secure connection between these wires, use a wire connector (also known as a wire nut) by twisting them together clockwise until they are tightly connected. Make sure there is no exposed wiring visible after connecting them.
After making all necessary connections securely in place using electrical tape if needed for extra protection against any accidental disconnections during installation process before proceeding further.
Securing the Flush Mount
This step is crucial in ensuring that your new fixture stays firmly in place and doesn’t wobble or fall off. To do this, use screws or bolts provided with your conversion kit and tighten them securely into place.
Make sure that all screws are tightened evenly so that there is no uneven pressure on any one side of the fixture. If you notice any wobbling after installation, double-check each screw’s tightness until everything feels stable.
Securing a flush mount may seem like a small detail but it can make all the difference when it comes to safety and longevity of your new lighting fixture.
Reconnecting Electrical Wires
Begin by connecting the black wire from your flush mount kit to the black wire from your ceiling box and secure them together with a wire nut. Repeat this process for both white and green or bare copper wires.
It is important to ensure that all connections are tight and secure before turning on power again. Once everything is connected properly, turn on power at your circuit breaker panel and test out your new flush mount light.
If you encounter any issues during this step or throughout the conversion process, don’t hesitate to consult a licensed electrician for assistance. Safety should always be top priority when dealing with electrical wiring in any capacity.
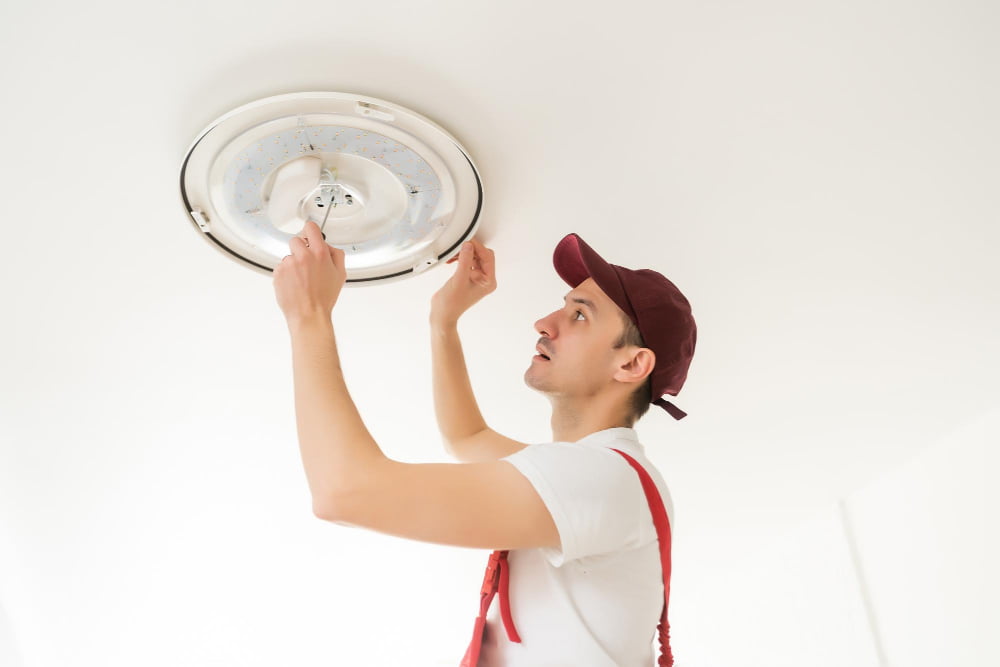
Attaching the Fixture Cover
This cover will hide any exposed wiring and give your new fixture a polished look. To attach it, simply align the holes on the cover with those on the base of your flush mount canopy and secure them together using screws or clips provided in your conversion kit.
Make sure that you have tightened all screws securely to avoid any wobbling or movement of the fixture once installed. Once attached, turn on power supply and test out if everything works properly before finishing up with clean-up.
Testing the Flush Mount
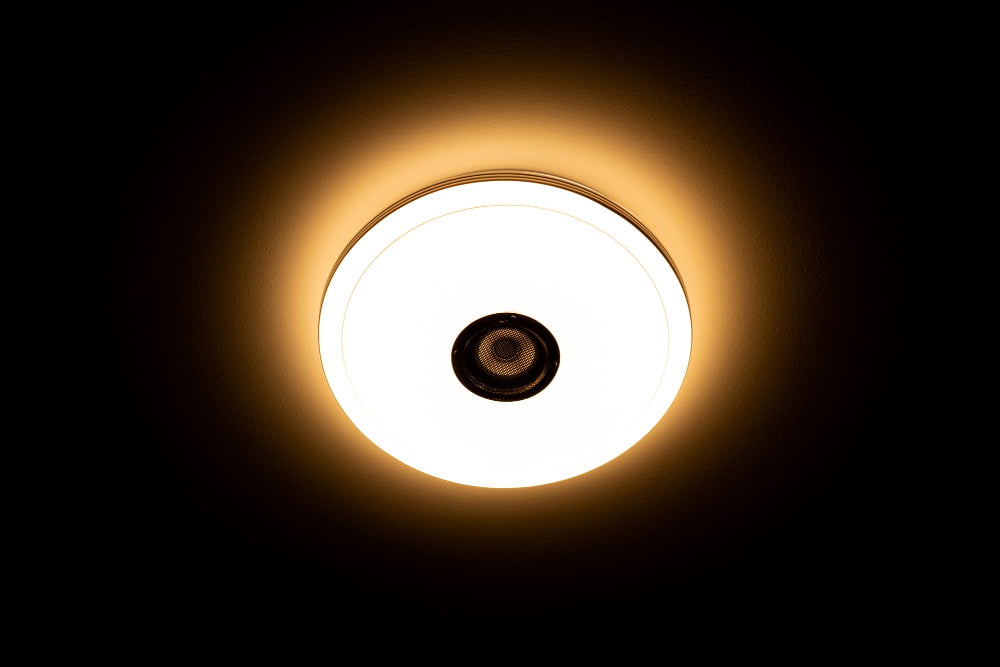
Before turning on the power, double-check that all wires are properly connected and secured in place. Once you’re confident everything is in order, turn on your circuit breaker or flip the switch to see if your new flush mount light works as expected.
If there are any issues with flickering lights or dimming problems, check for loose connections or wiring errors. If everything looks good but there’s still an issue with functionality, consult a licensed electrician for further assistance.
Testing your newly converted flush mount light ensures that it functions correctly before permanently securing it into place.
Troubleshooting Common Issues
If you encounter any issues during testing or after installation, don’t worry! Here are some common problems and solutions:.
1. Light flickers: Check that all wires are securely connected and not touching each other.
2. Light doesn’t turn on: Ensure that the power is turned on at the circuit breaker and check for loose connections.
3. Canopy won’t fit over electrical box: Make sure you have chosen a compatible conversion kit for your specific electrical box size.
4. Uneven or wobbly installation: Double-check that all screws are tightened properly and evenly distributed around the canopy.
5. Bulb burns out quickly: Verify that you’re using bulbs with appropriate wattage for your fixture’s specifications.
Pros and Cons of Converting
One of the main advantages is that a flush mount fixture can provide more headroom in rooms with low ceilings or high traffic areas. They offer a sleeker look and are easier to clean than pendant lights.
However, there are also some drawbacks to converting your pendant light into a flush mount. For example, if you have invested in an expensive or unique-looking pendant light fixture that adds character and style to your space, then removing it may not be worth it.
Another disadvantage is that once converted into a flush-mount fixture; you cannot adjust its height as per requirement like pendants which can be adjusted according to personal preference.
Ultimately whether or not conversion makes sense for you depends on several factors such as budget constraints and personal preferences regarding aesthetics versus functionality.
Alternative Lighting Options
Consider swapping out your current pendant for a shorter one or adjusting the length of the cord or chain to raise it higher. Alternatively, you could opt for a semi-flush mount fixture that still hangs down slightly but is closer to the ceiling than a traditional pendant light.
Another option is track lighting which can be adjusted and positioned in various ways depending on your needs. Recessed lights are also great alternatives as they sit flush with the ceiling and provide ample illumination without taking up too much space.
Ultimately, choosing an alternative lighting option depends on personal preference and practicality.
Safety Tips During Conversion Process
Before you begin the conversion process, make sure to turn off the power supply to your pendant light at the circuit breaker box. This will prevent any accidental electrocution or damage to your home’s electrical system.
It is important to wear protective gear such as gloves and safety glasses while handling wires and tools during the conversion process. Make sure that all of your tools are in good condition before starting work.
If you are unsure about any aspect of converting your pendant light into a flush mount fixture, do not hesitate to consult an electrician or lighting professional for assistance.
Finishing Touches and Clean-up

First, turn on the power to ensure that everything is working correctly. If there are any issues with the wiring or lighting, refer back to our troubleshooting section.
Next, tidy up any debris from drilling or cutting during installation. Use a vacuum cleaner or broom and dustpan to remove all dirt and dust particles from your work area.
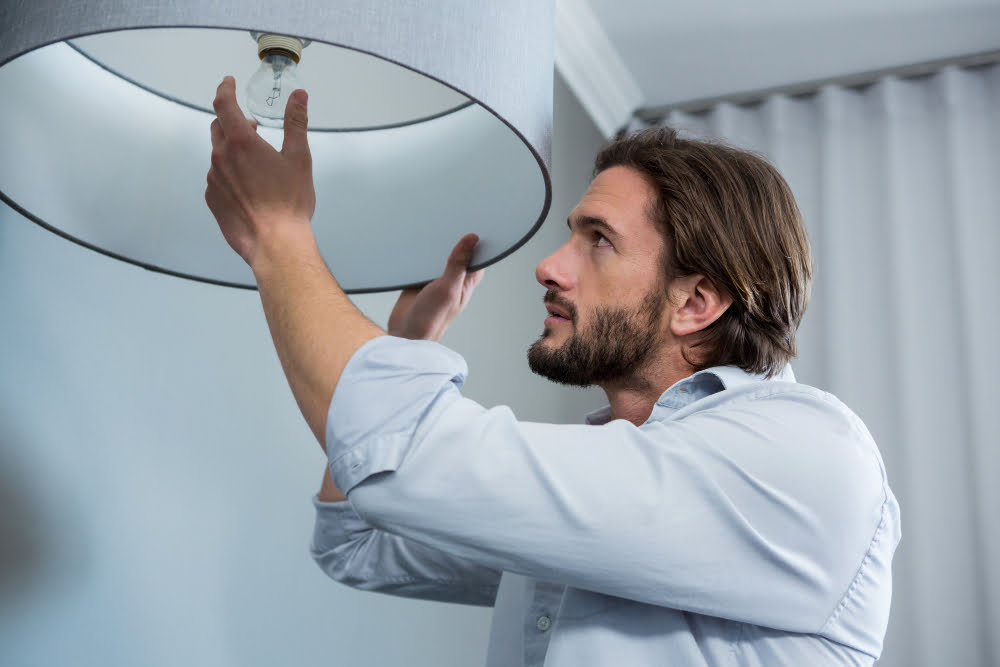
Add some personal flair by choosing decorative bulbs that complement your home decor style. You can also consider adding a dimmer switch for added ambiance control.
Final Thoughts
Not only does it save space, but it also adds an elegant touch to any room. However, before embarking on this project, ensure that you have all the necessary tools and materials required for the conversion process.
Remember to follow safety precautions when working with electrical wiring during installation. If at any point in time you feel unsure about what you are doing or encounter difficulties during installation, do not hesitate to seek professional help.
Converting a pendant light into a flush mount is an easy DIY project that anyone can undertake with proper guidance and preparation. With these simple steps outlined above as well as some patience and attention-to-detail along the way – transforming your outdated or cumbersome pendant lights into stylish new fixtures has never been easier!
FAQ
Can you replace can light with flush mount?
Yes, you can replace a can light with a flush mount using a recessed lighting converter kit along with a flathead screwdriver, wire cutters, and electrical tape.
Can you have a pendant light in a toilet?
Yes, you can have a pendant light in a toilet, provided it has the correct IP rating and is suitable for bathrooms with high ceilings.
Is it possible to adjust the length of a pendant light to make it suitable for a flush mount conversion?
Yes, by adjusting the length of a pendant light, it can be made suitable for a flush mount conversion.
What tools and materials are required to successfully convert a pendant light to a flush mount?
To successfully convert a pendant light to a flush mount, the required tools and materials include a flush mount conversion kit, screwdrivers, wire strippers, wire nuts, and a power drill.
Are there any safety precautions to consider when converting a pendant light to a flush mount?
Yes, ensure the power supply is turned off and the fixture is properly supported to prevent accidents during the conversion process.
Read More Like This
 15 Funny Graduation Cap Ideas to Make Your Big Day Unforgettable
 15 Unique DIY Christmas Decorations Ideas for a Festive Home
 15 Creative Science Fair Board Ideas to Amaze Your Audience
 15 Handmade Envelope Decoration Ideas for Creative Gifting
 10 DIY Gifts for the Whiskey Lover in Your Life
Recap: