Last updated on
Discover the simple steps to successfully install a pendant light shade, transforming your space with an elegant and functional touch.
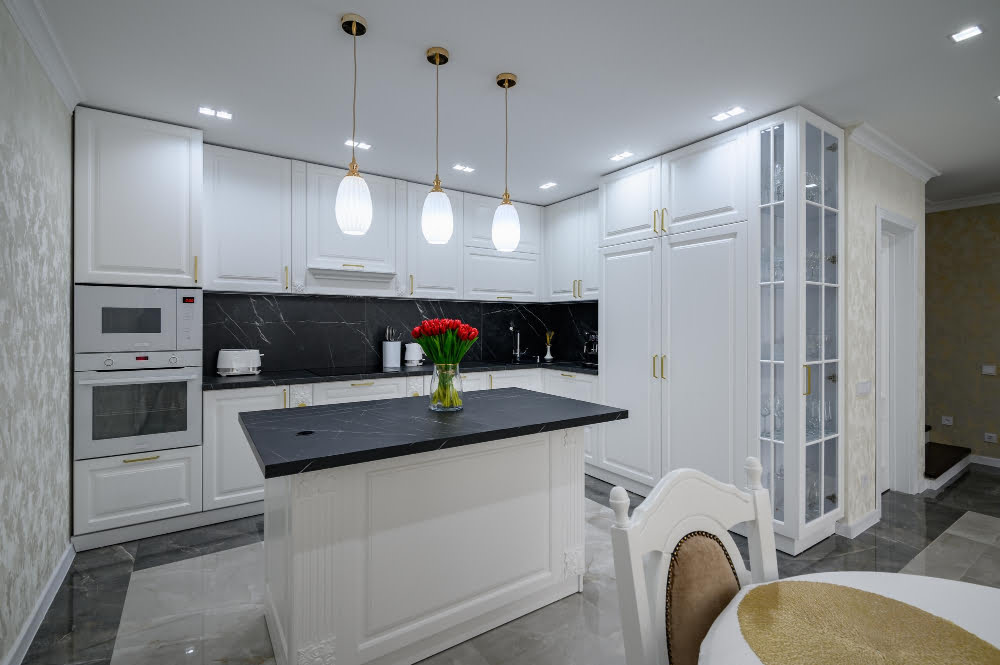
Pendant lights are a great way to add a touch of elegance and style to any room. They come in various shapes, sizes, and designs, making it easy to find one that complements your decor.
However, before you can enjoy the beauty of your new pendant light, you need to know how to install it properly. In this article, we’ll take you through the steps on how to install a pendant light shade like a pro.
Whether you’re a DIY enthusiast or just looking for some guidance on how to get started with installing pendant lights, this guide has got you covered! So let’s dive in and get started!
Key takeaways:
- Choose a pendant light shade that complements your decor.
- Select a shade that matches the style of your room.
- Gather the necessary tools and materials before starting the installation.
- Clear the workspace and turn off the power before beginning.
- Test the pendant light installation to ensure it is working properly.
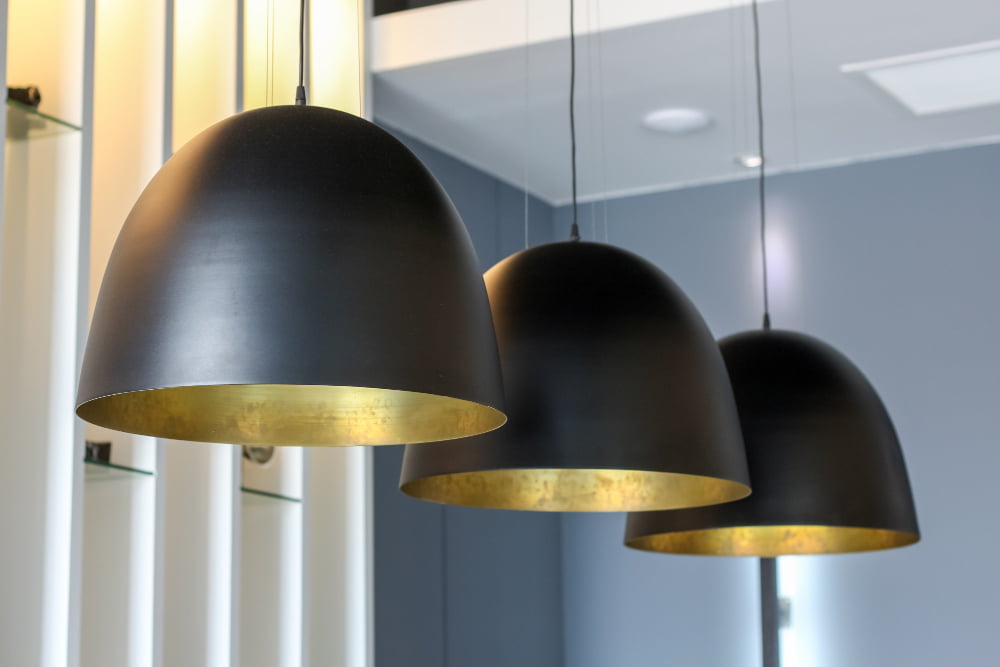
Choosing the Right Pendant Light Shade
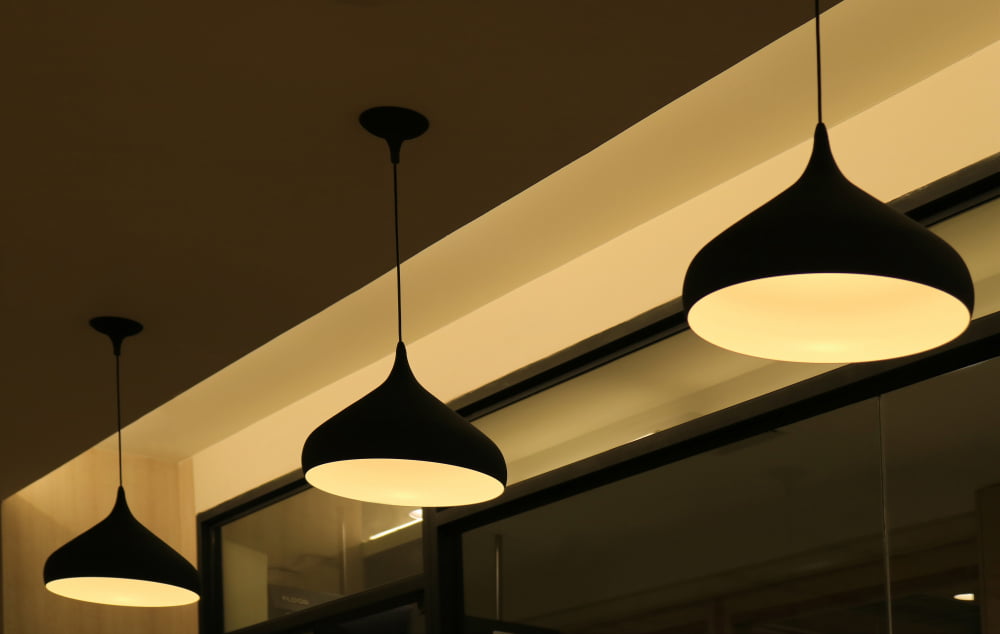
First and foremost, you want to make sure that the style of your pendant light complements your existing decor. If you have a modern or minimalist space, then a sleek and simple design may be more appropriate.
On the other hand, if your home has more traditional or rustic elements, then an ornate or textured shade might be better suited.
Another important factor is size – both in terms of height and width. You don’t want your new pendant light shade to overpower the room nor do you want it too small that it looks out of place.
Consider where in the room will this fixture go? Is there enough clearance for people walking underneath? Will it provide adequate lighting?
Lastly but not least is color; choose colors that complement each other rather than clash with one another.
Selecting a Pendant Shade
First and foremost, you want to choose a shade that complements the style of your room. If you have a modern decor theme, then go for shades with clean lines and minimalist designs.
On the other hand, if your space has more traditional or rustic elements, then opt for shades made from natural materials like wood or rattan.
Another important consideration is the size of your pendant light shade. You don’t want it too small that it gets lost in the room nor too large that it overwhelms everything else in sight! A good rule of thumb is to measure both the height and width of your space before choosing a size.
Tools and Materials Required

Here is a list of what you’ll need:.
- Wire cutters/strippers
- Screwdrivers (flathead and Phillips)
- Pliers
- Voltage tester
- Ladder or step stool (if needed)
- Pendant light kit with shade included
- Wire connectors
Make sure that you have all these items on hand before starting the installation process to avoid any delays or interruptions in your work.
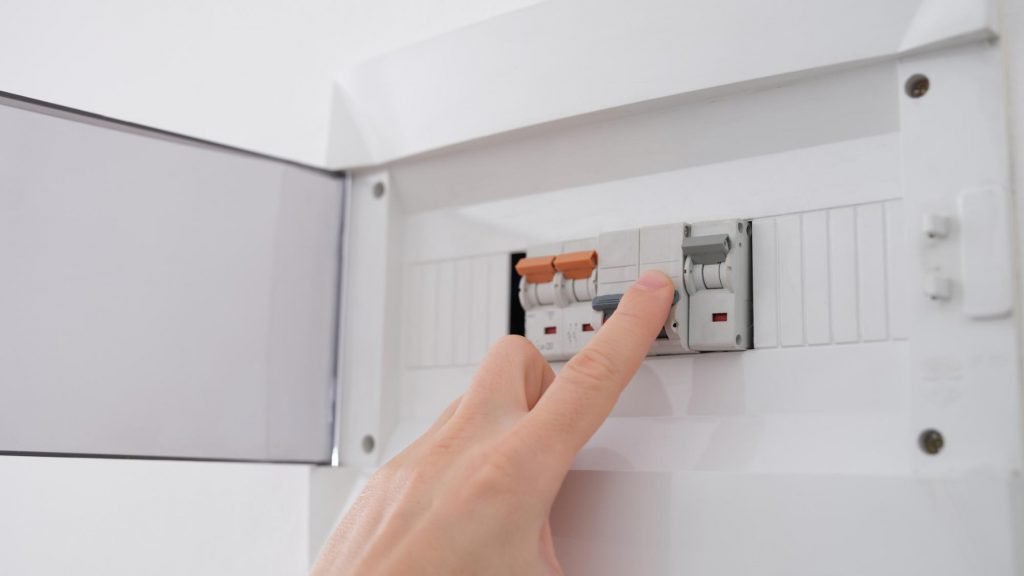
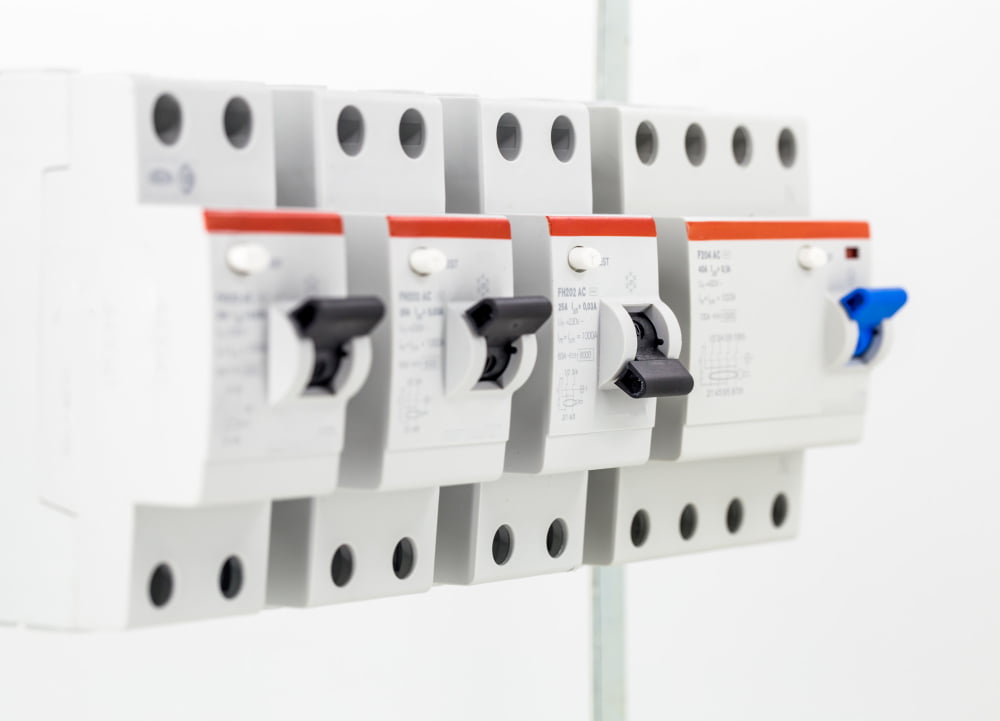
It’s also essential to ensure that all electrical power sources are turned off before beginning any work on wiring fixtures, so be sure to turn off the circuit breaker for safety purposes.
Preparing the Workspace
This will ensure that you have everything you need within reach and that the area is safe for working.
Firstly, clear out any furniture or objects from underneath where you’ll be working. You don’t want anything getting in your way or potentially falling on top of you while installing the light fixture.
Next, turn off power to the room by switching off its circuit breaker at your home’s electrical panel. Use a voltage tester to confirm there is no electricity flowing through wires before proceeding with installation.
Gather all necessary tools and materials such as wire strippers/cutters, pliers/screwdrivers (flathead/Phillips), electrical tape/wire nuts/connectors/splices/junction boxes if needed depending on wiring configuration etc., ladder/stool if required for reaching high ceilings etc., so they are easily accessible when needed during installation process.
Safety Precautions and Tips
First and foremost, make sure that the power is turned off at the circuit breaker or fuse box before beginning any electrical work. This will prevent any accidents from occurring while you’re working on the wiring.
It’s also a good idea to wear protective gear such as gloves and safety glasses when handling tools or working with electricity. If you’re not comfortable with electrical work or don’t have experience in this area, consider hiring a professional electrician to do the job for you.
Another important tip is to read all instructions carefully before starting installation. Make sure that all parts are included and that they match what is listed in the instructions manual.
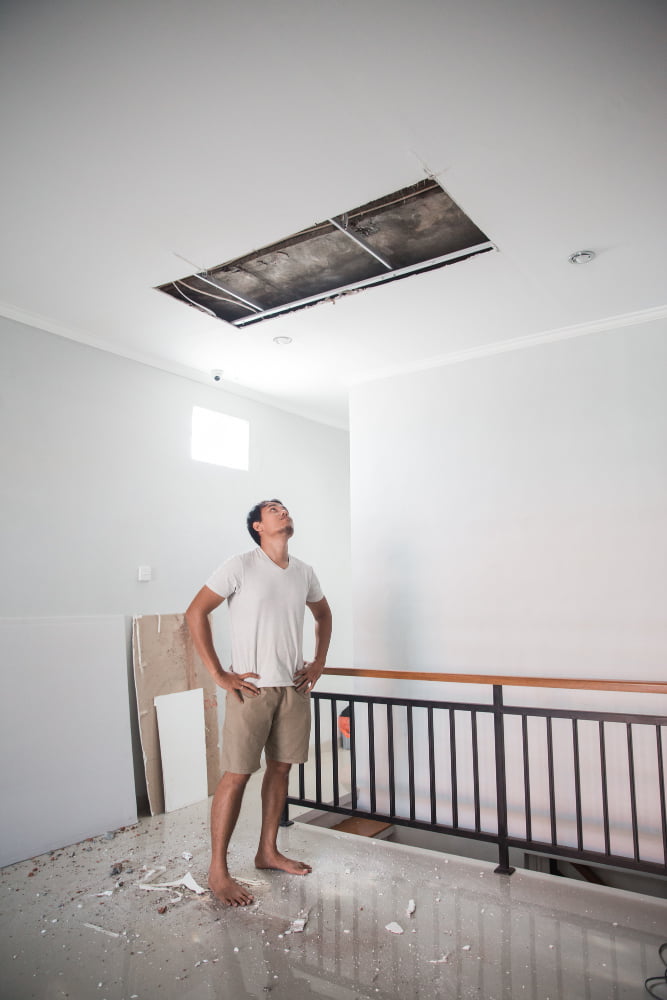
Removing the Old Light Fixture
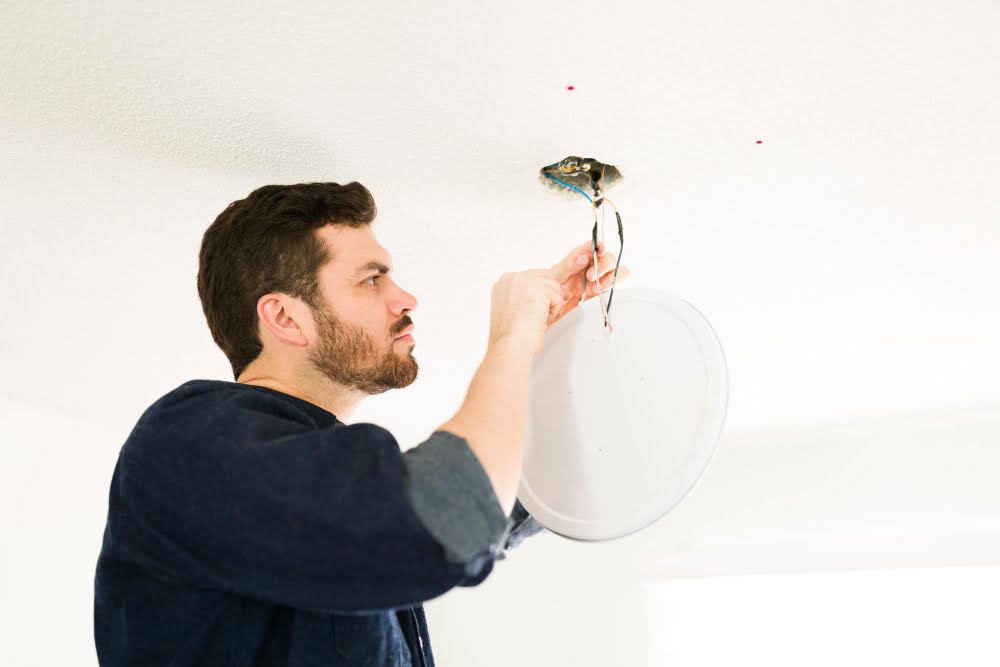
This step is crucial as it ensures that the wiring and electrical connections are safe and secure. To begin, turn off the power supply to the existing light fixture by switching off its circuit breaker in your home’s electrical panel.
Next, remove any screws or bolts holding up the old fixture using a screwdriver or pliers. Carefully detach any wires connecting it to your ceiling’s electrical box by unscrewing wire nuts and separating them from each other.
Once all wires have been disconnected from both ends (the ceiling box and old fixture), gently lower down on one side of its mounting bracket until it comes free completely before removing entirely from above where they were attached previously.
Assembling the Pendant Light Shade
Before starting, make sure that you have all the necessary tools and materials at hand. Typically, pendant light shades come with a set of instructions that guide you through the assembly process step by step.
Start by laying out all parts on a flat surface and identifying each component as per the manufacturer’s instructions. Next, attach any brackets or screws required to hold together different pieces of your shade.
If there are multiple components in your pendant lightshade kit such as wires or chains for hanging purposes then ensure they are properly attached before proceeding further with assembling other parts.
Wiring the Pendant Light
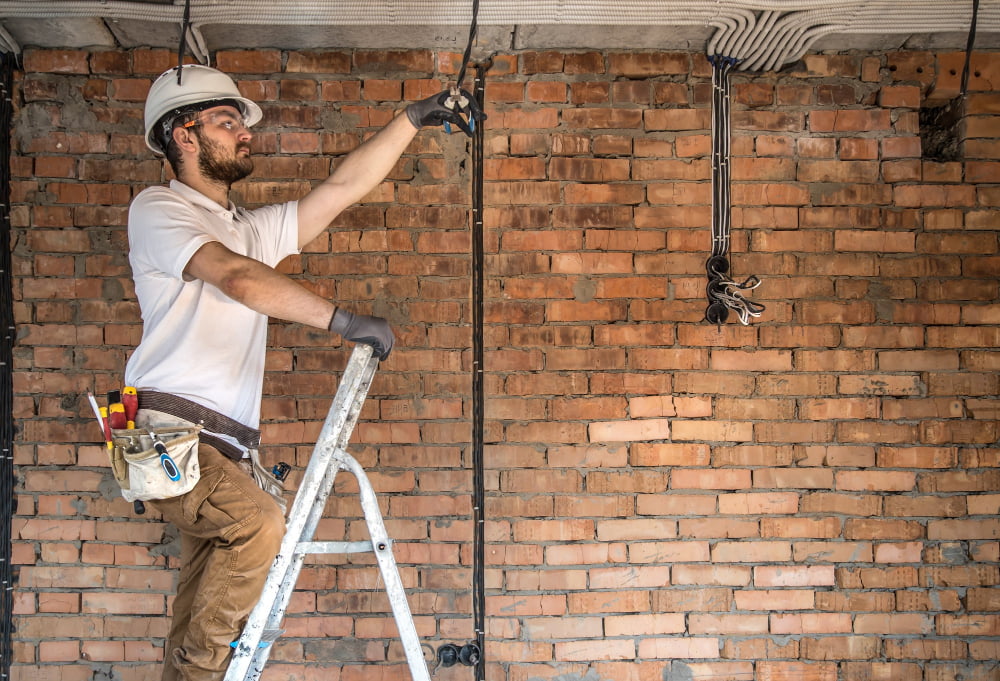
Before starting this process, ensure that the power supply to the room is turned off at the circuit breaker. This will prevent any electrical accidents from occurring during installation.
The first thing you need to do when wiring a pendant light shade is to strip about half an inch of insulation from each wire in your fixture’s cord set using a wire stripper or scissors. You should see two wires: one with ribbing and one without.
Next, take note of which color corresponds with which terminal on your ceiling box (usually black for hot and white for neutral). Connect these wires by twisting them together clockwise and securing them with a wire nut.
Then connect each corresponding colored cord set wire (ribbed or smooth) by twisting them together clockwise as well before securing again using another twist-on connector cap until all connections are made securely.
Tuck all connected wires into their respective boxes carefully so they don’t get pinched between anything else during installation.
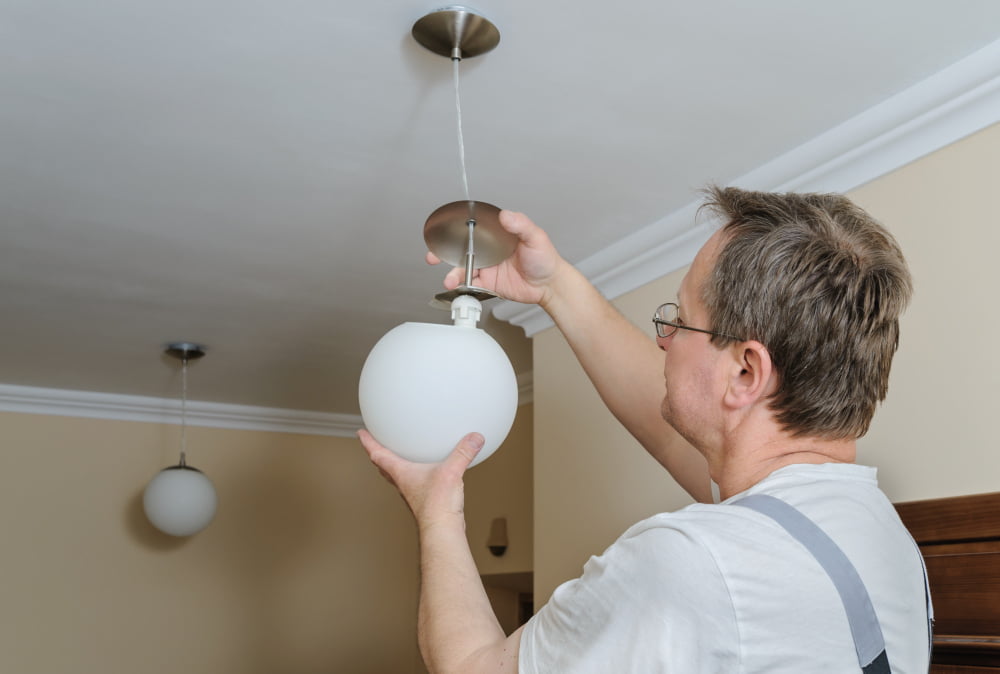
Attaching the Pendant Light to the Ceiling
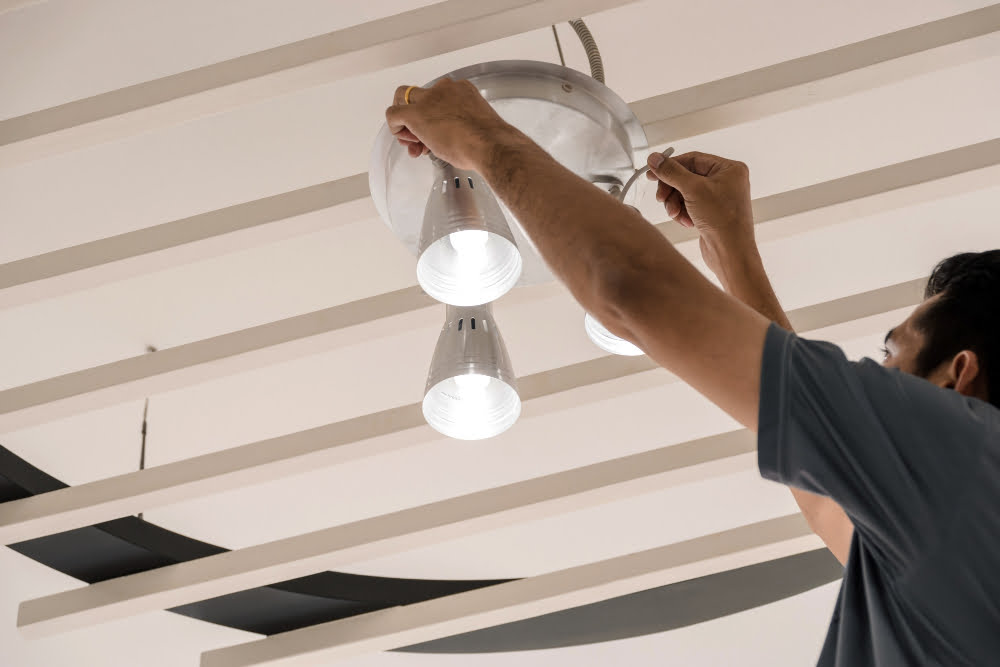
Before doing so, make sure that all wires are properly secured and tucked away in the electrical box. Next, take your pendant light fixture and align its mounting bracket with the screws on your electrical box.
Using a screwdriver or drill (depending on what is recommended by your manufacturer), secure each screw tightly until they are flush against both surfaces. Make sure that everything is level before tightening completely.
If you’re installing a heavier fixture or one with multiple pendants attached together, be sure to use additional support such as toggle bolts or anchors for added stability.
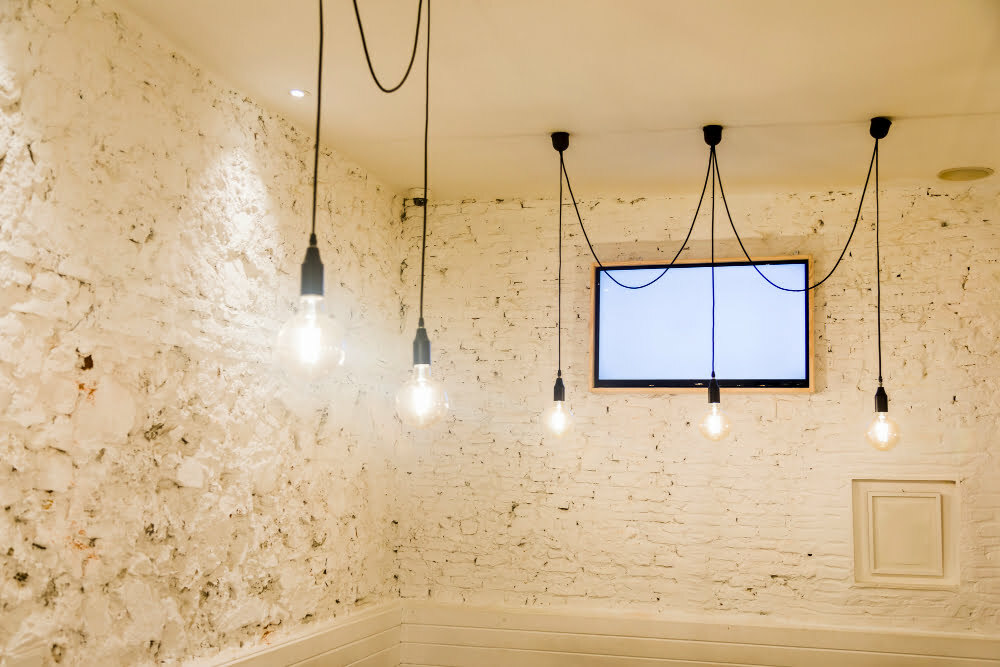
Adjusting the Length of the Pendant Light
The length of your pendant light will depend on various factors such as the height of your ceiling, furniture placement, and personal preference. To adjust the length of your pendant light shade:
1. Determine how long you want it to be: Before adjusting anything, decide how long or short you want your pendant light shade to hang.
2. Adjusting with a chain: If there is a chain included in your installation kit, use pliers or wire cutters to remove any excess links until you reach the desired length.
3. Adjusting with cord sleeves: Some installations come with cord sleeves that allow for easy adjustment by sliding them up or down along cords until they reach their desired position.
4. Shortening wires/cords: If neither option works for adjusting height properly then shorten wires/cords using wire strippers before attaching them back together again securely using connectors provided in installation kit.
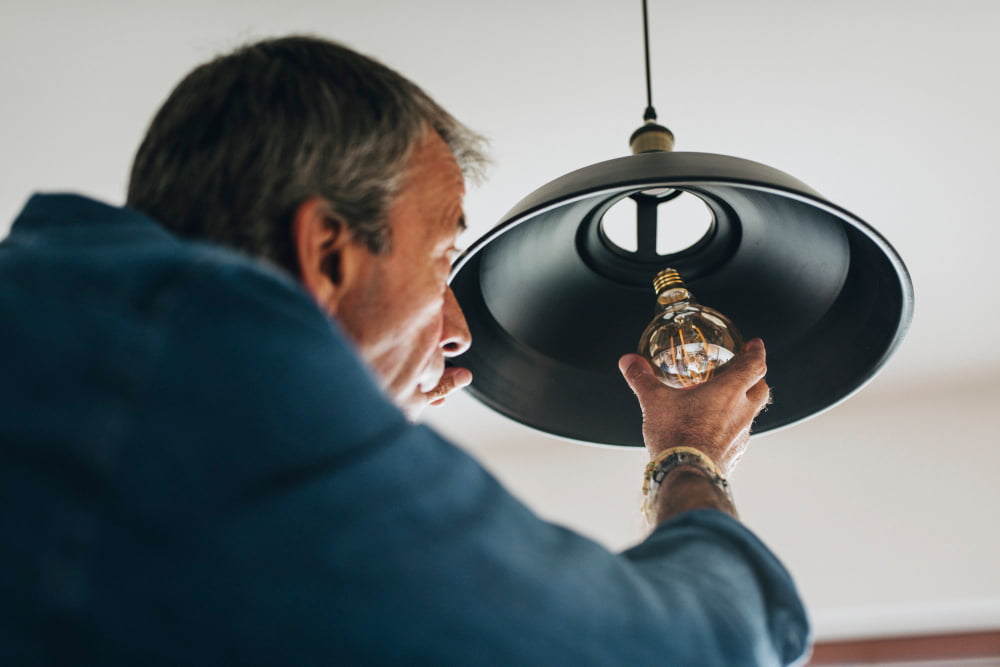
Choosing Light Bulbs
First and foremost, make sure that the bulb is compatible with your fixture. Check the manufacturer’s instructions or consult an electrician if you’re unsure.
Next, think about the brightness level and color temperature of the bulb. Do you want warm or cool lighting? Soft or bright? Consider how much natural light enters your room and what activities take place in that space when selecting a bulb.
Consider energy efficiency when choosing bulbs. LED lights are more expensive upfront but last longer than traditional incandescent bulbs while using less energy over time.
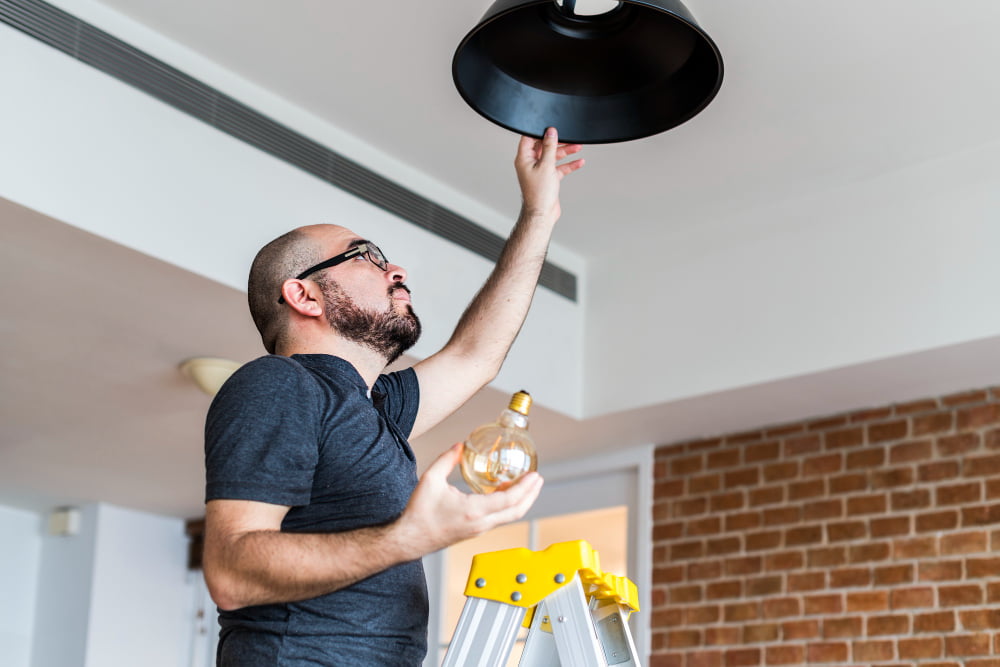
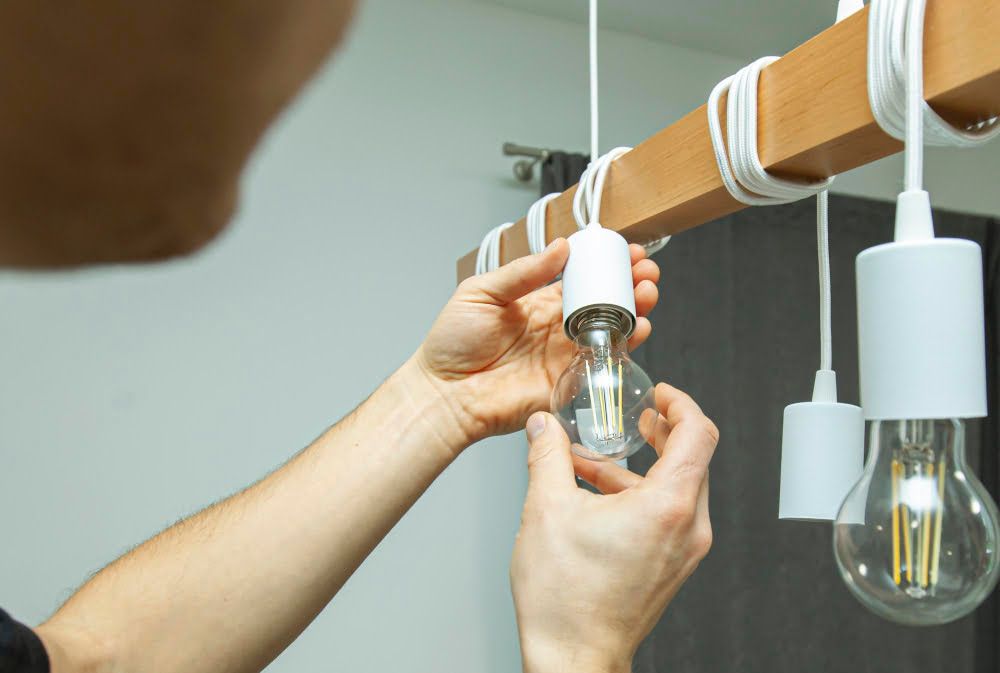
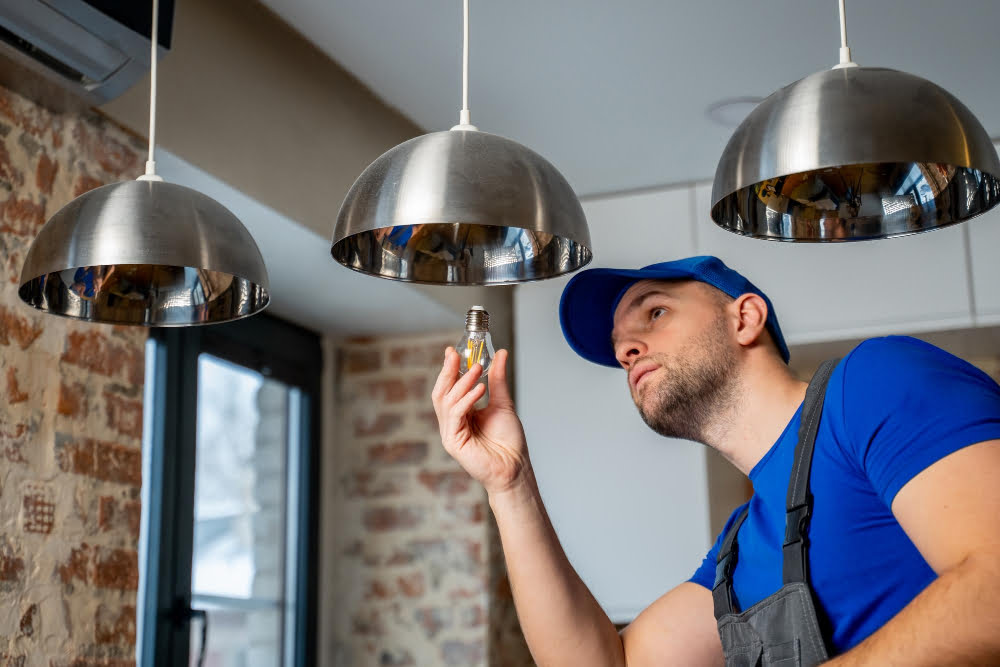
Installing the Light Bulb
Before doing so, make sure that your hands are dry and clean to avoid any accidents or damage to the bulb. It is also important to choose a compatible bulb for your pendant light shade as recommended by its manufacturer.
To install the light bulb, simply screw it into place in a clockwise direction until it is snugly fitted into position. Avoid over-tightening as this can cause damage or breakage of both the fixture and/or bulbs.
If you’re installing multiple bulbs in one fixture, ensure they are all of equal wattage rating for even lighting distribution throughout space. Once installed correctly, turn on power supply at circuit breaker box and test if everything works properly before finishing up with post-installation care procedures such as cleaning up debris from workspace area etc.
Testing the Pendant Light Installation
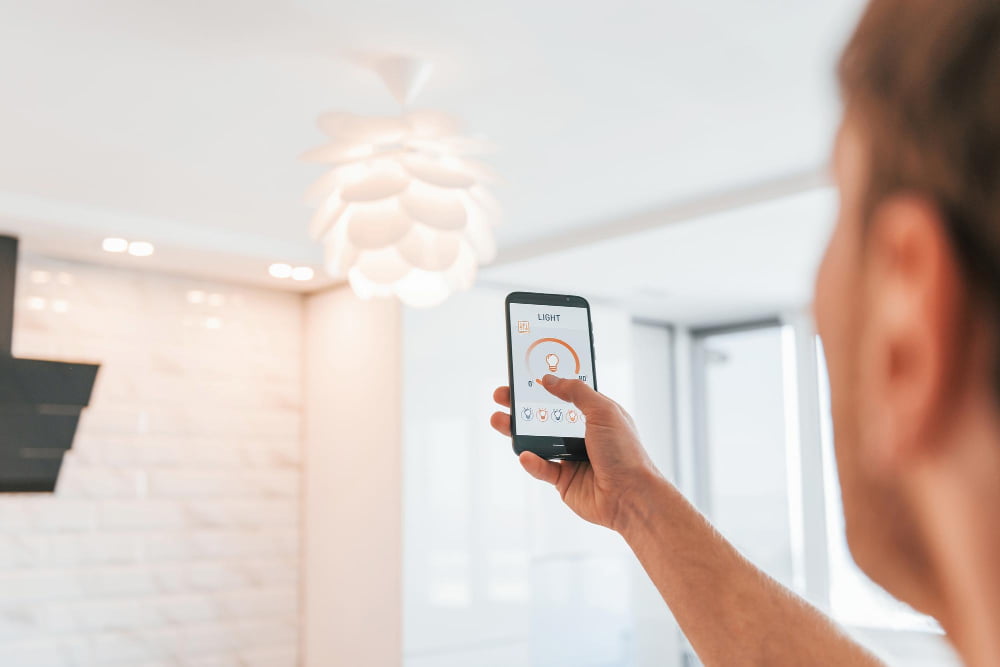
Turn on the power and switch on the light to ensure that everything is working correctly. If there are any issues with flickering or dimming lights, check that all connections are secure and tight.
If everything looks good, adjust the length of your pendant light as needed for optimal lighting in your space. Remember to choose a bulb that complements both your fixture and room decor.
It’s always a good idea to double-check all connections before finishing up with post-installation cleanup.
Troubleshooting Common Issues
One of the most common problems is flickering lights, which could indicate a loose connection or an issue with the wiring. To fix this problem, ensure that all connections are tight and secure.
Another issue you might face is uneven lighting or shadows caused by an improperly installed pendant light shade. This can be fixed by adjusting the height of your fixture to ensure it’s level and centered in the room.
If your pendant light isn’t turning on at all after installation, check to make sure that it’s properly wired and connected to a power source. If everything seems fine but there’s still no power going through, consider calling in a professional electrician for assistance.
Maintenance and Care
Regular cleaning will help keep the fixture looking its best and ensure that it functions correctly. To clean your pendant light shade, simply wipe down the surface with a soft cloth or duster on a regular basis.
Avoid using harsh chemicals or abrasive materials as they can damage the finish of the fixture.
In addition to cleaning, you should also check your pendant light periodically for any signs of wear or damage. If you notice any loose wires, cracks in the glass shade, or other issues with your fixture, be sure to address them promptly before they become more serious problems.
Make sure that you are using appropriate bulbs for your pendant light shade and replace them as needed when they burn out.
Cleaning Up and Post-Installation Care
First, make sure to turn off the power supply before cleaning or touching any part of the fixture. Use a soft cloth or duster to remove any dust or debris that may have accumulated during installation.
If there are any fingerprints on the surface of your pendant light shade, use a glass cleaner and a microfiber cloth to gently wipe them away. Avoid using abrasive cleaners as they can scratch delicate surfaces.
It’s also important to check for loose screws or wires periodically after installation. If you notice anything amiss with your pendant light shade, don’t hesitate to call in an electrician for professional assistance.
FAQ
Can you just replace the shade on a pendant light?
Yes, you can replace the shade on a pendant light by measuring the fitter size, ordering a corresponding shade, unscrewing the thumb screws, switching out the shades and replacing the thumb screws.
Can you install pendant lights yourself?
Yes, you can install pendant lights yourself, especially when replacing a fixture that already used a junction box, as it is an easy and quick process, taking about four steps and half an hour.
What are the necessary tools and materials required for installing a pendant light shade?
Necessary tools and materials for installing a pendant light shade include a screwdriver, wire stripper, wire nuts, and the pendant light shade itself.
How do you ensure proper safety measures while installing a pendant light shade?
To ensure proper safety measures while installing a pendant light shade, always turn off the power, use a sturdy ladder, and follow manufacturer instructions.
What are the steps to adjust the height and level of a pendant light shade during installation?
“During installation, adjust the height and level of a pendant light shade by loosening the collar nut or adjusting screws, sliding the shade up or down the rod/chain/cable, and retightening the collar nut or adjusting screws to secure the new position.”
Liked reading this? Here’s more:
Recap: