Last updated on
Shortening a pendant light cord becomes an essential skill because it allows you to adjust the fixture’s height perfectly to your space, ensuring an appealing aesthetic and optimal illumination.
Looking to adjust the height of your pendant light? By shortening the cord, you can achieve the perfect positioning that fits your surrounding decor and seating. This doable home project might seem intimidating, but with a step-by-step guide, you will yield the results you desire safely and efficiently.
Through this article, you will receive all the pertinent details, from identifying the right tools to comprehensively fashioning your cord according to your vision. So whether your pendant light hangs too low, or you’re merely seeking a design change, this guide will assist you in acquiring the desired lighting charm for your home.
Key takeaways:
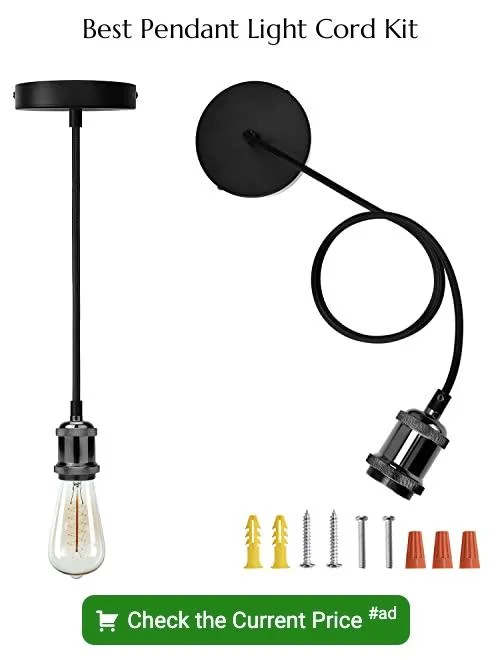
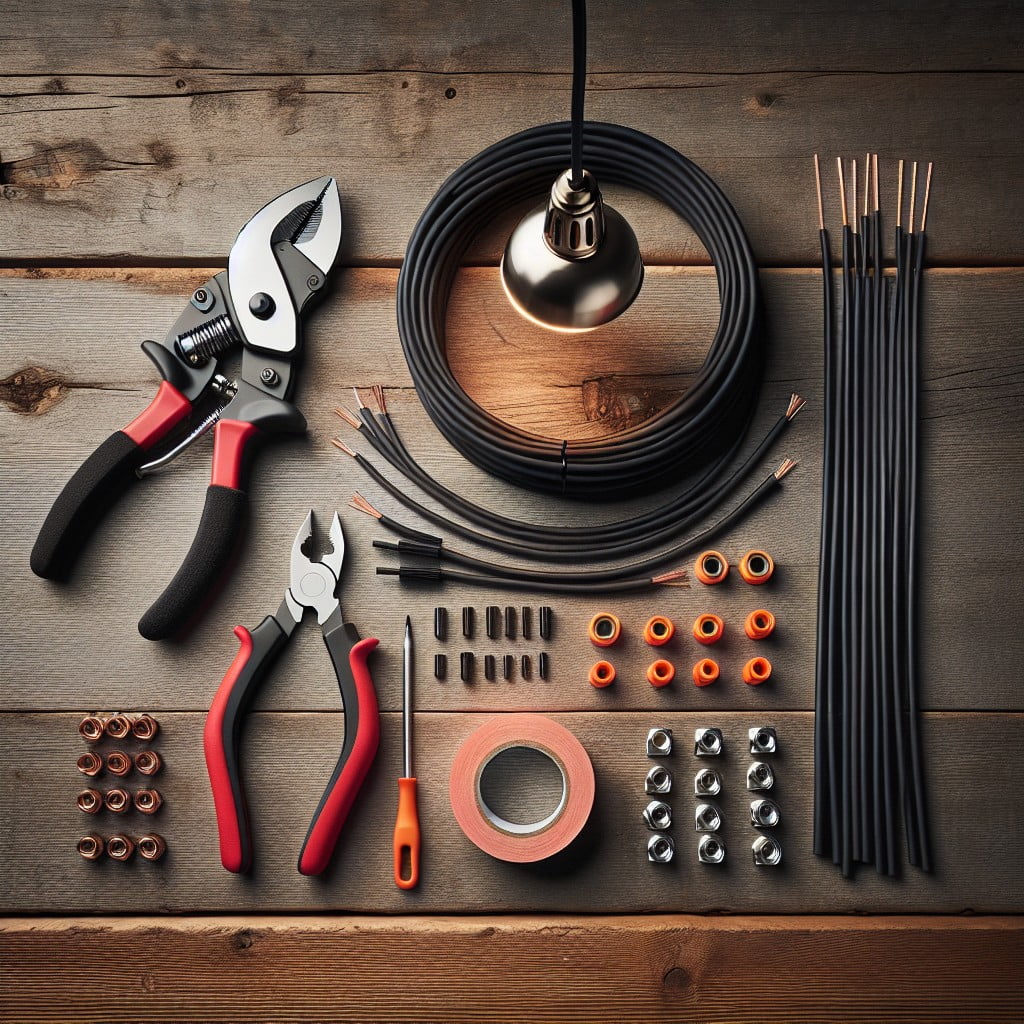
- Gather necessary tools and materials: wire cutter, screwdriver set, tape measure, wire stripper, gloves, safety goggles, electrical tape, wire connectors.
- Switch off the power: turn off the circuit breaker, double-check by flipping the light switch.
- Detach the pendant light from the ceiling: remove decorative canopy, disconnect wiring, remove pendant light.
- Disassemble the pendant light fixture: remove bulb and shade, loosen socket and wires, take note of configuration.
- Measure and cut the cord to desired length: double-check length, use sharp wire cutters, make straight cut.
Gather Necessary Tools and Materials
Before embarking on this task, an essential first step is to prepare all the equipment you will need. This shaves off processing time and ensures a smooth workflow.
A wire cutter or sharp scissors are needed to cut the cord to your preferred length. A screwdriver set is handy for detaching the light fixture and light socket. Keep a wire stripper accessible for exposing the bare wires after cutting.
Additionally, a tape measure or ruler ensures accurate cord length measurements. Protective gear such as gloves and safety goggles are also advisable, offering protection against potential injuries.
Lastly, having electrical tape and wire connectors can facilitate secure connections during reassembling.
Switch Off the Power

Before embarking on any electrical redecorating project, safety should always be your forefront concern. Therefore, make sure to turn off the circuit breaker linked to the pendant light you’re about to work on. It’s imperative to ensure there’s no flowing electricity to prevent any risk of electric shock.
If unsure about which breaker links to your pendant light, the most foolproof method is to switch off the main circuit breaker, effectively shutting down all power in your house. Always double-check if you’ve successfully disconnected power by flipping the light switch on and off.
Detach the Pendant Light From the Ceiling

Before you embark on this task, ensure the power supply to the pendant light is switched off at the circuit breaker for safety.
Locate and gently remove the decorative canopy that covers the ceiling box. This is often achieved by unscrewing it or unclasping a latch.
Once removed, the wiring and the mounting bracket holding the pendant light will be exposed. Take note of the wiring connections as you will need to rewire in the same order later.
Loosen the wire connectors, often color-coded as white, black and green, by twisting them counterclockwise.
After disconnecting the wires, carefully remove the pendant light from the ceiling.
Keep all components aside safely as you proceed to the next step.
Disassemble the Pendant Light Fixture

Begin by laying your pendant light on a flat surface with care. Resilying upon your fixture’s design, you’ll either need a screwdriver or pliers to aid in its dismantle. Typically, the bulb is firstly removed, followed by the shade that covers it.
Continue your attention to loosening the socket and wires that hold everything together.
It’s of paramount importance to keep note of the configuration; how all pieces fit together. This can be done by taking a photograph or sketching a simple diagram. This will facilitate a smooth reassembly process once the cord has been shortened. Remember, each detail, no matter how minor, plays its role.
Measure and Cut the Cord to Desired Length

At this stage, double-check your desired cord length. Remember that an extra inch or two will come in handy for a secure connection later; it’s safer to err on the side of too long than too short.
Having confirmed the length, there’s no looking back after you make your cut. Use a pair of sharp wire cutters and carefully slice the cord at your marked spot. Take caution as cords are usually made up of numerous small wires wrapped in a protective sheath, making them quite durable; hence, a strong, decisive cut is needed.
By maintaining steady hands and focusing on precision, you’ll ensure a clean, even cut, preparing you for the next step in this process. Keep in mind that all cuts should be straight across, not angled, to ensure proper wire connections later in the process.
Peel Off the Cord Sheath
Once you’ve shortened the cable to your desired length, the next step involves carefully peeling off the outer sheath of the cord. During this stage, extra caution is necessary to avoid cutting into the insulated wires underneath. This process is achieved using a wire stripper, ensuring you only strip off about half an inch from the end.
Remember: Each wire within the cord will probably be color-coded and each color has a function. In a typical setup, black wire is for the ‘hot’ connection, white for ‘neutral’, and green or bare wire for ‘ground’. Always keep track of them.
Now with that done, you’re ready to reassemble your pendant light fixture with much ease.
Reassemble the Pendant Light Fixture
Once the cord is correctly measured and cut, it’s time to put the components of the light fixture back together. Begin this process by threading the exposed end of the cord back through your light fixture. Be sure to pass the cord through any hardware in the same arrangement they were when you disassembled the fixture.
Next, reinsert the wire through the hollow tube, then through the chain or stem of the light fixture. It’s crucial that these pieces are reattached correctly and securely to ensure the safety and functionality of your pendant light.
Now, secure the fixture cap or canopy back on the fixture tube. This acts as an anchor, keeping both the fixture and the cord firmly in place. Be cautious not to twist or strain the wires; this could result in a poor connection or even a potential electrical hazard.
Finally, reattach the wire ends to the terminal screws in the socket interior, making sure to match the correct wire to the correct color terminal. Thread the socket shell over the socket interior, and ensure the insulator is replaced on the wire terminals to prevent any electrical shorting.
Reattach the Light Socket and Connect Wires
Having prepared the shortened cord, it’s time to reconnect everything. Start by affixing the light socket to the end of your cord. Most designs consist of two parts that either snap or screw together, enclosing the end of the cord.
Head to the electrical wires next. You’ll find two wires within your cord. These must pair with the light socket wires. By convention, the side with writing or ribbing should connect to the neutral wire, usually white. The smooth side should link with the hot wire, typically black or red.
Secure these connections using wire nuts, twisting them until they’re tight. Consequently, confirm the wires are firmly joined, with no metal showing. Cover all bare wires with electrical tape for safety, ensuring no live parts can accidentally come into contact with you or the light fixture.
Remember, be cautious while handling electrical wires. Even when turned off, a certain level of prudence is necessary when working with wiring. Never rush the process and ensure all steps are completed correctly to guarantee a safe and effective reinstallation.
Install the Shortened Pendant Light Back to the Ceiling
Following the adjustment of the cord, it’s time to reposition the pendant light on the ceiling. Safety remains paramount at this stage. Ensure the power is still off to avoid electric shock.
Begin by lifting the fixture towards the ceiling, aligning the mounting holes with the junction box. Secure the fixture by tightening the mounting screws into the junction box.
Once the light is attached, connect the electrical wires. Match the color of the wires from the light to the wires from the ceiling, twist the corresponding wires together, and secure them with wire nuts. Tighten any additional screws to secure the connection further, and replace the base or canopy over the wires.
Lastly, insert the light bulb into the socket, and restore electrical power to the room. The result should be a pendant light that hangs at the perfect height for your space, giving both aesthetic appeal and functional lighting. Remember, installation must be done carefully and accurately to prevent any electrical faults down the line.
FAQ
Can you shorten the cable on a pendant light?
Yes, the cable on a pendant light can be shortened by releasing the cable clamp and adjusting it accordingly, cutting and re-threading the cable through the ceiling rose, or shortening it at the lamp holder.
Can you cover the cord on pendant light?
Yes, you can cover the cord on a pendant light using cord cover and paint, transforming it into a natural aspect of the room.
Can you swag a pendant light on a cord?
Yes, you can swag a pendant light on a cord using a swag hook for a safe and effective hanging solution.
How can you adjust the height of a pendant light?
To adjust the height of a pendant light, loosen its adjusting collar or screw, slide or unwound the cord or chain to the desired level, then retighten the collar or screw to secure the new position.
What is the process for re-wiring a pendant light for a shorter cord?
The process for re-wiring a pendant light for a shorter cord involves turning off the power, detaching the old wiring, cutting the new cord to the desired length, stripping the ends, connecting the wires, and reattaching the fixture.
Is there a particular tool needed to shorten a pendant light cord?
Yes, a wire cutter is typically used to shorten a pendant light cord.
Read More Like This
 15 Funny Graduation Cap Ideas to Make Your Big Day Unforgettable
 15 Unique DIY Christmas Decorations Ideas for a Festive Home
 15 Creative Science Fair Board Ideas to Amaze Your Audience
 15 Handmade Envelope Decoration Ideas for Creative Gifting
 10 DIY Gifts for the Whiskey Lover in Your Life
Recap: