Last updated on
Discover the simple steps to perfectly level a pendant light, ensuring a visually appealing and well-lit space in your home.
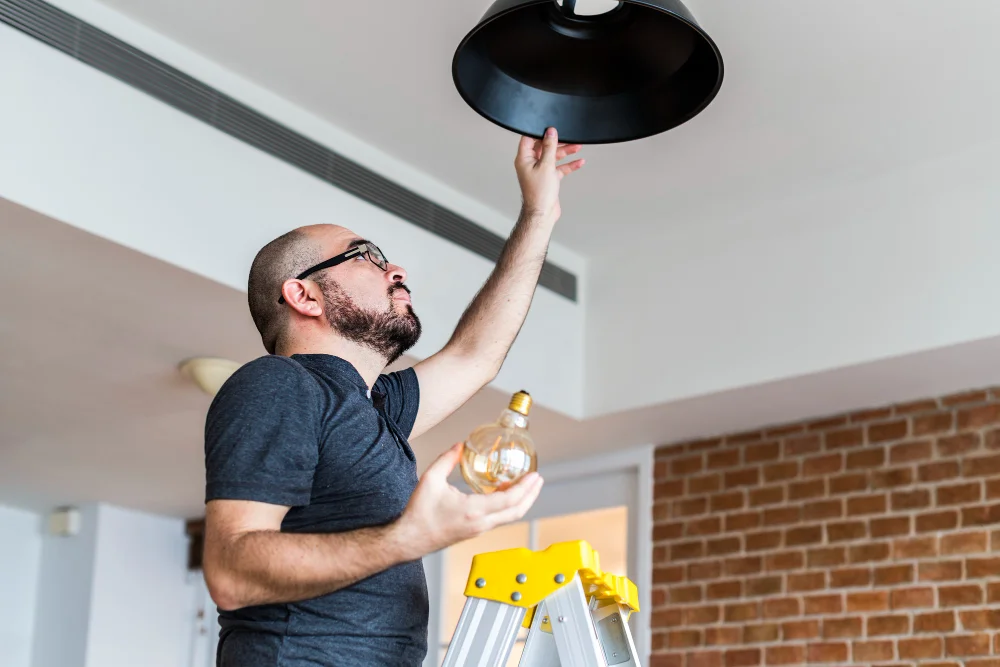
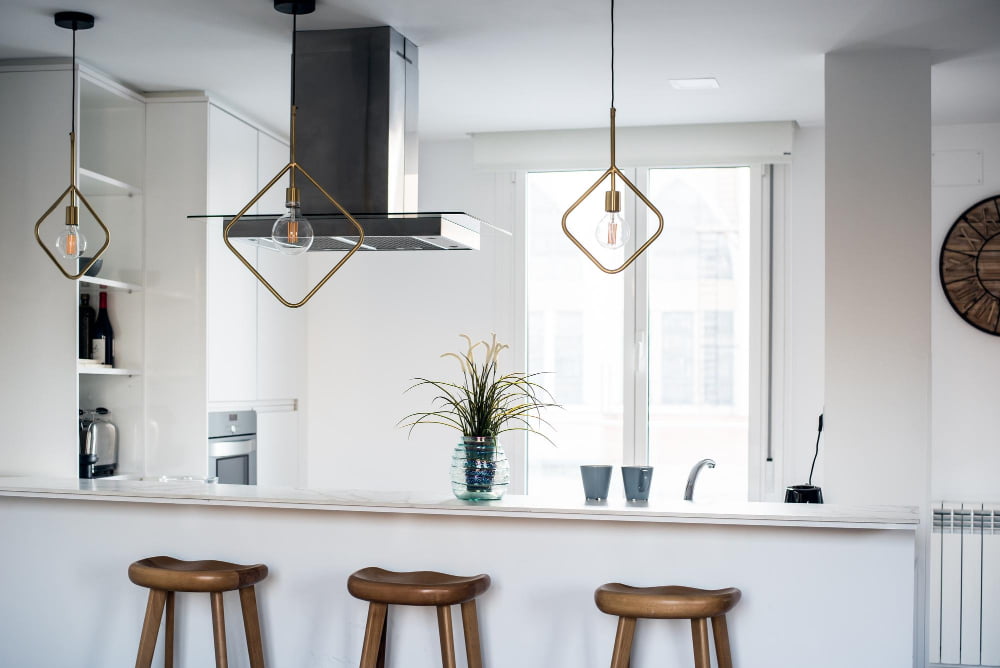
Pendant lights are a great way to add style and illumination to any room in your home. They come in various shapes, sizes, and designs, making them a versatile lighting option that can complement any decor style.
However, if your pendant light is not hanging straight or is tilted at an awkward angle, it can throw off the entire look of your space. The good news is that leveling a pendant light is not as complicated as it may seem.
In this article, we will share some tips and tricks on how to level a pendant light like a pro! So whether you’re installing new pendant lights or adjusting existing ones, read on to learn how to make sure they are perfectly level and looking their best.
Key takeaways:
- Use a spirit level to ensure the pendant light is straight.
- Gather all necessary tools and materials before starting.
- Measure and adjust the height of the pendant light.
- Secure the pendant light properly to the ceiling.
- Balance the fixture and make any necessary adjustments.
Pendant Light Basics

Before we dive into the nitty-gritty of leveling a pendant light, let’s first go over some basic information about this type of lighting fixture. Pendant lights are typically suspended from the ceiling by a cord or chain and can be used to provide ambient, task, or accent lighting in any room.
They come in various styles and designs such as drum-shaped pendants, globe pendants, mini-pendants among others.
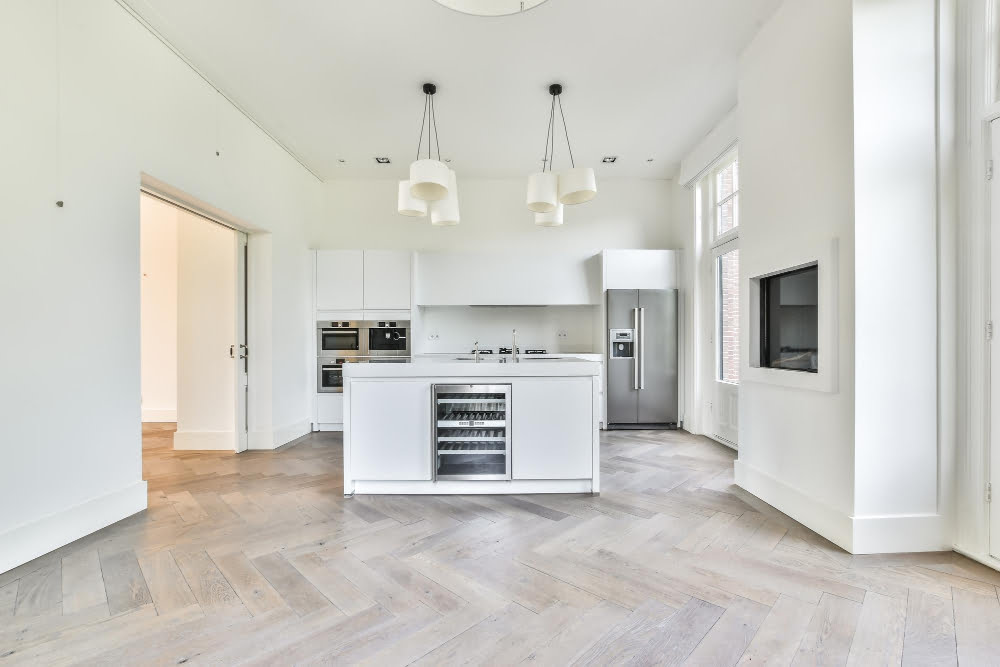
When it comes to pendant lights’ height placement above surfaces like tables or countertops is crucial for both functionality and aesthetics. A general rule of thumb is that they should hang 30-36 inches above the surface they’re illuminating but this may vary depending on your personal preference.
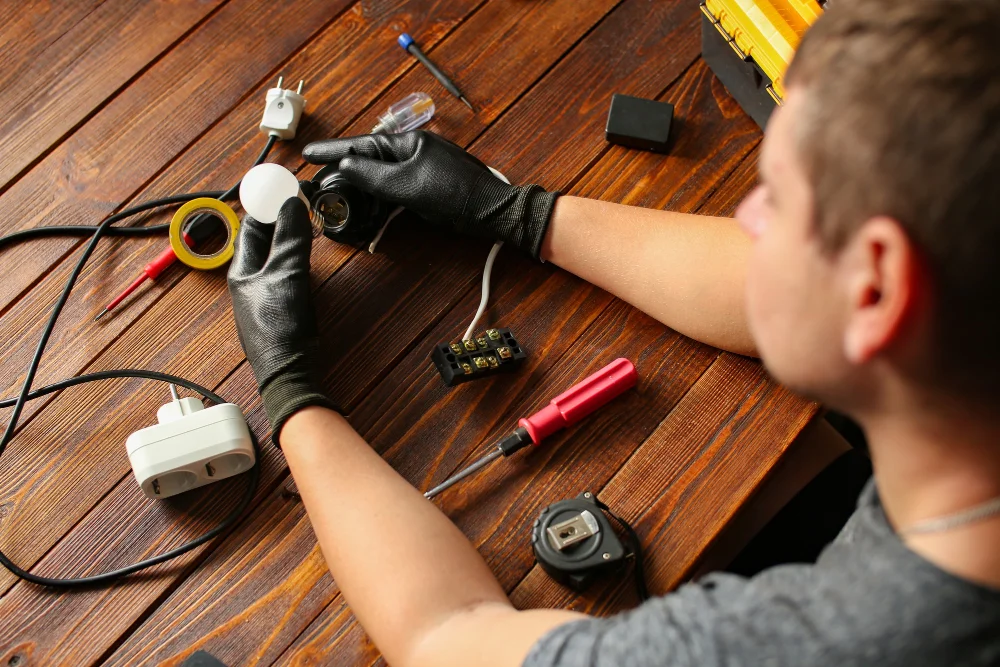
Gathering Tools

This will save you time and prevent frustration during the installation process. The good news is that most of these tools are readily available at your local hardware store or online.
To level a pendant light, you’ll need a few basic tools such as a ladder, measuring tape or ruler, wire strippers/cutters, pliers (needle-nose), screwdrivers (flathead/Phillips), electrical tester/voltage detector pen for safety checks.
It’s also essential to have the right materials on hand like mounting brackets with screws/nuts/bolts/washers included in their package; ceiling anchors if needed; wire connectors for wiring connections between fixture wires and house wires; electrical tape for insulation purposes.
Tools and Materials Needed

Here are some of the items you’ll need:.
- A ladder or step stool
- Measuring tape
- Pencil or marker
- Screwdriver (flathead and Phillips)
- Wire strippers/cutters
- Voltage tester
- Electrical tape
Make sure that all these tools are within reach before starting any work on your pendant light. Having everything ready will save time and make the process smoother.
Measuring Height

The ideal height for a pendant light depends on several factors such as the room size, ceiling height, and purpose of lighting. A general rule of thumb is that the bottom of your pendant light should be around 30 inches above any surface below it (such as a table or countertop).
This ensures that there is enough clearance for people to walk under without hitting their heads while also providing adequate illumination.
To determine the exact hanging height for your specific space and needs, consider using a measuring tape or ruler to measure from where you want the bottom of your fixture to sit down towards where you will attach its mounting bracket on top. Keep in mind that if you have high ceilings or are hanging multiple pendants together in one area, adjusting this measurement may be necessary.
Determine Pendant Light Height
The ideal height for a pendant light depends on various factors such as ceiling height, room size, and purpose of lighting. A general rule of thumb is to hang your pendant light 30 inches above a table or countertop surface.
This allows enough clearance for people to move around comfortably without bumping their heads while providing adequate illumination.
For rooms with higher ceilings or larger spaces like foyers or living rooms, you may need to adjust the hanging height accordingly. As a general guideline, add three inches in hanging length per foot of ceiling height beyond eight feet.
It’s also important to consider how much space is available between the bottom of your pendant light fixture and any surfaces below it such as tables or countertops. You don’t want your fixture too low that it obstructs views across the room but not so high that its illumination becomes ineffective.
Adjusting Cord Length

This step is crucial in ensuring that your pendant light hangs straight and level. To do this, first, turn off the power supply to avoid any electrical hazards.
Next, remove any excess cord from the fixture by pulling it through its canopy or base until you reach a comfortable length for hanging. Be sure not to cut too much of the cord as this may make it difficult to adjust later on.
If you need more slack in your cord after adjusting it initially, simply loosen up its knot and pull down gently on both ends of wire until desired length is achieved.
Remember that having an unevenly hung pendant light can be distracting and take away from all other design elements within a room.
Prepare the Ceiling
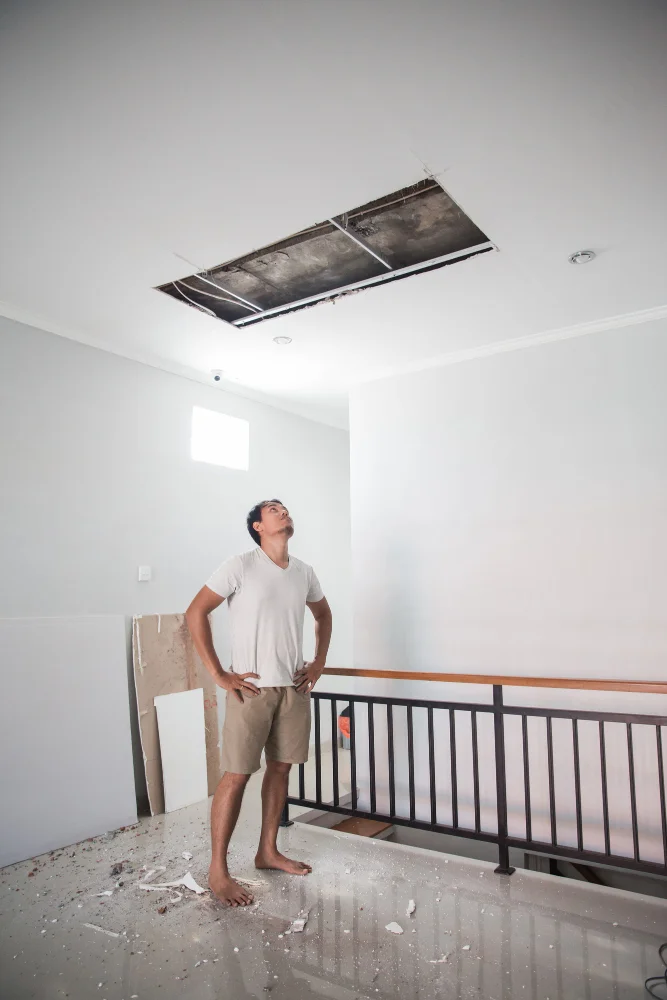
First, turn off the power supply to avoid any electrical accidents. Next, remove any existing fixtures or hardware from the ceiling where you plan on hanging your pendant light.
Once you have a clear space on your ceiling, use a stud finder to locate and mark where the joists are located. This will help ensure that when you install your mounting bracket for the pendant light fixture it is securely anchored into place.
If there are no joists in close proximity of where you want to hang your fixture then consider using toggle bolts instead of screws as they can provide additional support for heavier fixtures.
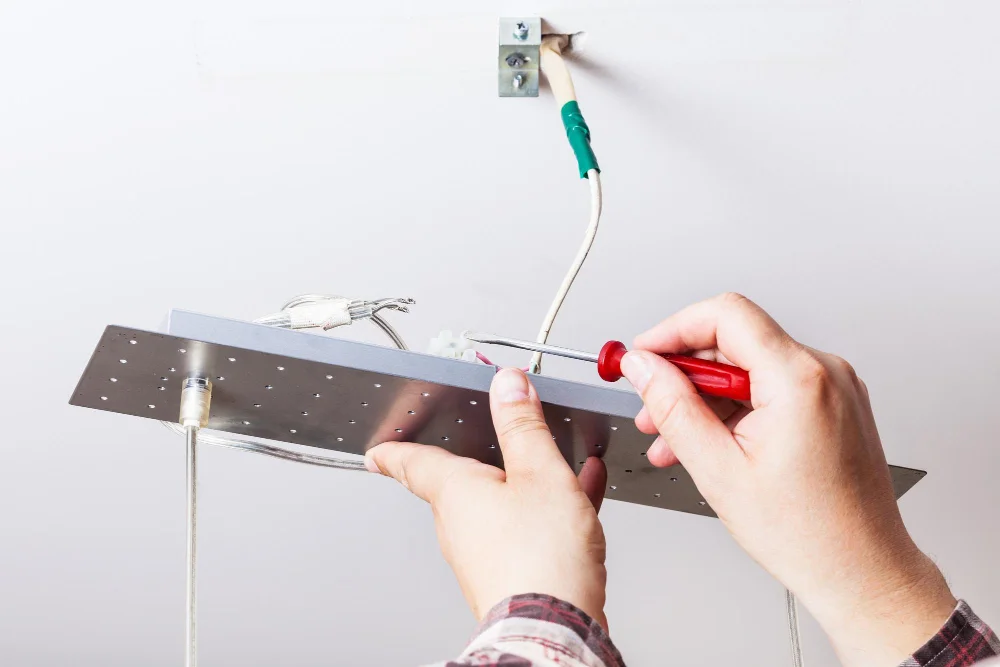
Install Mounting Bracket
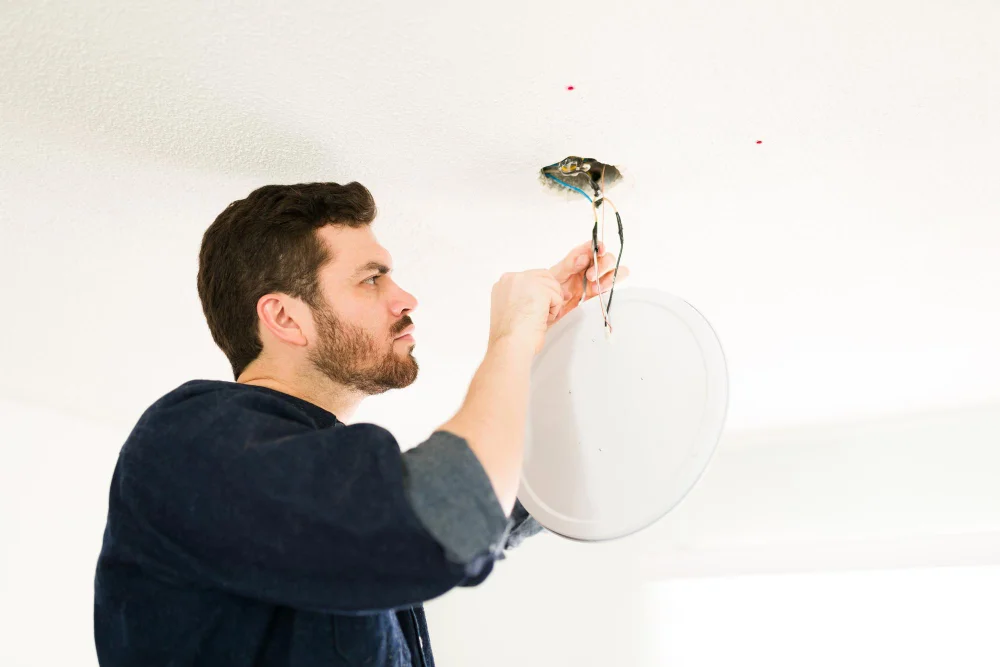
The mounting bracket is what will hold your pendant light in place on the ceiling. To begin, turn off power to the area where you’ll be working by switching off its circuit breaker.
Next, gather all necessary tools and materials for this step: a drill with a 1/8-inch bit or screwdriver (depending on whether screws are included), screws that fit into both holes of your mounting bracket (usually provided), drywall anchors if needed (also usually provided).
Hold up the mounting plate against where you want it installed and mark through each hole onto your ceiling using a pencil or marker. If there are no studs behind these marks then use drywall anchors before attaching screws into them; otherwise just attach directly with appropriate length wood-screws.
Assemble the Pendant Light

Start by gathering all of the pieces that came with your fixture, including any screws or mounting hardware. Follow the manufacturer’s instructions carefully as each pendant light may have a slightly different assembly process.
Begin by attaching any necessary brackets or supports to your ceiling box according to instructions provided in its manual. Then thread wires through chain links if applicable and attach them securely using pliers.
Next, connect wires from both ends of power supply cables together with wire nuts (or other connectors) before connecting them into their respective terminals on either side of socket base plate which should be attached onto bottom end cap piece beforehand so that it can be screwed onto threaded rod at top center point where canopy will eventually cover everything up nicely once installed properly!.
Electrical Safety Precautions
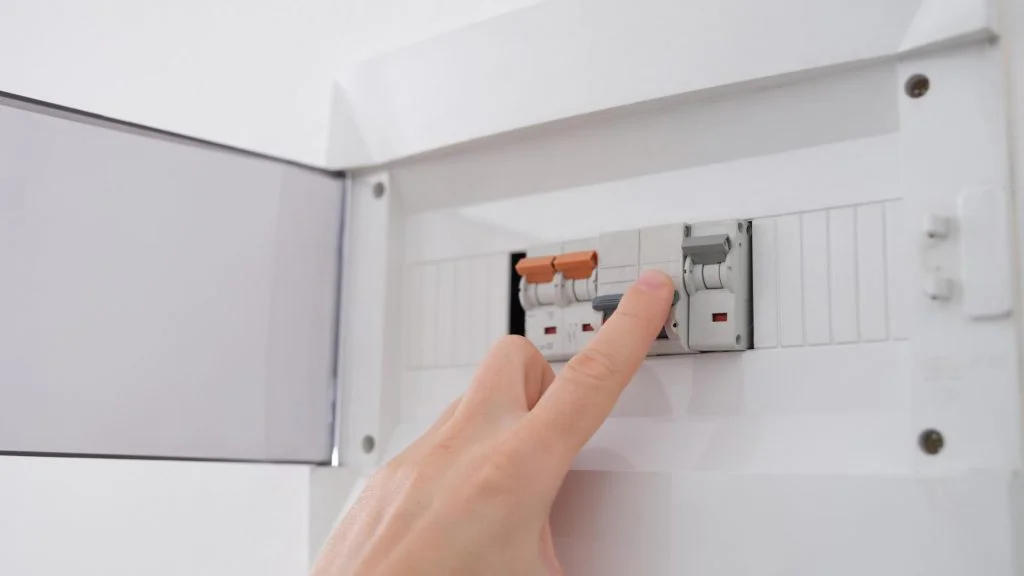
First and foremost, turn off the power supply to the room where you will be installing or adjusting your pendant light. This can be done by switching off the circuit breaker that controls that particular area of your home.
Next, use a voltage tester to ensure there is no electricity flowing through any wires or components before touching them. It’s also essential to wear rubber-soled shoes and avoid standing on wet surfaces while handling electrical equipment.
If you’re not confident in working with electricity or unsure about any aspect of installation, it’s best to call a licensed electrician for assistance.
Safety Precautions
First and foremost, make sure that the power is turned off at the circuit breaker or fuse box before beginning any electrical work. This will prevent any accidental shocks or electrocution while working on your pendant light.
Always use a sturdy ladder when working with ceiling fixtures and ensure that it is placed on a level surface. If possible, have someone hold the ladder steady for added stability.
It’s also essential to wear appropriate personal protective equipment (PPE) such as gloves and safety glasses when handling tools or wiring connections.
Wiring the Pendant Light

Before starting the wiring process, make sure that the power is turned off at the circuit breaker or fuse box. This will ensure your safety while working with electrical wires.
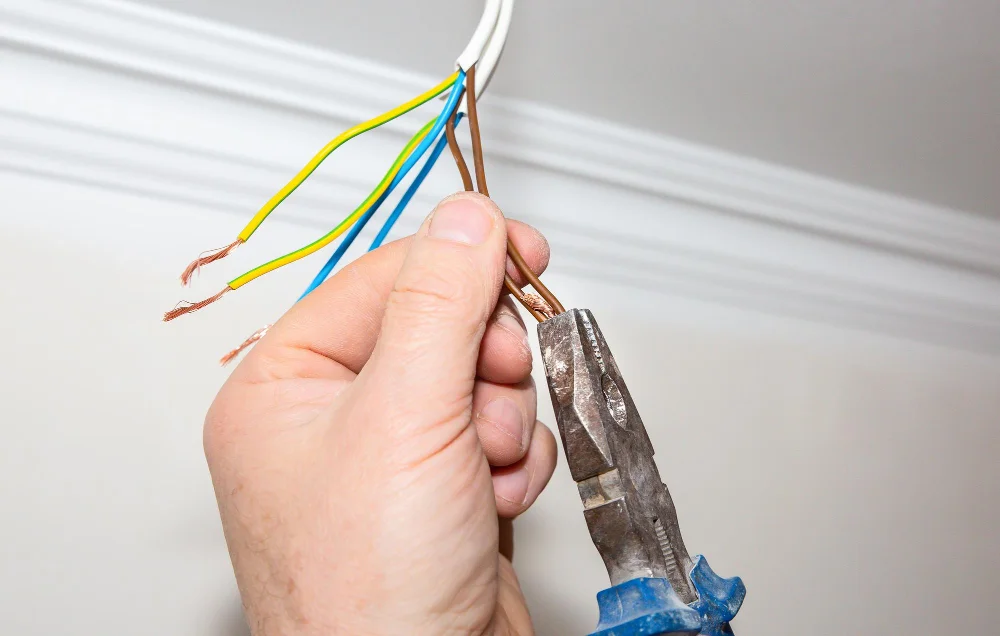
Next, remove about 1 inch of insulation from each wire end using a wire stripper tool. You should see two wires: one black and one white (or sometimes red).
The black wire is known as “hot” and carries electricity from the switch to the light fixture. The white (or red) wire is known as “neutral” and completes an electrical circuit.
To connect these wires to your pendant light fixture, follow its manufacturer’s instructions carefully since different fixtures may require different wiring methods or connectors.
Typically though, you’ll need to twist together each corresponding pair of exposed copper ends – hot-to-hot (black-to-black), neutral-to-neutral (white/red-to-white/red), then secure them with a plastic connector cap by twisting clockwise until tight enough so that no bare copper shows through on either side of any connection point(s).
Wiring Connections
Before starting, make sure that the power is turned off at the circuit breaker or fuse box. You will need to strip about 1/2 inch of insulation from each wire end using a wire stripper tool.
Next, match up the wires according to color and connect them together with wire connectors (also known as “wire nuts”). Twist each connector clockwise until it feels tight and secure.
If your pendant light has a ground wire (usually green or bare copper), attach it securely to the grounding screw on your mounting bracket or electrical box. This helps protect against electrical shock in case of any faults in wiring.
After all connections are made, tuck any excess wiring into the ceiling canopy and carefully push it up towards where you mounted your fixture base plate earlier. Tighten screws on both sides of canopy cover so that they hold everything firmly in place without wobbling around too much when touched lightly by hand.
Securing the Canopy
The canopy is a decorative cover that hides the electrical wiring and attaches to the ceiling mount. To ensure your pendant light stays securely in place, follow these simple steps:
1. Tighten screws: Use a screwdriver to tighten all screws on both sides of the mounting bracket.
2. Attach Canopy: Slide or twist your canopy into position overtop of where you’ve mounted your fixture.
3. Secure Canopy Screws: Once positioned correctly, use screws provided with your fixture kit (or ones that fit) through holes on either side of its base plate until they are snug against their respective anchors within said plate.
Secure the Pendant Light
This is where a second pair of hands can come in handy, as holding up a heavy pendant light while trying to secure it can be challenging.
To begin, carefully lift your assembled pendant light and align its mounting bracket with the screws on your ceiling box. Once aligned correctly, use screws or bolts (depending on what came with your fixture) to secure it in place.
Make sure that all connections are tight and that there is no wobbling or swaying when you give it a gentle tug.
Balancing the Fixture

An unbalanced fixture can cause the light to sway or tilt, which not only looks unsightly but can also be a safety hazard. To balance your pendant light, start by checking its level with a spirit level tool.
If the bubble in the spirit level is off-center, adjust the height of one side of the fixture until it becomes centered.
If you find that adjusting one side doesn’t work or makes things worse on another part of your pendant lamp installation project (such as causing an uneven gap between two sides), try adjusting both sides simultaneously instead – this should help keep everything even and stable.
It’s worth noting that some fixtures may require additional balancing methods beyond simply using a spirit level tool. For example, if you’re dealing with an especially heavy or large fixture (like those made from metal), then adding weights to certain parts may be necessary for proper balance.
Checking Level With Spirit
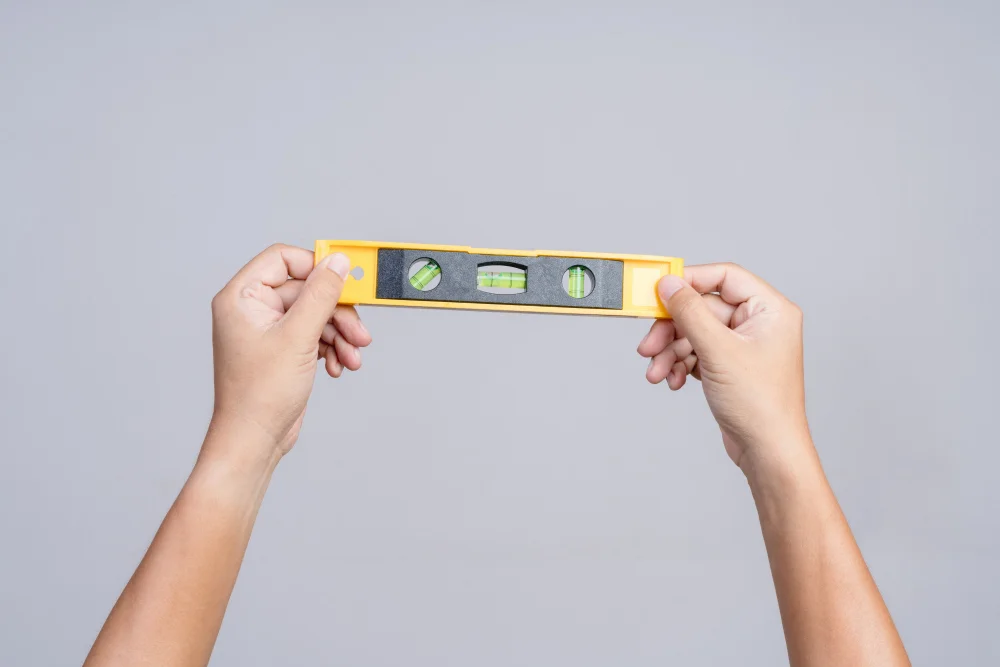
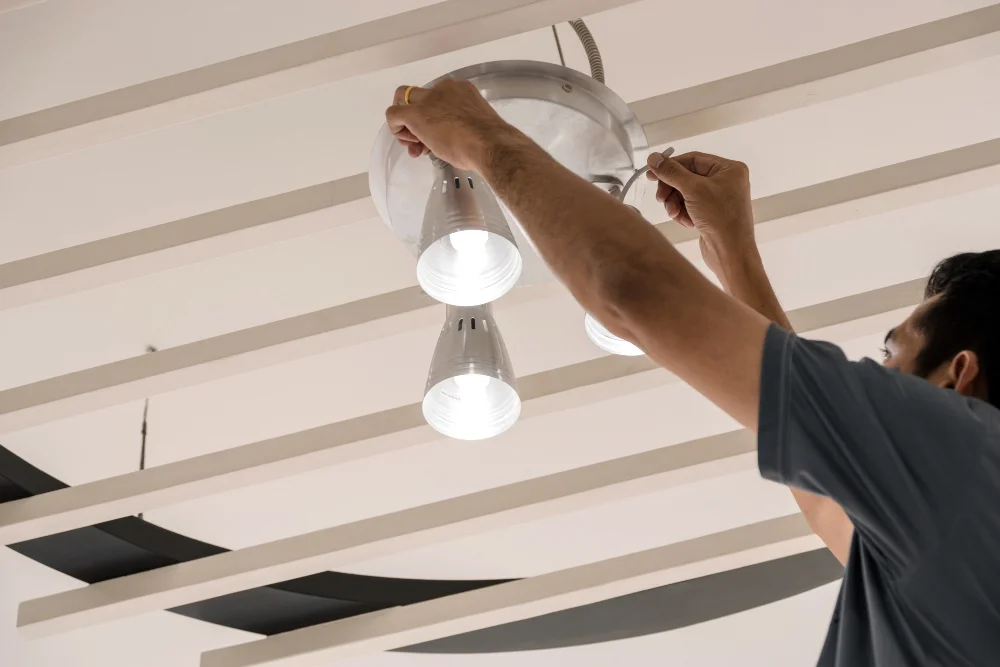
A spirit level is a tool that can help you determine if the fixture is hanging straight or not. To use a spirit level, place it on top of the pendant light and adjust until the bubble in the center of the tube rests between two lines.
If your pendant light has multiple bulbs or shades, make sure each one hangs at an equal distance from its neighboring shade/bulb. This will ensure that they are all aligned correctly and create an even distribution of light throughout your space.
Checking for proper alignment with a spirit level may seem like a small detail but can make all difference in achieving an aesthetically pleasing look for your room while also ensuring optimal lighting conditions.
Light Bulb Selection

The type of bulb you select can make a significant difference in the ambiance and functionality of your space. When choosing a light bulb for your pendant light, consider factors such as brightness level, color temperature, energy efficiency rating (lumens per watt), and lifespan.
LED bulbs are an excellent choice for pendant lights because they are energy-efficient and long-lasting. They also come in various color temperatures that can help set the mood or tone of a room.
For example, warm white bulbs (2700K-3000K) create a cozy atmosphere perfect for living rooms or bedrooms while cool white bulbs (3500K-4100K) provide bright illumination ideal for kitchens or workspaces.
Another factor to consider is dimmability; if you plan on using dimmer switches with your pendant lights then ensure that the LED bulbs selected are compatible with them.
Final Level Inspection
This step is crucial to ensure that your pendant light is hanging straight and looks visually appealing. To do this, stand back and take a look at the fixture from different angles to see if it appears level.
You can also use a spirit level or smartphone app to check if the pendant light is perfectly horizontal.
If you notice any issues with leveling, don’t worry! It’s easy to make small adjustments by adjusting the length of one side of the cord or chain until everything lines up correctly.
By following these simple steps on how to level your pendant light properly, you’ll be able to enjoy an aesthetically pleasing lighting fixture in your home that provides both style and functionality.
Troubleshooting Tips
Don’t worry; we’ve got you covered with these troubleshooting tips.
Firstly, if your pendant light is still not hanging straight even after adjusting it multiple times, check if the mounting bracket is securely attached to the ceiling. If it’s loose or wobbly, tighten any screws or bolts that hold it in place.
Secondly, make sure that all wiring connections are secure and correctly installed. Loose wires can cause a short circuit and prevent your pendant light from working correctly.
Lastly, double-check that everything is level using a spirit level before finishing up installation. Sometimes small adjustments can make a big difference in achieving perfect balance and symmetry for your space.
By following these simple troubleshooting tips along with our step-by-step guide on how to level a pendant light properly will ensure an aesthetically pleasing lighting fixture while providing ample illumination for any room in your home!.
FAQ
Can you adjust height of pendant light?
Yes, you can adjust the height of a pendant light by loosening the grub screw in the canopy and pushing or pulling the cable through the hole.
Why won’t my pendant light hang straight?
Your pendant light may not hang straight due to an off-center position on the hanger or a bent cord, which can be corrected by repositioning the pendant and straightening the cord.
How can I properly balance a pendant light during installation?
To properly balance a pendant light during installation, ensure the support cable or chain is adjusted for equal weight distribution.
What are the common reasons for a pendant light not being level?
Common reasons for a pendant light not being level include uneven weight distribution, improper installation, or an unbalanced ceiling canopy.
Are there any specific tools or accessories required for leveling a pendant light?
A level, screwdriver, and adjustable wrench are essential tools for leveling a pendant light.
Read More Like This
 15 Funny Graduation Cap Ideas to Make Your Big Day Unforgettable
 15 Unique DIY Christmas Decorations Ideas for a Festive Home
 15 Creative Science Fair Board Ideas to Amaze Your Audience
 15 Handmade Envelope Decoration Ideas for Creative Gifting
 10 DIY Gifts for the Whiskey Lover in Your Life
Recap: