Last updated on
Discover the essential steps to rough in pendant lights effectively, as we guide you through the process for a seamless and impressive lighting transformation.
Are you looking to add a touch of elegance and sophistication to your home decor? Pendant lights are a great way to achieve just that! Not only do they provide ample lighting, but they also serve as stylish statement pieces that can elevate the look of any room. However, before you can enjoy the beauty of these lights, it’s important to know how to rough them in.
In this article, we’ll guide you through the process step-by-step so that you can confidently install pendant lights in your home without any hassle. So let’s get started!
Key takeaways:
- Pendant lights provide ample lighting and serve as stylish statement pieces.
- Different types of pendant lights include mini pendants, multi-light pendants, drum pendants, globe pendants, and linear suspensions.
- Consider factors such as style, size, and material when choosing pendant lights.
- Essential tools and materials for roughing in pendant lights include wire strippers, screwdrivers, pliers, voltage tester, electrical tape, wire nuts, and pendant light kits.
- Proper installation involves selecting the right location, marking the ceiling, measuring ceiling height, determining pendant size, selecting bulb types, installing a ceiling junction box, running electrical wires, installing the pendant light mount, wiring the pendant light, attaching the light shade, adjusting the hanging height, testing the pendant light, troubleshooting common issues, following safety tips, complementing room design, and maintaining pendant lights.
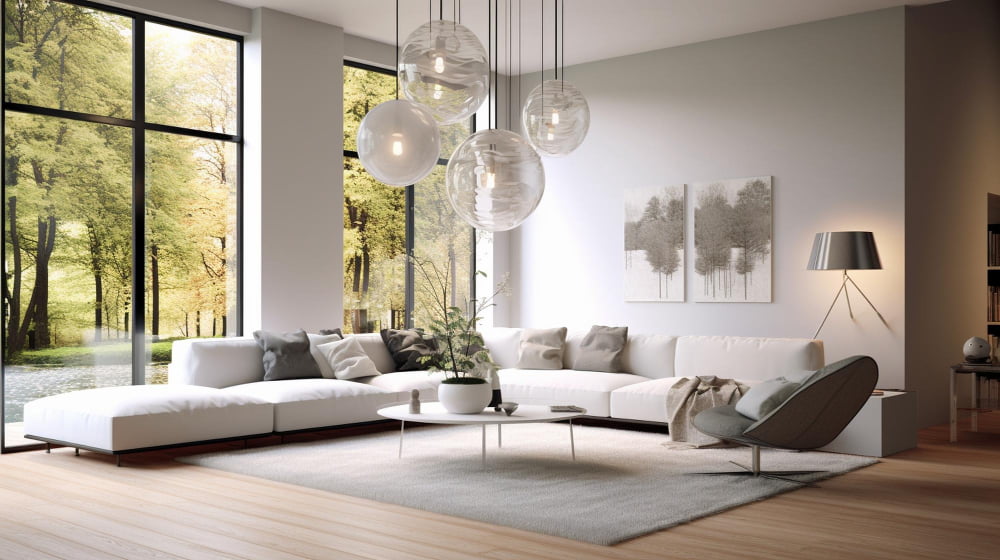
Pendant Lighting Basics
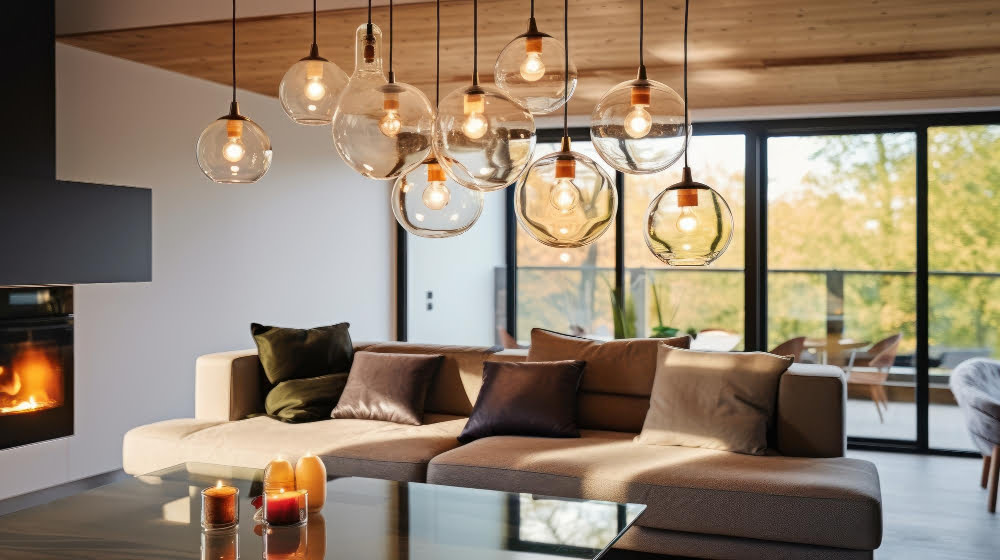
Before we dive into the installation process, let’s first understand what pendant lights are and how they work. Pendant lights are a type of light fixture that hangs from the ceiling by a cord, chain or metal rod.
They come in various shapes and sizes, making them versatile enough to fit any room style.
One of the most significant advantages of pendant lighting is their ability to provide focused illumination on specific areas such as kitchen islands or dining tables while adding an aesthetic appeal to space.
It’s essential to note that there are different types of pendant lights available in the market today. Some popular styles include mini pendants, multi-light pendants, drum pendants among others; each with its unique design features and functionality.
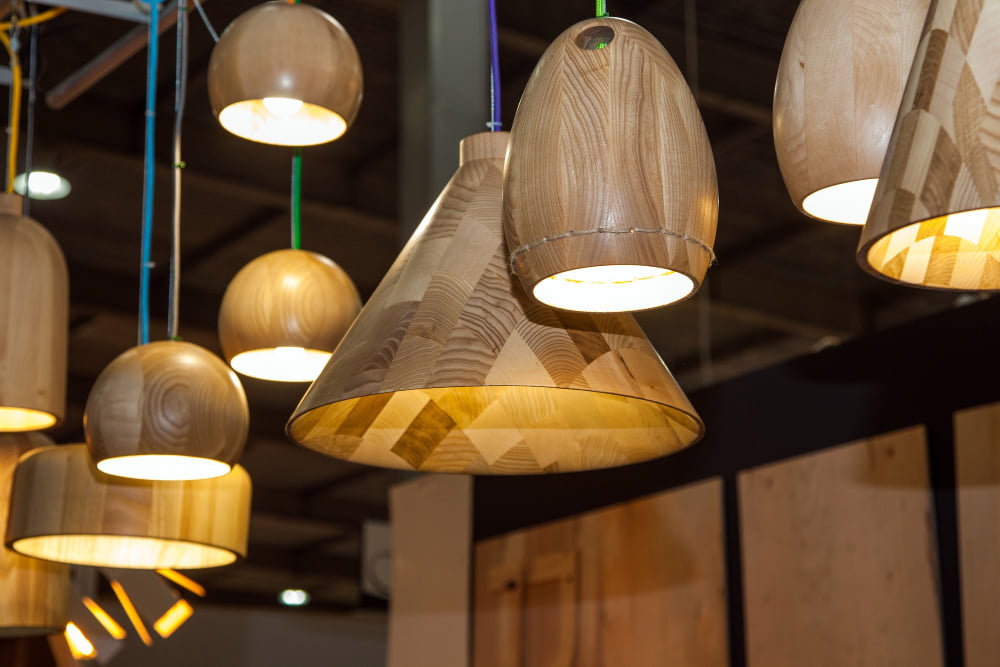
Types of Pendant Lights
Each type has its unique design and functionality that can complement different room styles. Some of the most popular types include mini pendants, multi-light pendants, drum pendants, globe pendants, and linear suspensions.
Mini-pendant lights are perfect for small spaces or areas where you need focused lighting such as above a kitchen island or dining table. Multi-light pendant fixtures have multiple bulbs attached to one central fixture which is ideal for larger rooms with high ceilings.
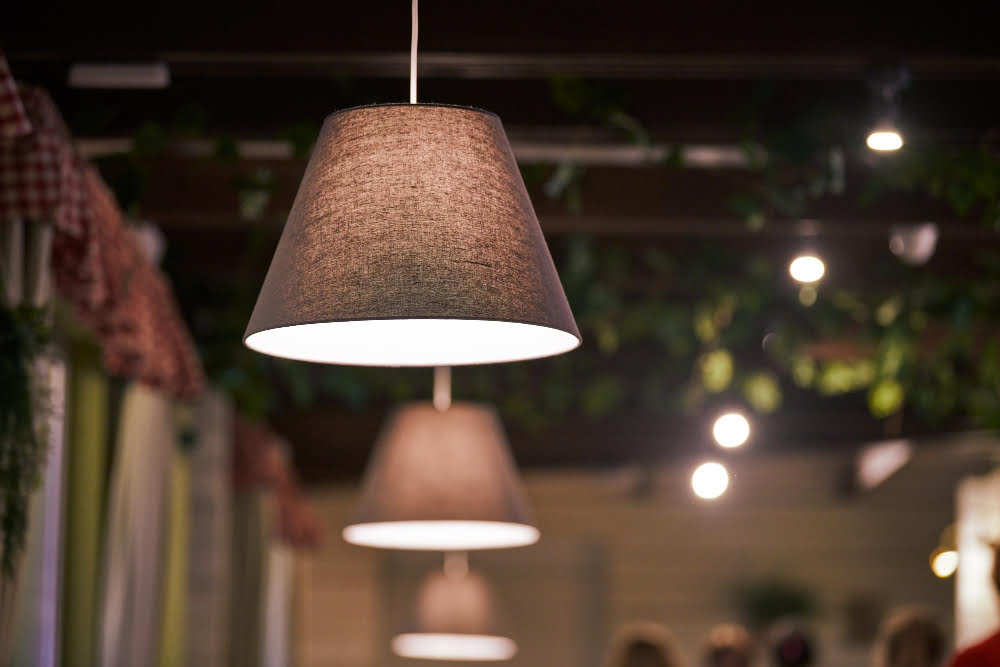
Drum-shaped pendant lights feature a cylindrical shade that provides diffused light making them suitable for living rooms or bedrooms. Globe-shaped pendant lamps offer an elegant look while providing ample illumination making them great choices for entryways and foyers.
Linear suspension fixtures consist of several individual hanging lamps connected by a single canopy creating an impressive statement piece over long tables like those found in conference rooms or dining halls.
Choosing the right type of pendant light depends on your personal style preference as well as practical considerations such as ceiling height and room size.
Choosing Pendant Lights
With so many options available, it’s important to consider factors such as style, size, and material before making a purchase.
Firstly, think about the overall design of your room. Do you want a modern or traditional feel? Pendant lights come in various styles ranging from sleek and contemporary to vintage-inspired designs that can complement any interior design theme.
Secondly, consider the size of your space when selecting pendant light fixtures. A large room may require multiple pendants or larger fixtures for adequate lighting coverage while smaller rooms may only need one small fixture.
Lastly, take into account what materials will best suit both functionally and aesthetically within each specific area where you plan on installing them. For example: glass shades provide an elegant touch but are more fragile than metal ones which offer durability without sacrificing style.
Essential Tools and Materials
These include:.
- Wire strippers
- Screwdrivers (flathead and Phillips)
- Pliers
- Voltage tester
- Electrical tape
- Wire nuts
- Pendant light kit
Before starting the installation process, make sure to gather all of these items so that you have everything on hand when needed.
Having the right tools is crucial for ensuring that your pendant light installation goes smoothly without any hiccups along the way.
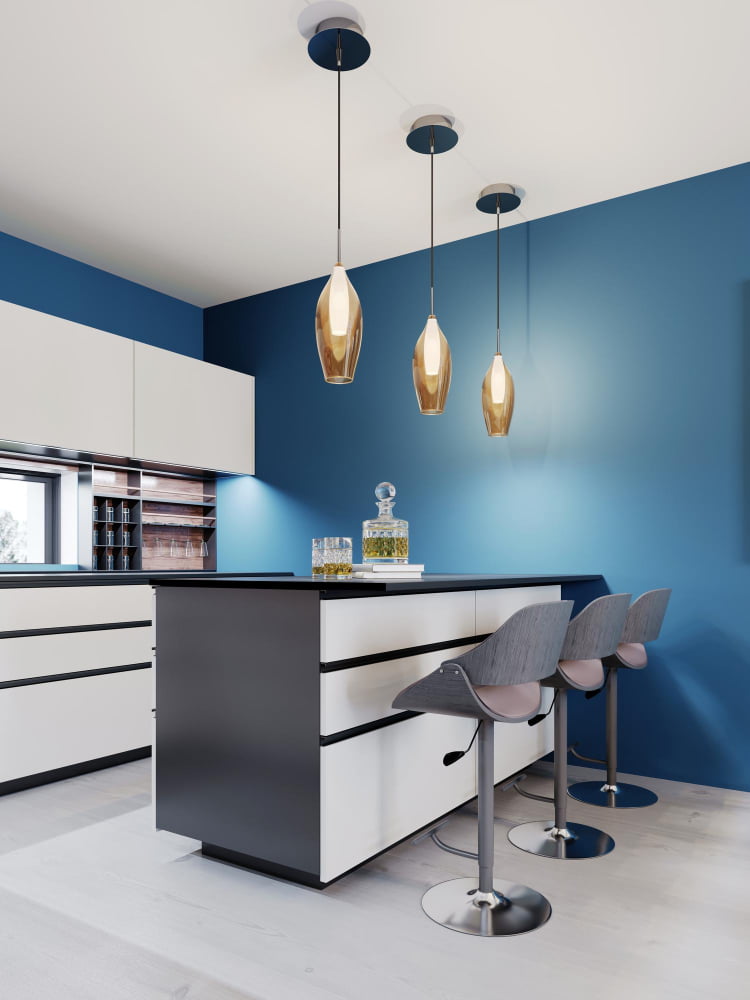
Selecting the Right Location
The placement of your pendant lights can make or break their effectiveness in illuminating a room and enhancing its overall aesthetic appeal. When choosing a location for your pendant light, consider factors such as ceiling height, furniture arrangement, and natural lighting sources.
For instance, if you’re installing pendants over a kitchen island or dining table area with high ceilings (9 feet or more), choose fixtures that hang down at least 30 inches from the surface below to create an adequate visual impact without overwhelming the space.
On the other hand, if you have low ceilings (less than 8 feet), opt for flush-mounted fixtures instead of hanging pendants to avoid creating an awkwardly cramped feeling in your space.
Take into account any existing lighting sources like windows and skylights when deciding on where to place your new fixture. You want it positioned so that it complements rather than competes with these natural light sources while still providing ample illumination during darker hours.
Marking the Ceiling
This step is crucial as it ensures that your light fixture will be installed in a straight and level position. To begin, use a stud finder to locate any ceiling joists or beams that may interfere with the installation process.
Next, measure and mark the center of where you want your pendant light to hang using a pencil or marker. If you plan on installing multiple lights in one area, make sure they are evenly spaced apart from each other.
It’s important to note that if you’re working with high ceilings or an awkward space, it may be helpful to enlist someone else’s help during this step. Having an extra set of hands can ensure accuracy and prevent any mistakes from occurring.
Measuring Ceiling Height

This will help ensure that your pendant light hangs at the right level and doesn’t interfere with any other fixtures or furniture in the room.
To measure ceiling height, start by using a tape measure to determine how far down from the ceiling you want your pendant light to hang. A good rule of thumb is to leave about 30 inches between the bottom of your fixture and any surface below it, such as a table or countertop.
Next, use a ladder or step stool to reach up and mark where you want your pendant light installed on both sides of where it will be mounted. Then use another measuring tool like a laser leveler or plumb bob (a weight attached by string) so that both marks are perfectly aligned vertically.
Determining Pendant Size
A small pendant may get lost in a large room, while an oversized one can overwhelm a smaller area. To determine the right size for your pendant light, consider the height of your ceiling and the dimensions of the room.
For standard 8-foot ceilings, aim for pendants that are around 12-20 inches tall. For higher ceilings or larger rooms, you can opt for bigger pendants that range from 24-36 inches tall.
Another factor to consider when determining pendant size is how many lights you plan on installing together. If you’re hanging multiple pendants over a kitchen island or dining table, make sure they’re spaced evenly apart and have consistent sizing.
Selecting Bulb Types
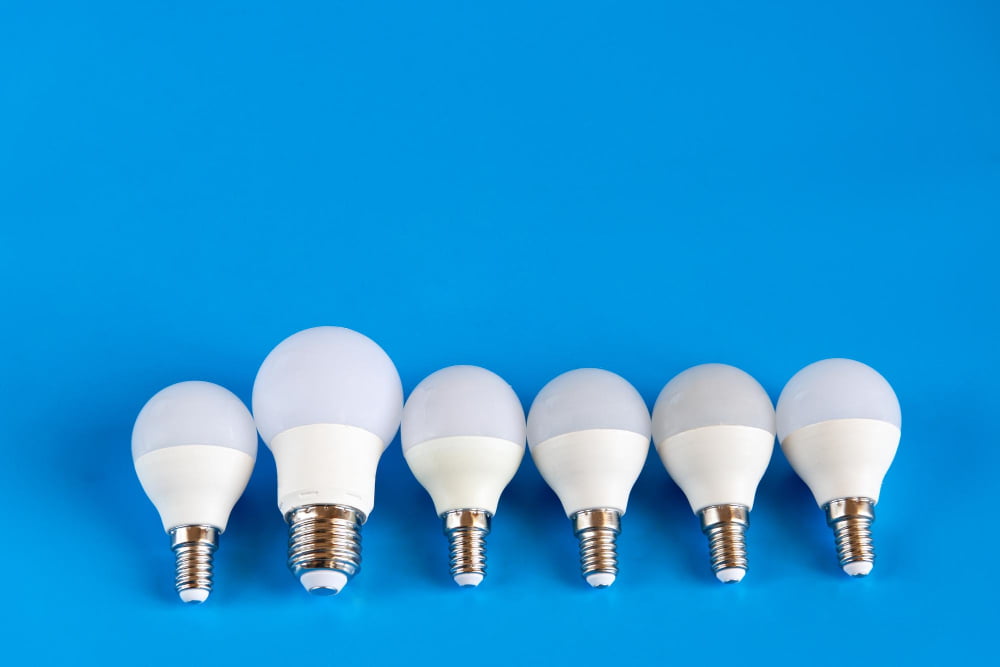
The type of bulb you select will determine not only how bright your pendant light is but also its energy efficiency and overall aesthetic appeal.
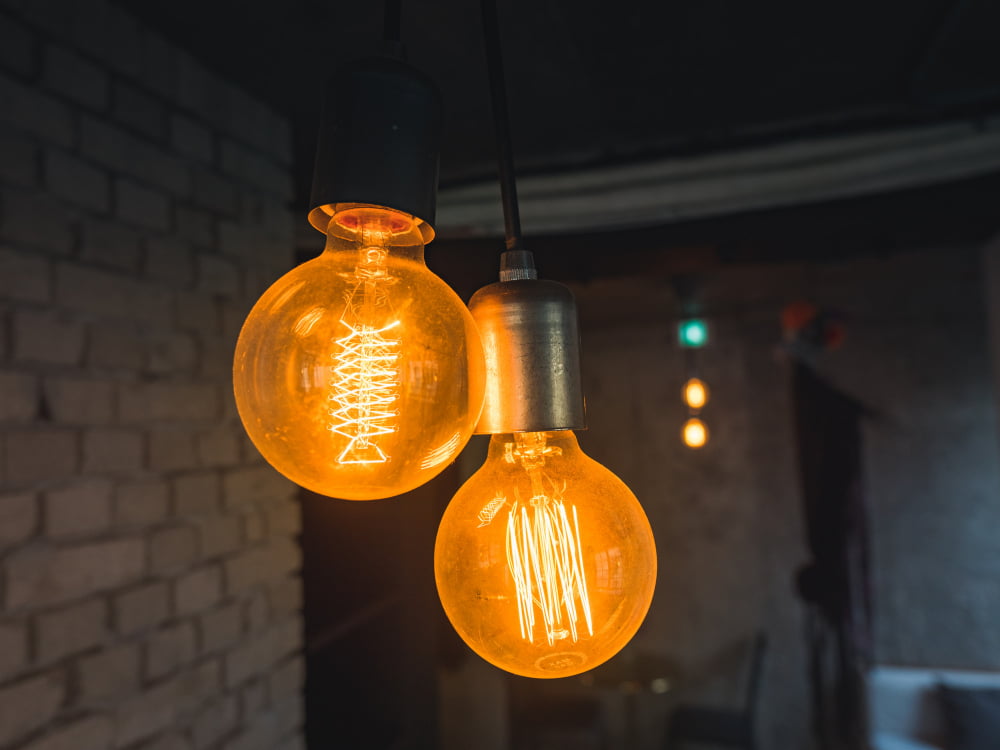
LED bulbs are a popular choice for pendant lights as they are highly energy-efficient and long-lasting. They come in a range of color temperatures, from warm white to cool daylight, allowing you to create different moods in your room.
Halogen bulbs provide bright and crisp lighting that is ideal for task-oriented spaces such as kitchens or home offices. However, they tend to be less efficient than LED bulbs and have a shorter lifespan.
Incandescent bulbs offer warm ambient lighting that can create an inviting atmosphere in any room. However, they consume more electricity than LED or halogen options and need frequent replacement due to their short lifespan.
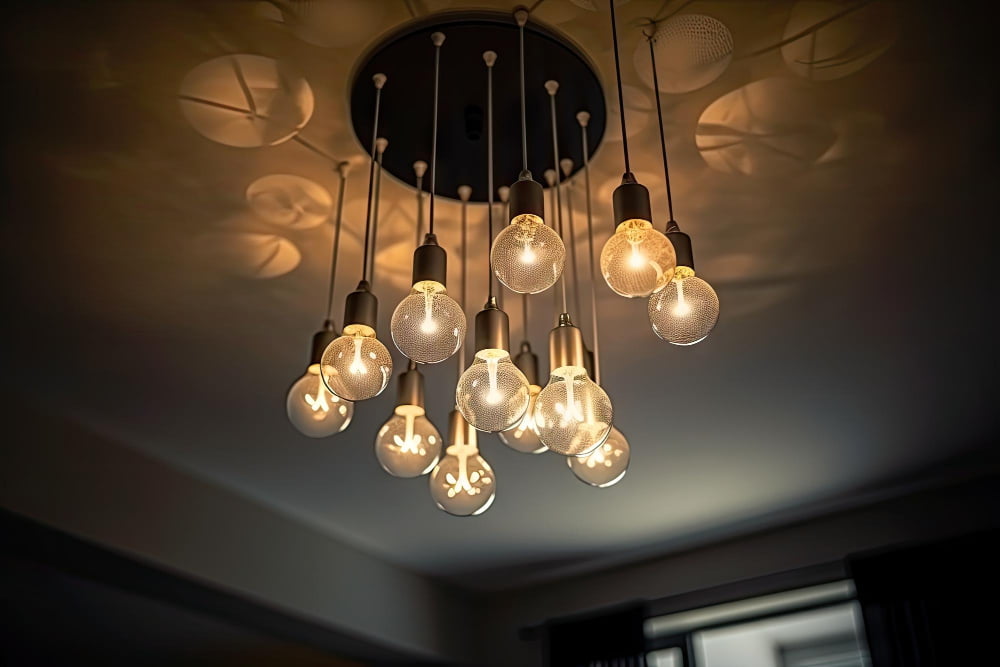
Installing Ceiling Junction Box
This is an essential step that provides support and stability for your pendant light fixture. The junction box should be installed in the center of where you want to hang your pendant light.
To begin, turn off power at the circuit breaker before starting any electrical work. Next, use a stud finder or knock on the ceiling until you locate a joist or beam where you can attach the junction box securely with screws.
After locating and marking this spot on your ceiling, trace around an old-work electrical box template onto it using a pencil. Cut out this traced area with drywall saw carefully so as not to damage any wires behind it.
Now insert metal brackets into each side of an old-work electrical mounting bracket and push them through holes in drywall until they snap into place against framing members above (joists).
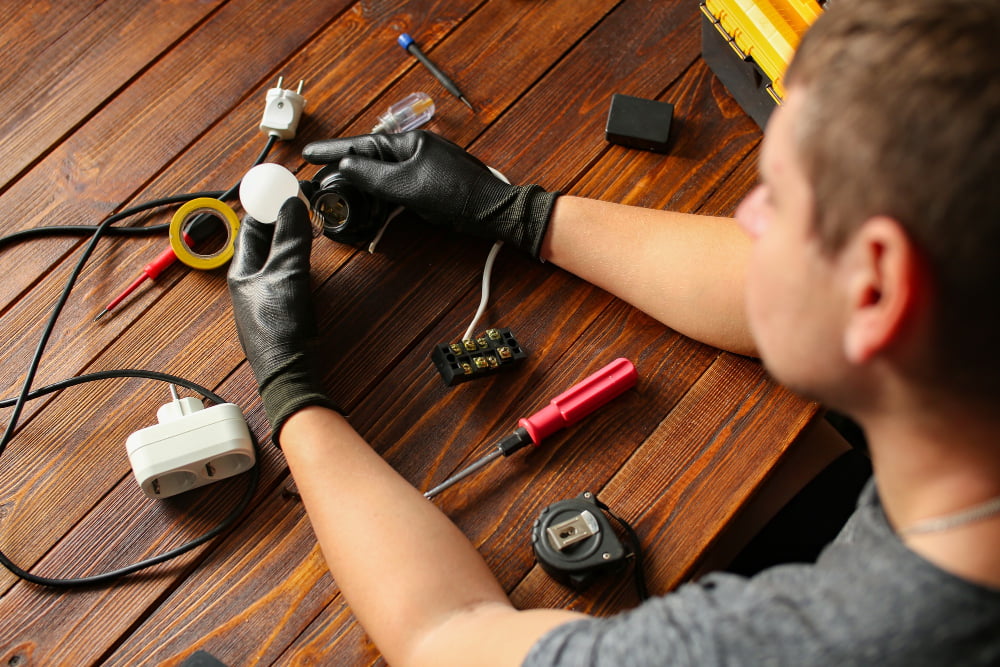
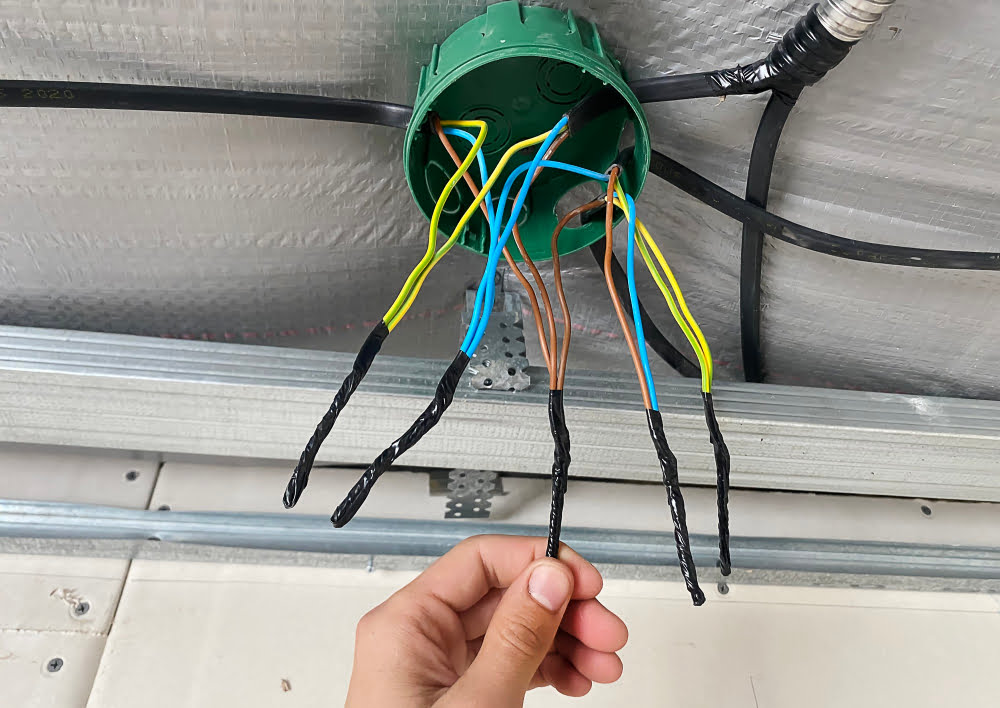
Running Electrical Wires
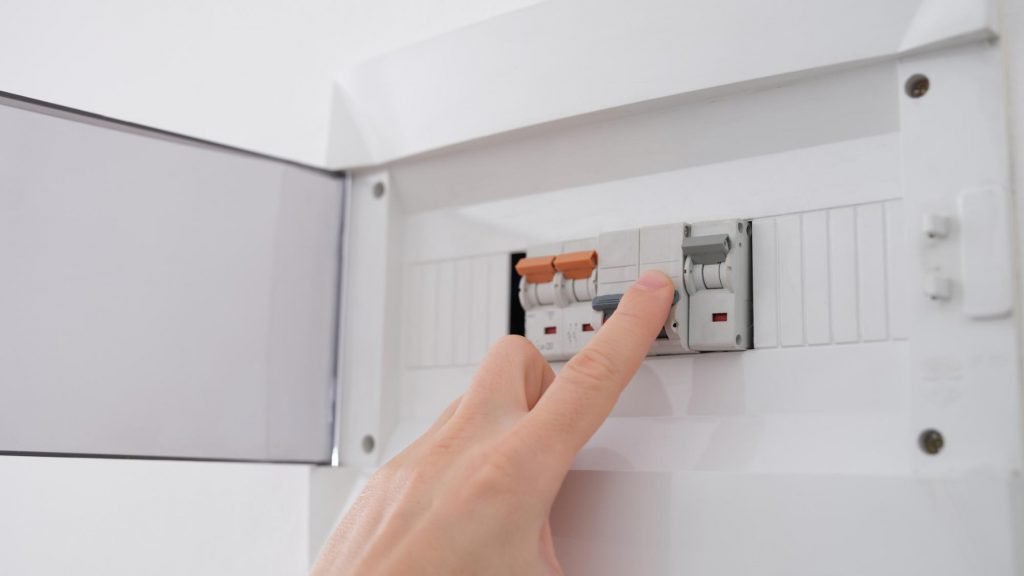
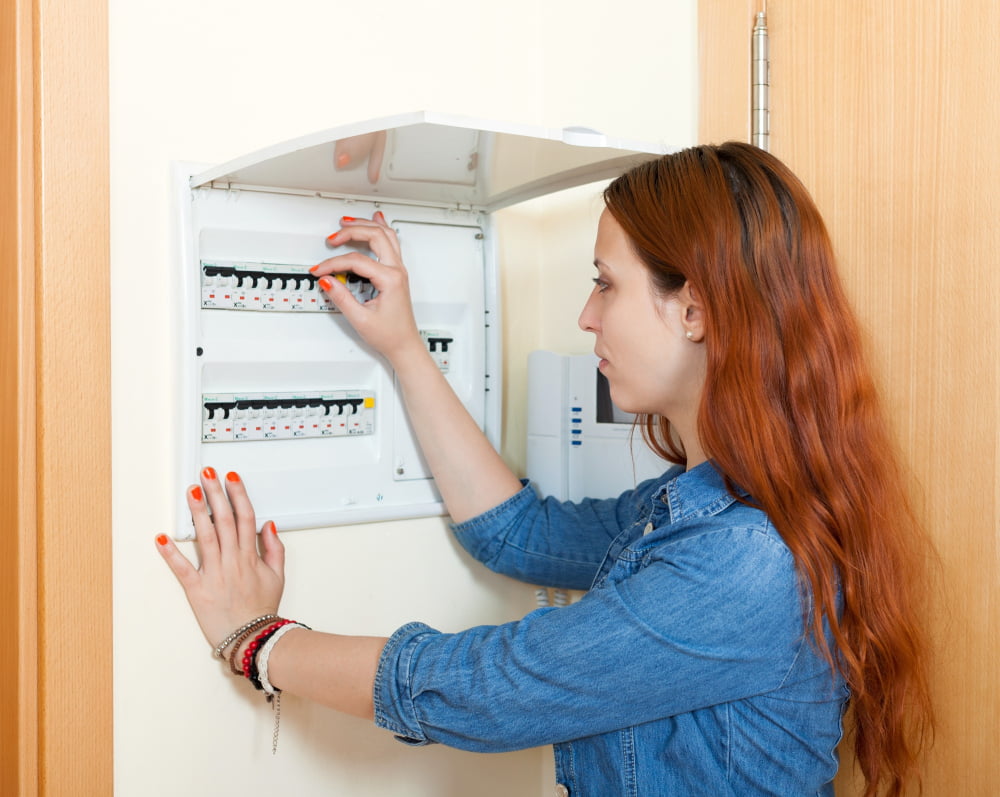
This step is crucial as it ensures that your pendant light will function properly and safely. Before running any wires, make sure to turn off power at the circuit breaker box.
To begin, drill a hole in the ceiling where you want to install your pendant light. Then use a fish tape or wire snake tool to pull an electrical cable through this hole from an existing junction box or switch location.
Next, strip about 6 inches of insulation from both ends of each wire in the cable using wire strippers. Connect one end of each wire (black/hot, white/neutral) with its corresponding color-coded screw on a new junction box installed near where you want your fixture hung.
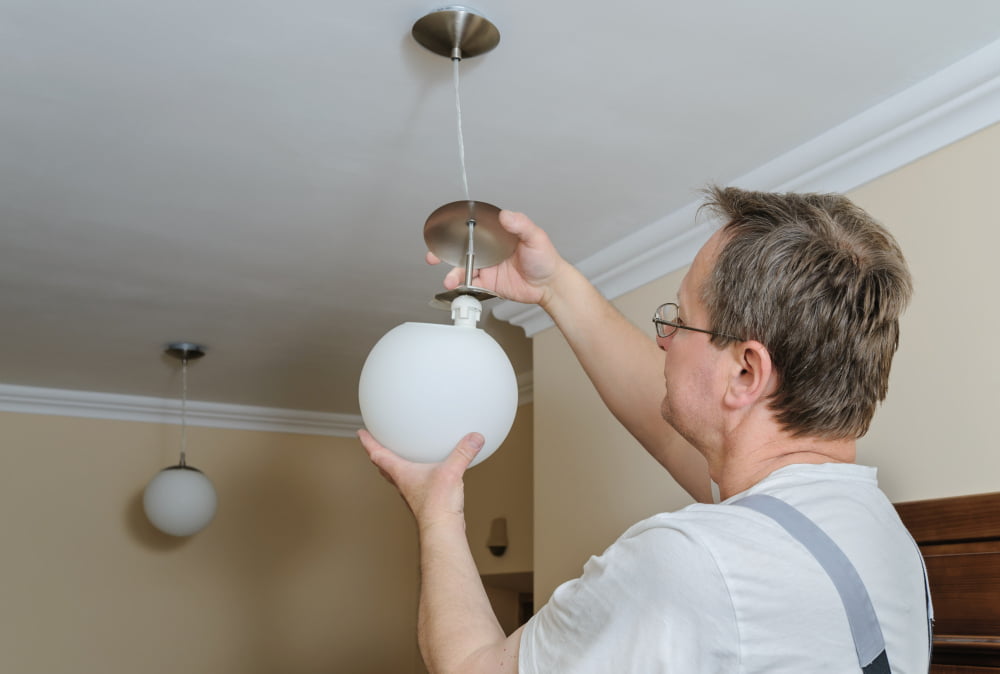
Installing the Pendant Light Mount
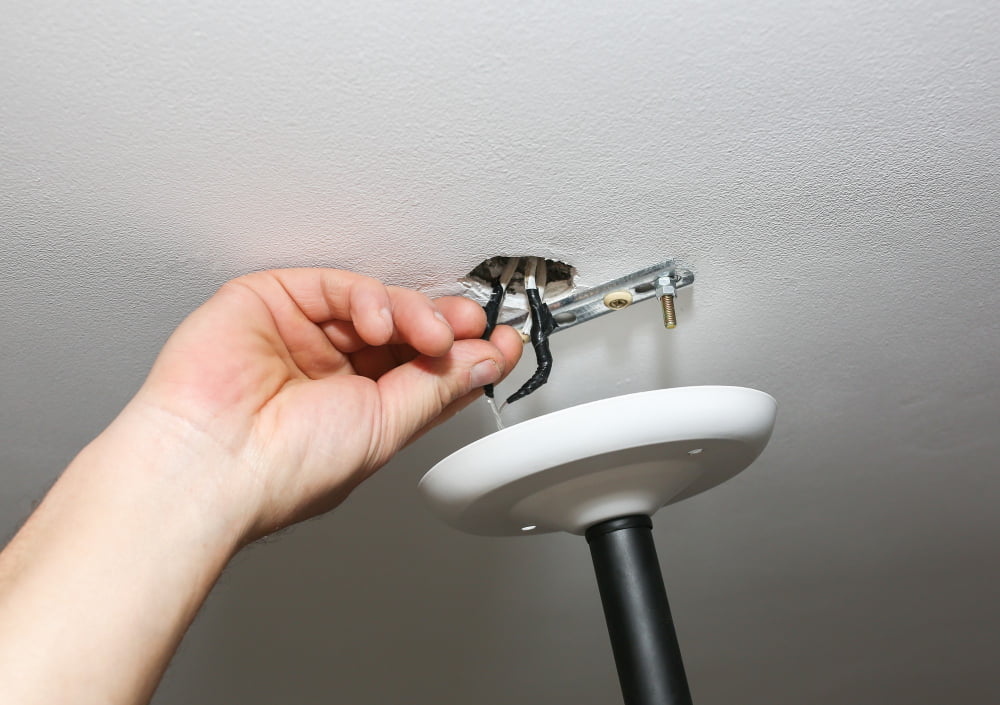
The first step is to attach a mounting bracket or plate onto the ceiling junction box using screws. Make sure that it is securely fastened and level.
Next, thread any necessary wires through the center of your chosen pendant light fixture’s mounting rod or chain before attaching it to the bracket/plate with a locknut. Tighten this nut firmly but be careful not to over-tighten as this could damage both parts.
If you’re installing multiple pendants in one area, make sure they are spaced evenly apart from each other for an aesthetically pleasing look. Once all mounts are installed correctly, double-check that everything is secure before proceeding with wiring them up.
Wiring the Pendant Light
Before starting this process, make sure that your power supply is turned off and that you have all necessary tools on hand.
Firstly, strip about 1/2 inch of insulation from each wire end using a wire stripper. Then connect the black or red (hot) wires together by twisting them clockwise with pliers and securing them with a wire nut.
Repeat this step for white (neutral) wires as well.
Next, attach the ground wires to each other in a similar fashion but use green grounding screws instead of nuts. If your fixture has an additional green screw or copper pigtail attached to it then connect these two grounds together too.
Tuck all wiring into junction box carefully without damaging any connections before attaching cover plate securely over top so no exposed wiring remains visible outside of fixture housing area.
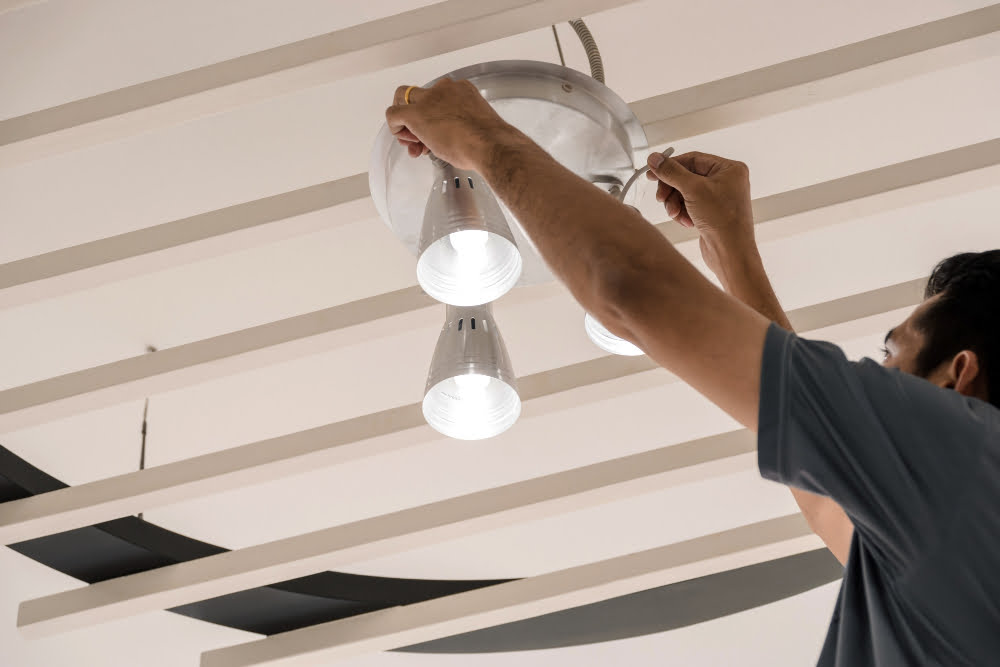
Attach the Light Shade
This is where your personal style comes into play as there are a variety of shades available in different shapes, sizes and materials. Some popular options include glass shades, metal shades or fabric drum shades.
To attach the shade, simply follow the manufacturer’s instructions that come with your pendant light kit. Typically, you will need to screw on a mounting bracket onto the socket assembly before attaching your chosen shade.
Make sure that you securely fasten and align all parts of your pendant light fixture so that it hangs straight and level from its mount point on ceiling junction box.
Adjusting the Hanging Height
The ideal height for a pendant light depends on various factors such as room size, ceiling height, and personal preference. Generally speaking, pendant lights should hang 12-20 inches below an 8-foot ceiling or at least 30 inches above any furniture or tabletops.
To adjust the hanging height of your pendant light fixture:.
1. Turn off power: Before making any adjustments to your lighting fixtures’ position or wiring connections ensure that you turn off all electrical power sources.
2. Loosen screws: Locate the screws that hold up your mounting bracket in place and loosen them slightly so that they can move freely.
3. Adjust Height: Slide up/down until desired length is achieved.
4. Tighten Screws: Once you’ve found a suitable location for your new lighting fixture tighten all screws securely into place with care not to over-tighten which could damage either component involved in installation process.
Testing the Pendant Light
Turn on the power and check if the light is working correctly. If everything looks good, turn off the power again and adjust your hanging height as needed.
If you notice any issues with your pendant light after testing, don’t panic! Troubleshooting common problems like flickering lights or dimming can be done quickly by checking for loose connections or using a voltage tester to ensure proper electrical flow.
Remember that safety should always come first when dealing with electricity. Always turn off power at the breaker box before installing or adjusting any lighting fixtures in your home.
Troubleshooting Common Issues
One of the most common problems is flickering lights, which could indicate a loose connection or an issue with the bulb type. To fix this problem, ensure that all connections are tight and secure and use bulbs recommended by the manufacturer.
Another issue you might face is uneven lighting or shadows caused by improper placement of the light fixture. If this happens, adjust the height and position of your pendant light until it provides even illumination throughout your space.
If you notice buzzing sounds coming from your new pendant lights when they’re turned on, it could mean there’s a wiring problem or an issue with voltage regulation in your home’s electrical system. In such cases, consult a licensed electrician to diagnose and resolve any electrical issues before proceeding further.
Pendant Lighting Safety Tips

Before you begin the installation process, make sure that you have turned off the power supply to avoid any electrical hazards. It’s also important to use proper tools and equipment when handling electrical wires and mounting hardware.
Ensure that your pendant light is securely mounted in place before turning on the power supply. Loose or unstable fixtures can pose a risk of falling or causing damage.
Another safety tip is to choose bulbs with appropriate wattage for your fixture and room size. Overloading your pendant light with high-wattage bulbs can cause overheating and potentially start a fire.
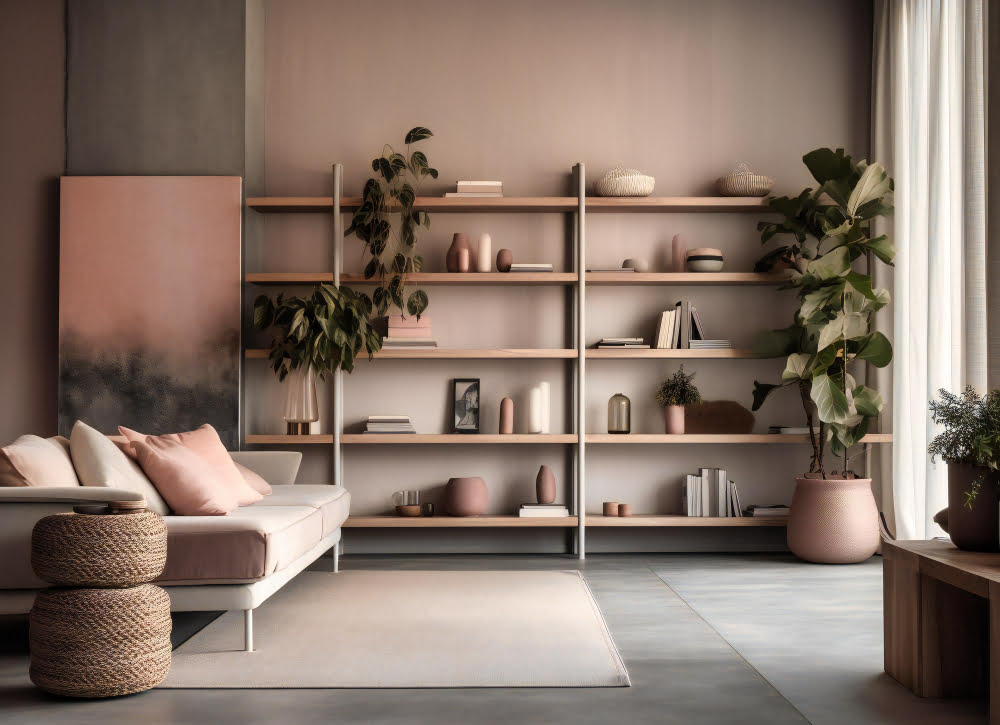
Complementing Room Design
Therefore, it is crucial to choose the right style and size that complements your room’s decor. For instance, if you have a modern living space with clean lines and minimalistic furniture, consider installing sleek pendant lights with metallic finishes or geometric shapes.
On the other hand, if you have a traditional-style dining area with wooden furniture and warm colors on walls or curtains; opt for classic chandeliers or rustic-looking pendants made from natural materials like wood or rattan.
In addition to choosing the right style of pendant light for your space; make sure that its color scheme matches well with other elements in the room such as wall paint color, flooring type/color as well as any artwork displayed on walls.
Maintaining Pendant Lights

Regular cleaning is essential for maintaining the appearance and functionality of these lights. Dust and debris can accumulate on the surface of pendant light shades, which may affect their brightness or cause discoloration over time.
To clean pendant lights, start by turning off power at the circuit breaker box before removing any parts. Use a soft cloth or duster to gently wipe down each component, including bulbs and shades.
Avoid using abrasive cleaners or harsh chemicals as they may damage delicate materials such as glass or metal.
In addition to regular cleaning, it’s also important to inspect your pendant lights periodically for signs of wear and tear such as loose screws or damaged wiring connections. If you notice any issues with your lighting fixtures during routine maintenance checks, be sure to address them promptly before they become more serious problems.
By following these simple tips for maintaining your pendant lights properly after installation will ensure that they remain functional while adding an elegant touch throughout every room in which you have installed them!.
FAQ
How do you swag a plug in pendant light?
To swag a plug-in pendant light, thread the non-pointed end of the insert into the swag hook, twist it into a drilled hole until the hook’s base is pressed tightly, and test its strength by pulling with a force slightly greater than the fixture’s weight.
What height should pendant lights be over an island?
The pendant lights should be hung at a height of 75-90cm (30″) above the kitchen island surface or about 72″ from the floor to the base of the light fixture.
What are the key factors to consider when choosing pendant lights for a kitchen?
Key factors to consider when choosing pendant lights for a kitchen include style, size, height, light output, and the intended purpose or area of illumination.
How do you determine the proper spacing between pendant lights above an island?
To determine the proper spacing between pendant lights above an island, divide the length of the island by the number of pendants you want to hang, and then subtract the pendant’s width to get the ideal spacing.
Are there specific materials or styles of pendant lights that work best in certain kitchen designs?
In certain kitchen designs, pendant lights made from materials such as glass, metals, or ceramics, and styles like industrial, modern, or farmhouse work best.
Read More Like This
 15 Epic Nerf Party Ideas
 15 Deliciously Creative Cookie Design Ideas
 15 Creative Belly Cast Ideas for Expecting Moms
 15 Creative DIY Birthday Decorations for a Memorable Celebration
 15 Creative Ideas for Strawberry Cheesecake Decoration
Recap: