Last updated on
Discover the simple steps to transform your pendant light into a convenient plug-in, enhancing both functionality and style in your living space.
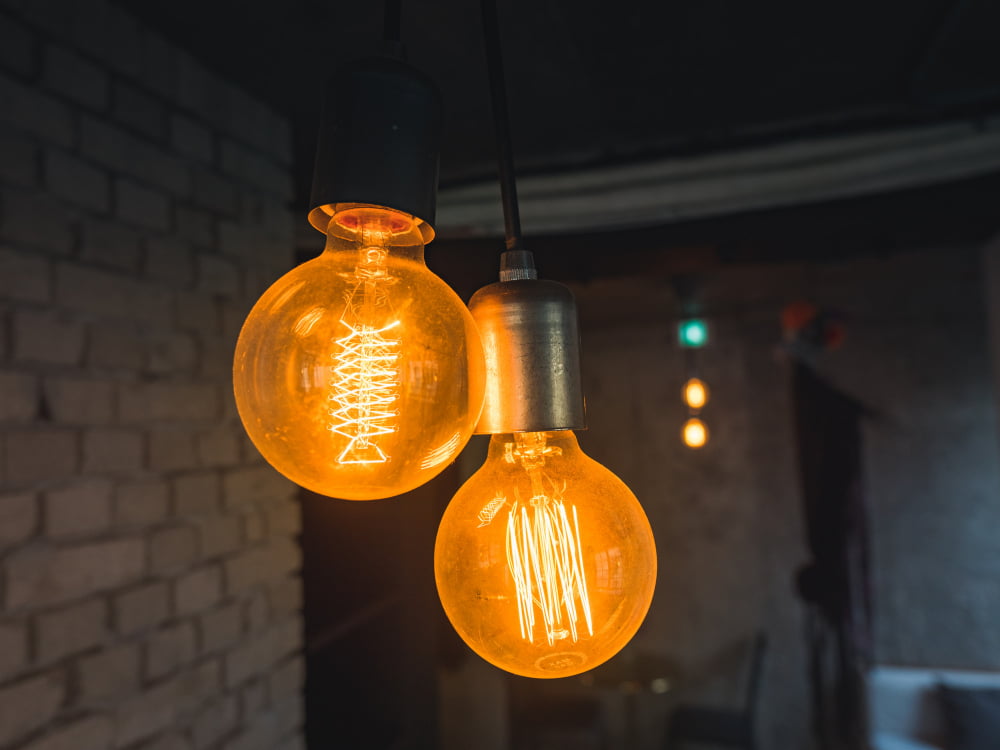
Have you ever fallen in love with a pendant light but realized it doesn’t have a plug? Or maybe you want to move your pendant light to another room, but there’s no electrical wiring in the ceiling? Don’t worry, you don’t have to be an electrician or spend a fortune hiring one. With just a few simple steps, you can easily turn your pendant light into a plug-in fixture.
In this article, I will guide you through the process and provide some helpful tips along the way. Get ready to transform your lighting game!
Key takeaways:
- Use a screwdriver to remove hardwire components from the pendant light.
- Choose a plug-in light kit that suits your needs and meets safety standards.
- Select a suitable cord length and thickness for your pendant light.
- Follow the steps to remove hardwire components and assemble the plug-in kit.
- Mount the pendant light securely and test it before hanging permanently.
Tools and Materials Required
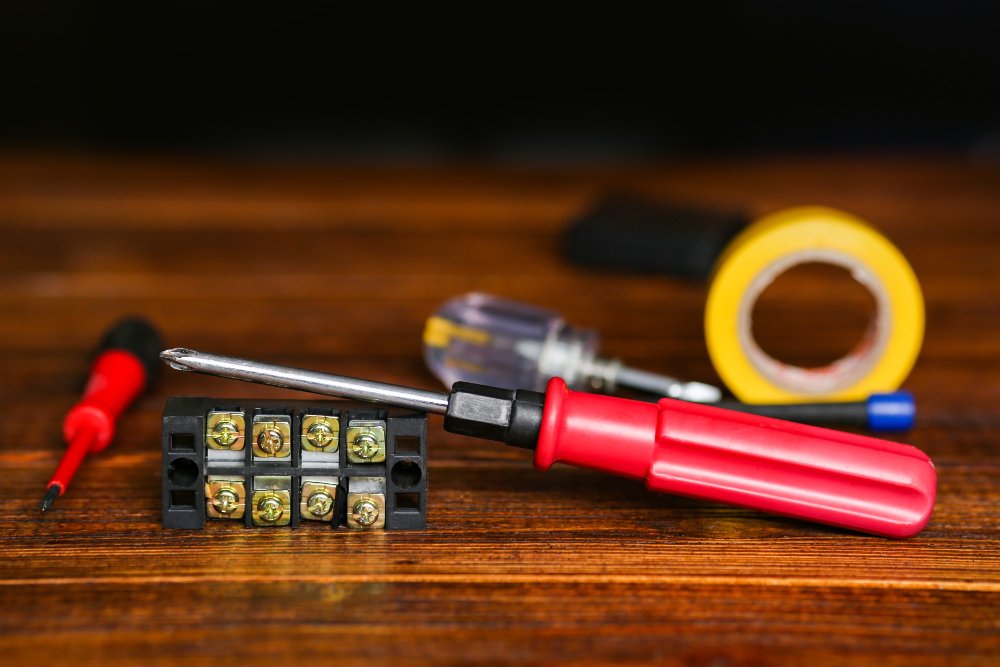
Don’t worry; most of these items are readily available at your local hardware store or online. Here’s what you’ll need:
1. Screwdriver: You’ll use this to remove the hardwire components from the pendant light.
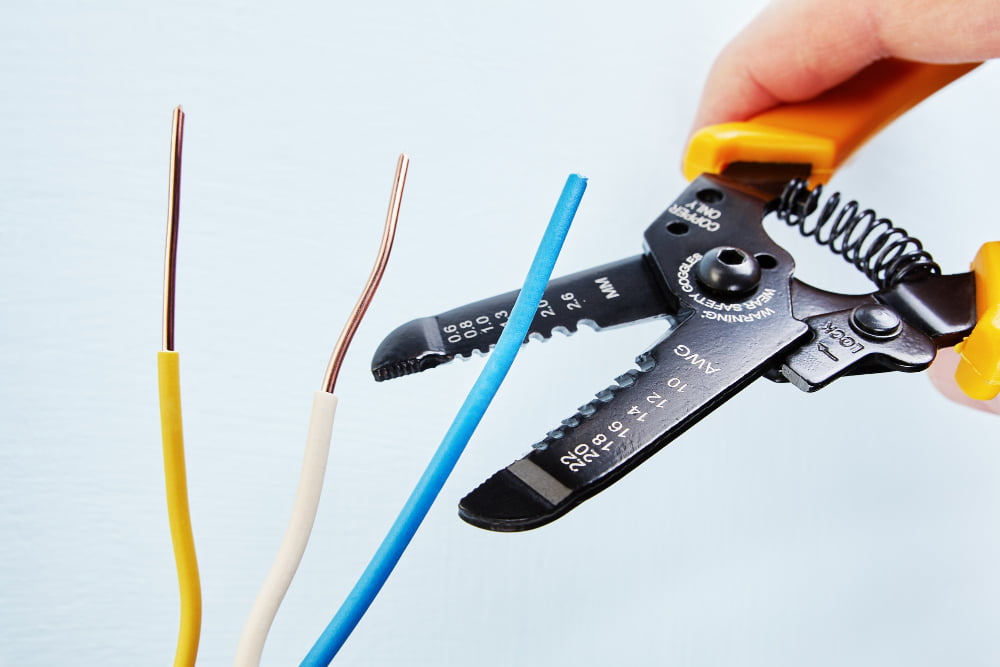
2. Wire Cutters/Strippers: These tools will help you cut and strip wires as needed.
3. Electrical Tape: This is used to insulate exposed wires after stripping them.
4. Plug-In Light Kit: This kit includes all necessary parts for converting a hardwired fixture into a plug-in one, including cord, socket, switch (optional), and plug end.
5. Cord Set with Switch (Optional): If your chosen kit doesn’t include it or if you want more control over turning on/off the light without unplugging it every time then get an additional cord set with an inline switch.
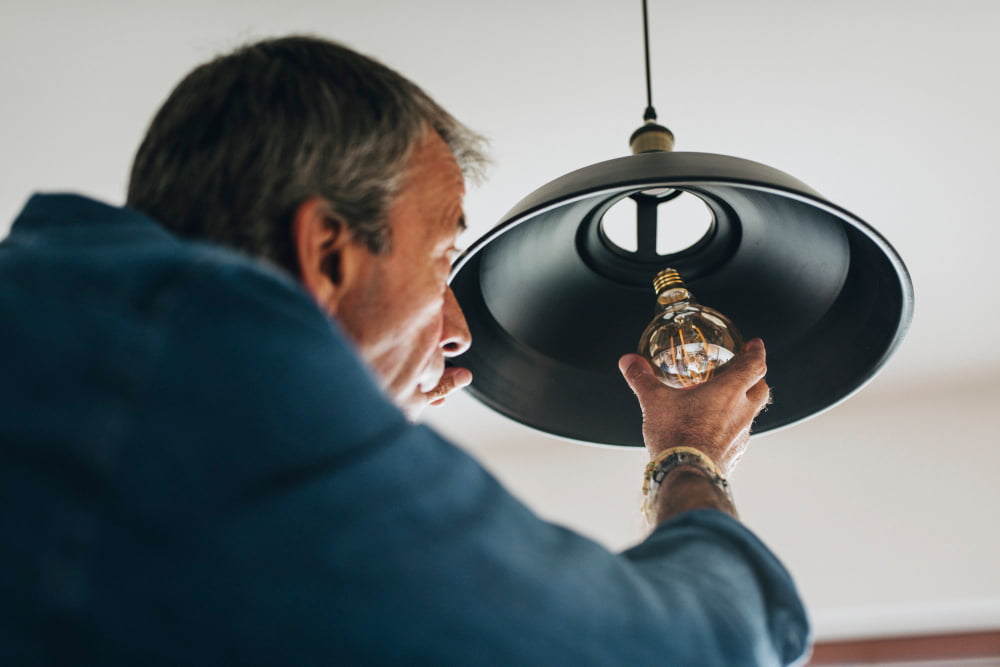
7. Light Bulb(s).
Safety Guidelines
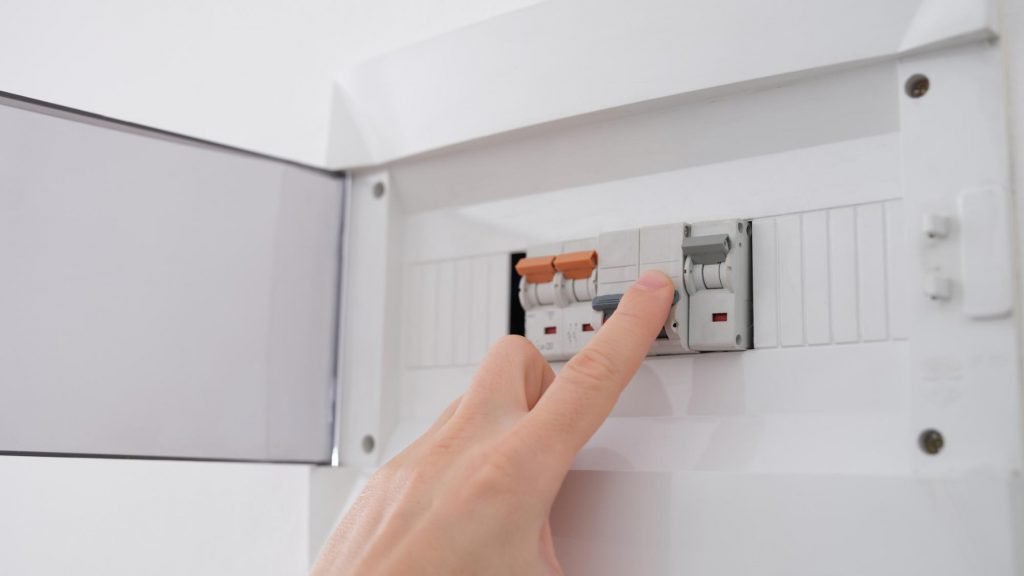
First and foremost, make sure that you turn off the power supply before starting any electrical work. This will prevent any accidents or electrocution from occurring.
Ensure that you have all the necessary tools and materials required for this project. Using improper tools can lead to damage or injury during installation.
It is also important to note that if you are not comfortable working with electricity or do not have experience in electrical work, it may be best to hire a professional electrician instead of attempting this DIY project on your own.
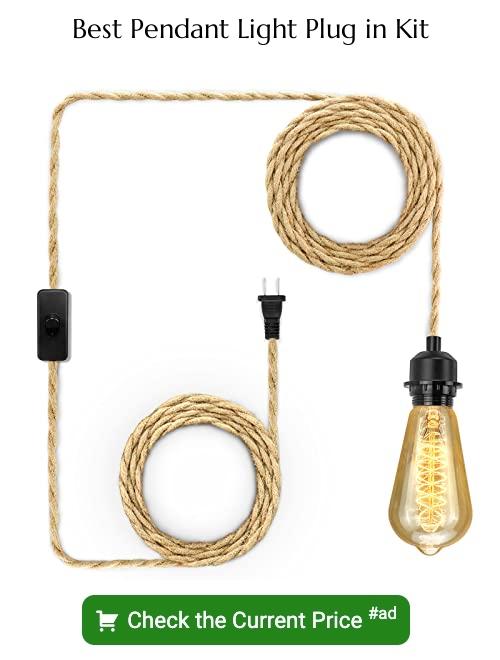
Choose a Plug-in Light Kit
This is an essential component that will allow you to convert your pendant light into a plug-in fixture. There are various types of kits available in the market, so make sure you select one that suits your needs.
When choosing a plug-in kit, consider factors such as cord length and color, switch type (if any), and compatibility with your pendant light. Some kits come with dimmer switches or remote controls for added convenience.
It’s also important to ensure that the kit is safe and meets electrical standards before purchasing it. Look for UL-listed products or consult an electrician if you’re unsure about which product to choose.
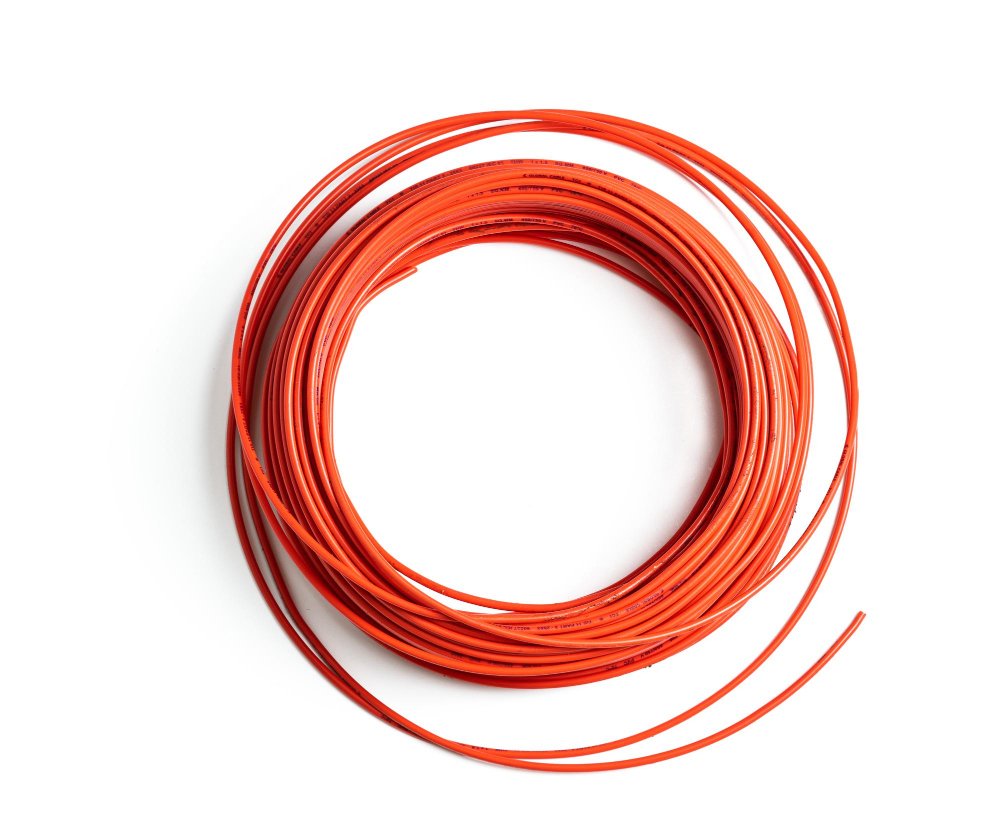
Select a Suitable Cord
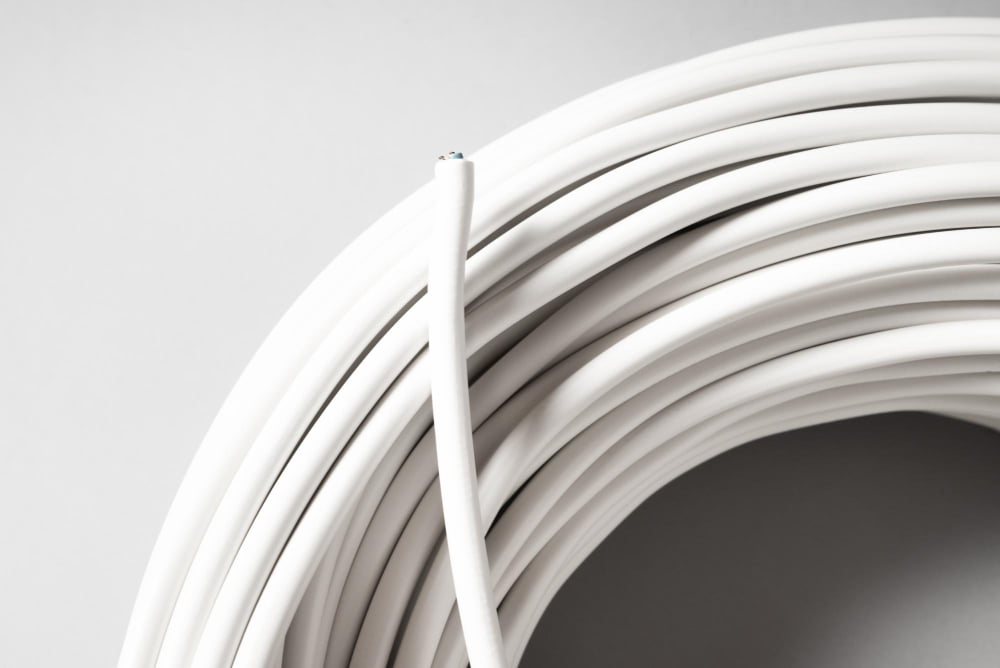
The cord will connect your pendant light to the electrical outlet and should be long enough to reach from the ceiling down to where you want your light fixture.
When selecting a cord, consider both its length and thickness. A thicker wire can handle more power without overheating or causing damage, so it’s important that you choose one with an appropriate gauge for your pendant light.
Think about how visible the wire will be in your space – if it’s going to be exposed or run along walls or ceilings then choosing one that blends well with its surroundings is essential.
A fabric-covered lamp wire can add texture and style while also being durable enough for everyday use. You may also want to consider color options as well; black cords are often used in modern decor schemes while white cords blend seamlessly into most spaces.
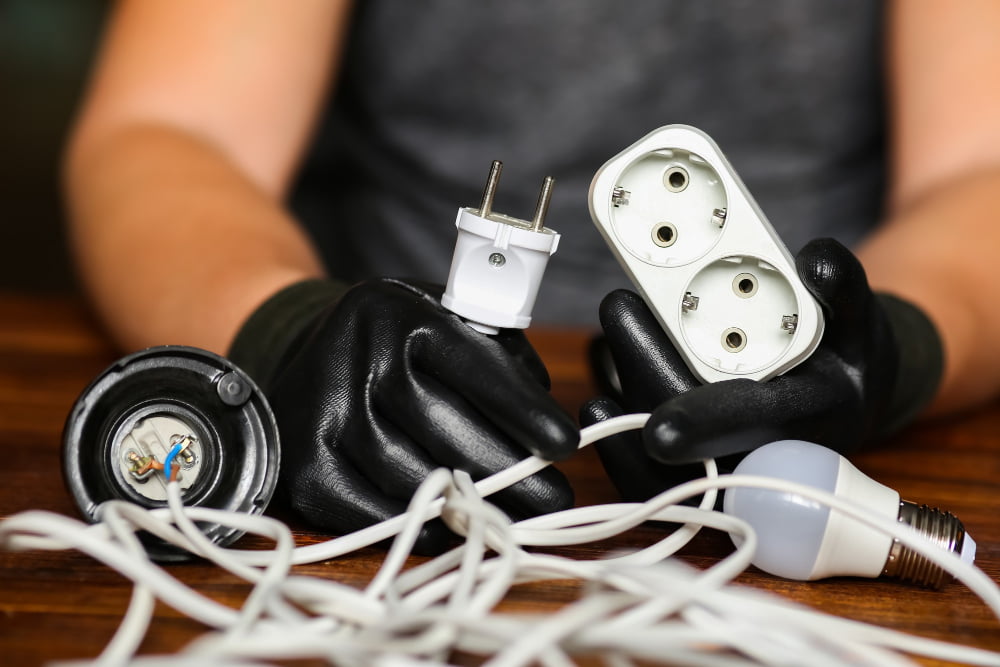
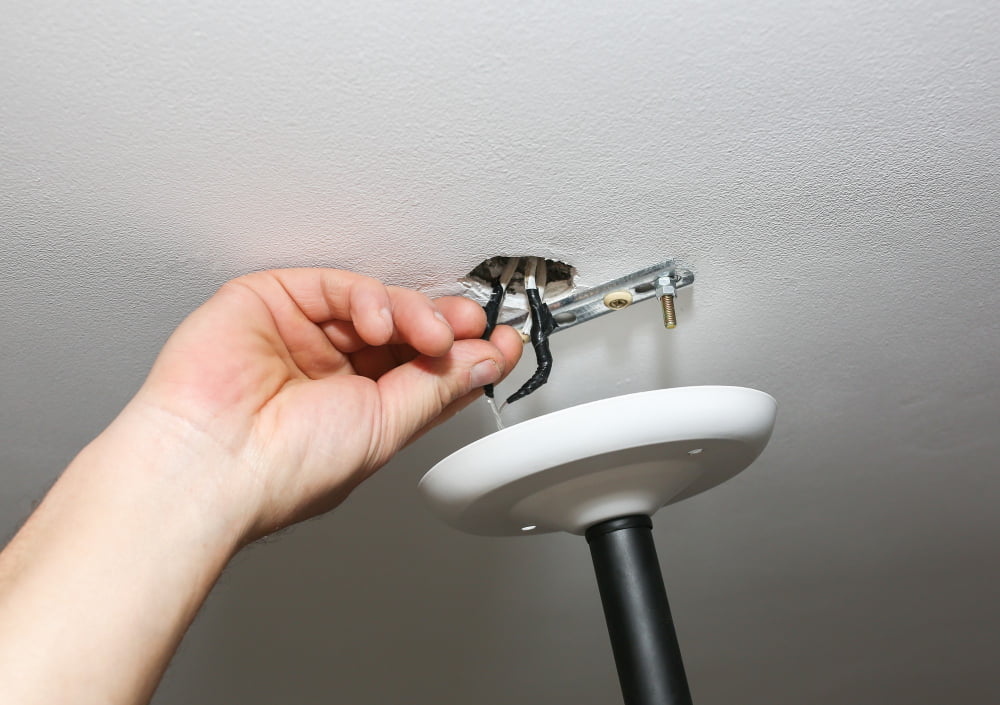
Removing the Hardwire Components
This process involves disconnecting the wires from the ceiling canopy and removing any unnecessary hardware that is specific to hardwiring.
To begin, make sure you have turned off power at your circuit breaker or fuse box before starting this step. Then, unscrew and remove the canopy cover from your pendant light fixture using a screwdriver.
Next, locate where each wire connects inside of it by looking for wire nuts or connectors holding them together. Carefully loosen these connections with pliers until they come apart easily without damaging any of their insulation.
Once all wires are disconnected from their respective terminals in both ends (fixture & ceiling), you can safely remove any other hardware that was used for mounting purposes such as screws or brackets.
Assembling the Plug-in Kit
The process is relatively straightforward and requires minimal effort. First, remove any hardwire components from your pendant light fixture using wire cutters or pliers.
Then, attach the new wiring to your pendant light by following the manufacturer’s instructions carefully.
Next, connect the wires of your plug-in kit with those of your pendant light fixture using wire nuts or electrical tape. Make sure that all connections are secure and tightly fastened.
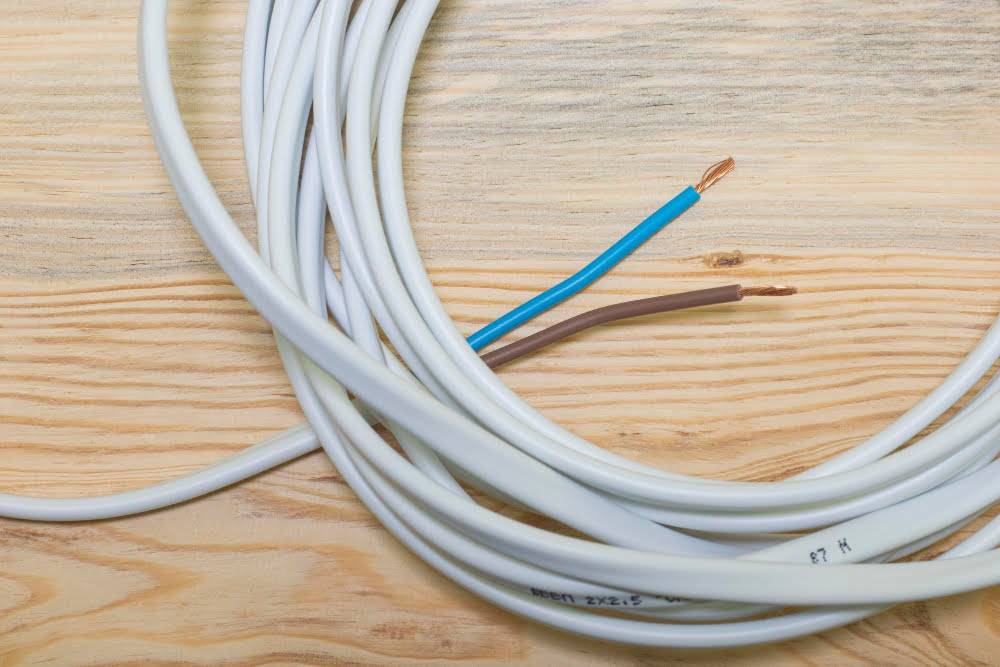
Step 1: Prepare the Wire
Once you have done that, remove any existing wiring and hardwire components from your pendant light fixture. You will need a wire stripper tool for this step.
Next, prepare the wire by stripping about half an inch of insulation from both ends of each wire using a wire stripper tool. Make sure not to damage or cut through any wires while doing so.
Once you have stripped both ends of each wire, twist together the exposed copper strands tightly with pliers or use a twist-on connector cap (also known as “wire nuts”) if provided in your plug-in kit.
Attach the New Wiring
First, prepare your wire by stripping off about 1/2 inch of insulation from each end using wire strippers. Then, thread one end of the cord through the top of your pendant light and out through its base.
Next, connect one end of your prepared wire to a neutral or white-colored screw on your plug-in kit and tighten it with a screwdriver. Connect another prepared wire to a hot or black-colored screw on your plug-in kit in the same way.
Make sure that all connections are tight and secure before proceeding further. You can use electrical tape for extra protection if needed.
Step 2: Attach the Plug
First, slide the cord through the hole in your plug and then separate its two wires. You will notice one wire has a smooth surface while another has ridges or grooves on it.
Next, strip off about half an inch of insulation from each end of both wires using a wire stripper tool. Twist together each pair of exposed ends tightly and wrap them with electrical tape for added safety.
Insert these twisted pairs into their respective slots inside your plug-in kit’s terminal block (the plastic piece that holds everything together). Tighten down all screws firmly but not too tight as this can damage or break delicate wiring connections.
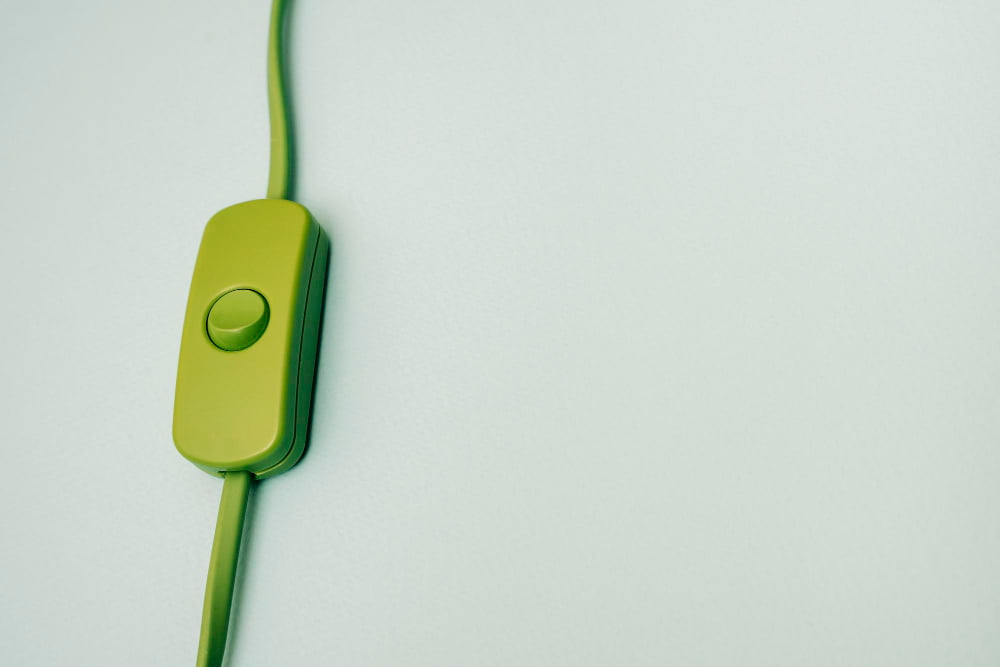
Step 3: (Optional) Add A Switch
It allows you to turn the light on and off without having to unplug it every time. If you decide to add a switch, make sure that the cord has enough length for easy access.
To add a switch, cut the wire in half at any point between the plug and where you want your switch located. Strip about 1/2 inch of insulation from each end of both wires.
Then attach one wire from each side of your cut together with one end of another piece (about 6 inches long) using electrical tape or wire nuts.
Next, strip about 1/2 inch off both ends again before attaching them onto opposite sides on either side of an inline toggle or rocker-style lamp cord dimmer switches available at most hardware stores.
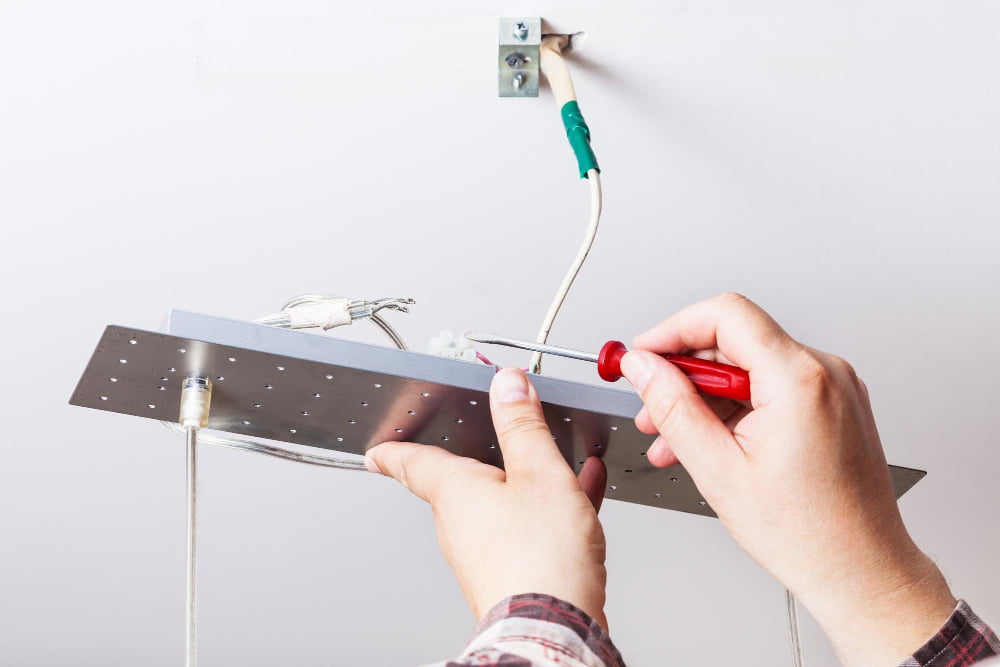
Mounting the Pendant Light
Before starting, make sure that the ceiling hook or bracket is securely attached and can support the weight of your fixture. If you’re unsure about how to install a ceiling hook or bracket, consult an electrician.
To hang the light fixture, thread the cord through the center hole in your mounting plate and attach any necessary hardware according to manufacturer instructions. Then carefully lift up on both ends of wire until they are taut against each other above where they come out from under their respective screws.
Next step is securing them with pliers by twisting clockwise around each screw head until tight enough not slip off when released but still loose enough for adjustment later if needed (usually 1-2 full turns).
Hang and Secure the Light
Before hanging the fixture, make sure that the cord is long enough to reach the outlet without being too taut or sagging. You can adjust this by wrapping any excess cord around a hook or nail on your ceiling.
Next, attach a mounting bracket onto the electrical box using screws and anchors if necessary. The bracket should be able to support both the weight of your pendant light as well as any additional hardware such as chains or hooks.
Now comes the fun part – attaching your pendant light! Depending on its design, you may need to use wire nuts or clips provided with your kit for proper installation. Follow manufacturer instructions carefully and ensure all connections are tight before proceeding.
Test out how securely attached everything is by giving it a gentle tug (not too hard!).
Step 4: Hang the Light Fixture
Before proceeding with this step, make sure that the cord is long enough to reach the desired height from where you plan on hanging it.
To begin, turn off all power sources in your home as a safety precaution. Then locate a suitable spot for mounting your pendant light and mark its position on the ceiling using a pencil or tape measure.
Next, drill holes into both sides of the marked area using an electric drill or screwdriver (depending on what type of surface you are drilling into). Insert wall anchors if necessary before attaching screws.
Pro Tip: Choose a Lamp Wire That Blends With the Color of Your Space!
A cord that blends in with the wall or ceiling will create a seamless look and make the fixture appear as if it was always meant to be there. On the other hand, a contrasting cord can add an interesting pop of color and become an eye-catching statement piece.
For example, if you have white walls and ceilings, choose a white or clear cord for your pendant light. This will help it blend in seamlessly with its surroundings without drawing too much attention away from other decor elements.
Alternatively, if you want to make more of a statement with your lighting fixture, opt for something bold like red or black wiring against lighter colored walls. This can add depth and interest to any room while still maintaining functionality.
Testing the Plug-in Pendant Light
Before plugging in the cord, make sure that all connections are secure and there are no exposed wires. Once you’re confident that everything is properly connected, plug in the cord and turn on the switch (if applicable).
If your pendant light doesn’t turn on or flickers when turned on, unplug it immediately and check for any loose connections or damaged wiring.
If everything looks good but your light still isn’t working correctly, try using a different bulb to see if that solves the issue. It’s also important to note that some dimmer switches may not be compatible with certain types of bulbs.
Testing your new plug-in pendant light ensures safety as well as functionality before hanging it up permanently.
Step 5: Test the Pendant Light
Before plugging in the cord, make sure that all connections are secure and there are no exposed wires. Once you’re confident that everything is in order, plug in the cord and turn on the switch (if you added one).
If your light doesn’t turn on or flickers intermittently, double-check all connections and ensure they’re tight.
If everything looks good but still doesn’t work correctly after testing a few times, try replacing any faulty components such as bulbs or switches. It’s always better to be safe than sorry when dealing with electrical wiring.
Style and Decorating Tips

One of the great things about plug-in pendant lights is their versatility – they can be easily moved from room to room or even hung outside for special occasions. Here are some style and decorating tips to help you make the most out of your new lighting addition:
1. Experiment with different cord lengths: Depending on where you plan on hanging your pendant light, consider playing around with different cord lengths until you find the perfect fit.
2. Mix and match styles: Don’t be afraid to mix and match different styles of lighting fixtures in one space! A combination of modern pendants alongside vintage chandeliers can create an eclectic yet cohesive look.
3. Use multiple pendants together: If one isn’t enough, try grouping several small-sized pendants together for a dramatic effect over a dining table or kitchen island.
4. Add shades or covers: To add more personality or color coordination within a room, consider adding shades or covers onto each individual bulb holder!
Troubleshooting Common Issues
Don’t worry; these problems are usually easy to fix. One of the most common issues is flickering or dimming lights, which can be caused by a loose connection between wires or an incompatible bulb wattage.
To solve this issue, ensure that all connections are tight and use bulbs with compatible wattage.
Another problem could be a non-functional switch if you added one during the installation process. Check if it’s correctly wired and securely attached to avoid any electrical hazards.
Lastly, make sure that your cord length is appropriate for where you want to hang your pendant light as too much tension on the wire can cause it to sag over time.
Care and Maintenance Guide

Regular maintenance will ensure that your new lighting addition stays in top condition and lasts for years to come.
To keep the cord clean, use a soft cloth or duster to wipe away any dust or debris. Avoid using harsh chemicals or abrasive materials that could damage the surface of the cord.
If you notice any fraying or damage to the cord, immediately unplug and discontinue use until repairs can be made by a professional electrician.
When moving your plug-in pendant light from room-to-room, always handle with care and avoid pulling on the cord excessively as this can cause strain on both the wiring and mounting hardware.
By following these simple tips for caring for your newly converted pendant light fixture, you’ll be able to enjoy its beauty and functionality for many years ahead!.
FAQ
Can you convert a pendant light to a plug-in?
Yes, you can convert a pendant light to a plug-in by installing an S-hook in the ceiling, securing it with Gorilla Glue, and running the cord through the hook towards the plug.
How do you swag a plug-in pendant light?
To swag a plug-in pendant light, thread the non-pointed end of the insert into the swag hook, twist it into the drilled hole until the base is tightly pressed to the wall or ceiling, and then test the hook’s strength by pulling with a force slightly higher than the fixture’s weight.
What are the necessary materials and tools for converting a pendant light to a plug-in?
Necessary materials and tools for converting a pendant light to a plug-in include a pendant light, a plug-in light cord with a switch, a screwdriver, wire stripper, wire nuts, and electrical tape.
Are there any safety precautions to consider when making a pendant light into a plug-in?
Yes, ensure that the wire connections are secured and insulated, and use a proper plug and cord to prevent electrical accidents.
What are some creative ways to integrate plug-in pendant lights into various room designs?
Creative ways to integrate plug-in pendant lights into various room designs include using them as bedside lamps, clustering them over dining tables, and hanging them in reading nooks or living spaces.
Read More Like This
 15 Funny Graduation Cap Ideas to Make Your Big Day Unforgettable
 15 Unique DIY Christmas Decorations Ideas for a Festive Home
 15 Creative Science Fair Board Ideas to Amaze Your Audience
 15 Handmade Envelope Decoration Ideas for Creative Gifting
 10 DIY Gifts for the Whiskey Lover in Your Life
Recap: