Last updated on
Discover the most effective techniques to make your chalk wall spotless and vibrant again in this comprehensive guide on chalk wall cleaning.
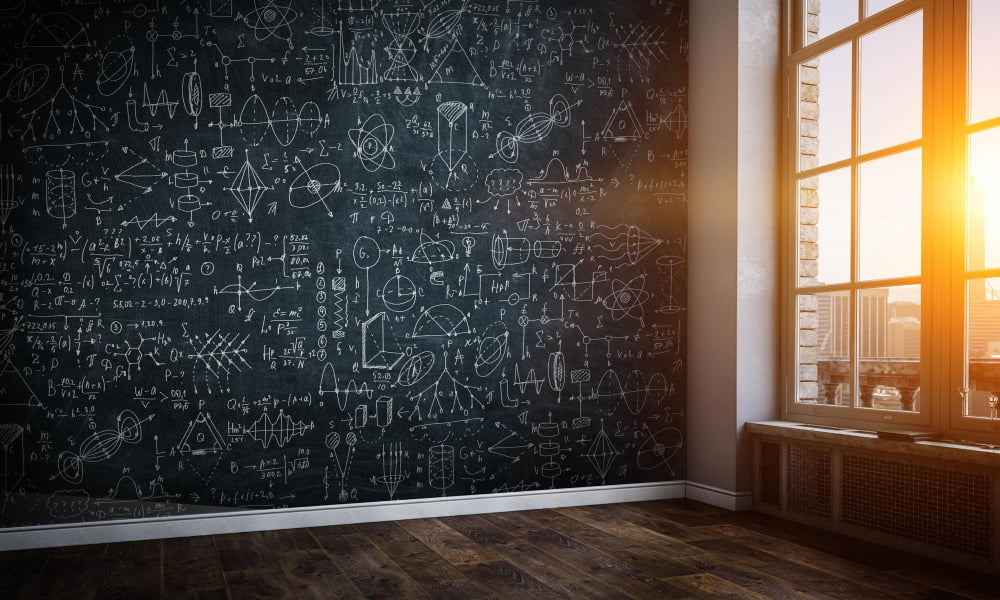
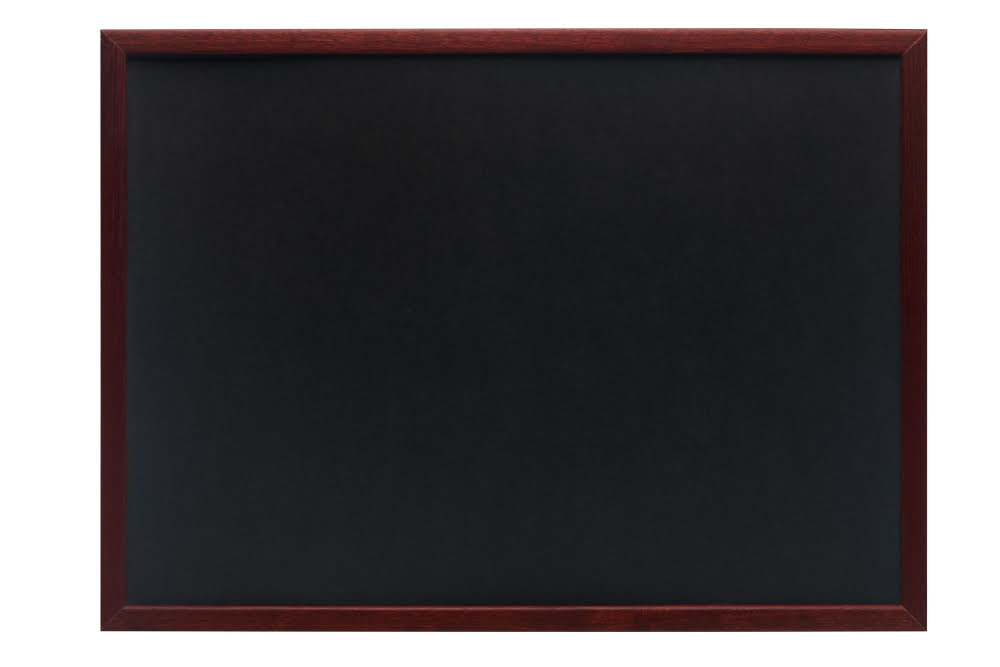
Chalk walls are a fun and creative addition to any home or office space. They offer a unique way to express your creativity, jot down reminders, or leave messages for others.
However, with frequent use, chalk walls can quickly become covered in dust and smudges, making them look dull and uninviting. That’s why knowing how to properly clean your chalk wall is essential for maintaining its appearance and functionality.
In this article, we’ll provide you with some useful tips on how to clean your chalk wall effectively without damaging it. So if you’re ready to restore the vibrancy of your chalk wall, let’s get started!
Key takeaways:
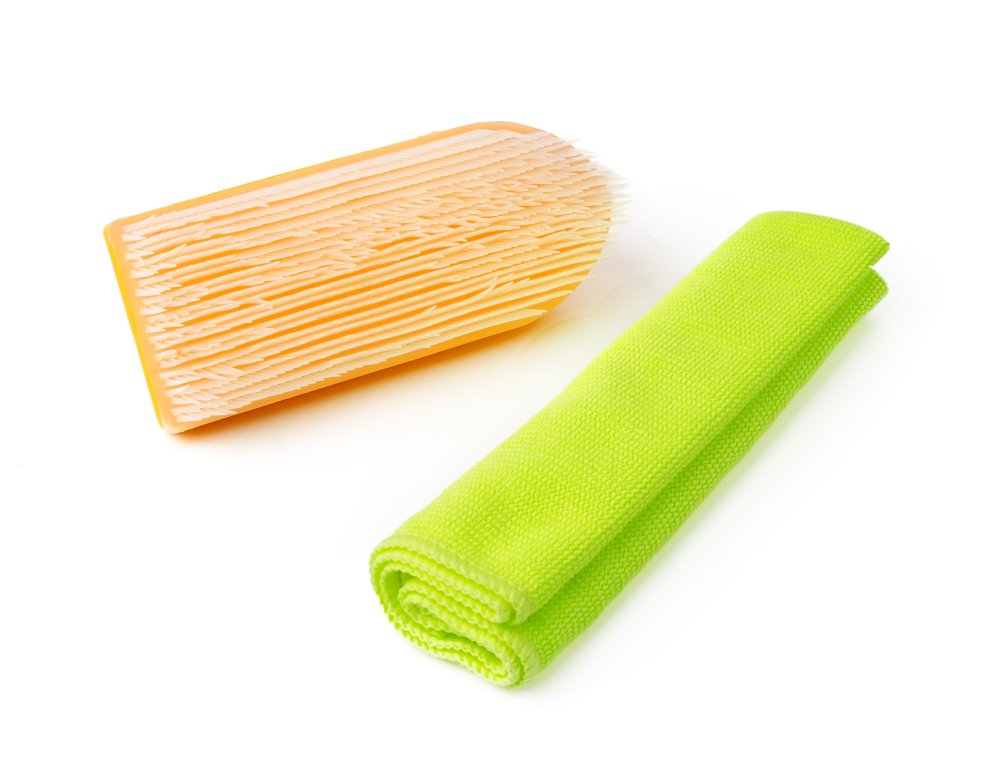
- Use a soft-bristled brush or microfiber cloth to remove loose debris.
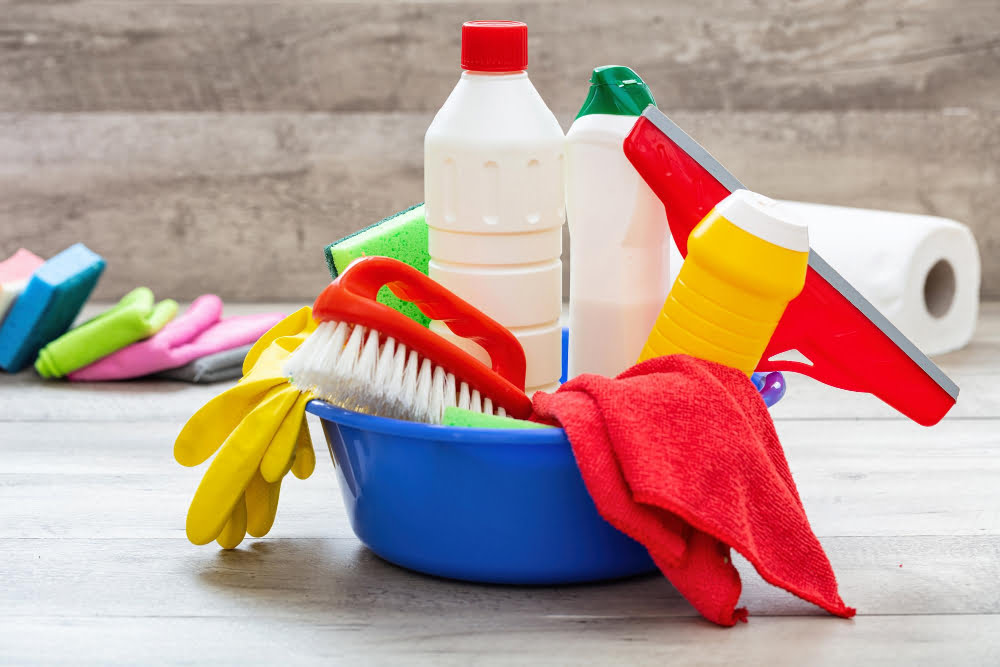
- Choose the right tools: soft-bristled brush, microfiber cloth, chalkboard eraser, and squeegee.
- Gather necessary materials: soft-bristled brush or microfiber cloth, chalkboard eraser, DIY cleaning solution, squeegee, and clean towel or rag.
- Prepare the chalk wall by removing loose debris and using a damp cloth for stubborn stains.
- Clean your chalk wall by wiping with a damp cloth, using vinegar and water solution, and squeegeeing off excess moisture.
Before You Begin
Before you begin cleaning your chalk wall, it’s important to take a few precautions to ensure that the process goes smoothly. First and foremost, make sure that the chalkboard is completely dry before you start cleaning it.
If there is any moisture on the surface of the board, this can cause streaks or smudges when you try to clean it.
Next, remove any loose debris from the surface of your chalk wall using a soft-bristled brush or microfiber cloth. This will help prevent scratches and other damage during cleaning.
It’s also essential to choose appropriate tools for cleaning your chalkboard effectively without causing harm. Avoid using abrasive materials like steel wool or harsh chemicals as they can scratch or damage its surface permanently.
Choosing the Right Tools
Using improper tools can damage your chalkboard and make it difficult to clean. Here are some of the best tools for cleaning a chalk wall:
1. Soft-bristled brush: A soft-bristled brush is ideal for removing dust and debris from your chalkboard without scratching its surface.
2. Microfiber cloth: A microfiber cloth is gentle enough not to scratch or damage a delicate surface like a chalk wall while still being effective at picking up dirt, dust, and smudges.
3. Chalkboard eraser: An eraser designed specifically for use on a blackboard will help remove any stubborn marks left behind by regular dry-erase markers or other writing utensils.
4. Squeegee: A squeegee can be used after applying cleaner solution onto the board; this tool helps in wiping off excess water from surfaces quickly.
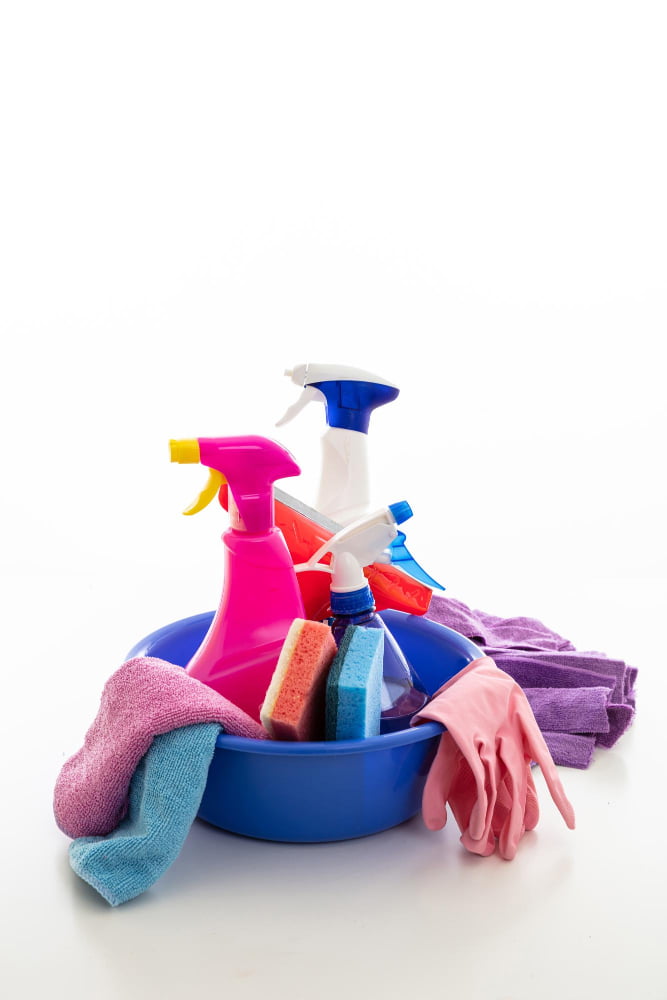
What You’ll Need
Here’s what you’ll need:
1. Soft-bristled brush or microfiber cloth: A soft-bristled brush or microfiber cloth is ideal for removing dust and debris from the surface of your chalk wall without scratching it.
2. Chalkboard eraser: A good quality chalkboard eraser will help remove most of the writing on the board with ease.
3. DIY cleaning solution: You can make an effective cleaning solution at home using simple ingredients like water, vinegar, and dish soap.
4. Squeegee: After applying the cleaning solution to your chalk wall, use a squeegee to remove any excess liquid from its surface quickly.
5. Clean towel or rag: Use a clean towel or rag to wipe down any remaining moisture after squeegeeing off excess liquid from your board’s surface.
Equipment / Tools
Here are some of the things you’ll need:
1. Soft-bristled brush or microfiber cloth: A soft-bristled brush or a microfiber cloth is ideal for removing dust and debris from your chalk wall without scratching its surface.
2. Chalkboard eraser: A good quality chalkboard eraser can help remove stubborn stains and marks from your board.
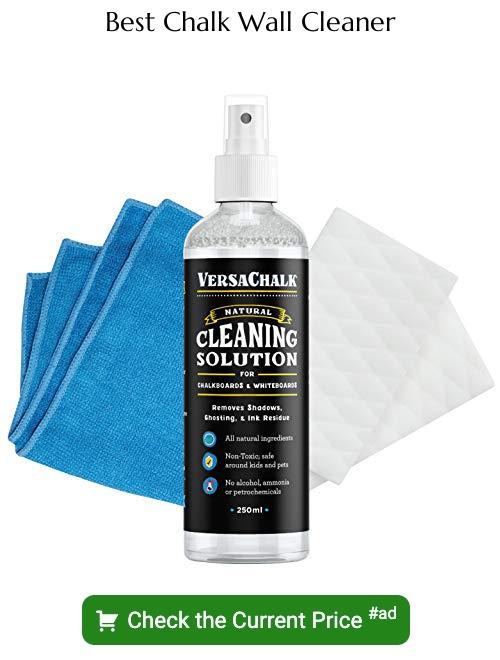
3. Cleaning solution: You can either buy a commercial cleaning solution specifically designed for chalk walls, or make one at home using simple ingredients like water, vinegar, dish soap, etc.
4. Squeegee: Using a squeegee after wiping down the board with cleaner will ensure that all excess moisture is removed before allowing it to air-dry completely.
Having these tools handy will make cleaning your chalk wall much easier and more efficient while ensuring that no damage occurs during the process.
Materials
Here are some of the things you’ll need:
1. Soft-bristled brush or microfiber cloth: This will help remove any loose dust and debris from the surface of your chalk wall.
2. Chalkboard eraser: An eraser is essential for removing stubborn marks and stains on your chalkboard.
3. Cleaning solution: You can either purchase a commercial cleaner specifically designed for cleaning chalkboards or make one yourself using simple household ingredients like vinegar, water, and dish soap.
4. Squeegee or dry cloth: A squeegee is useful in removing excess cleaning solution from the surface of your board after wiping it down with a damp cloth.
By having these materials ready before starting to clean, you’ll be able to work more efficiently without interruptions while ensuring that every step goes smoothly.
Preparing the Chalk Wall
This step will help ensure that you don’t damage the wall or leave any residue behind after cleaning.
To begin, remove all items from the chalkboard tray and set them aside. Next, use a soft-bristled brush or microfiber cloth to gently sweep away any loose dust or debris on the surface of your chalk wall.
If there are stubborn stains on your board that won’t come off with a simple wipe down, try using a damp cloth and mild soap solution to clean them up before proceeding with regular maintenance. Be sure not to saturate the board too much as this can cause water damage over time.
How Often to Clean a Chalkboard
How often should you do it? The answer depends on how frequently the board is used and the environment in which it’s located. If you use your chalkboard daily, then cleaning once a week is recommended.
However, if you only use it occasionally or for decorative purposes, then cleaning every two weeks or once a month may be sufficient.
If your chalk wall is located in an area with high humidity or dust levels, such as near an open window or air vent, then more frequent cleaning may be necessary. Dust and moisture can accumulate quickly on the surface of a chalkboard and cause ghosting (the faint residue left behind after erasing), making regular maintenance crucial.
Basic Chalk Wall Cleaning
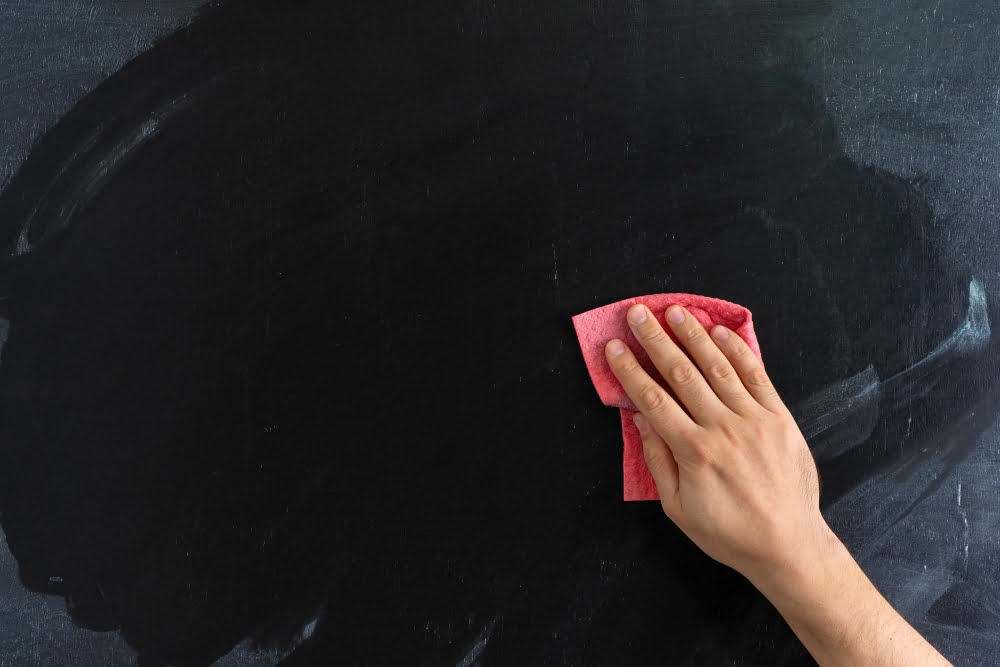
You can do this by using a soft-bristled brush or a microfiber cloth. Gently sweep the surface of the chalk wall, making sure to get into all the nooks and crannies.
Next, dampen a clean cloth with water and wring it out well. Wipe down the entire surface of your chalk wall with this damp cloth until all visible dirt has been removed.
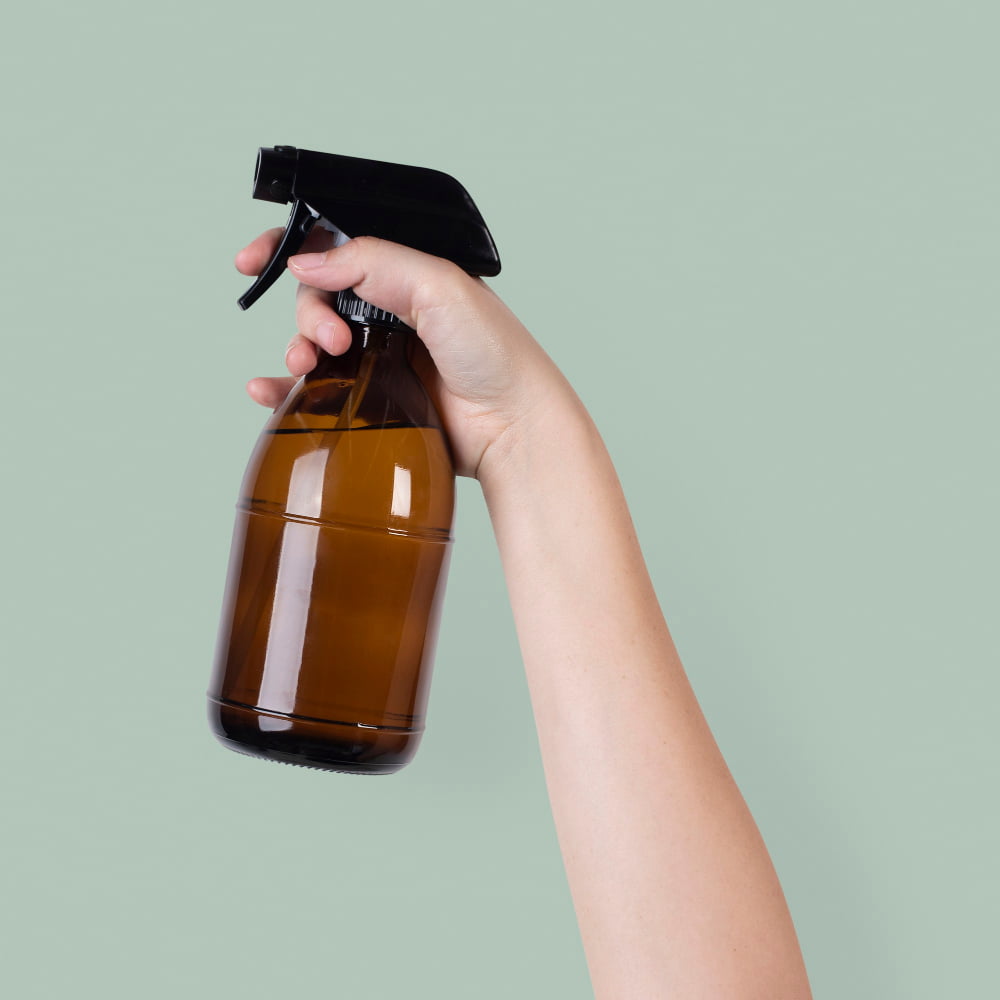
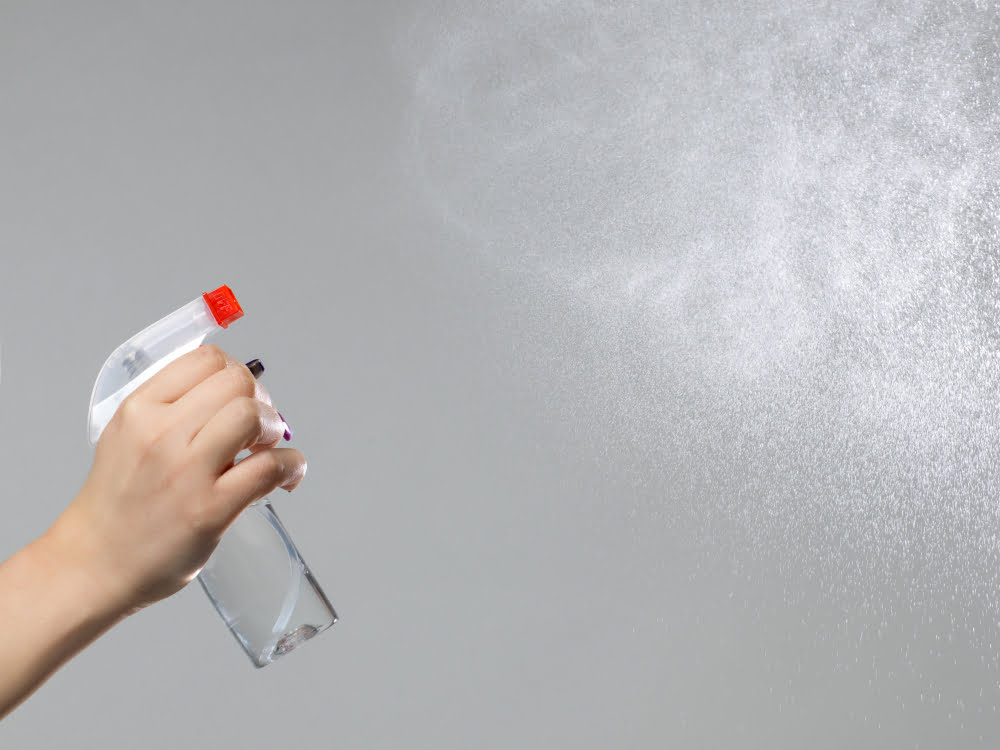
If there are still stubborn stains on your chalkboard after wiping it down with water, you can use vinegar as an effective natural cleaner. Mix equal parts white vinegar and warm water in a spray bottle then spritz onto the stained area before wiping away gently.
Remember not to use harsh chemicals such as bleach or ammonia when cleaning your chalk walls because they may damage its finish over time.
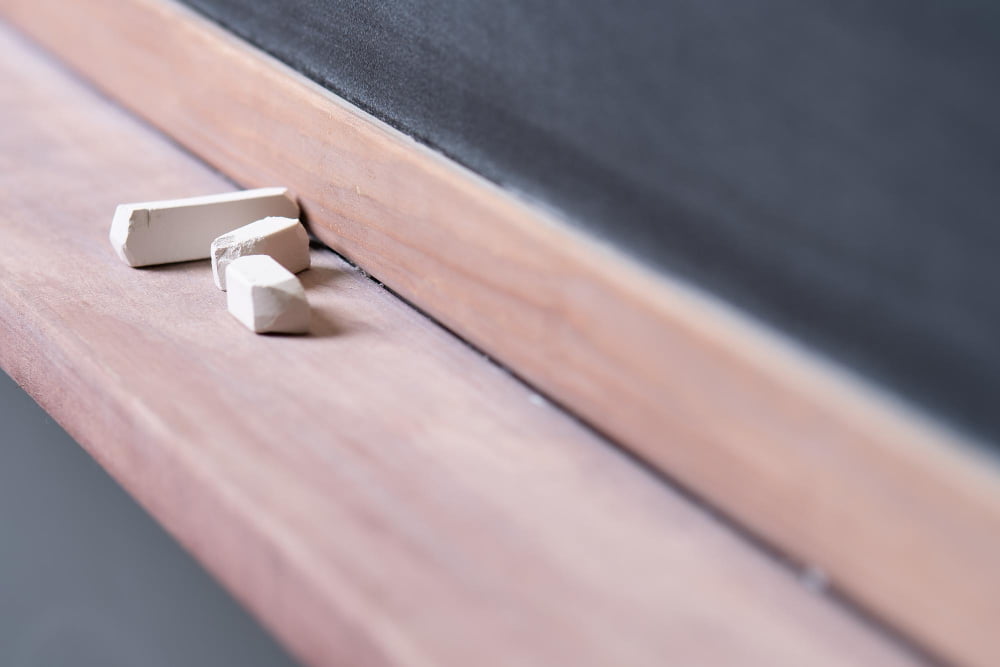
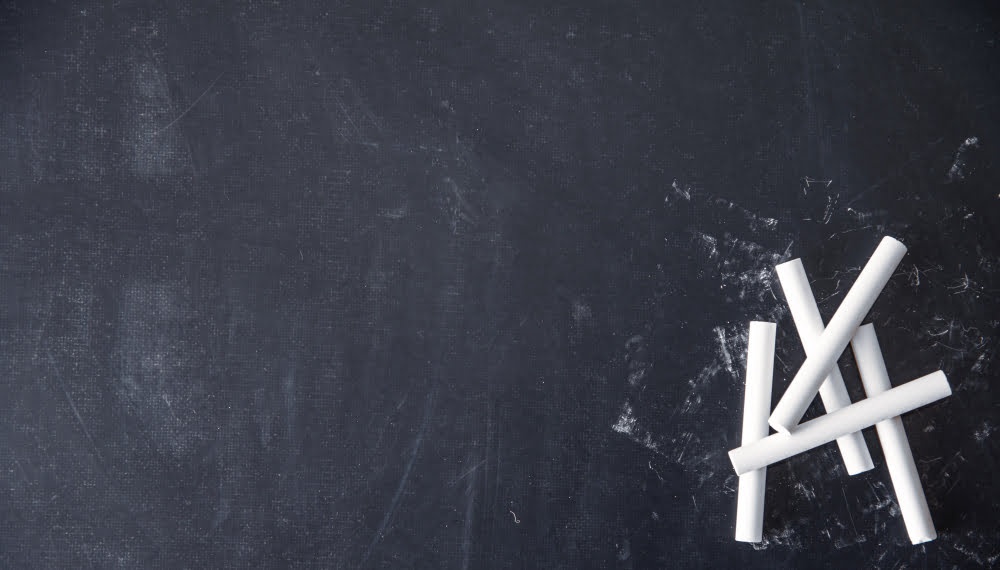
Erase the Chalk
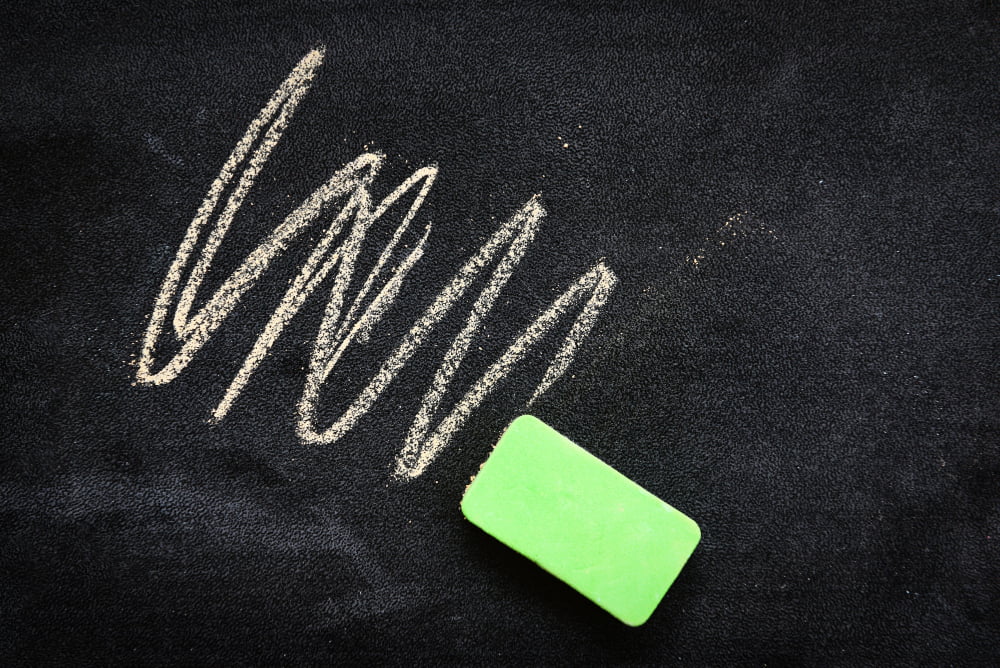
The first step is to erase any visible chalk marks on the surface. You can use a standard felt eraser or a microfiber cloth for this purpose.
When erasing, make sure to apply gentle pressure and avoid rubbing too hard as this may damage the surface of your chalk wall. Start from one corner of the board and work your way across until you’ve erased all visible markings.
If there are stubborn stains that won’t come off with just an eraser or cloth, don’t worry; we’ll cover how to remove them in later sections of this article. For now, focus on getting rid of as much loose dust and debris as possible before moving onto deeper cleaning methods.
Prepare the DIY Chalkboard Cleaner
The good news is that making your own cleaning solution is not only cost-effective but also eco-friendly.
One of the simplest and most effective DIY cleaners for chalk walls involves mixing equal parts of water and vinegar. This mixture can be used to clean both dry-erase boards and chalkboards alike.
Another popular recipe for a homemade cleaner involves combining baking soda with water until it forms a paste-like consistency. Apply this paste onto the surface of your chalk wall using a soft cloth or sponge, then rinse thoroughly with warm water.
Whichever method you choose, always remember to test any new cleaning solution on an inconspicuous area first before applying it more broadly across the entire surface of your board.
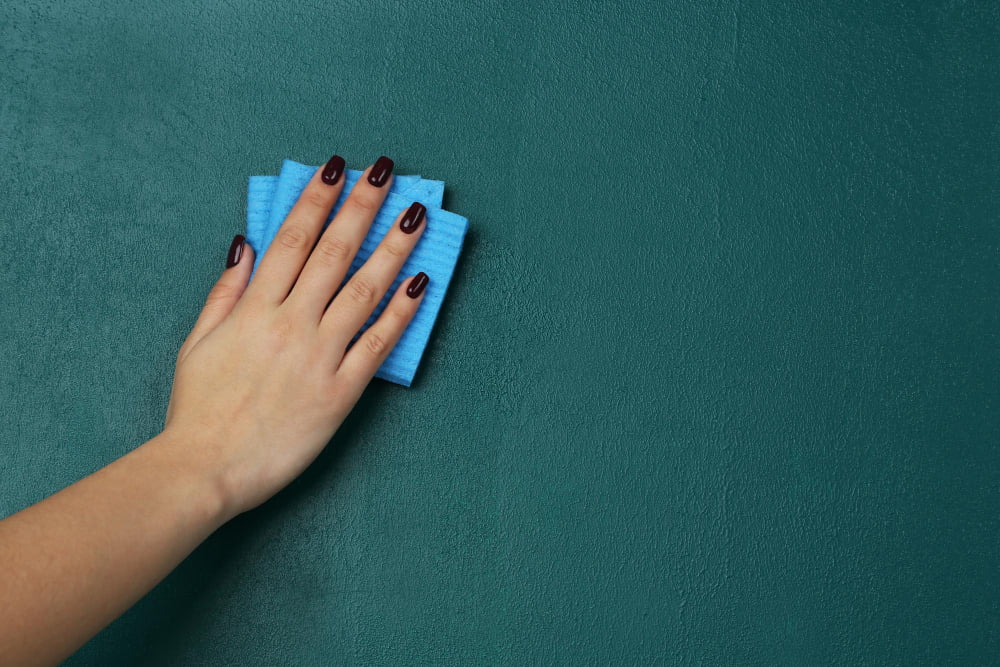
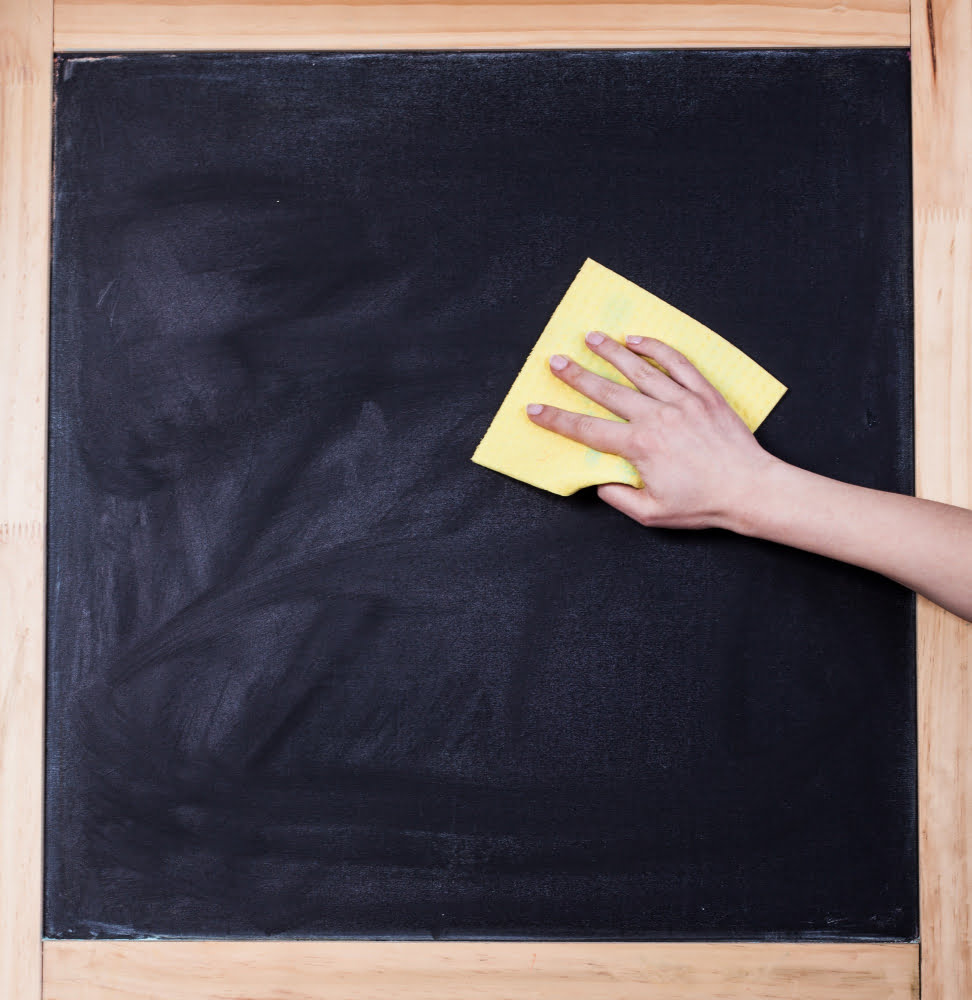
Wipe Down the Chalkboard
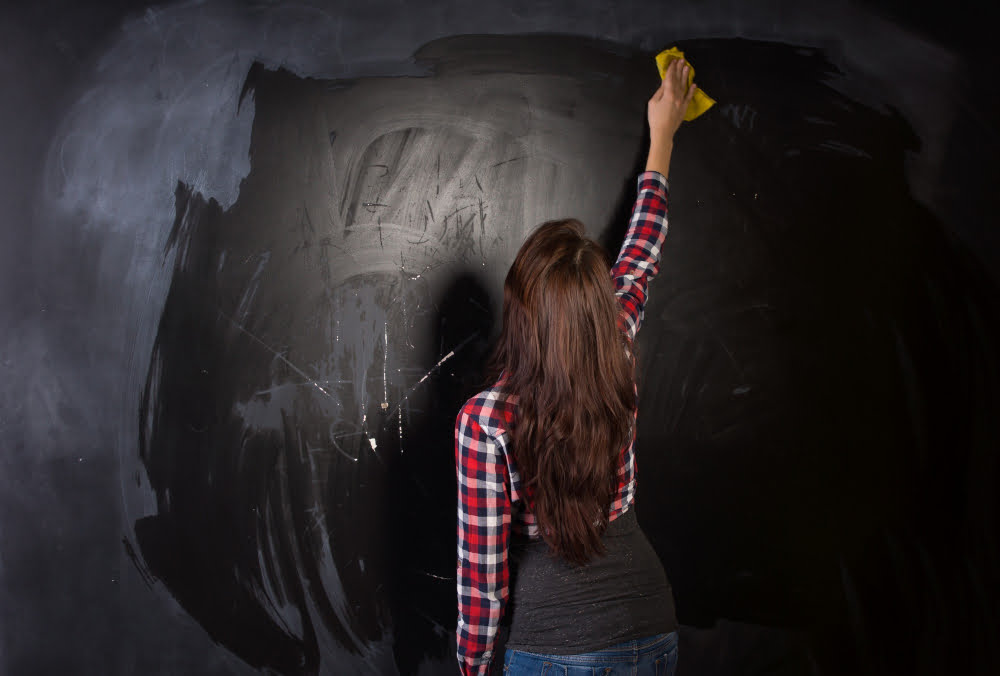
You can use a clean and dry microfiber cloth or a soft-bristled brush for this step. Start from the top of the board and work your way down in smooth strokes, making sure that you cover every inch of the surface.
Be gentle while wiping as applying too much pressure may damage or scratch your chalk wall. If there are any stubborn stains left on the board after wiping, repeat this process until they disappear completely.
It is essential to ensure that no moisture remains on your chalkboard after cleaning as water can seep into its porous surface and cause damage over time. Therefore, make sure you thoroughly dry off any excess liquid with a clean towel before moving onto other tasks.
Squeegee Excess Cleaning Solution
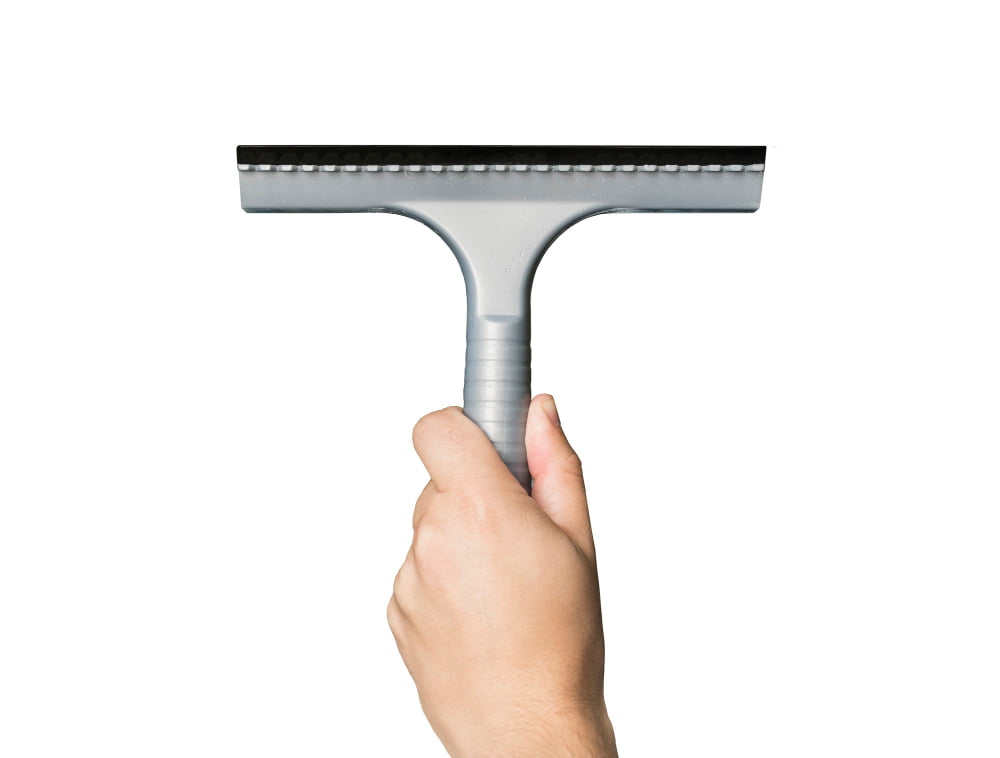
This step is crucial as leaving too much moisture on the surface can cause water stains or damage to the wall over time.
To squeegee off excess cleaning solution, start at one end of the chalkboard and work your way across in a smooth motion. Be sure to apply even pressure throughout and avoid pressing too hard as this could scratch or damage the surface.
If you don’t have a squeegee on hand, you can also use a clean microfiber cloth or paper towel to gently blot away any remaining moisture. Once all excess liquid has been removed from your chalk wall, allow it to air-dry completely before using again.
Allow the Chalkboard to Air-Dry
This is an essential step in ensuring that your chalkboard remains clean and free of streaks or watermarks.
To allow the chalkboard to air-dry properly, simply leave it alone for at least 10-15 minutes. Avoid using a towel or cloth to dry the surface as this can cause lint or fibers to stick onto the board.
If you’re in a hurry and need your chalk wall ready quickly, consider using a fan or opening windows for better ventilation. This will help speed up drying time while preventing moisture buildup on your walls.
Removing Stains and Ghosting
Ghosting is when the residue from previous drawings remains on the board even after erasing it. To remove these marks, you’ll need to use a more potent cleaner.
One effective method for removing stains and ghosting is to mix equal parts of water and vinegar in a spray bottle. Spray this solution onto the affected area, let it sit for several minutes before wiping away with a clean cloth or sponge.
For tougher stains that won’t come off easily, try using baking soda mixed with water instead of vinegar solution mentioned above. Apply this paste directly onto the stain and leave it there until dry (usually around 10-15 minutes).
Then wipe away any excess powder using a damp cloth or sponge.
How to Remove Stains From Chalkboards
These stains may be caused by using the wrong type of chalk or leaving the writing on for too long. Fortunately, there are several methods you can use to get rid of these unsightly marks.
One effective way to remove stains from a chalkboard is by using vinegar and water solution. Mix equal parts white vinegar and water in a spray bottle, then spritz it onto the stained area.
Let it sit for a few minutes before wiping away with a clean cloth.
Another method involves making a paste out of baking soda and water. Apply this mixture directly onto the stain, let it sit for 5-10 minutes before scrubbing gently with an old toothbrush or soft-bristled brush.
For more stubborn stains like ghosting (when faint traces remain after erasing), try rubbing alcohol or non-gel toothpaste on them until they disappear completely.
Remember not to use abrasive cleaners as they could damage your board’s surface permanently.
Cleaning Chalk Wall Erasers and Trays
They can quickly become dirty with frequent use, which can affect the quality of your writing or drawing on the board. To keep your erasers and trays clean, you should follow these simple steps:
1. Remove Excess Chalk Dust: Before cleaning your eraser or tray, remove as much excess chalk dust as possible by tapping it against a hard surface.
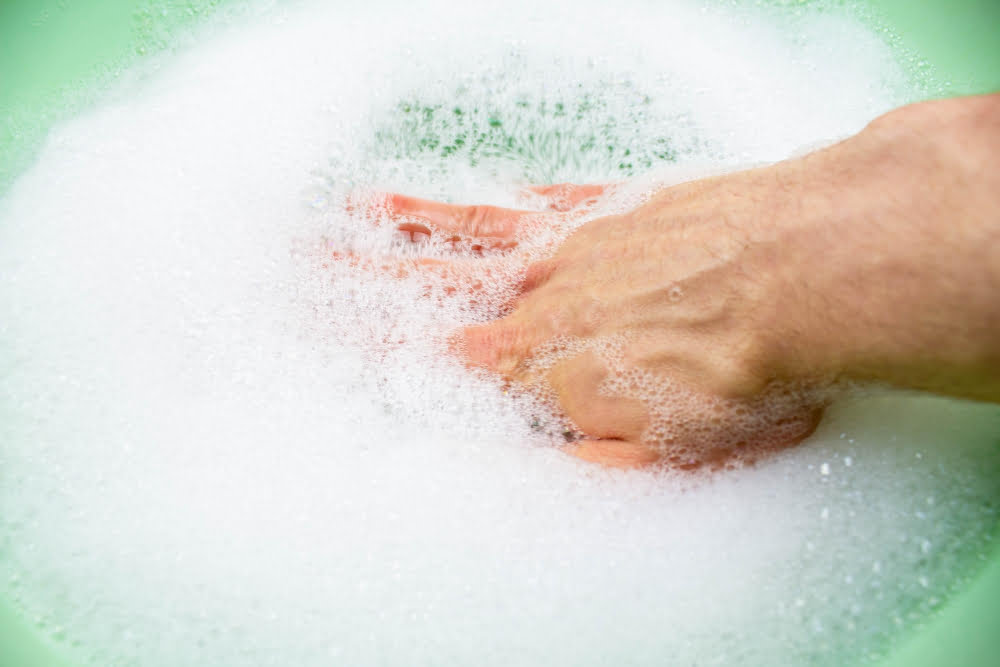
2. Wash with Soap and Water: Fill a bucket with warm water mixed with mild soap detergent to create suds.
Dip the eraser or tray into the soapy water solution then scrub gently using a soft-bristled brush.
3. Rinse Thoroughly: Rinse off all soap residue from both sides of the item under running water until no more bubbles appear.
4. Dry Completely: Allow them to air-dry completely before using them again on your chalk wall.
Maintenance and Care of Chalk Walls
Here are some tips on how to care for your chalk wall:
1. Avoid using abrasive materials or harsh chemicals when cleaning the surface, as they can damage the finish.
2. Regularly dust off the surface with a soft cloth or eraser to prevent buildup of dirt and debris.
3. Use only high-quality chalks that are designed for use on chalk walls, as low-quality ones may contain impurities that can leave stains or ghosting marks.
4. Keep an eye out for any signs of wear and tear, such as cracks in the surface or fading colors, which may indicate that it’s time to repaint your wall.
Tips to Keep a Chalkboard Looking Its Best Longer
Here are some tips on how you can do just that:
1. Use high-quality chalk: Low-quality or dusty chalk can leave behind residue and cause ghosting on the board.
2. Avoid using water: Water can damage the surface of your chalk wall, so try not to use too much when cleaning.
3. Clean regularly: The more frequently you clean your board, the easier it will be each time and less likely stains will set in.
4. Don’t press too hard with erasers: Pressing down too hard with an eraser may scratch or damage the surface of your board over time.
5. Store supplies properly: Make sure all supplies such as markers and erasers are stored away from direct sunlight which could dry them out prematurely.
Preventing Chalk Dust
This can be particularly problematic for people with allergies or respiratory issues. Fortunately, there are several ways to minimize the amount of dust your chalk wall produces.
Firstly, use high-quality chalk that is less likely to crumble and break into small pieces. Secondly, avoid using too much pressure when writing on the board as this will cause more dust particles to become airborne.
Another way to prevent excess dust from accumulating on your chalkboard is by cleaning it regularly with a damp cloth or sponge instead of dry erasers which tend to create more mess than they clean up.
Lastly, consider investing in an air purifier if you have severe allergies or asthma as this will help filter out any airborne particles produced by your chalkboard and keep them from circulating throughout your home or office space.
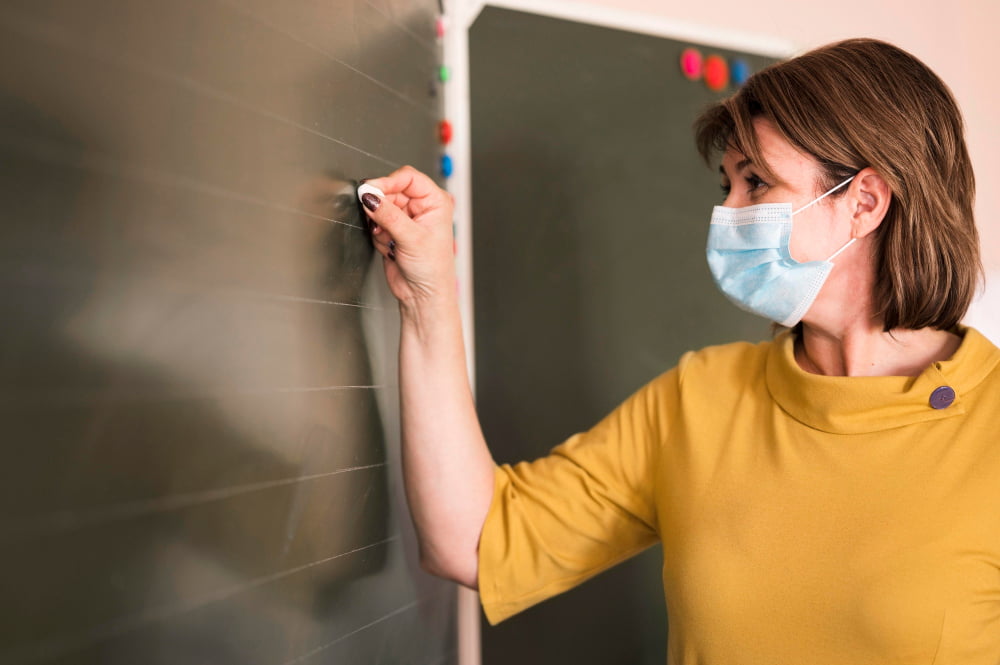
Safety Tips and Precautions
Here are some safety tips you should keep in mind when cleaning your chalk wall:
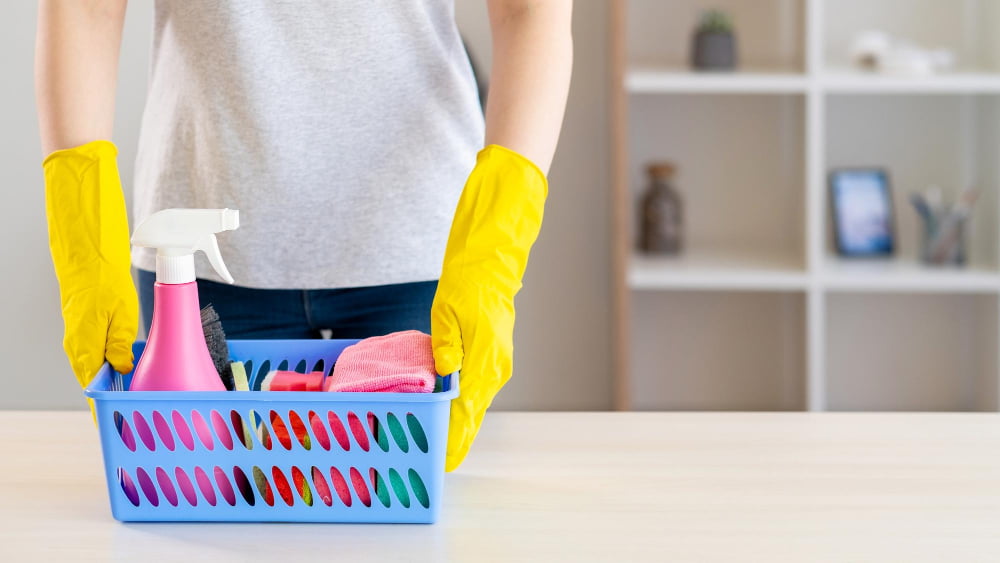
1. Wear gloves: Cleaning solutions can be harsh on the skin, so it’s best to wear gloves while cleaning.
2. Use protective eyewear: Chalk dust can irritate your eyes, so make sure you wear protective eyewear like goggles or glasses.
3. Avoid inhaling dust: When erasing the chalk from the board, try not to create too much dust as this could cause respiratory problems if inhaled.
4. Keep children away from cleaning products: Store all of your cleaning supplies out of reach of children and pets.
5. Follow instructions carefully: Always read and follow instructions on any product labels before using them for safety reasons.
By following these simple precautions while maintaining your chalkboard walls clean will ensure that everyone stays safe during the process!
FAQ
How do you clean chalk painted walls?
To clean chalk painted walls, gently wipe the surface with a soft cloth dampened with water or Clean-A-Finish, and then dry it with another soft cloth, restoring luster using Chalk-Tique Paste Wax if needed.
Can you use Windex on chalkboard wall?
Yes, you can use Windex on a chalkboard wall to effectively remove liquid chalk by spraying, letting it sit, and wiping with a soft cloth.
Can you wash chalk paint off walls?
Yes, you can wash chalk paint off walls by brushing and rinsing the stain with a sponge, using Soft Scrub, and then removing any remaining Soft Scrub with a clean, damp sponge.
What is the most effective homemade solution for cleaning chalkboard walls?
The most effective homemade solution for cleaning chalkboard walls is a mixture of water and white vinegar in equal parts.
How often should you clean a chalk wall to ensure its longevity?
To ensure the longevity of a chalk wall, it should be cleaned once a month.
Are there any specific tools or materials recommended for cleaning chalkboard surfaces?
Using a clean, damp cloth or sponge along with a non-toxic specialized chalkboard cleaner is recommended for cleaning chalkboard surfaces.
Read More Like This
 15 Funny Graduation Cap Ideas to Make Your Big Day Unforgettable
 15 Unique DIY Christmas Decorations Ideas for a Festive Home
 15 Creative Science Fair Board Ideas to Amaze Your Audience
 15 Handmade Envelope Decoration Ideas for Creative Gifting
 10 DIY Gifts for the Whiskey Lover in Your Life
Recap: