Last updated on
Removing chalk from walls can become an engaging project because it can instantly transform and refresh your living space.
Removing chalk from walls can seem daunting but it’s a straightforward process if done correctly. The secret lies in a gentle touch and the right selection of cleaning materials.
Of course, it’s not just about scrubbing; caution is crucial to avoid damaging your beloved walls. This quick guide will walk you through the essentials of chalk removal: starting from gathering the appropriate supplies to performing the actual cleaning, and finally, necessary steps post-clean up.
So, sit back, relax, and let’s get that wall chalk-free and charming once again!
Key takeaways:
- Understand the composition of chalk marks
- Test the chalk mark’s solubility before cleaning
- Choose a suitable cleaning agent for chalk removal
- Apply the cleaning agent to the chalk marks with caution
- Gently rub the chalk marks without damaging the wall
Understanding the Composition of Chalk Marks
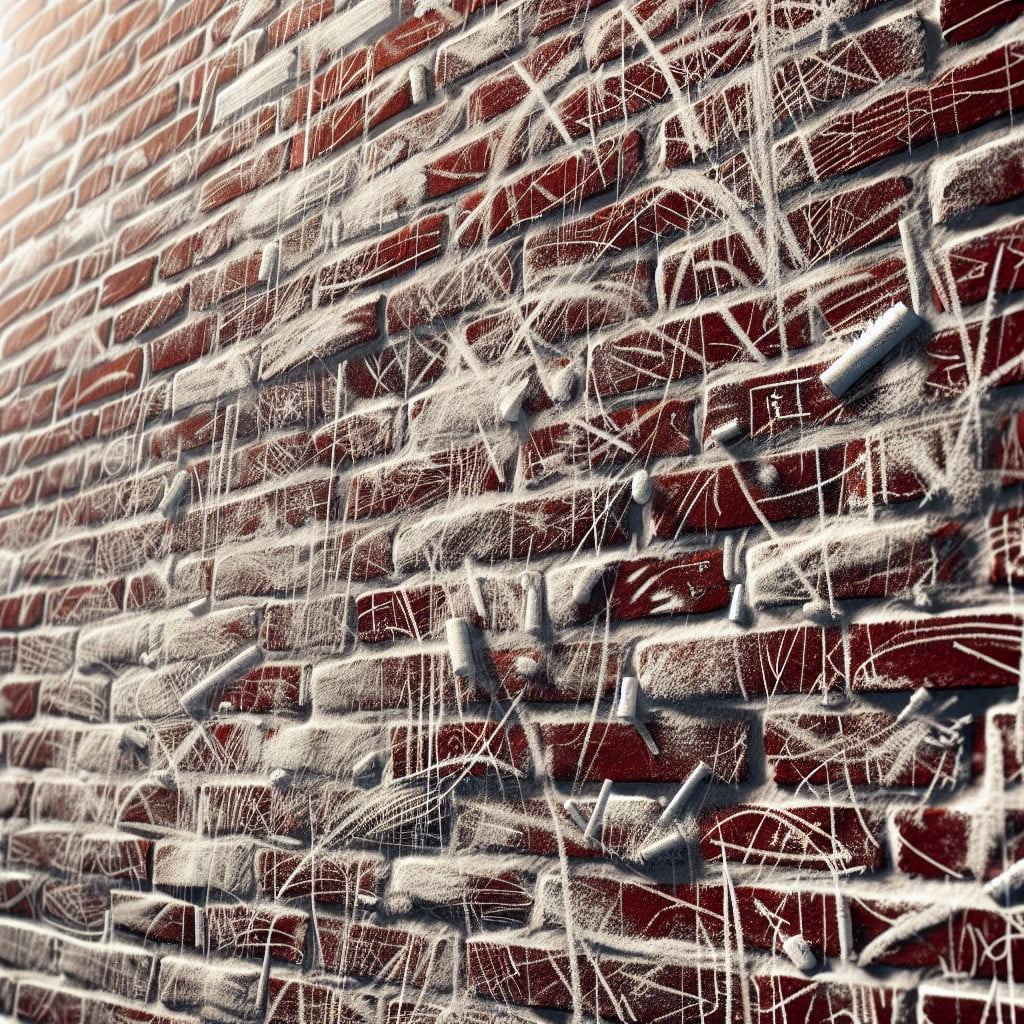
Chalk, primarily composed of calcium carbonate, is a commonly used writing tool for many applications, including wall decor and classroom education.
The nature of calcium carbonate makes it moderately water-soluble, meaning it easily interacts with water molecules.
This property, though making chalk easily erasable from chalkboards, can pose a challenge when it comes to painted or wallpapered surfaces, as it’s much harder to remove without causing potential damage.
Considerable care is needed to ensure successful removal without spoiling your wall’s aesthetic appeal.
Testing the Chalk Mark’s Solubility

Begin with a simple test to determine how much of the chalk will be easily removable from the wall. Use a damp cloth or sponge and gently rub it over the chalk. Observe whether the chalk begins to dissolve or smear. If the chalk lightens considerably or rubs off onto the sponge or cloth, the cleaning process will likely be straightforward.
If the chalk neither dissolves nor smears, it’s more stubborn, and a more powerful cleaning solution might be required. It is essential to perform this test to avoid unnecessary wear or damage to the wall’s paint. Remember to always conduct this test in a small, inconspicuous area of the wall to avoid causing visible damage.
Choosing a Suitable Cleaning Agent for Chalk Removal
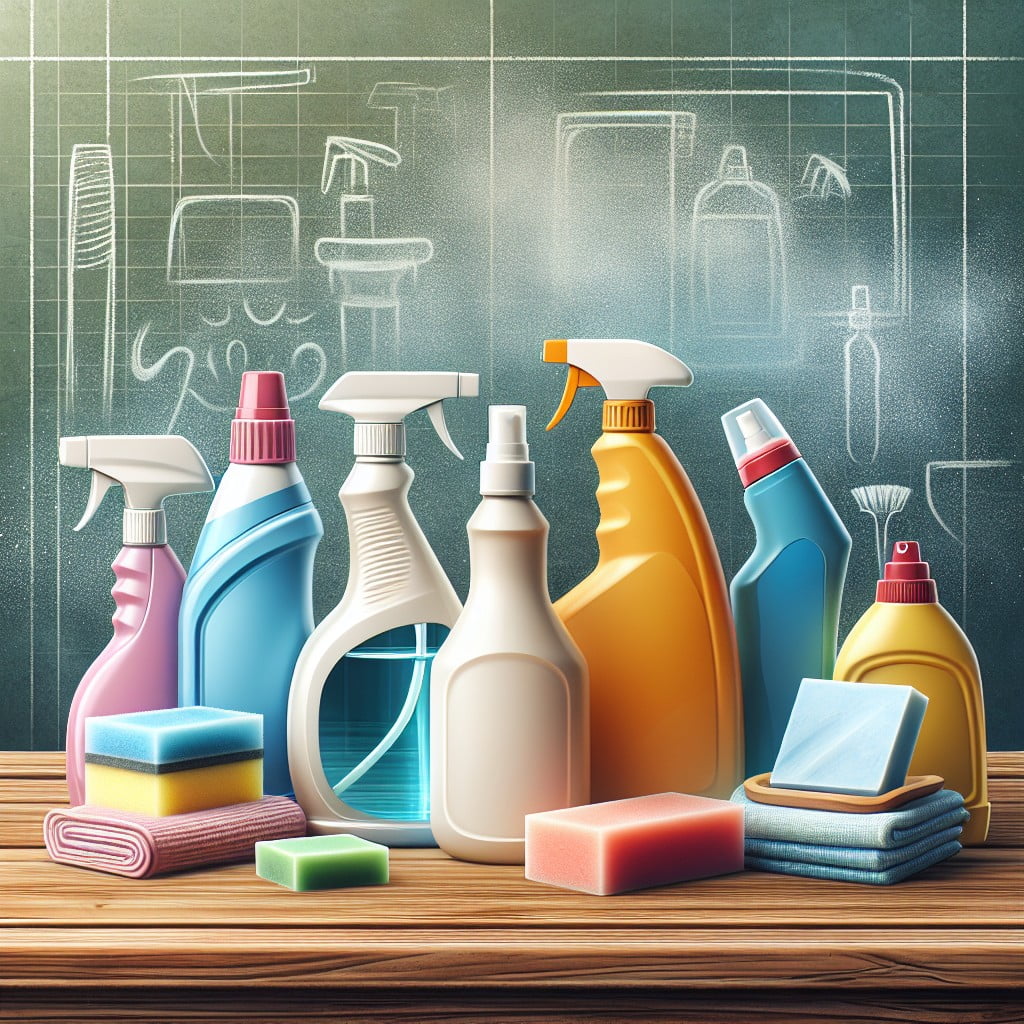
Determining the appropriate cleaner depends on the chalk type. For regular chalk, warm soapy water and a sponge will work well. Start with mild soap such as dish soap. For stubborn chalk, especially oil-based sidewalk chalk, a stronger solution may be needed such as vinegar mixed with warm water or a non-gel toothpaste.
Always spot test any cleaning solution in an inconspicuous area to ensure it doesn’t damage the wall paint. Opt for natural cleaners over harsh chemicals whenever possible, as they can tend to strip paint and cause unnecessary harm to your wall surface.
Applying the Cleaning Agent to the Chalk Marks
Start by lightly spritzing the wall with your selected cleaning agent; distilled white vinegar, rubbing alcohol, or a sponge or cloth dipped in warm, soapy water are all effective options. Be sure not to spray or apply too much solution, as this can lead to drips and potentially damage the wall’s paint or wallpaper.
Next, let the cleaning agent sit for a few moments to help dissolve the chalk particles, but avoid leaving it on for too long to prevent possible discolouration.
Consider the use of a soft-bristled brush or a microfiber cloth when applying the agent, as these are excellent for getting into the fine details of the wall texture without causing unnecessary damage. Remember that circular motions can often be more effective than straight lines for removing stubborn marks.
For multipurpose cleaners that are not natural or homemade, always adhere to the manufacturer instructions. Using gloves may protect the skin from possible irritation and make sure the area has sufficient ventilation.
Lastly, always perform a patch test in an inconspicuous area if you are using a new cleaning agent for the first time. This can save you from exacerbating the situation by potentially causing staining or damage to your wall’s finish.
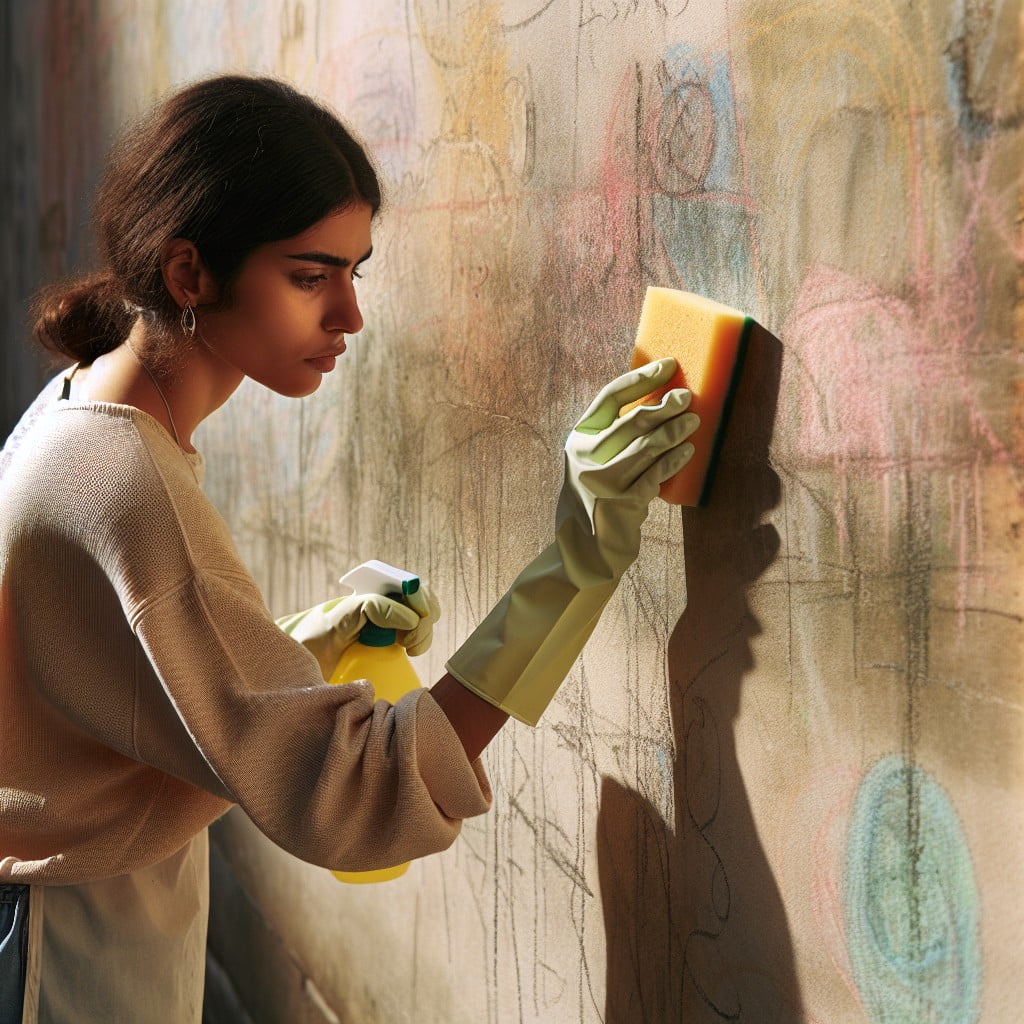
Gently Rubbing the Chalk Marks
Starting with light pressure, use a clean sponge or cloth to rub the cleaning solution over the marks in a circular motion. Gradually increase the pressure if the chalk doesn’t respond immediately. Pay attention not to scrub too hard to avoid damaging the wall surface; the goal is persistence, not force.
During this process, consistently check your progress. If chalk residue lingers, reapply the chosen cleaning agent and repeat the rubbing process. Steadiness is key to effectively lifting the chalk from the wall without causing unnecessary harm to the paint or wallpaper underneath. Remember to frequently rinse the sponge or cloth you’re using to avoid spreading the dissolved chalk over clean areas.
It’s a process to handle delicately to preserve the integrity of your wall while ensuring it’s chalk-free.
Finishing and Repainting If Necessary
After successfully eliminating chalk marks, some walls may exhibit faint staining or color fading. This is where finishing comes into play.
In case of residual staining, primer is a reliable tool. It aids in concealing the unwanted pigmentation, preparing the wall for a fresh coat of paint. Always opt for a primer that completers your paint type: water-based primer for latex paint and oil-based primer for oil paint. Allow sufficient time for the primer to dry before proceeding to repaint.
For the repainting process, ensure the paint color matches the rest of the wall. If you saved some paint from the last application, perfect, use that. Or, visit a local paint store and request a color match.
Take the time to use tape to section off the area you plan to repaint – it will guarantee a cleaner job. Apply two coats if the primer still shows through the first coat of paint. After the paint dries, remove the tape.
Also, always remember to maintain adequate ventilation during the painting process. Preservation of fumes could be harmful. And voila! Your wall is as good as new.
Remember, patience is key in this process for the best results.
FAQ
Does chalk come off painted walls?
Yes, chalk does come off painted walls, usually through a process involving water, scrubbing, and a specific housewash product.
How do you remove chalk from painted surfaces?
To remove chalk from painted surfaces, initially brush and rinse off the chalk stain as much as possible using a sponge, then apply Soft Scrub on a damp sponge for thorough cleansing, and finally, wipe away the remaining Soft Scrub with a clean, damp sponge.
How do you remove white chalk from walls?
To remove white chalk from walls, start by using a cellulose sponge and warm water, and if this fails, resort to a 409 multi surface cleaner or Simple Green.
What removes chalk stains?
Chalk stains can be removed by blotting the stained area with alcohol, washing it in hot water with laundry detergent and Clorox 2 or OxiClean powder, and rinsing in warm water, repeating the procedure as necessary until the stain is completely eliminated.
Can chalkboard paint be easily cleaned of chalk marks?
Yes, chalkboard paint can easily be cleaned of chalk marks using a damp cloth or a special chalkboard eraser.
Are there any specific cleaning solutions recommended for chalk removal on walls?
A solution of equal parts white vinegar and warm water is highly effective at removing chalk from walls.
What methods can be used to protect walls from chalk staining in the future?
Applying a high-quality primer and paint that includes a built-in stain blocker can effectively protect walls from chalk staining in the future.
Read More Like This
 15 Funny Graduation Cap Ideas to Make Your Big Day Unforgettable
 15 Unique DIY Christmas Decorations Ideas for a Festive Home
 15 Creative Science Fair Board Ideas to Amaze Your Audience
 15 Handmade Envelope Decoration Ideas for Creative Gifting
 10 DIY Gifts for the Whiskey Lover in Your Life
Recap: