Last updated on
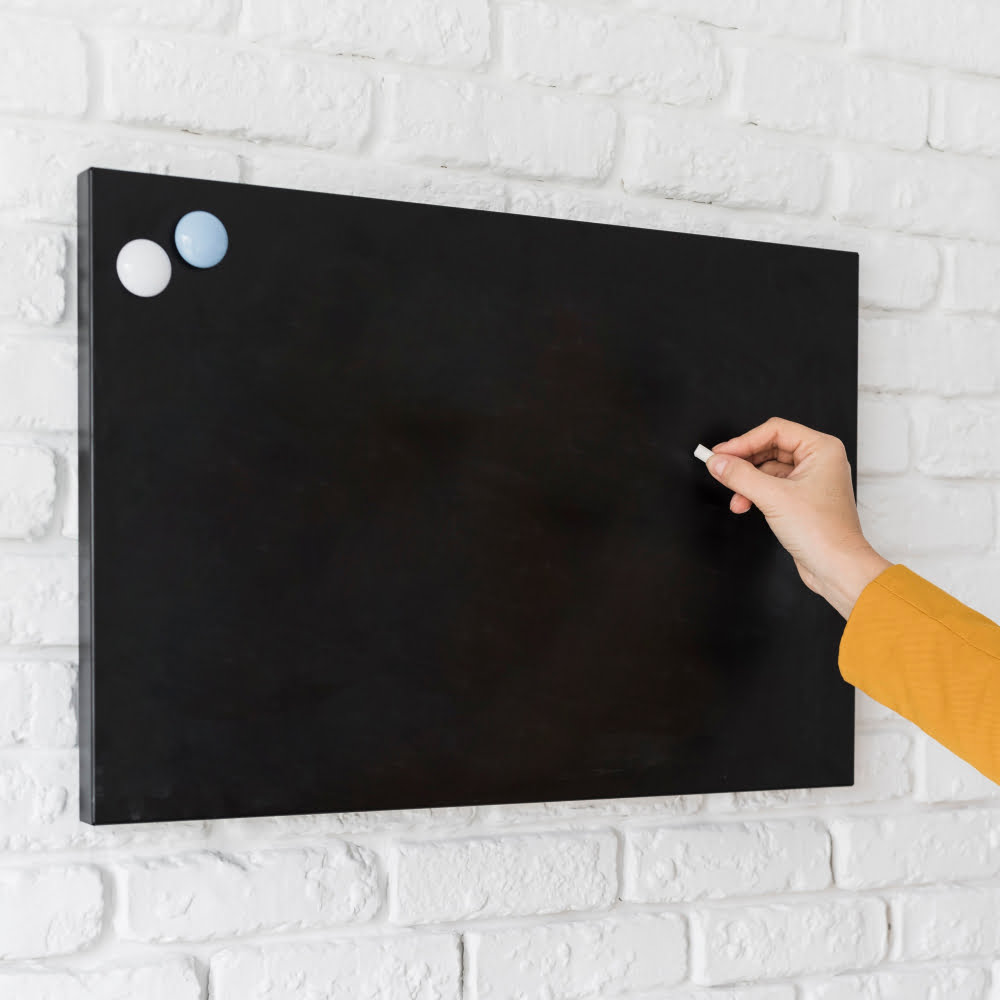
Discover the simple and nail-free method to securely hang a chalkboard on your wall, perfect for those seeking a damage-free solution.
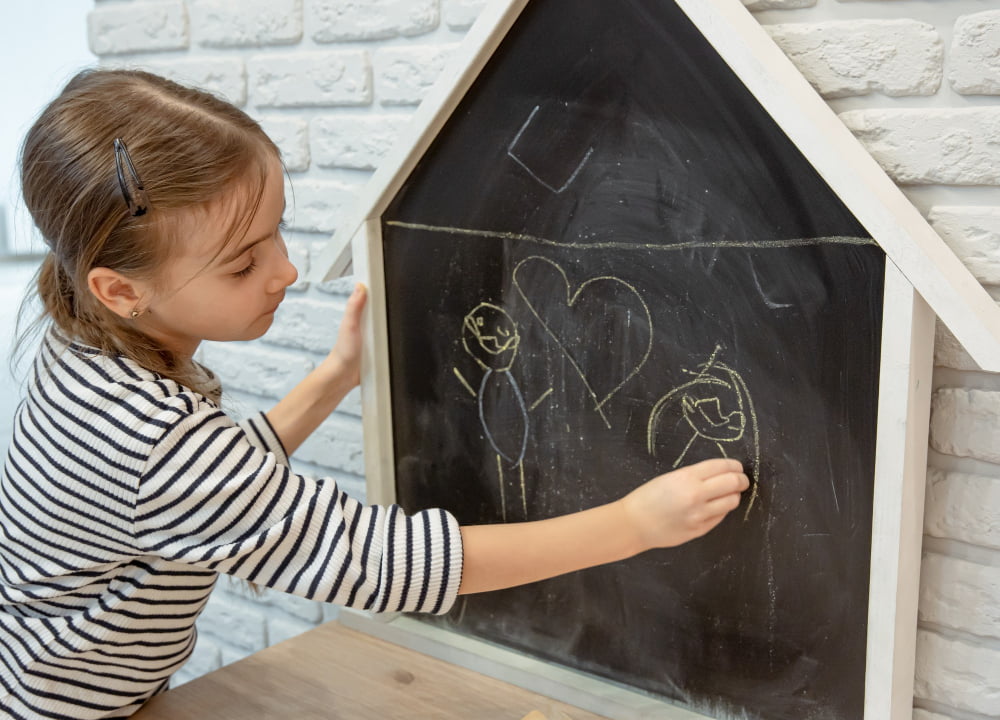
Chalkboards are a fun and functional addition to any home, office, or classroom. They allow you to write messages, create art, and keep track of important information in an easy-to-see way.
However, hanging a chalkboard can be a challenge if you don’t want to use nails or damage your walls. Luckily, there are several alternative methods that will allow you to hang your chalkboard securely without causing any permanent damage.
In this article, we’ll explore some of the best ways to hang a chalkboard without nails so that you can enjoy all the benefits of this classic tool without any fuss!
Chalkboard Materials
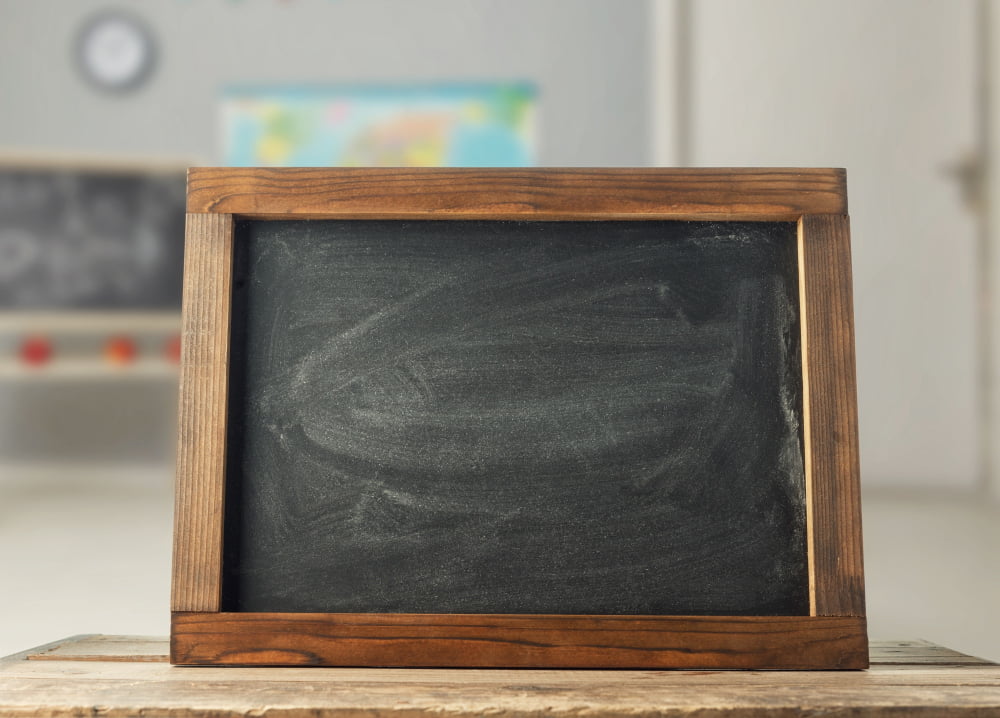
Chalkboards come in various sizes and materials such as wood, metal, or plastic. The weight and thickness of your board will determine which adhesive method is best suited for your needs.
For instance, if you have a lightweight board made from thin plastic or cardboard material that weighs less than 5 pounds, then using double-sided tape may be sufficient. However, if your chalkboard is heavier than 5 pounds or has an irregular shape like some wooden boards do – then more heavy-duty adhesives like Velcro strips might be necessary.
Assessing Chalkboard Weight
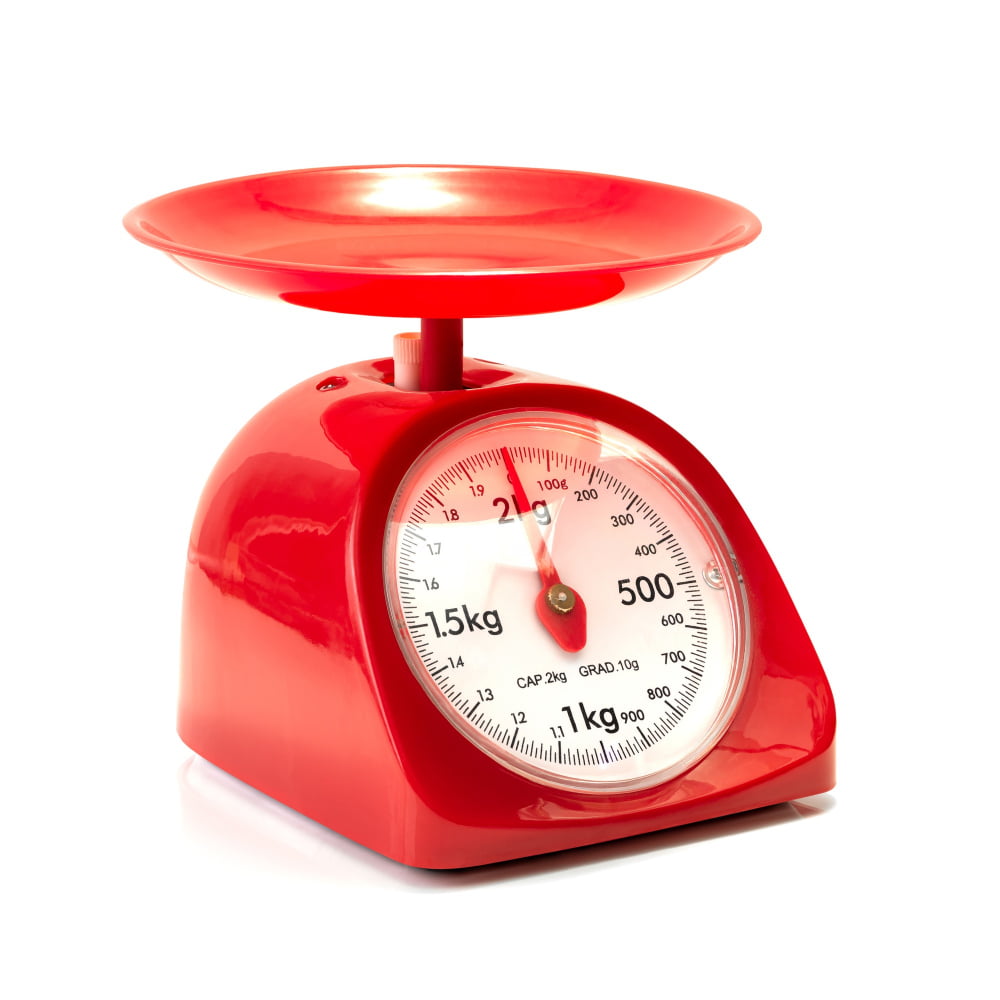
This will help you determine the type of adhesive or mounting solution that is suitable for your chalkboard. The weight of a chalkboard can vary depending on its size and material, so it’s essential to have an accurate measurement before proceeding with any installation method.
To weigh your chalkboard accurately, use a bathroom scale or kitchen scale. Place the board on top of the scale and take note of its weight in pounds or kilograms.
If you don’t have access to a weighing tool, check the manufacturer’s specifications for information about how much it weighs.
Once you know how heavy your board is, consider this information when selecting an adhesive or mounting solution that can support its weight without causing damage to either surface involved in hanging process – wall and backside of ChalkBoard.
Wall Surface Preparation
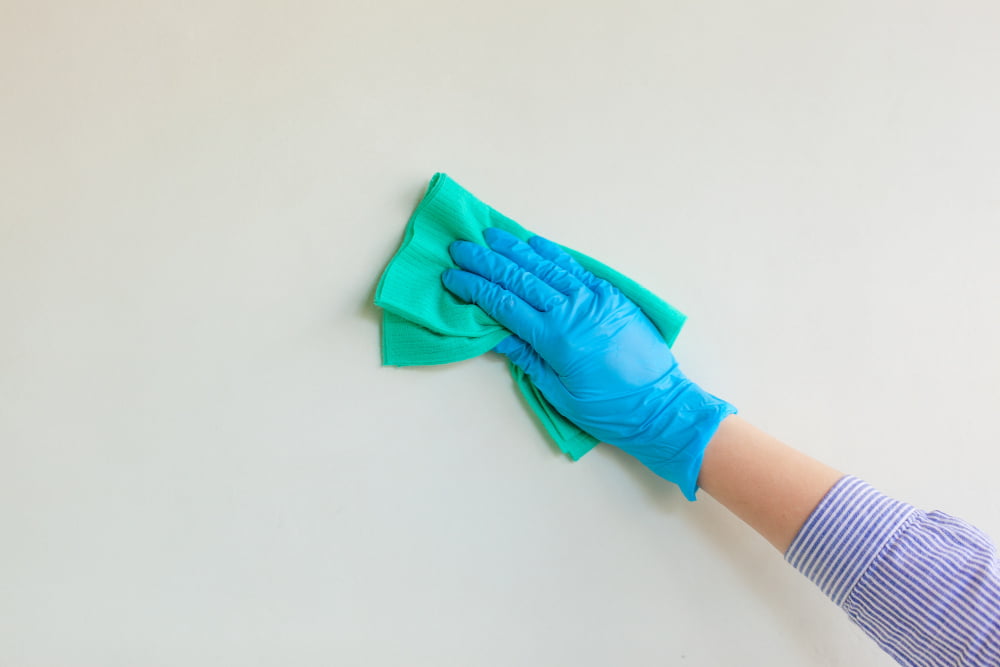
This step is crucial in ensuring that your chalkboard will adhere correctly and remain securely in place. Start by cleaning the area where you plan to hang the board thoroughly.
Use a damp cloth or sponge to remove any dirt, dust, or debris from the wall surface.
Next, assess whether there are any bumps or uneven areas on your wall that could affect how well adhesive strips stick onto them. If so, use sandpaper to smooth out these rough spots before proceeding with installation.
It’s also important to note that some types of walls may require additional preparation steps before hanging a chalkboard without nails successfully. For example, if you have textured walls such as stucco or brickwork surfaces; they may not be suitable for using adhesives alone due to their porous nature and irregularities.
Adhesive Selection
There are various types of adhesives available in the market, and choosing the right one can make all the difference in ensuring your chalkboard stays securely mounted on your wall.
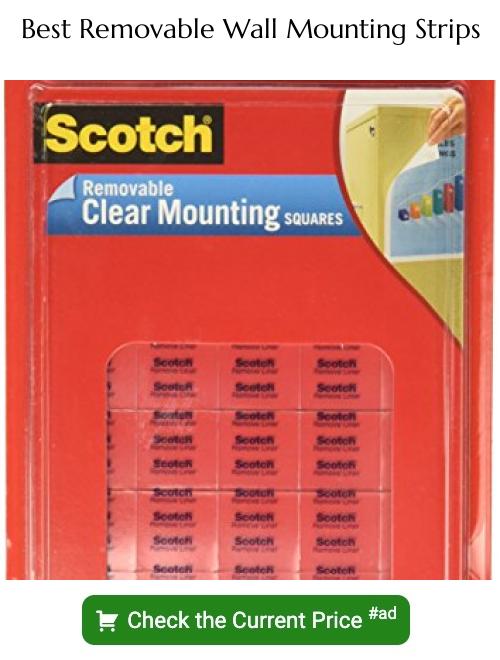
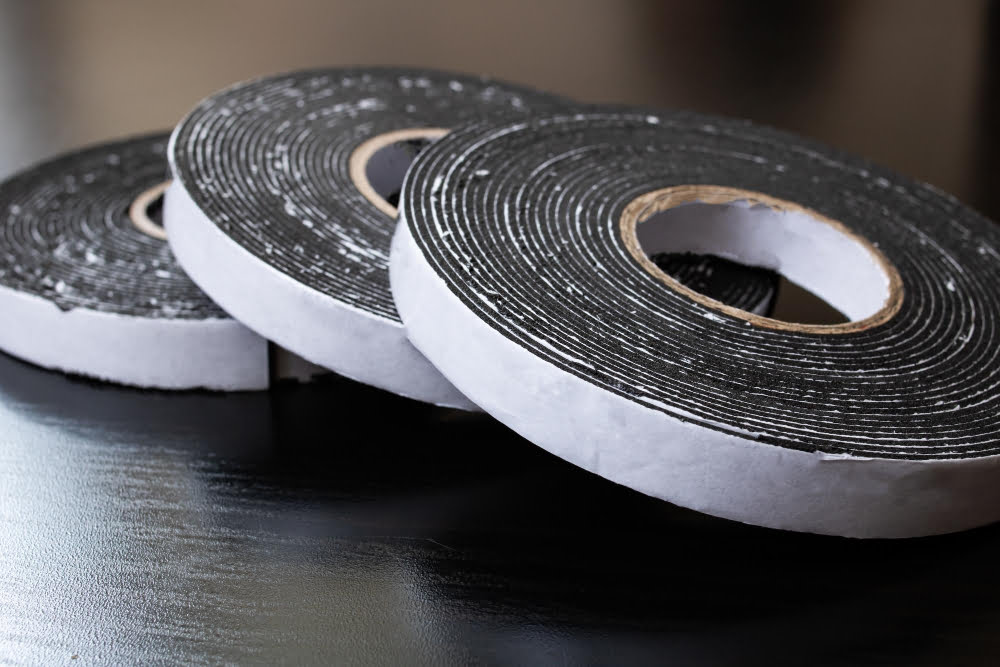
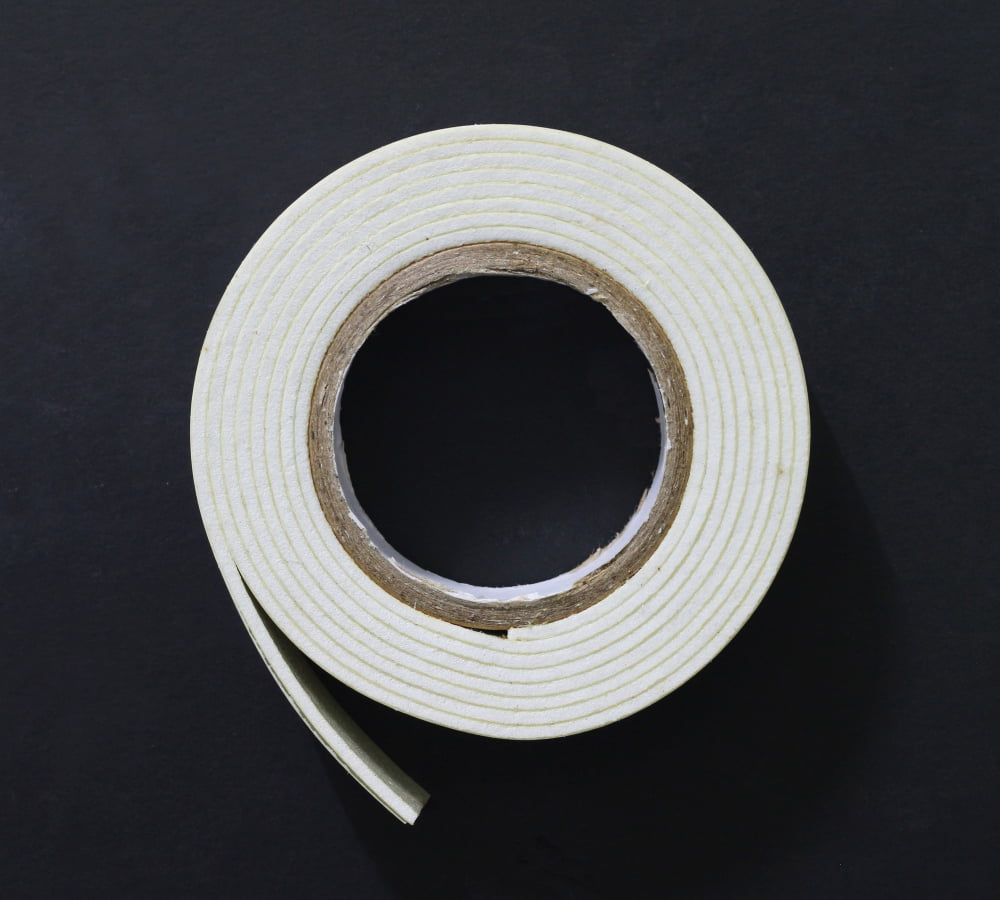
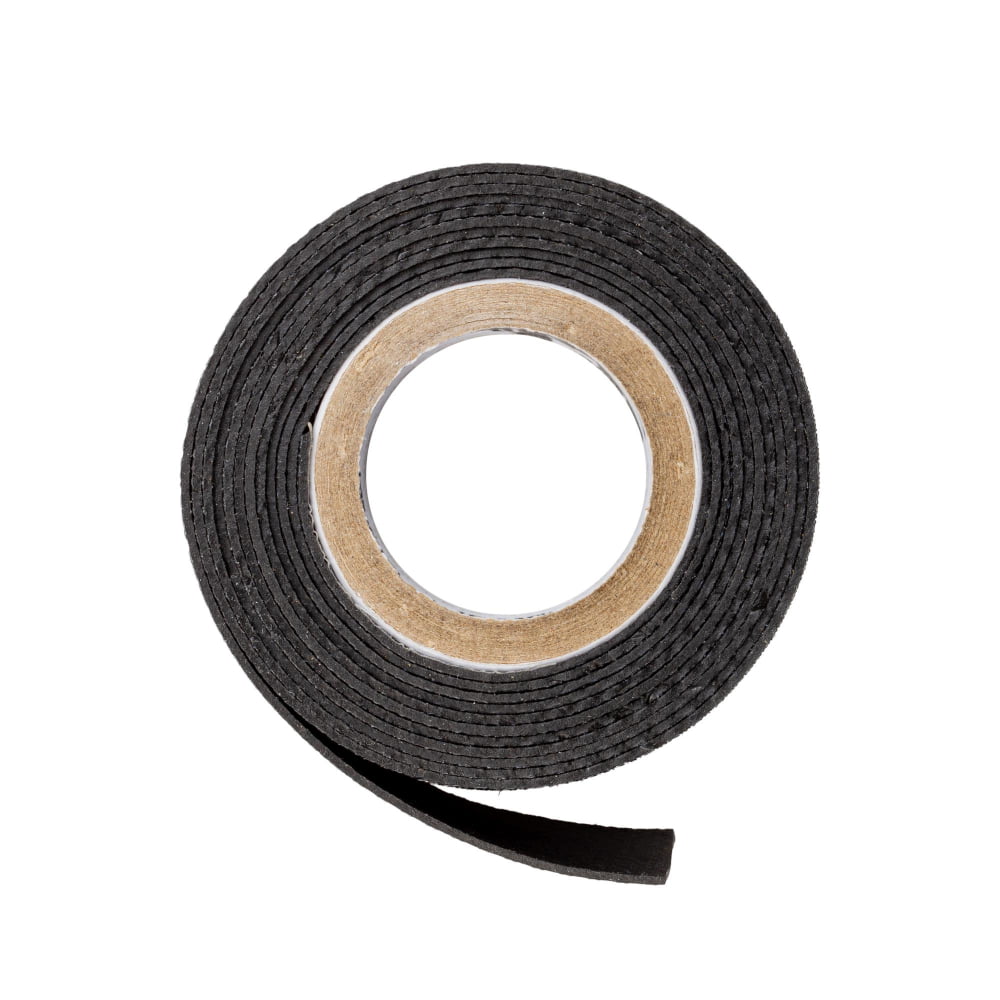
One popular option for hanging a chalkboard without nails is double-sided mounting tape. This type of tape has strong adhesive properties that can hold up even heavy objects like mirrors or picture frames.
However, not all double-sided tapes are created equal – some may not be strong enough to support heavier items like larger-sized chalkboards.
Another option is liquid glue or construction adhesive which provides an extra-strong bond between surfaces but requires more time and effort during installation than other methods.
Ultimately, when selecting an adhesive for your project consider factors such as weight capacity requirements and surface compatibility with both the wall material and backside of the board you intend to hang.
Choosing the Right Adhesive
There are many different types of adhesives available on the market, but not all of them will work for your specific needs. Some adhesives may not be strong enough to hold up your chalkboard, while others may damage your wall or leave residue behind when removed.
To choose the right adhesive for hanging your chalkboard without nails, consider factors such as weight capacity and surface type. If you have a heavy chalkboard or an uneven wall surface, you’ll need a stronger adhesive that can handle more weight and provide better grip.
Some adhesives are designed specifically for certain surfaces like drywall or concrete walls. Make sure to read product labels carefully before making any purchases so that you select an appropriate option.
Measuring and Marking Chalkboard Position
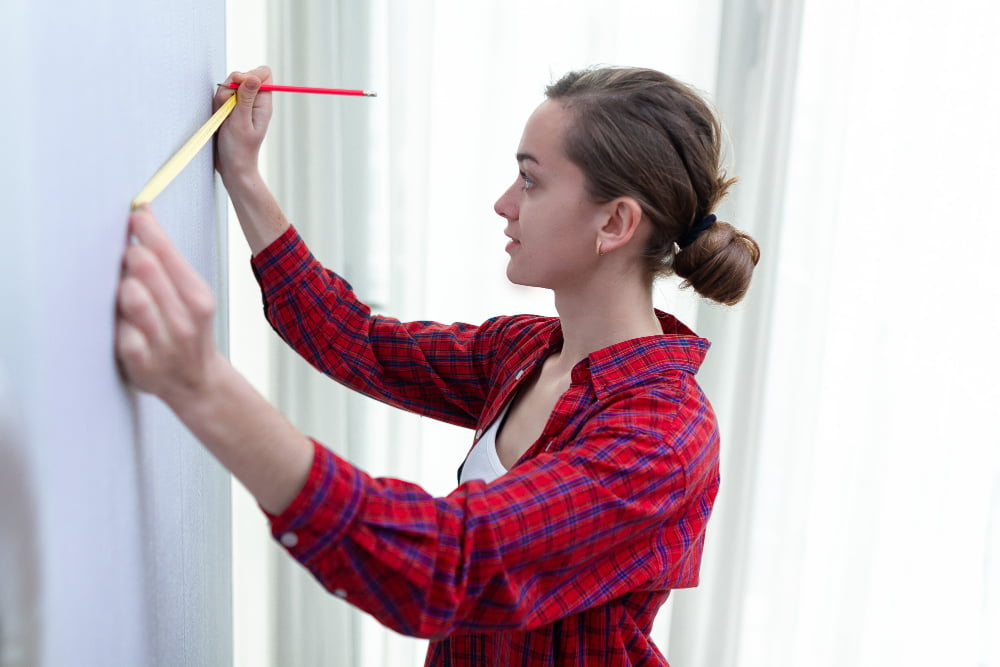
This will ensure that your chalkboard is level and centered on the wall. To do this, use a measuring tape or ruler to determine the height and width of your chalkboard.
Once you have these measurements, use a pencil or marker to make small marks on the wall where each corner of the board will go. You can also use a level tool at this point if needed.
It’s important that these marks are accurate as they will guide how you apply adhesive strips or Velcro later in securing your board onto its designated spot.
Take note that when marking for placement, consider factors such as eye-level visibility from different angles in relation to furniture positioning within proximity so users can easily access them without any obstruction while writing their notes.
Command Strips Method
These adhesive strips come in various sizes and strengths, making them suitable for different weights of chalkboards. To use command strips, start by cleaning the wall surface with rubbing alcohol to ensure that it is free from dust or debris.
Next, attach one side of the strip to the back of your chalkboard and press firmly for 30 seconds before peeling off the protective backing on both sides.
Then position your board against the wall where you want it to hang and press firmly against each strip’s corresponding location on your wall surface. Hold onto your board while pressing down gently but firmly along its edges until you feel secure adhesion between both surfaces.
It’s essential not to overload command strips beyond their weight capacity as this can cause them to fail over time or even damage walls if they fall off suddenly due to excess weight pressure applied over time.
Heavy-Duty Velcro Tape
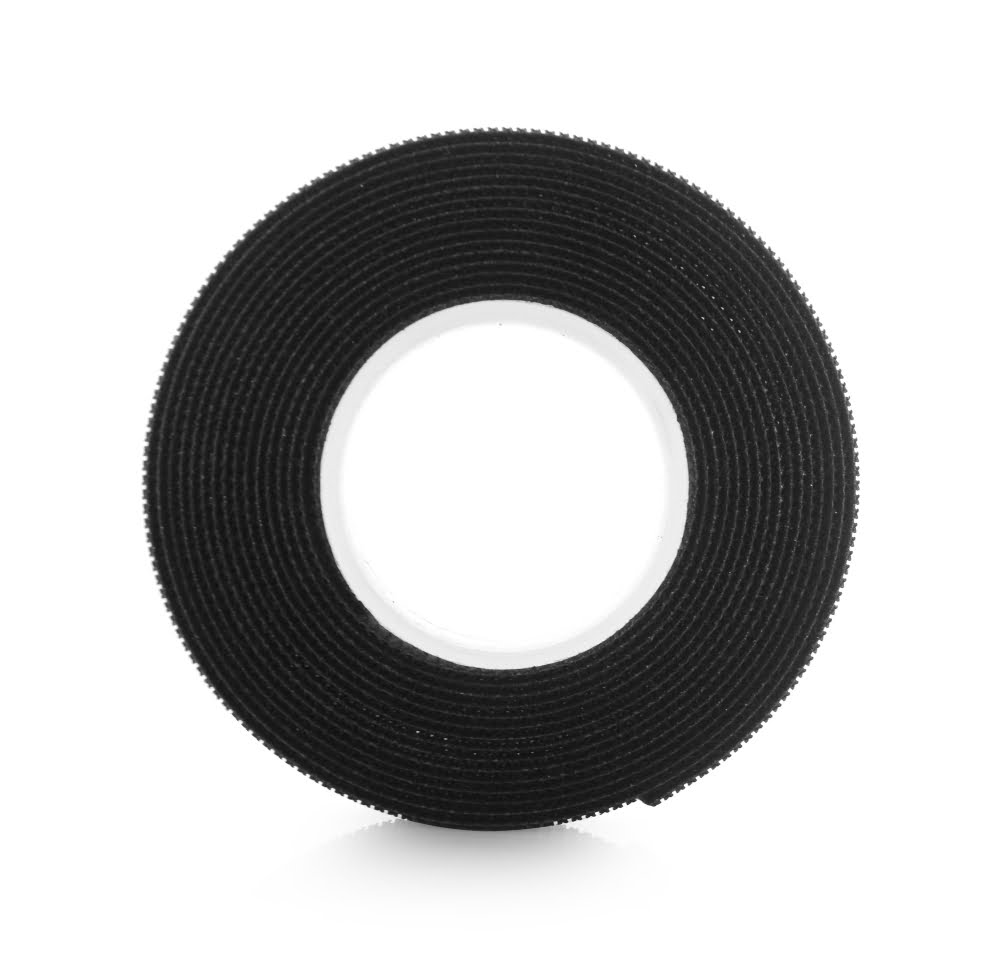
This type of tape is designed to hold heavy items securely, making it perfect for larger or heavier chalkboards. To use this method, you’ll need to purchase two strips of heavy-duty Velcro tape that are long enough to span the width of your chalkboard.
Once you have your Velcro strips, clean the wall surface where you plan on hanging the board and let it dry completely. Then apply one strip of Velcro tape along the top edge on each side at equal distances from each corner.
Next, remove the backing from one side and press firmly onto your cleaned wall surface in its desired position while holding up with other hand so that it doesn’t slide down before sticking properly into place.
Attach another strip along both sides at an equal distance below those already attached (or as needed) ensuring they align perfectly with their counterparts above them before removing their backings too – then carefully lower down onto these new pieces until everything lines up correctly!
Applying Adhesive Strips or Velcro
Adhesive strips and Velcro are two popular options that can be used to hang a chalkboard without nails. To apply adhesive strips, simply peel off the backing paper and stick them onto the back of your chalkboard in a straight line or grid pattern.
Make sure to press down firmly on each strip so that they adhere properly.
For heavy-duty applications, consider using industrial-strength Velcro tape instead of adhesive strips. Cut pieces of Velcro tape into small squares or rectangles and attach one side directly onto the back of your chalkboard while sticking its counterpart on an appropriate spot on your wall surface.
When applying either method, ensure proper alignment by measuring twice before sticking once! Once you’ve applied all necessary adhesives according to instructions provided by their manufacturers (usually found at their packaging), gently place or press against wall surface until secure enough not move around when touched lightly with hand pressure.
Hanging the Chalkboard Securely
Carefully align the chalkboard with your markings on the wall and press firmly into place. Make sure that it is level by using a spirit level before letting go.
If you are using heavy-duty Velcro tape, ensure that both sides of the tape are properly aligned before pressing them together. This will help prevent any misalignment issues when hanging up your chalkboard.
After hanging up your board, give it a gentle tug to check its stability and strength. If everything feels secure, then congratulations! You’ve successfully hung a chalkboard without nails!
Remember that different adhesives may require different amounts of time for curing or setting properly so be sure to follow manufacturer instructions carefully.
Ensuring Chalkboard Leveling
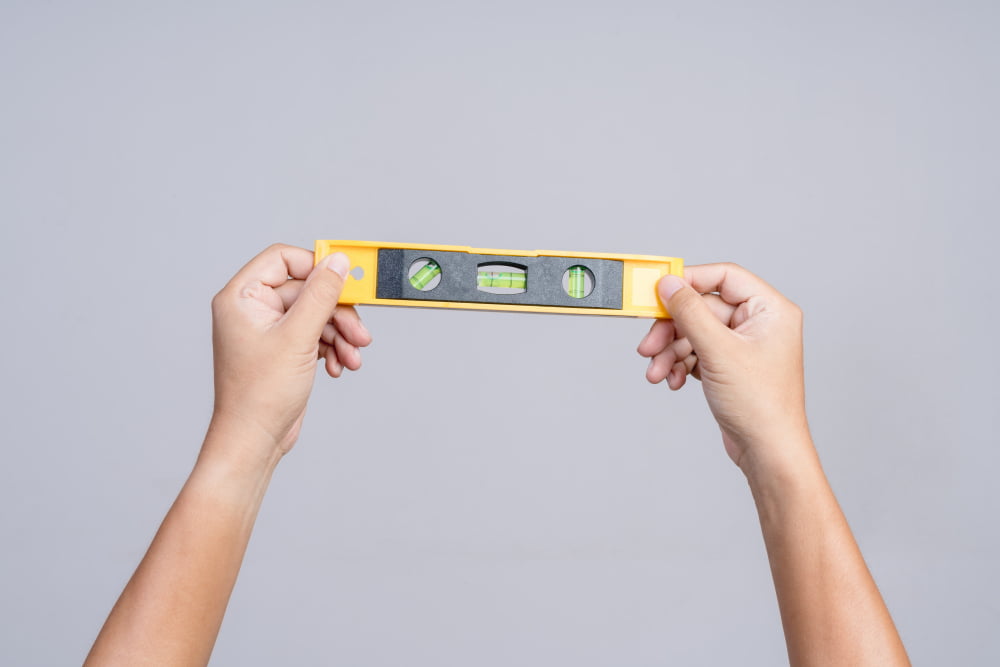
A crooked chalkboard can be frustrating and make writing on it difficult. To avoid this problem, use a spirit level to check the alignment of your board before securing it in place.
To do this, hold the spirit level against the top edge of your chalkboard and adjust its position until both sides are even. Once you’re happy with its placement, press down firmly on all corners to secure any adhesive strips or Velcro tape used.
If you find that your board is still not quite straight after hanging it up, don’t worry! You can easily adjust its position by gently lifting one side at a time and repositioning as needed until everything looks just right.
Checking the Stability and Strength
This will ensure that the board stays securely in place and doesn’t fall off the wall unexpectedly. To do this, gently push on the corners of the chalkboard to see if it moves or wobbles.
If it does, you may need to reinforce your adhesive strips or Velcro tape.
Another way to test for stability is by writing on the board with a piece of chalk. If there is any movement or shaking while writing, then you’ll know that something needs adjusting.
It’s also essential to periodically check your hanging method over time as changes in temperature and humidity can affect adhesives’ effectiveness over time.
Magnetic Mounting
This method involves using magnets to attach the board to a metal surface, such as a refrigerator or magnetic wall. To use this method, you will need to ensure that your chalkboard has a magnetic backing or frame.
One advantage of magnetic mounting is that it allows for easy removal and repositioning of the chalkboard. However, it may not be suitable for heavier boards as they may slide down over time due to gravity.
If you decide on using this method, make sure that the surface where you plan on attaching your board is clean and free from any debris or dust particles which can affect its adhesion strength. Avoid placing heavy objects near the bottom edge of your board as they can cause instability and lead to accidents.
Alternative Hanging Solutions
One option is to use suction cups with hooks. These hooks can be attached directly onto the back of the chalkboard and then secured onto a smooth surface such as glass or tile.
Another option is using picture hangers with wire. You’ll need two D-ring hangers and some picture-hanging wire for this method.
Attach one D-ring on each side at the top edge of your chalkboard, making sure they’re levelled properly before attaching them securely in place.
Next, measure out where you want to hang your board on the wall and attach two screws into it (make sure they are level). Then tie one end of a piece of wire around each D-ring hook on either side at an equal length so that when hung up both sides will be even.
Installation Tips

Here are some installation tips that will help ensure a successful hanging process.
1. Follow the instructions: Make sure to read and follow all of the manufacturer’s instructions for your chosen adhesive or mounting method.
2. Use enough strips or tape: To ensure maximum holding power, use enough strips or tape as recommended by the manufacturer.
3. Press firmly: After applying your adhesive strips or Velcro, press firmly on each one for at least 30 seconds to activate its bonding strength fully.
4. Wait before hanging anything on it: Allow sufficient time (usually around an hour) after installing before placing any weight on your chalkboard so that its adhesion can set correctly.
5. Check leveling again after installation: Once you’ve hung up your board using either Command Strips Method, Heavy-Duty Velcro Tape, Magnetic Mounting method – double-check if everything is levelled correctly with a spirit level tool.
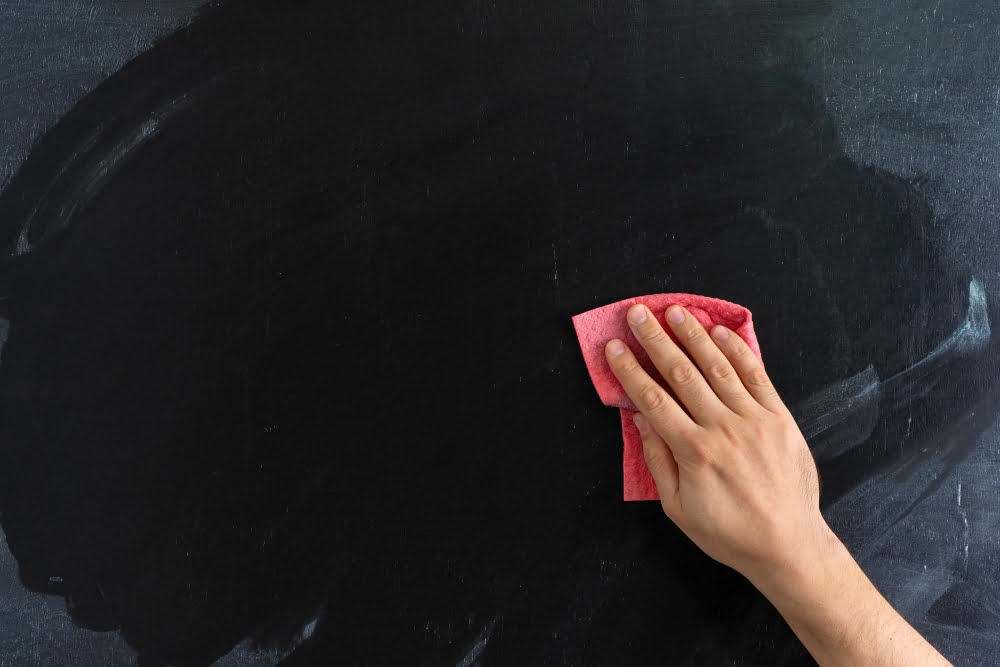
Chalkboard Care
Regular cleaning is essential to keep the surface smooth and free from scratches or stains. To clean a chalkboard, use a soft cloth or eraser to remove any dust or debris.
For tougher stains, mix equal parts water and vinegar in a spray bottle and apply the solution directly onto the affected area before wiping with a damp cloth.
It’s also important not to leave chalk marks on your board for too long as they can become difficult to erase over time. To prevent this from happening, make sure you wipe down your board regularly after each use.
Lastly, be mindful of what type of writing utensils you’re using on your board as some may cause damage if left on for an extended period of time. Stick with traditional white or colored chalks instead of markers that are designed specifically for non-porous surfaces like glass.
Caring for Your Wall and Chalkboard
To keep your chalkboard looking great, be sure to clean it regularly with a damp cloth or eraser. Avoid using harsh chemicals or abrasive materials that could scratch the surface.
When cleaning the wall behind your chalkboard, use caution not to damage any adhesive strips or Velcro tape that may be holding it in place. Gently wipe down the area around and beneath the board with a soft cloth or sponge.
If you ever need to remove your chalkboard from its hanging spot, follow manufacturer instructions for removing adhesive strips without damaging walls. If using heavy-duty Velcro tape method for mounting, carefully peel off one side at a time while supporting weight of board until completely removed from wall.
Troubleshooting
If you encounter any issues while hanging your chalkboard without nails, there are a few troubleshooting tips that can help you get back on track.
One common problem is adhesive failure or weak bonding between the wall and chalkboard surface. In this case, it’s important to check if the wall surface was properly cleaned before applying adhesive strips or Velcro tape.
Any dust or debris can weaken adhesion over time.
Another issue could be uneven weight distribution causing instability of your chalkboard after installation. To fix this problem, try repositioning the board by adjusting its height using additional adhesive strips or Velcro tape.
If all else fails and you’re still having trouble getting your chalkboard to stay put without nails, consider seeking professional assistance from a handyman who has experience in hanging heavy objects on walls.
FAQ
How do you hang a whiteboard without drilling holes?
To hang a whiteboard without drilling holes, use industrial strength Velcro strips on every corner and one in the center top, bottom, left, and right.
Can command strips hold a dry erase board?
Yes, command strips can hold a dry erase board as demonstrated by the Command™ Message Center, which uses hooks and a small ledge to hold items such as dry erase markers and other essentials.
What are the best adhesive options for mounting a chalkboard on different surfaces?
The best adhesive options for mounting a chalkboard on different surfaces include construction adhesive, heavy-duty double-sided tape, or mirror clips.
Is it possible to use removable hanging systems for heavier chalkboards?
Yes, it is possible to use removable hanging systems for heavier chalkboards with the appropriate weight capacity support.
How can you safely and securely install a framed chalkboard without causing wall damage?
To safely and securely install a framed chalkboard without causing wall damage, use damage-free adhesive strips or hooks designed for hanging frames and follow the manufacturer’s instructions.
Read More Like This
 15 Funny Graduation Cap Ideas to Make Your Big Day Unforgettable
 15 Unique DIY Christmas Decorations Ideas for a Festive Home
 15 Creative Science Fair Board Ideas to Amaze Your Audience
 15 Handmade Envelope Decoration Ideas for Creative Gifting
 10 DIY Gifts for the Whiskey Lover in Your Life
Recap: