Last updated on
Discover the simple steps to create your own versatile chalkboard. It’s perfect for organizing, teaching or expressing your artistic side in any space.
Welcome to my latest blog post on how to make a chalkboard! Chalkboards are a fun and versatile addition to any home or office space. They can be used for everything from daily reminders and grocery lists to inspirational quotes and artistic creations.
Plus, they’re easy to customize and can be made in any size or shape you desire. In this article, I’ll walk you through the steps of creating your own chalkboard, including the materials you’ll need, tips for achieving a smooth surface, and ideas for decorating your finished product.
So grab your supplies and let’s get started!
Key takeaways:
- Chalkboard paint and a smooth surface are essential.
- Choose a paint color and finish that suits your style.
- Prepare the surface by cleaning and sanding it.
- Apply multiple coats of paint and let it cure before use.
- Consider adding a frame for added protection and style.
- Season the chalkboard before use to prevent ghosting.
- Clean the surface with a damp cloth and avoid harsh chemicals.
Materials Needed
To create your own chalkboard, you’ll need a few basic materials. Here’s what you’ll need to get started:
- Chalkboard paint: This is the most important material for creating a chalkboard. You can find it at most hardware or craft stores in either spray or brush-on form.
- Surface: You can use almost any surface as long as it’s smooth and non-porous, such as wood, metal, glass or plastic.
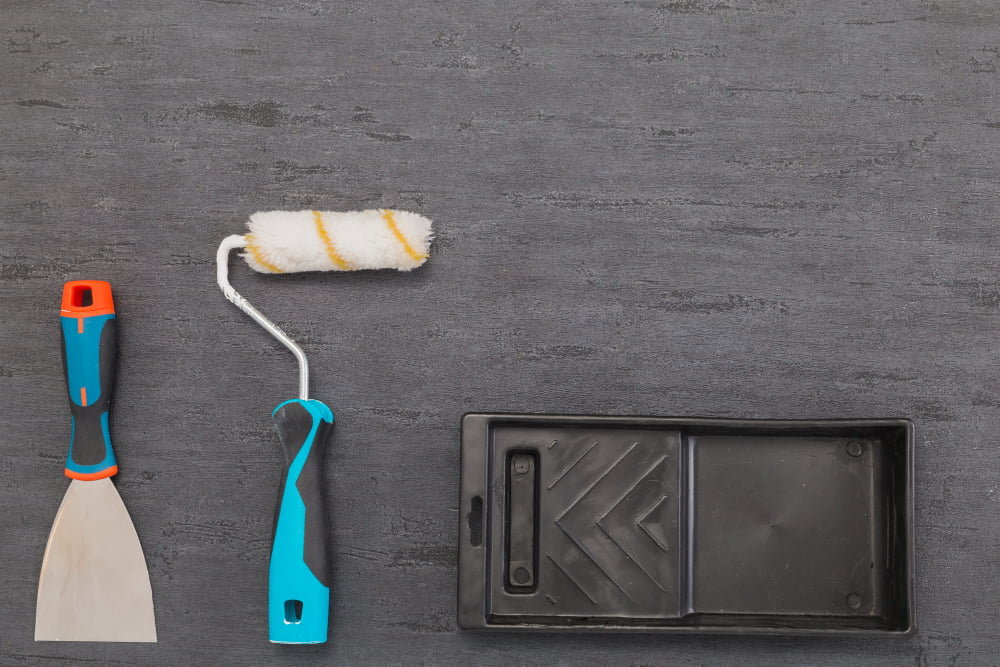
- Sandpaper: If your surface isn’t perfectly smooth already (or if it has an existing finish), sandpaper will help prepare the surface for painting.
- Painter’s tape: Use this to mask off any areas that you don’t want painted with chalkboard paint.
- Paintbrushes/rollers/spray gun (depending on which type of paint you choose).
- Frame materials (optional): If desired, purchase frame molding from a home improvement store and cut them down to size using a saw box cutter.
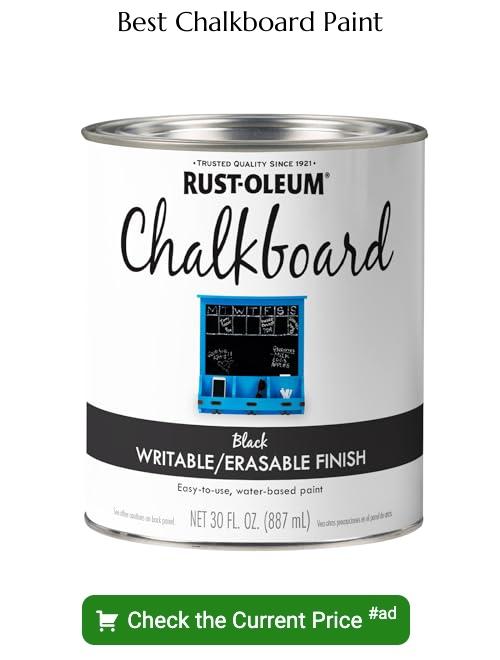
Choosing Chalkboard Paint
First and foremost, you’ll want to make sure that the paint is specifically designed for use on surfaces that will be written on with chalk. This type of paint typically contains additives that help create a smooth surface for writing and drawing.
Another factor to consider is color. While traditional black or green chalkboards are classic choices, don’t be afraid to get creative with your color selection! Chalkboard paints come in a variety of hues including white, gray, blue and even pink.
Lastly, think about the finish you want for your board – matte finishes tend not reflect light as much as glossy ones do which can make them easier on the eyes when used frequently.
Preparing the Surface
This will ensure that the paint adheres properly and creates a smooth writing surface. First, clean the surface with soap and water to remove any dirt or debris.
Then, use sandpaper or a sanding block to lightly rough up the area where you’ll be applying paint. This will help create tiny grooves in which the paint can grip onto.
After sanding, wipe down your chalkboard with a damp cloth to remove any dust particles left behind by sanding before proceeding with painting. If there are any cracks or holes on your board’s surface that need filling in before painting begins; apply wood filler using putty knife as per instructions provided on its packaging.
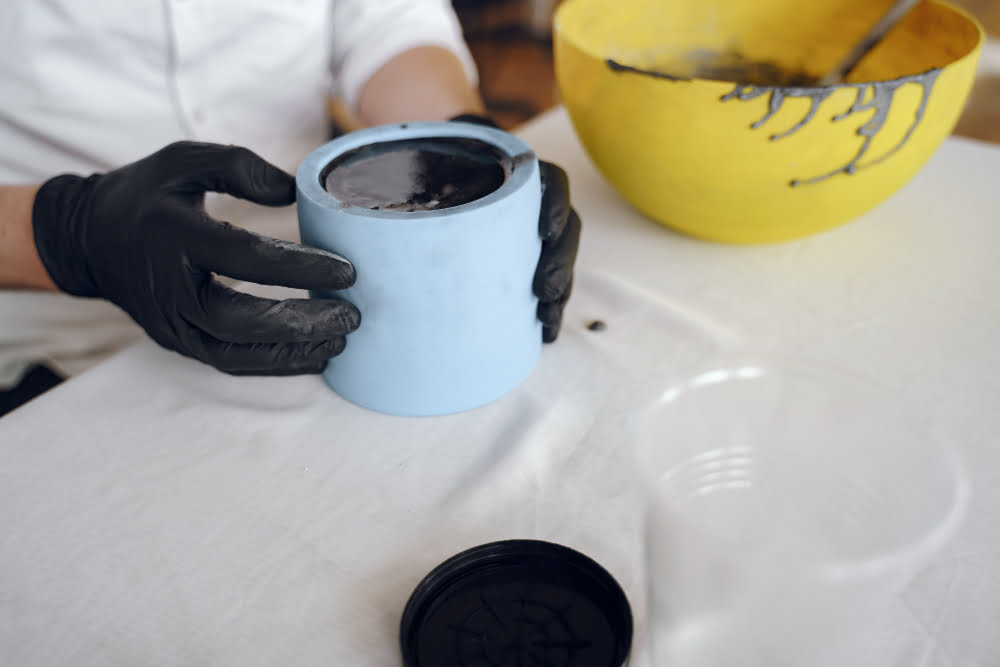
Applying the Paint
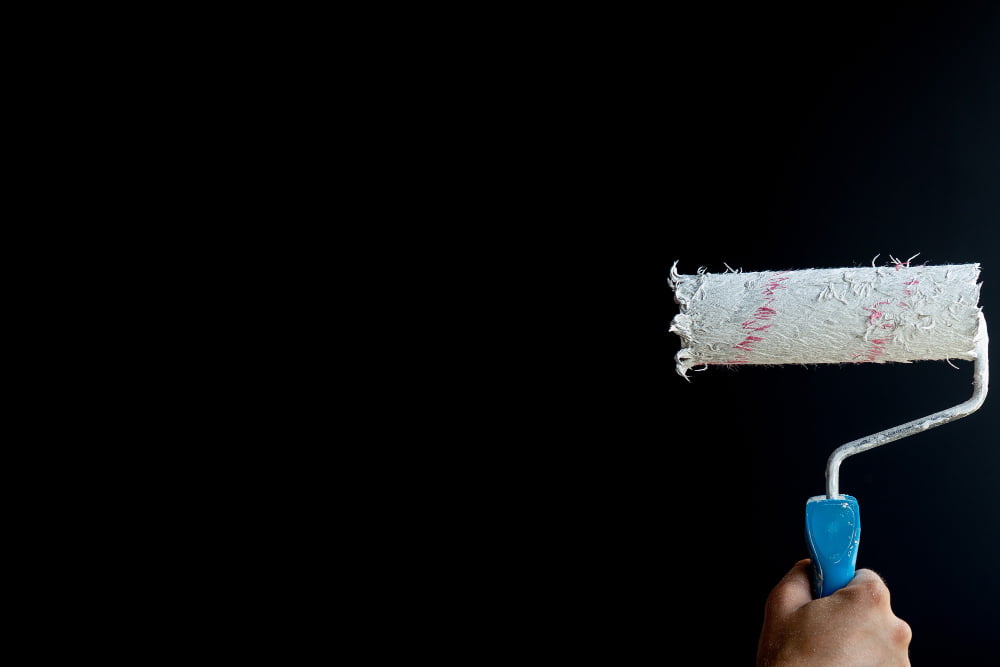
Before starting, make sure that your workspace is well-ventilated and that you’re wearing protective clothing such as gloves and a mask.
Using a foam roller or brush, apply an even coat of chalkboard paint onto the surface in long strokes. Be careful not to overwork any areas as this can cause bubbles or streaks in your finished product.
Allow each coat of paint to dry completely before applying another layer – usually around 2-3 coats are needed for full coverage depending on how porous your surface is.
After applying all necessary layers of chalkboard paint, let it cure for at least three days before seasoning with chalk (more on this later).
Frame Installation
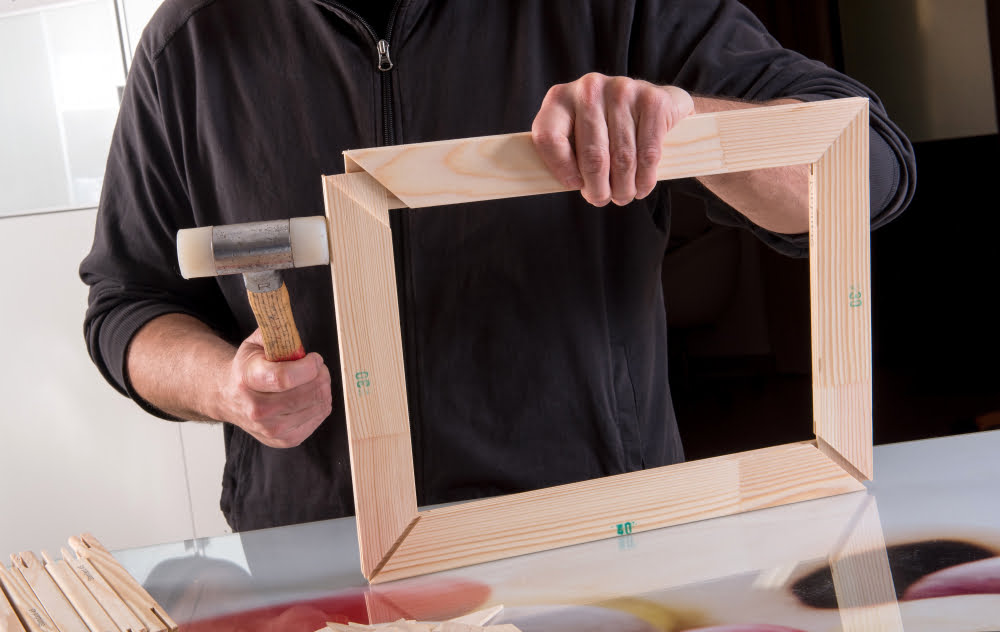
A frame not only adds a decorative touch but also helps protect the edges of the board from chipping or damage. You can purchase pre-made frames at most craft stores or create your own using wood trim and a saw.
To install the frame, measure each side of your chalkboard and cut four pieces of trim to fit. Then, use wood glue and finishing nails to attach each piece around the perimeter of the board.
If you prefer not to use a traditional wooden frame, there are other options such as painting an additional border around the edge with contrasting colors or adding decorative washi tape for an eclectic look.
Seasoning the Chalkboard
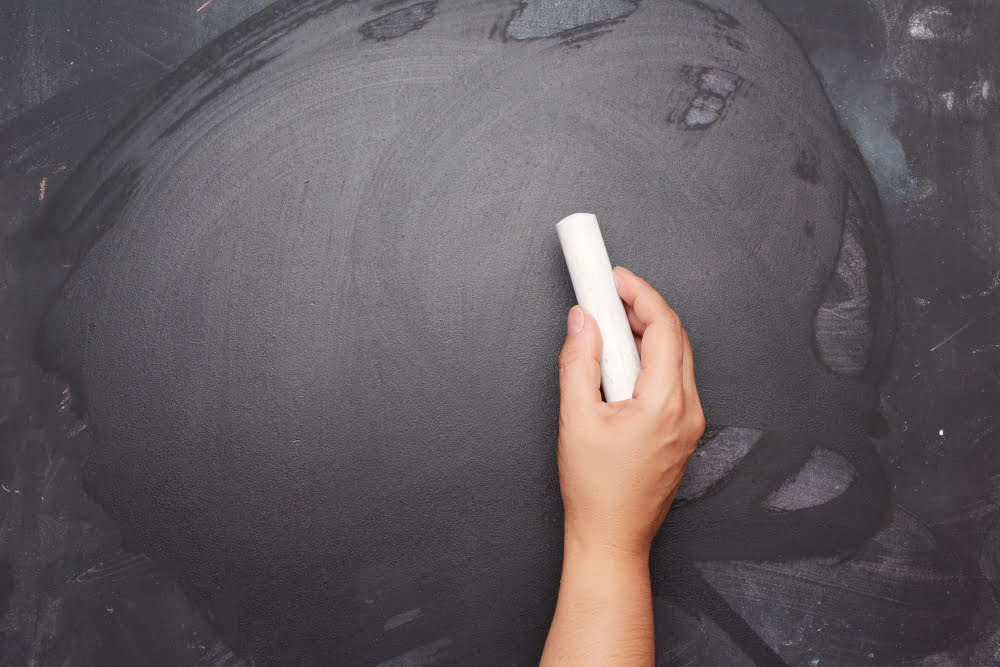
Seasoning helps to prevent “ghosting,” or faint marks left behind after erasing, and ensures that your board will be easy to clean in the future.
To season a chalkboard, simply rub a piece of white chalk over the entire surface of the board. Be sure to cover every inch with a thin layer of dust from top to bottom and side-to-side.
Then use an eraser or dry cloth towel (not wet) to wipe away any excess powder.
After seasoning is complete, you can start using your new chalkboard! Keep in mind that if you’re planning on writing something more permanent on your board (like an inspirational quote), make sure you use liquid chalk markers instead of regular ones so they don’t smudge when erased later on.
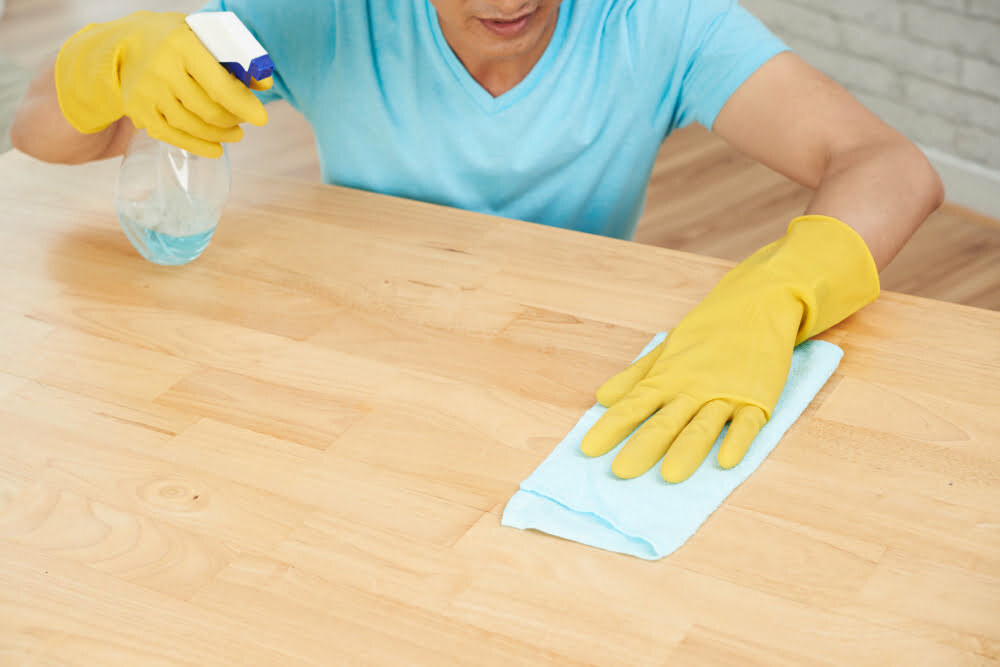
Cleaning and Maintenance
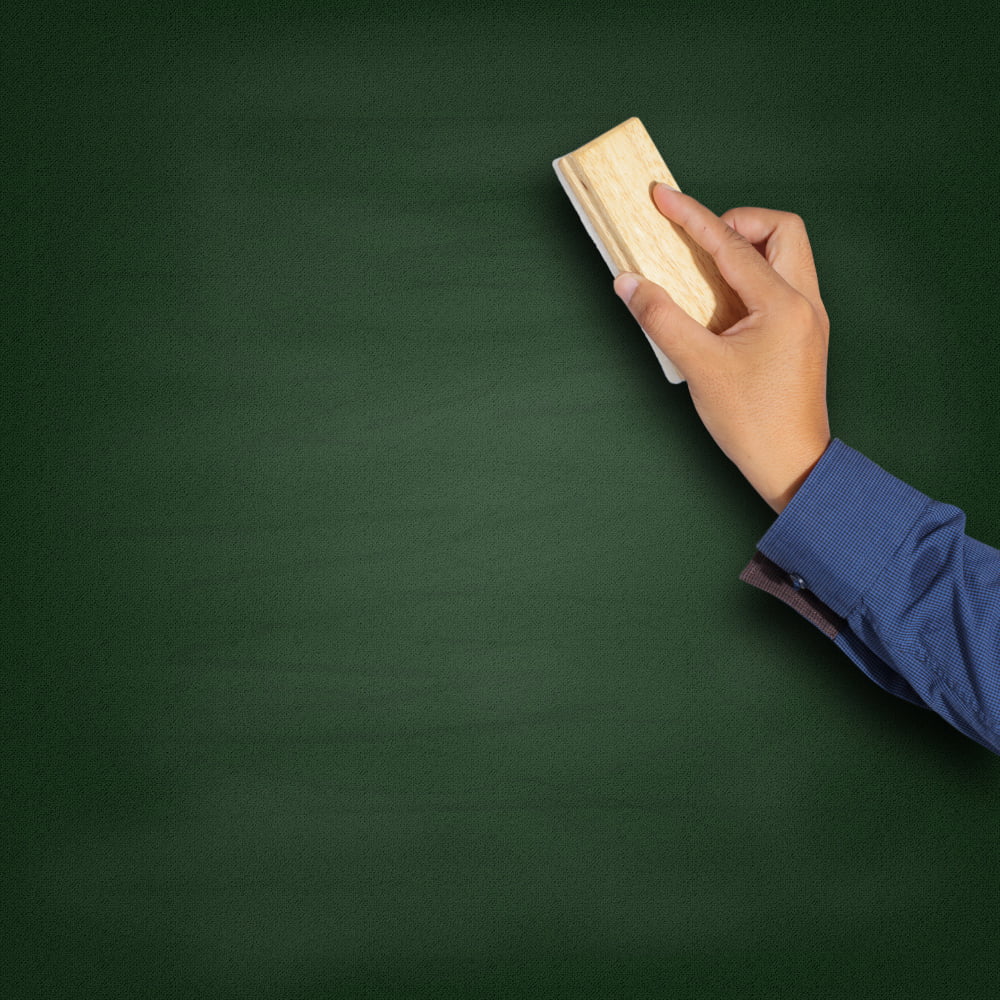
To clean the surface, simply use a damp cloth or sponge to wipe away any chalk residue or dust. Avoid using harsh chemicals or abrasive materials that could scratch the surface.
To prevent ghosting (when previous markings are still visible after erasing), be sure to “season” your chalkboard before its first use by rubbing a piece of white chalk over the entire surface and then wiping it off with a dry cloth.
Regularly seasoning your board will also help maintain its longevity and prevent permanent staining from certain types of markers. If you do accidentally use permanent marker on your board, try using rubbing alcohol or nail polish remover on a cotton ball to remove as much as possible before re-seasoning.
With proper cleaning and maintenance, your homemade chalkboard can provide years of functional fun for all ages!
Read More Like This
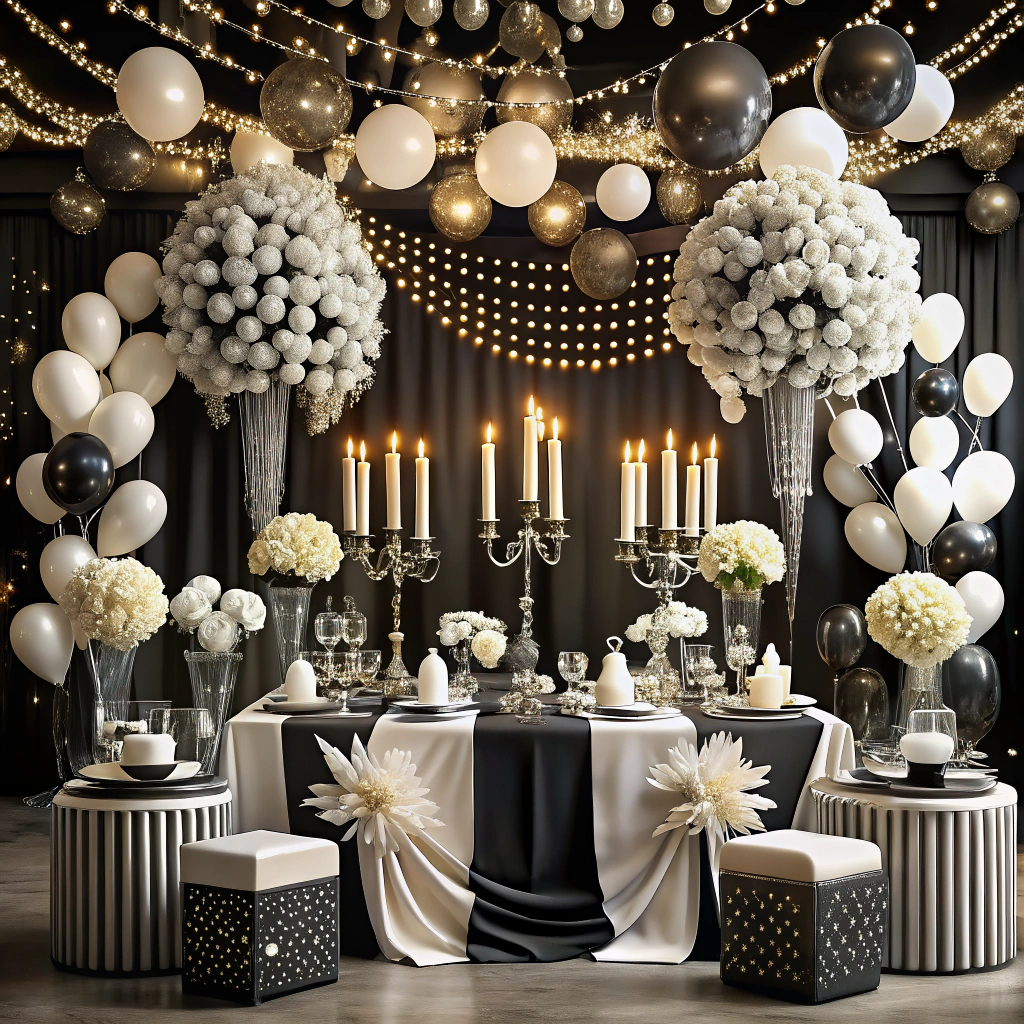 15 Homecoming Decoration Ideas to Elevate Your Celebration
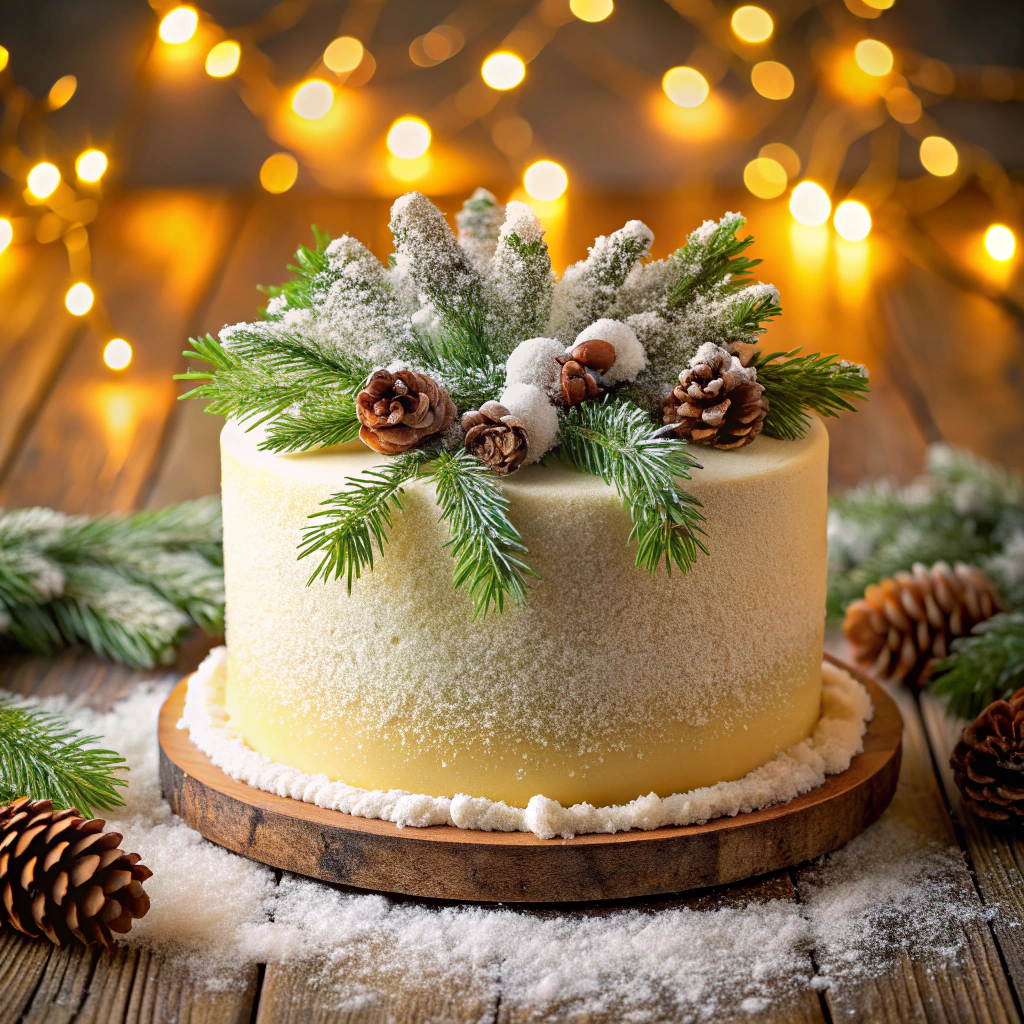 15 Christmas Cake Decorating Ideas to Sweeten Your Holidays
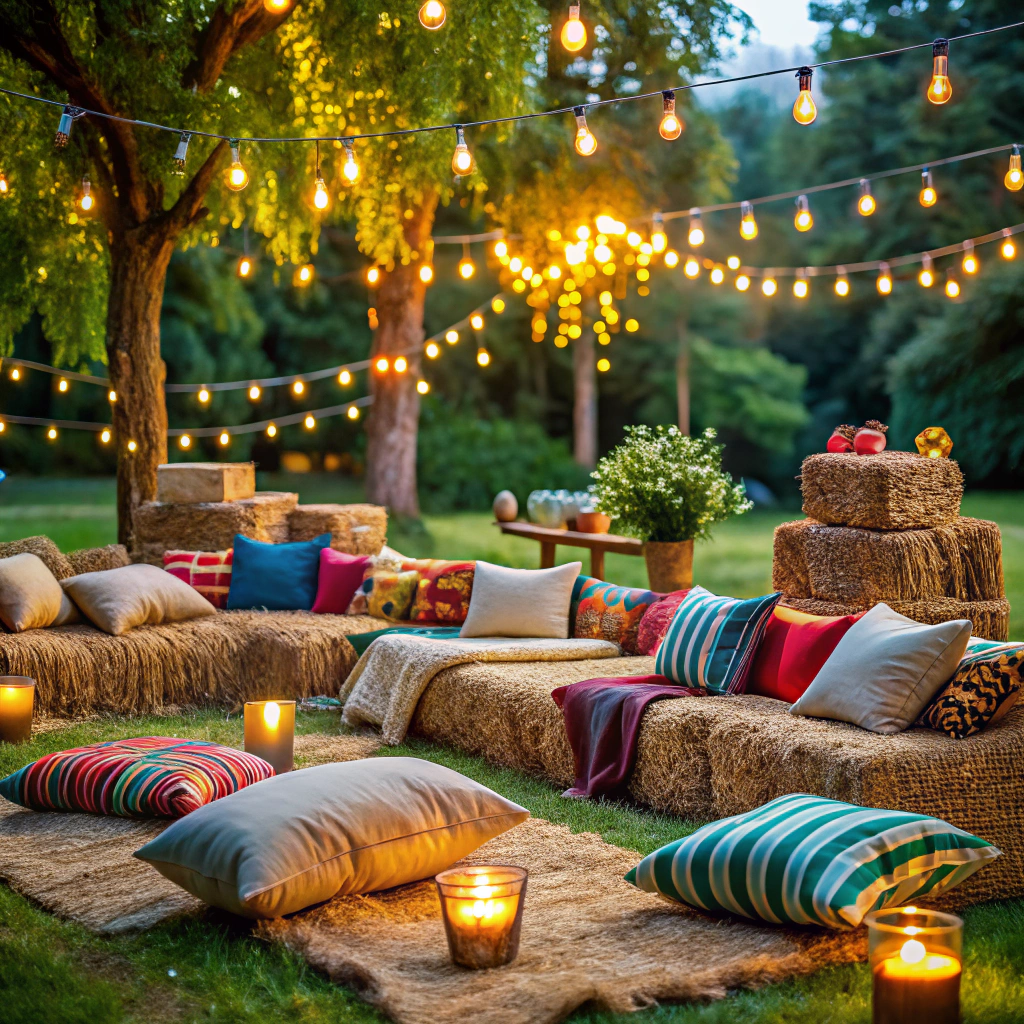 15 Outdoor Party Tent Decorating Ideas for a Magical Celebration
 15 Ideas for Welcome Home Decorations
 15 Funny Graduation Cap Ideas to Make Your Big Day Unforgettable
Recap: