Last updated on
Discover the simple steps to create your own revolving spice rack, organizing your spices efficiently and visually appealingly.
Spices are the heart and soul of any kitchen. They add flavor, aroma, and color to our dishes.
But with so many different spices and herbs, keeping them organized and within easy reach can be tough. That’s where a revolving spice rack comes in handy! Not only does it save space on your countertop or in your cabinets, but it also makes finding the right spice a breeze.
In this article, we’ll show you how to make your own revolving spice rack that’s both practical and stylish. So let’s get started!
Key takeaways:
- A revolving spice rack saves space and makes finding spices easy.
- Choose sturdy hardwoods like oak or maple for your spice rack.
- Consider wood color that complements your kitchen decor.
- Plan the dimensions and placement of the spice rack.
- Sand the wood surface for a smooth finish.
Introduction to Revolving Spice Rack
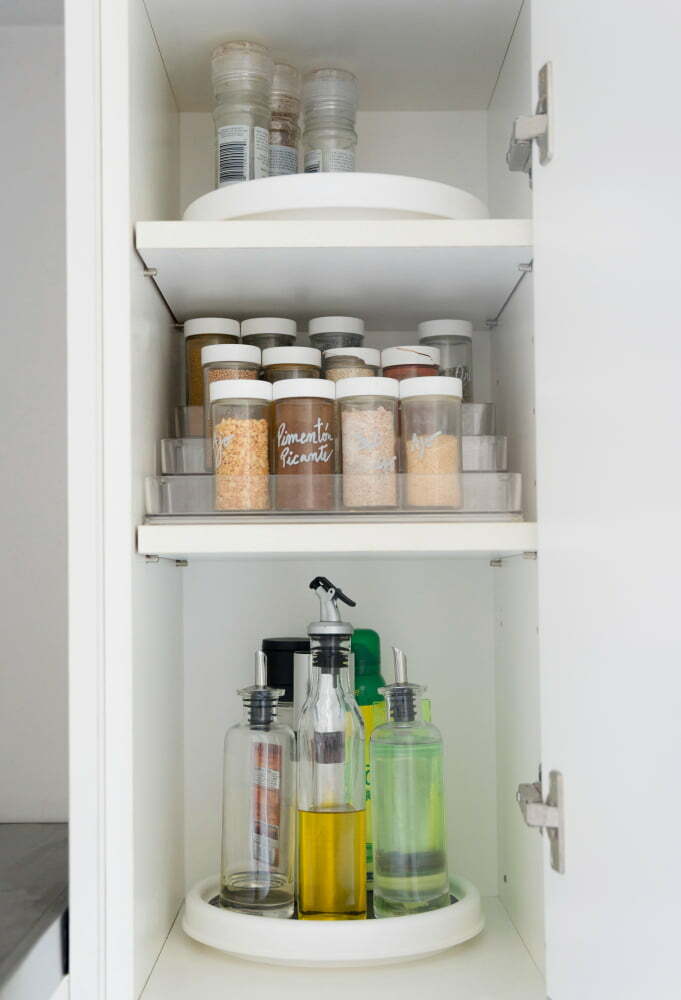
A revolving spice rack is a must-have for home cooks who want to keep their spices organized and easily accessible. Not only does it save space, but it also adds an element of style to your kitchen decor.
With a revolving spice rack, you can say goodbye to rummaging through cluttered drawers or cabinets in search of the right spice jar. Instead, all your spices will be neatly arranged on tiers that rotate 360 degrees with just a wrist flick!
This article will guide you through each step needed to create your own custom-made revolving spice rack that fits perfectly into your kitchen’s design scheme and meets all of its functional needs.
So let’s get started!
Tools and Materials Needed
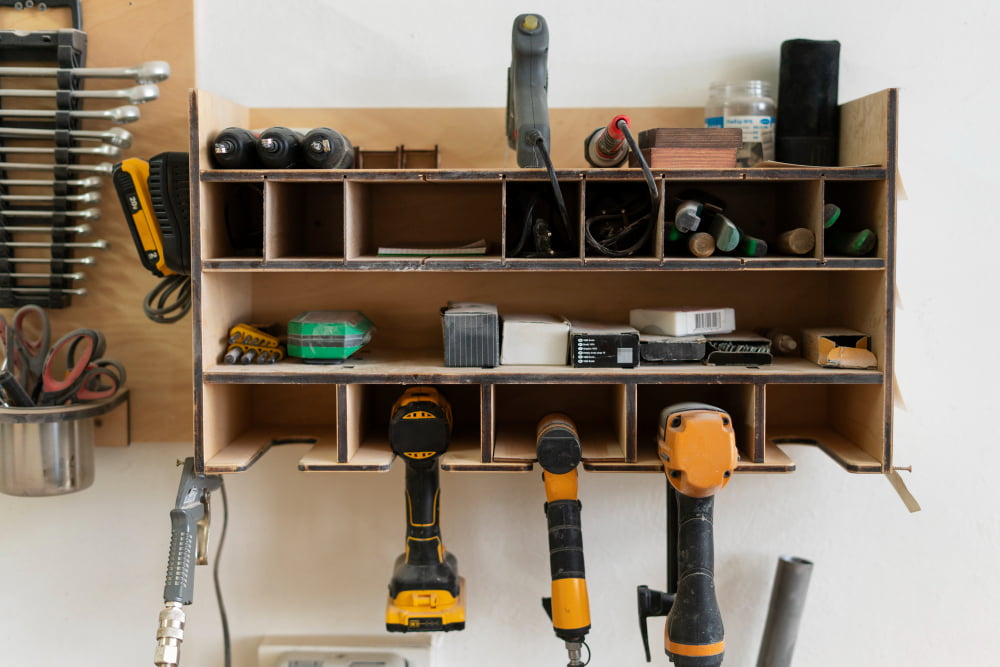
You’ll need basic woodworking tools such as a drill, saw, sandpaper, and measuring tape. You’ll need some specific materials like wood boards for the tiers of the rack and dowels for its central support.
When choosing wood boards for your spice rack project, ensure they are sturdy enough to hold up against daily use in your kitchen. Hardwoods like oak or maple are great options because they’re durable yet easy to work with.
You can also customize your spice rack by selecting different wood types that complement other kitchen decor elements, such as cabinets or countertops.
Choosing the Right Wood
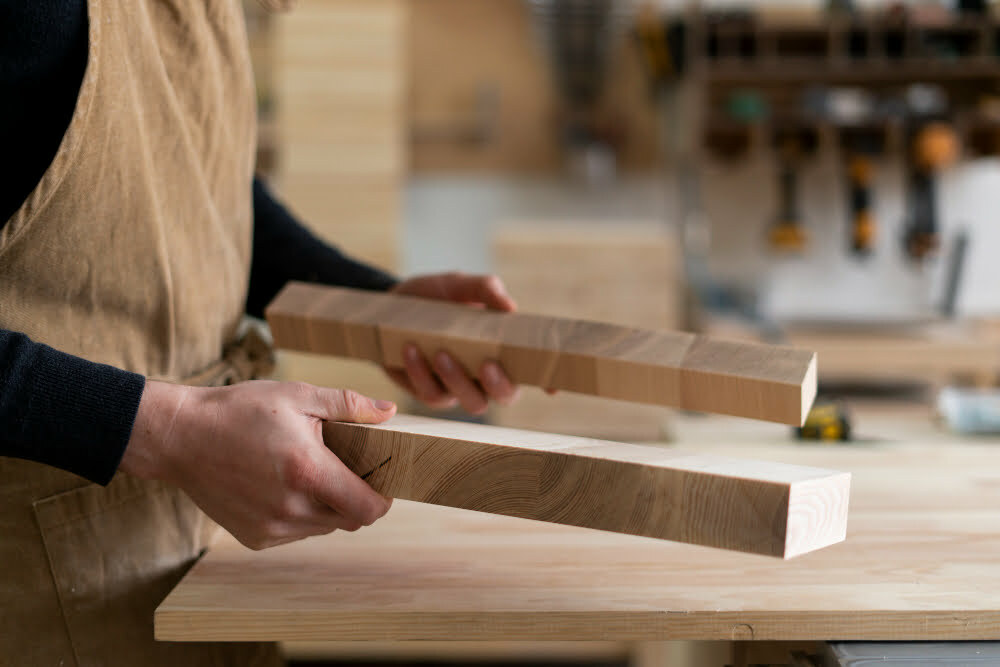
You want something sturdy enough to hold all your spices but also looks great in your kitchen. Hardwoods like oak, maple, and cherry are excellent choices for this project because they’re durable and have a beautiful grain pattern.
Another important factor to consider when selecting wood is its resistance to moisture and humidity. Since spices can be sensitive to moisture levels, you’ll want a type of wood that won’t warp or crack over time due to exposure.
Lastly, consider the wood color you choose, as it will affect how well it blends with your kitchen decor. Lighter woods, such as birch or pine, may be more suitable for natural-looking finishes, while darker woods, like walnut or mahogany, offer an elegant look.
Planning and Designing the Rack

This step will help you determine the size of your rack, how many tiers it should have, and what type of wood to use. You can create a blueprint on paper or use software like SketchUp to visualize your design.
When planning the dimensions of each tier, consider the height and width of your spice containers. The holes should be large enough for easy access but not too big that they won’t hold smaller jars securely.
Another factor to remember is where to place the finished product in your kitchen. Will it sit on a countertop or inside a cabinet? Make sure there’s enough clearance space around its base to rotate smoothly without hitting any obstacles.
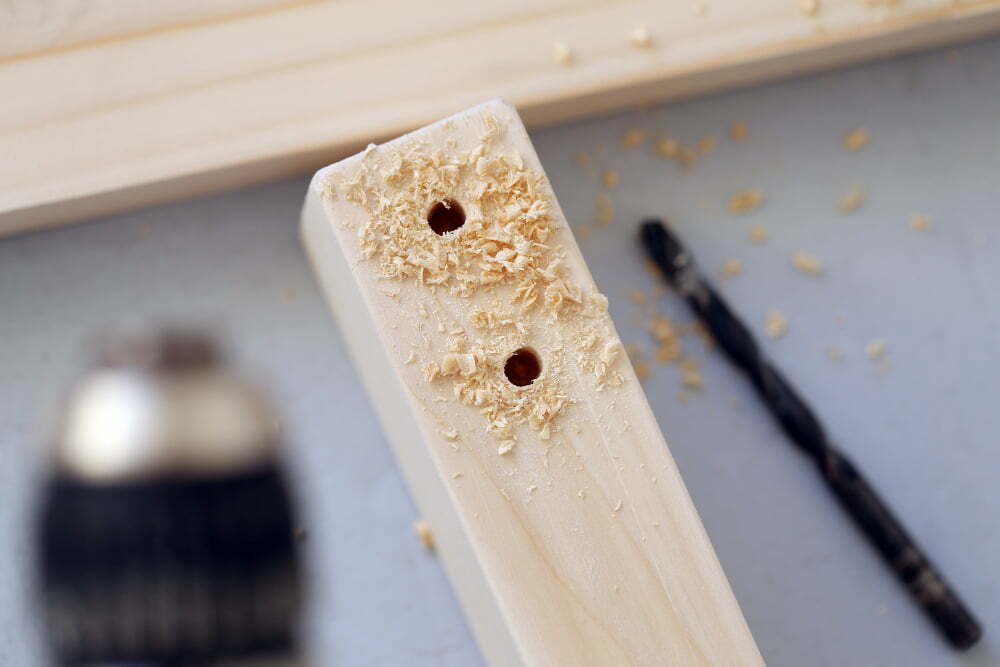
Drilling Holes for Spice Containers
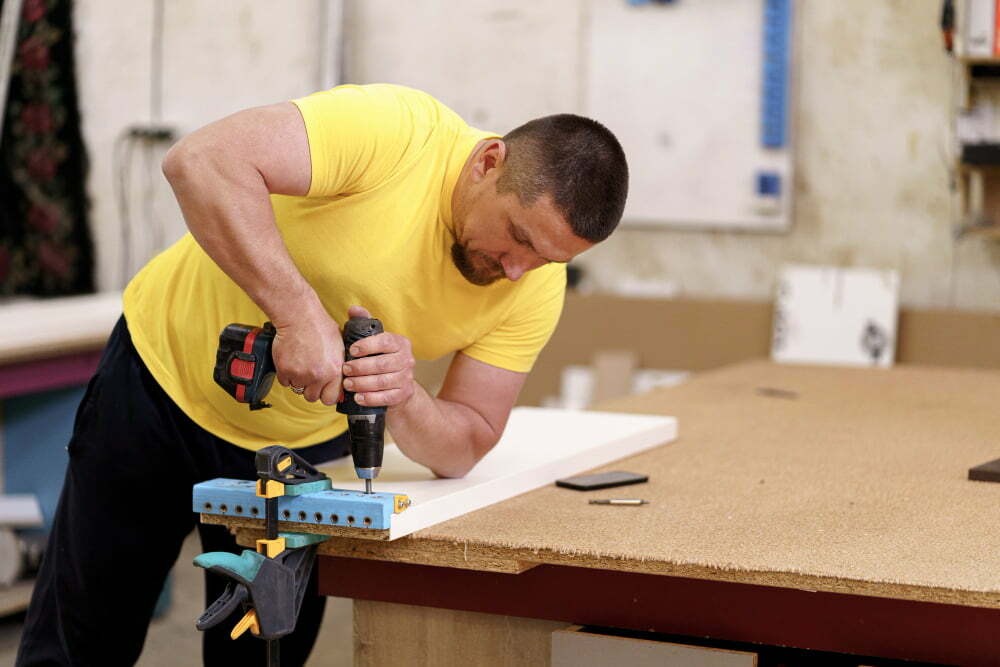
The size of the holes will depend on the size of your spice jars or containers. It’s important to measure carefully and mark each hole before drilling.
To ensure that all of your spices fit properly, we recommend using a drill bit slightly larger than your largest container’s diameter. This will allow you to insert and remove each jar without any hassle easily.
Keep a steady hand when drilling and apply even pressure throughout the process. You may also want to use a clamp or vise grip to hold down your wood piece while working with it securely.
Remember: safety first! Always wear protective eyewear when operating power tools like drills.
Once all of your holes are drilled, take some sandpaper and smooth out any rough edges around them so they don’t scratch or damage your spice jars during use.
Sanding the Wood Surface
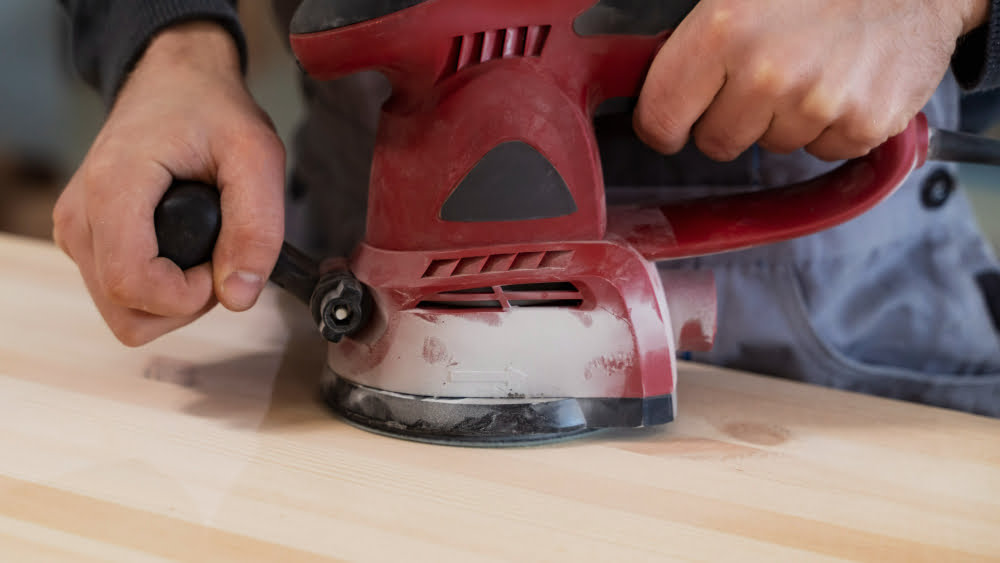
Sanding is essential in any woodworking project as it helps smooth out rough edges and create a polished finish. Use coarse-grit sandpaper (around 80-100 grit) to remove splinters or bumps on the wood surface.
Then, switch to finer-grit sandpaper (around 220-240 grit) and continue until you achieve a smooth texture.
Make sure that you pay extra attention when sanding around the drilled holes for your spice containers. You want these areas to be perfectly smooth so that your spices can easily slide in and out of their designated slots without getting stuck or damaged.
Once you’ve finished sanding, wipe down all surfaces with a clean or tack cloth before applying varnish or paint. This will ensure that no dust particles are left on the surface, which could ruin your final finish.
Building the Central Dowel
The dowel is essentially a long wooden rod that runs through the center of each tier and connects them all. To make this, you’ll need a piece of wood that’s slightly longer than your spice rack tiers.
Firstly, measure and mark where you want to drill holes in your central dowel. These should be evenly spaced to align with the holes on each tier of your revolving spice rack.
Next, use a drill bit slightly smaller than the diameter of your wooden rods to create pilot holes at each marked point along one side of the dowel.
Then flip over and repeat on the other side until all pilot holes are made.
Finally, use a larger size bit (the same diameter as the rod) to enlarge these pilot holes into full-size ones.
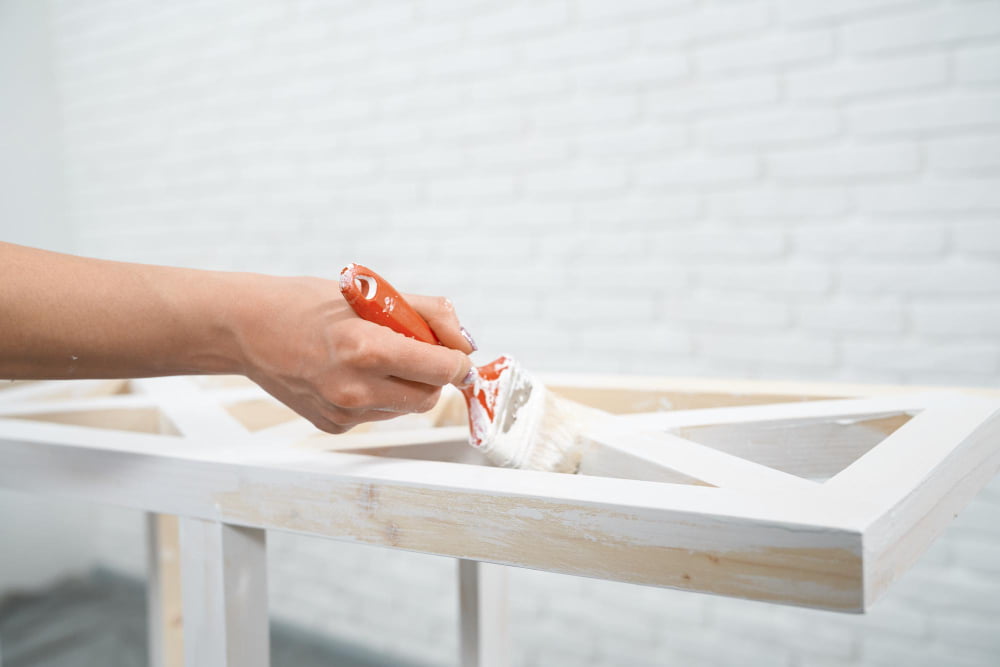
Applying Wood Finish
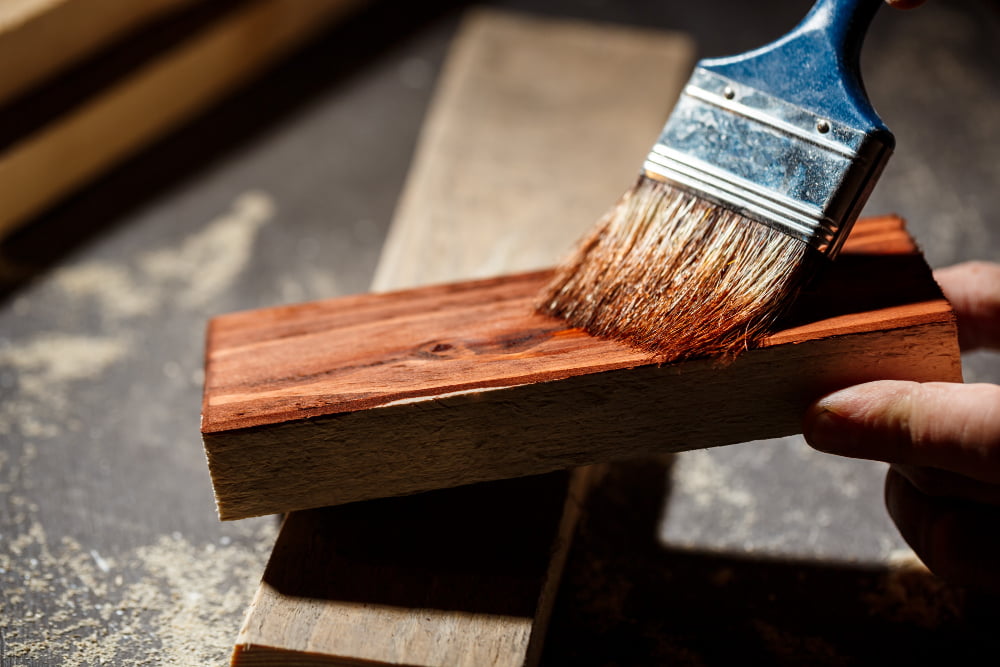
This step is essential for protecting the wood from moisture and wear and tear. It also adds an attractive sheen that enhances the natural beauty of your chosen wood.
Before applying any finish, ensure all surfaces are clean and free of dust or debris. You can use a tack cloth or soft-bristled brush to remove any particles.
Several types of finishes are available, including oil-based polyurethane, water-based polyurethane, shellac, lacquer, or varnish. Each has its advantages depending on your preferences regarding durability and appearance.
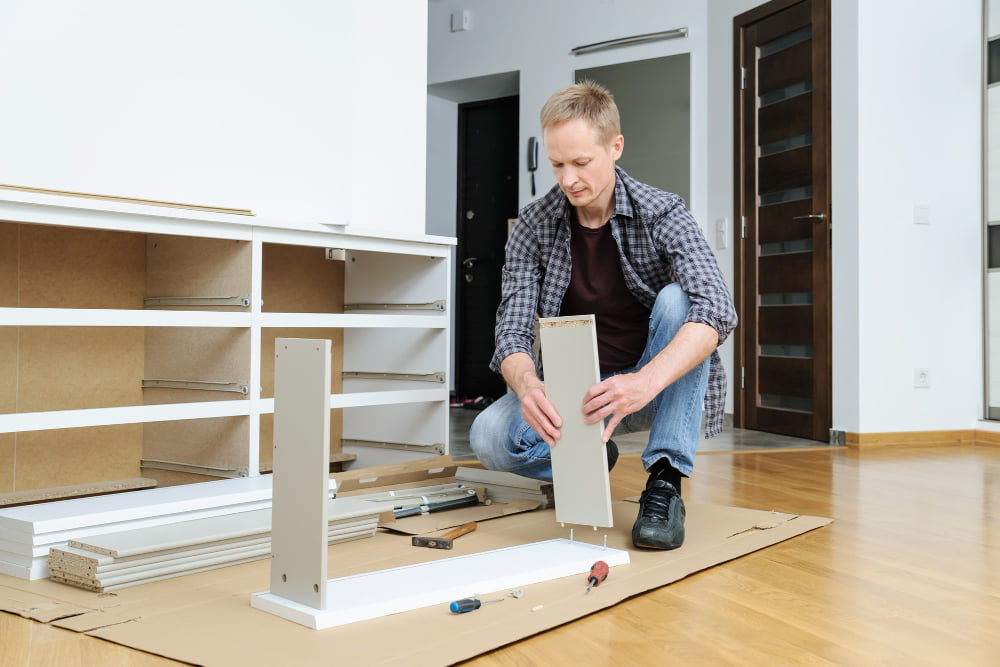
Assembling the Spice Rack Tiers
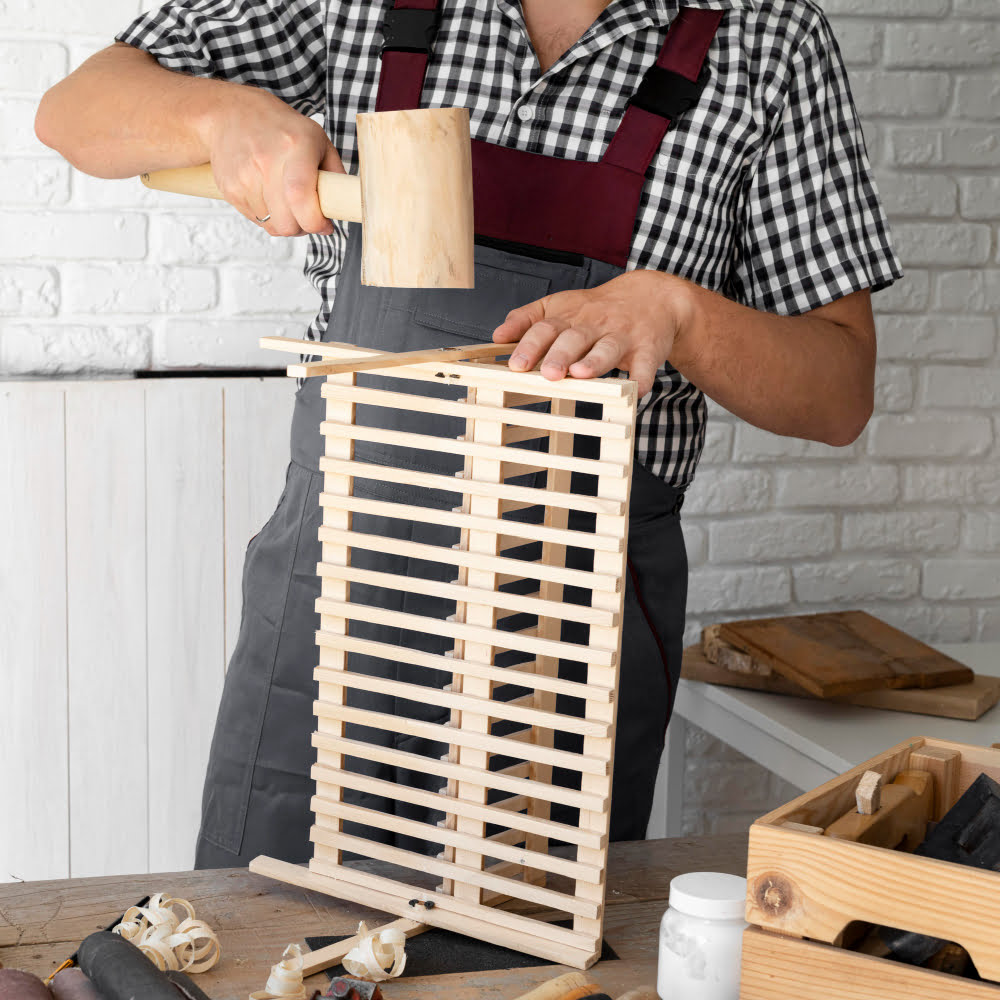
Start by attaching each tier to a central dowel using screws or glue. Ensure each tier is level and evenly spaced apart from one another.
Next, attach any additional shelves or compartments that you may want on your spice rack. These can store larger items like cooking oils or vinegar bottles.
Add any finishing touches, such as decorative knobs or labels, to make it easier to find specific spices quickly.
Assembling the tiers of your revolving spice rack is an important step in creating a functional and visually appealing addition to your kitchen décor.
Installing the Lazy Susan Mechanism
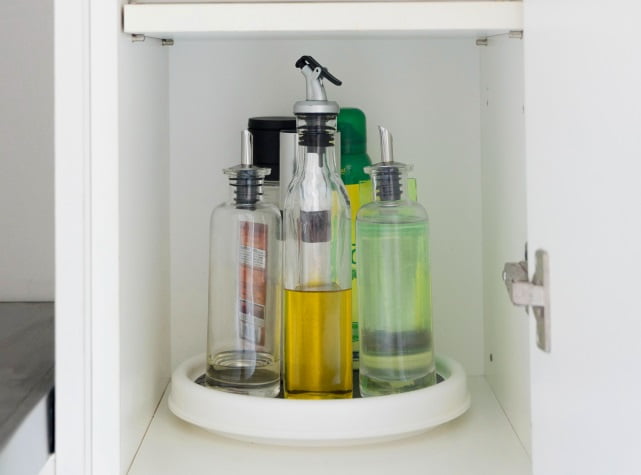
This is what allows your spice rack to spin smoothly and effortlessly. Start by placing the bottom tier upside down on a flat surface.
Then, attach one-half of the lazy Susan hardware to its center using screws or bolts.
Next, place the top tier right-side up on top of this base and align it with its corresponding holes in both pieces of hardware. Once aligned correctly, screw or bolt them together tightly.
Flip over your newly constructed revolving spice rack so that it sits upright on its base, with both tiers securely attached via their central dowels and Lazy Susan mechanisms.
Attaching the Base
The base is what allows your spice rack to rotate smoothly and effortlessly. To do this, you will need a lazy Susan mechanism that can be found at any hardware store or online.
Firstly, place the lazy Susan mechanism on top of your bottom tier and mark where each screw hole should go with a pencil. Then drill pilot holes for each screw using an appropriately sized drill bit.
Next, align the holes in the lazy Susan with those drilled into your bottom tier and secure them together using the screws provided in its package.
Flip over both tiers to be upside down on a flat surface. Centering one atop another by lining up their dowels (if applicable), attach them together through pre-drilled pilot holes from underneath using wood screws long enough to penetrate both pieces without protruding outwards too much.
Finishing Touches
These small details can make a big difference in your spice rack’s overall look and functionality.
One option is to label each container with the name of the spice or herb inside. This will help you find what you need quickly and add a decorative touch to your kitchen décor.
Another idea is to paint or stain the wood that complements your kitchen’s color scheme. You could even use stencils or decals for added flair.
Consider adding some non-slip padding on each tier where containers sit. This will prevent them from sliding around when turning the lazy susan mechanism and keep everything securely in place.
Maintenance and Cleaning Tips
Here are some tips for keeping your spice rack in top condition:
- Wipe the surface regularly with a damp cloth to remove dust or debris.
- Avoid harsh chemicals or abrasive cleaners that could damage the wood finish.
- If you spill any spices on the rack, wipe them up immediately so they don’t stain or discolor the wood.
- Check periodically for loose screws or other hardware needing tightening.
- Rotate your spices regularly so they stay fresh and flavorful – this will also help prevent any moisture buildup inside the containers, which can lead to mold growth over time.
Customizing Your Spice Rack
There are many ways to personalize your spice rack, from painting or staining the wood in a color that matches your kitchen decor to adding labels or decals for each of the spices. You can also experiment with different sizes and shapes of containers for storing spices, such as small glass jars or metal tins.
Another way to customize your spice rack is by arranging the spices in a way that makes sense. For example, if you frequently use certain herbs and seasonings together (like basil and oregano), consider placing them next to each other on one tier of the rack so they’re easy to find when cooking.
FAQ
What materials and tools are needed to build a DIY revolving spice rack?
Materials and tools needed for a DIY revolving spice rack include wooden boards, a lazy Susan bearing, screws, a saw, a power drill, sandpaper, wood glue, and paint or stain.
How can one organize and categorize spices efficiently on a revolving spice rack?
One can efficiently organize and categorize spices on a revolving spice rack by arranging them alphabetically or according to the frequency of use.
What are some creative design ideas for customizing a revolving spice rack to match one’s kitchen decor?
Some creative design ideas for customizing a revolving spice rack to match one’s kitchen decor include painting it in coordinating colors, adding decorative labels, or incorporating themed patterns and textures on the rack.
Read More Like This
 15 Funny Graduation Cap Ideas to Make Your Big Day Unforgettable
 15 Unique DIY Christmas Decorations Ideas for a Festive Home
 15 Creative Science Fair Board Ideas to Amaze Your Audience
 15 Handmade Envelope Decoration Ideas for Creative Gifting
 10 DIY Gifts for the Whiskey Lover in Your Life
Recap: