Last updated on
If you want a fun way of creating a memorable photo at your party, you can create a party frame. You can then decorate it with images related to your party’s themes. Even better, this DIY photo frame can be made at home, with just a few basic tools.
Here are the steps you need to follow.
Drawing the Frame
The first thing you need to do is decide how large you want the frame to be. Do you want something that can fit one friend, or would you like something big enough for the whole group?
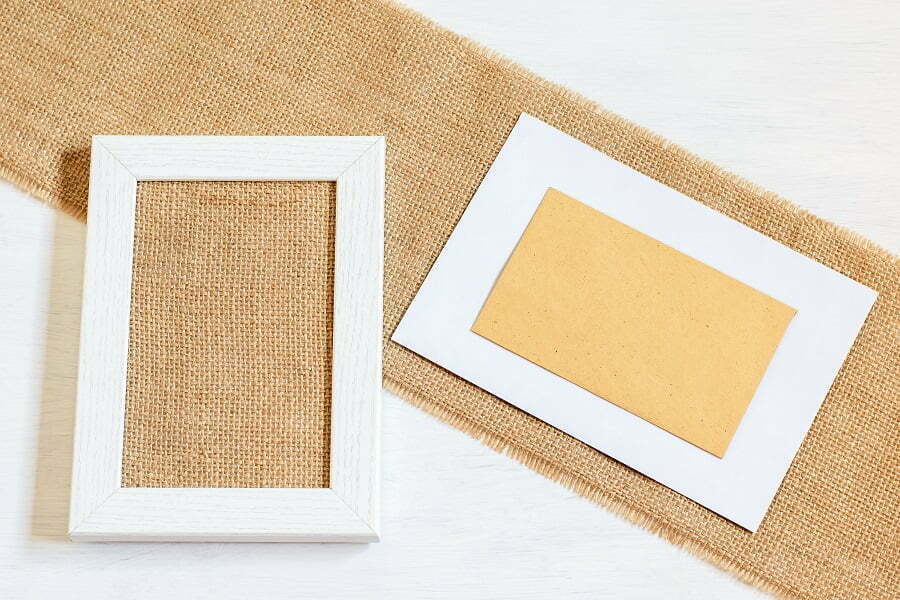
Once you have a clear idea of how big it should be, we can start to cut it out. This will require a few tools. First, you’ll need to get a piece of thick poster board. Then, you will need a pencil, to mark the cardboard.
When you are marking it up, you want to make sure that you are getting the right shape. Make sure you have enough space around the outside for your designs. You can use a polaroid picture for reference. In many cases, it’s best to get a piece of cardboard that will be 24 by 36 inches. You can then cut the middle to 18 by 21 inches. When you have an outline you are happy with, prop the cardboard up and take a step back. How does it look from a distance?
Cutting It Out
When you are happy with the outline, it’s time to cut the frame. The poster board will be thick, so you won’t be able to use scissors. Instead, it’s best to use a Stanley knife. Don’t forget to put something under the cardboard before you start cutting. You don’t want to accidentally scratch the table.
After you have the frame, you will need to get some fine-grain sandpaper. Rub this around the inside of the frame. This should remove any sharp edges that were left behind when you were cutting the picture out.
Decorating the Frame
This is the most fun part of the process. This is where the party frame will start to come to life. There are a few ways that you can decorate the frame. First, you can paint it. Start with a background color. Then, you can use permanent markers or paint pens to write your message. If you want something more complex, you can use templates to create layers of paint.
Painting the frame will take a lot of hand-eye coordination and artistic ability. If this isn’t your area of expertise, there is another option. You can create a virtual frame design with a software design package like Photoshop. This will let you use more complex images. For example, you might want to add pictures of flowers.
How you stick it to the frame can vary. You can print it on paper. Then, you just need to stick it to the frame. Or you can transfer the design to vinyl. Just apply a little heat and it will stick to the frame. This will last for a long time.
When you are decorating the frame, you’ll be able to embrace your creative side. Be guided by the theme of the event. If you are struggling to think of good ideas, you might want to consider turning to the internet. There are lots of party frames online, these can give you plenty of ideas you can use.
There are lots of little touches you can use to take your design to the next level. For example, you might want to create a large paper flower and stick it to the top corner. This guide will step you through the process of making these decorations. At other times, you might want to make an oversized bow. You can add some glitter for a little extra sparkle. You can even use fairy lights.
Making a Wooden Backing Frame
Cardboard is easy to work with and decorate. But there is a chance that it will get torn or start flopping. To prevent this, you can attach it to a wooden backing frame. The good news is that this is very simple to make. You should be able to get it done in less than an hour, here’s how.
First, you’ll need to pick your wood. You need something that will be a reasonable width, to create the outline of the frame. But you don’t need anything overly thick as it won’t be put under too much strain.
Once you have the wood, you will need to cut it to size. You can do this with a hand saw, but this will be a lot of effort and you might not get the most precise cut. Make a 45-degree cut at the corner, for the join. Because of this, you might want to use a table saw. If you don’t have this tool, check out this buying guide for a portable table saw so you have a clearer idea of what you should be looking for.
You can sand the edges to make them smooth. Then, you just need to overlap the wooden pieces, to make a join in the corners. Use wood glue to hold them in place, then nail them in. This article has more tips on how to create a right-angle join when woodworking.
Rather than decorating around the outside of the wooden frame, it’s easier to decorate the cardboard frame, as we described above. Once done, you use double-sided tape to stick it to the wooden frame. By doing this, the cardboard frame won’t buckle and bend as you are taking the pictures. After the event, you can remove the cardboard frame and the double-sided tape. Then, the wooden backing frame is ready for your next themed event.
The Takeaway
If you want to spice up your next social event, you can make a party picture frame. These oversized frames are sure to be a lot of fun, bringing all your guests together to take goofy pictures. This DIY craft should only take a few hours. So, follow these simple steps to make one for yourself today.
Read More Like This
 How to Choose the Right Commercial and Residential Garage Doors in Florida
 Beyond the Kitchen: How Workwear Jackets Inspire Creative Expression
 The Rise of At-Home Hosting and Why It’s Shaping Modern Social Culture
 The Subtle Art of Renovating Character Homes
 Creating an Allergy-Friendly Home for Pet Owners
Recap: