Last updated on
Want to make a DIY chalkboard with a beautiful frame? Let me show you how with this easy guide.
I wanted a large rustic chalkboard that I could have on display all year long so I enlisted my husband to help me make one. It’s a very simple DIY project.
What You Will Need for this Project?
The materials:
- Wood boards
- L brackets or wood glue
- Wood stain
- Plywood
- Chalk paint
- Wood screws
- Wood glue
Tools:
- Sander
- Paintbrush
- Screwdriver
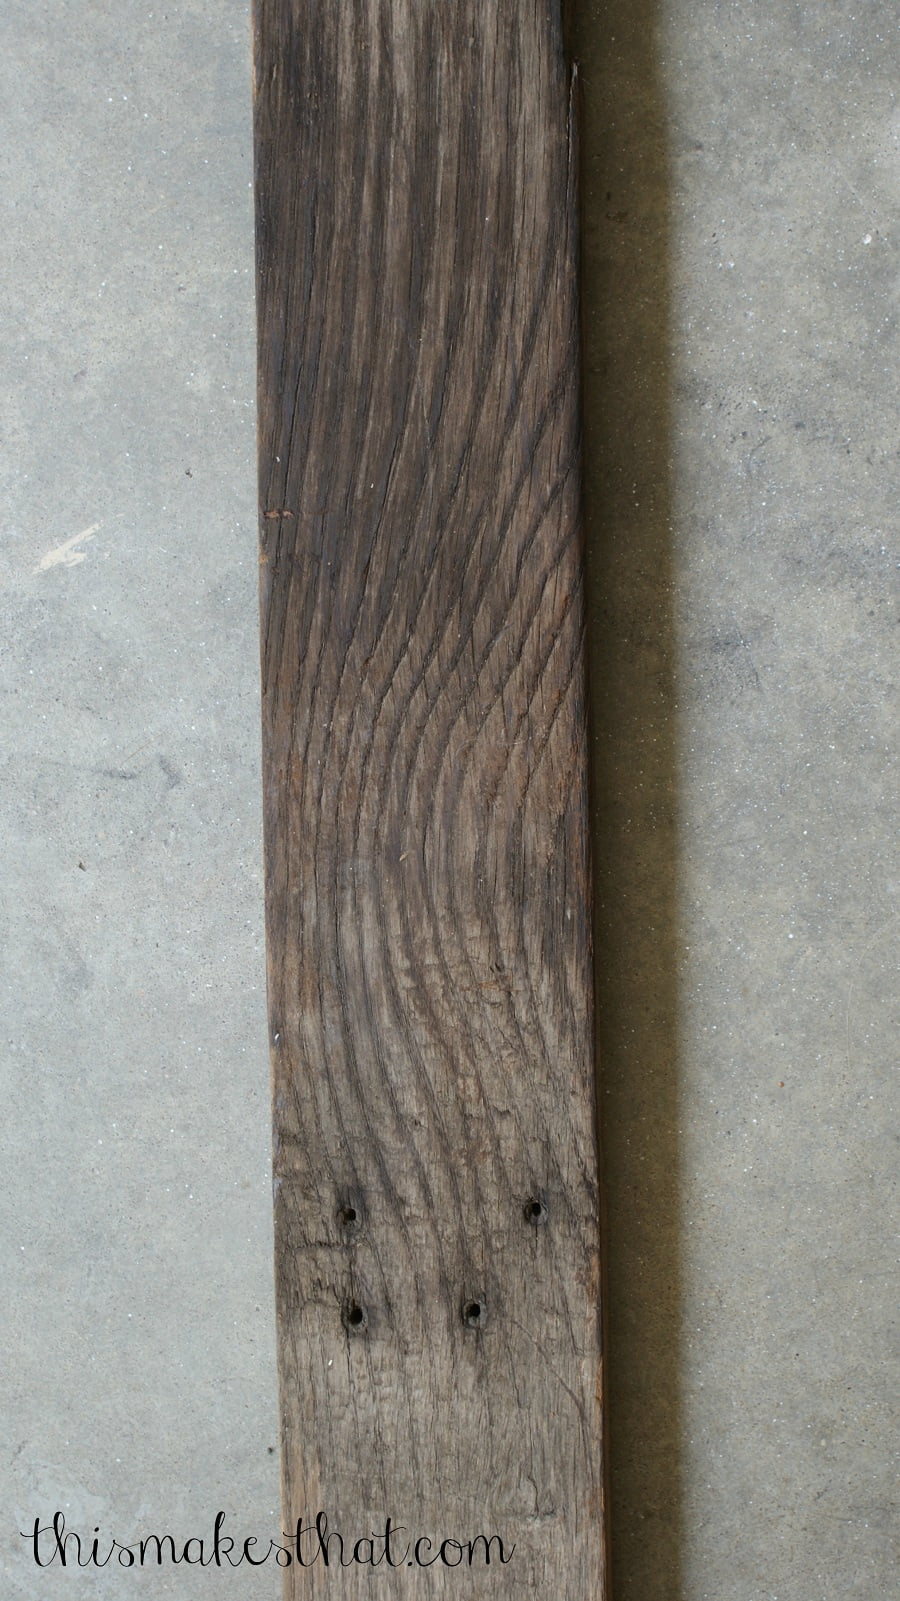
You can use any wood but my husband went to a local salvage place that sells reclaimed wood from old barns and buildings. One board cost around $8.00. We love the character of old wood with the deep wood grains, nail holes and nails that were left in the wood.
How to Make the Chalkboard
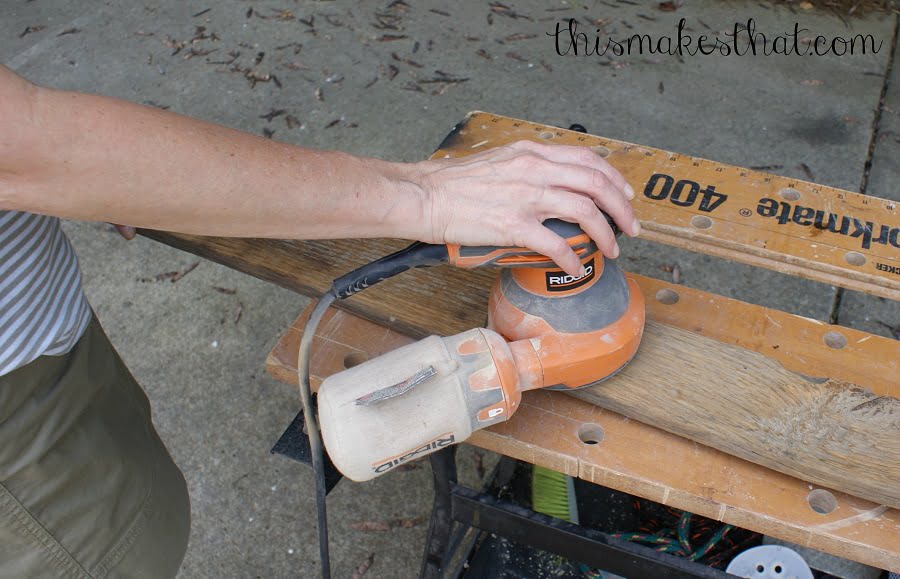
- The first step was to sand the wood. I even got involved with the sanding.

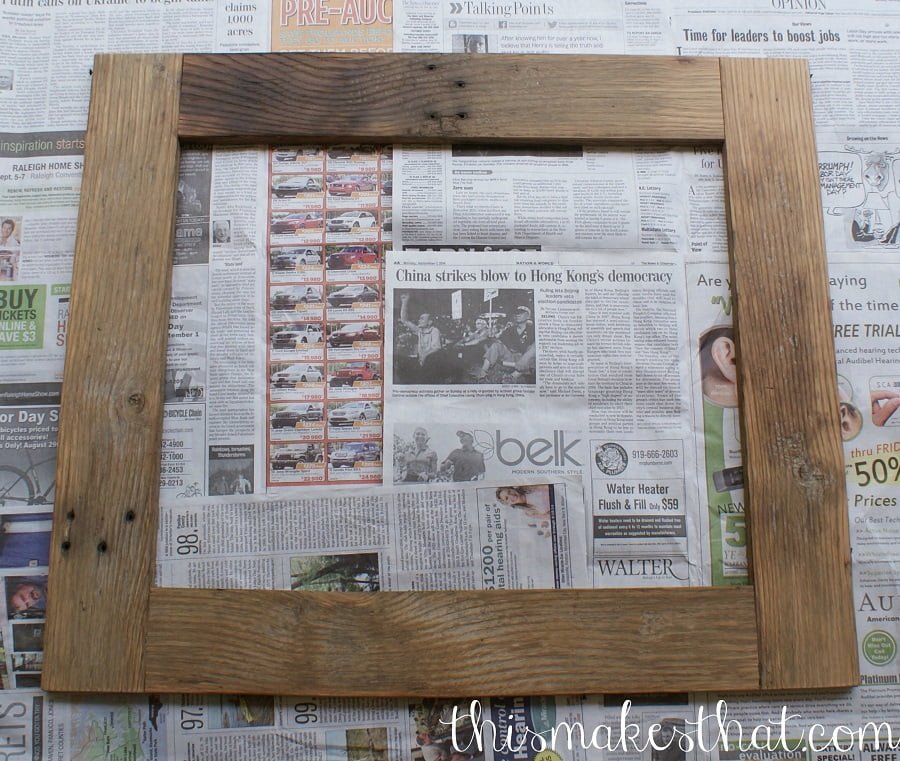
- Make the cuts. I wanted a fairly large frame so I can display it prominently. The size that we decided on was 24″ x 27″. My husband measured and then made the cuts for me. For this project, we thought that simple straight cuts would look good vs. doing miter cuts.
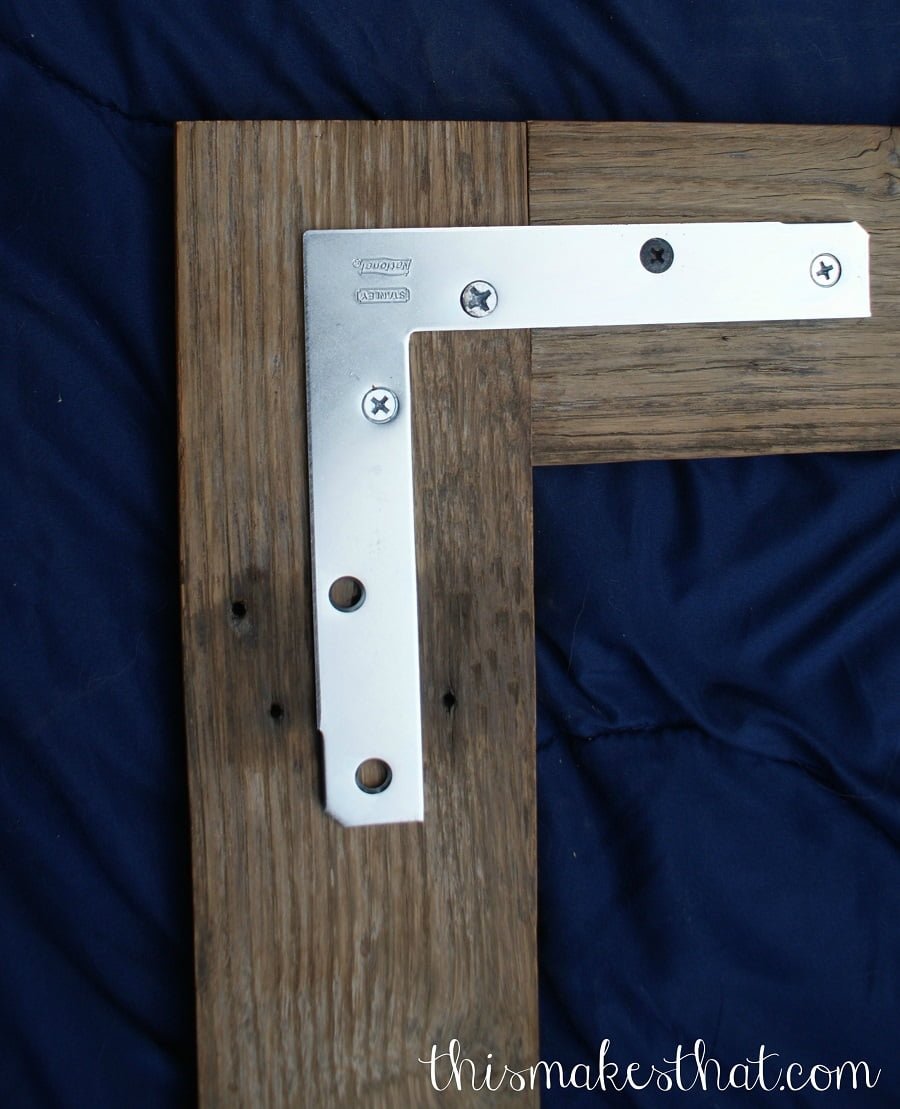
- At first, he was going to secure the frame together with these L-brackets.
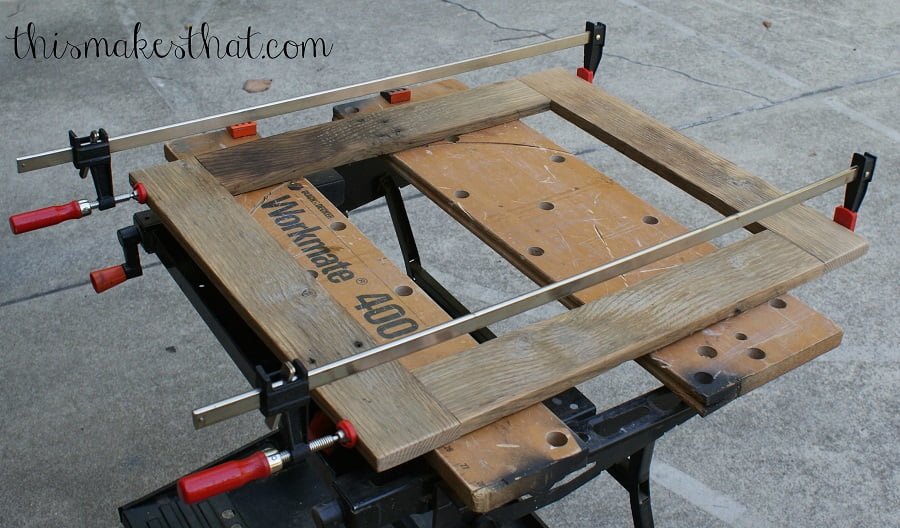
 But afterward, he decided that just wood glue would hold the boards together better. We glued the frame together and used large clamps to hold the wood in place while the glue dried.
- The wood stain I chose for the frame was Minwax Provincial. I just rubbed it on with a soft cloth.

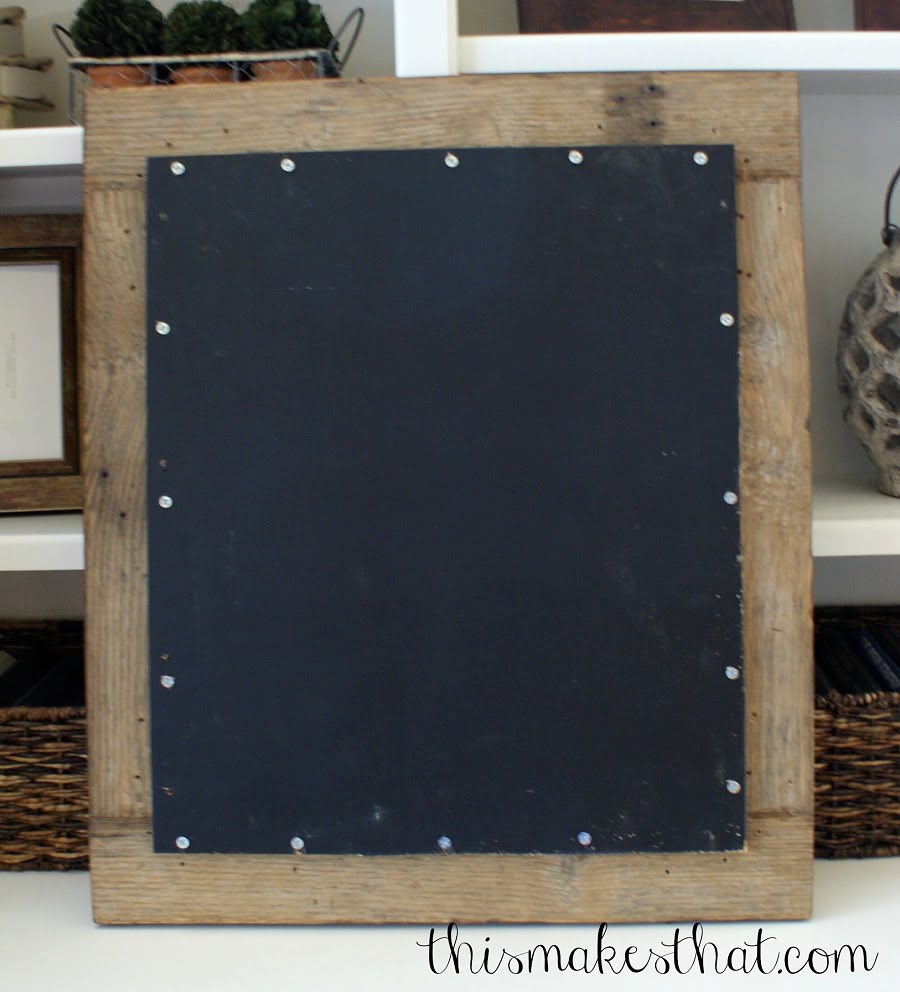
- Next, I painted an old piece of plywood that we had laying around in the garage with chalkboard paint. I get carried away when I’m painting and painted both sides of the plywood but you don’t need to. You can always remove chalk paint too.

- We secured the plywood to the back of the frame using wood screws.
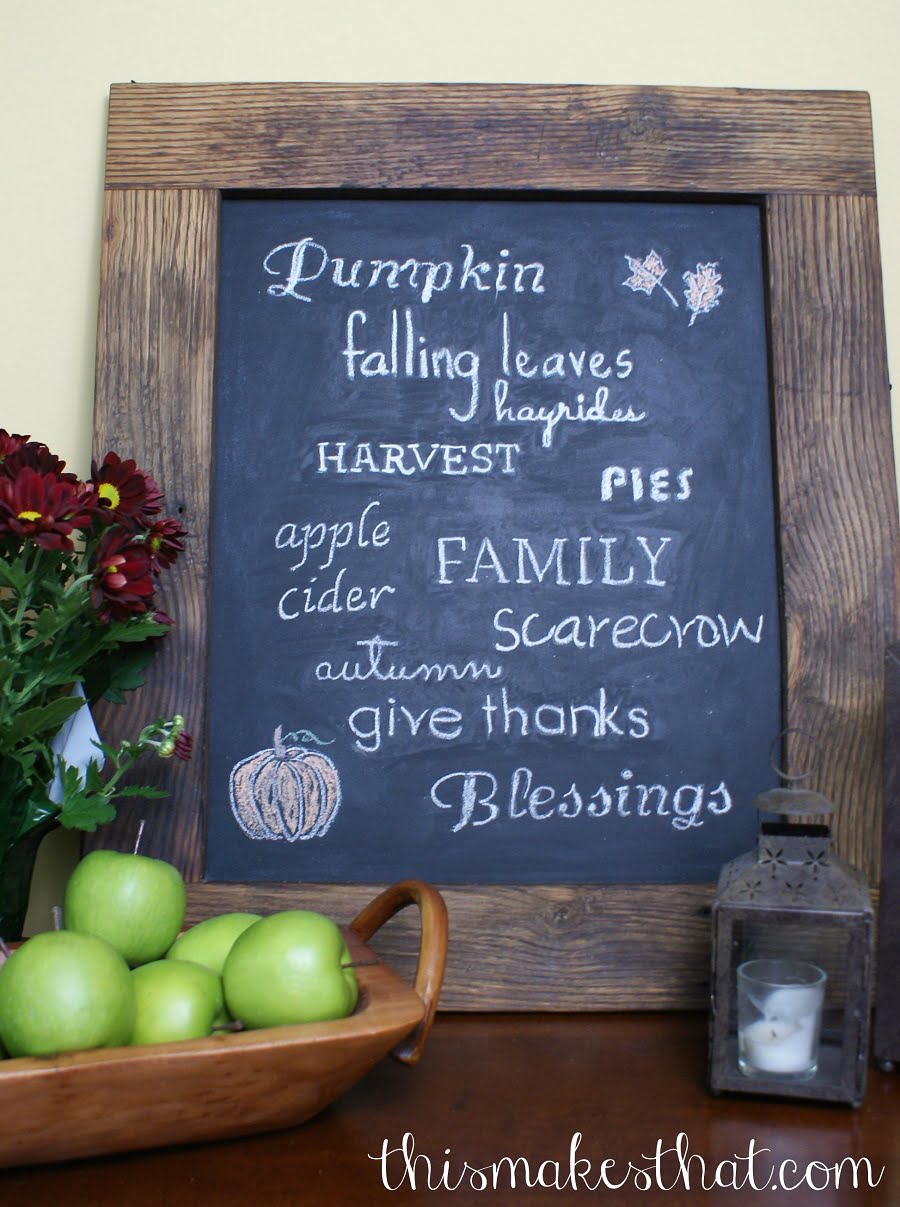
I’m still perfecting the art of chalkboard writing, but I thought this turned out pretty good for someone who hasn’t done it before.
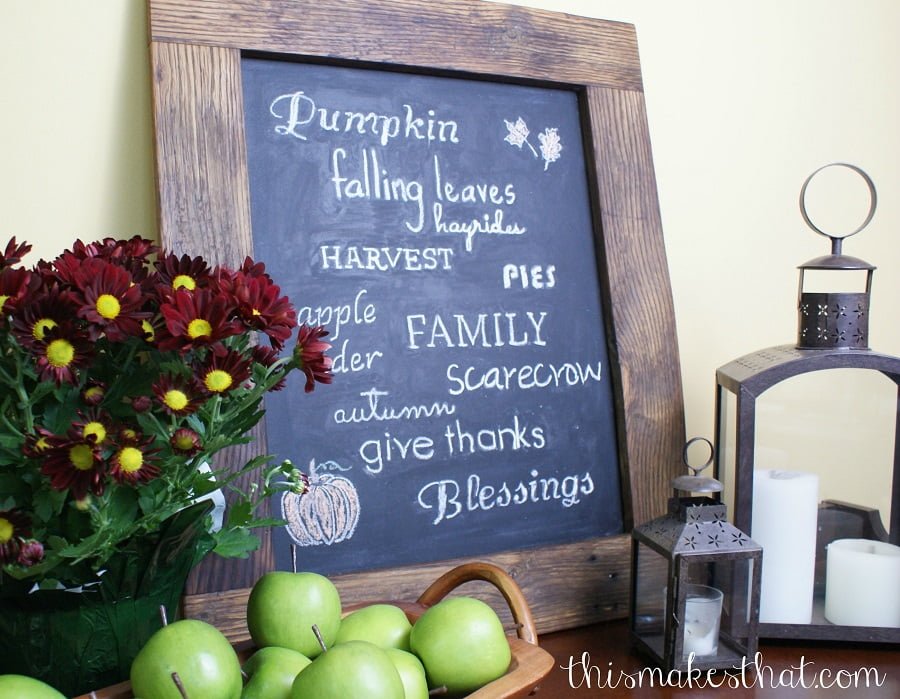
This chalkboard can carry you through any season and the Holidays as you can create your own personal chalkboard art. It’s one of the decor items I value the most in our home.
FAQ
Spray it with hairspray. The spray has to be aerosol, alcohol-free, and free of silicones. Just spray it over your chalk and let it dry.
You may use a picture frame instead of building a frame like in my tutorial. In that case simply attach the plywood to the frame.
You can make a smaller board stand freely if you attach a support to the back of the board. This can be as simple as a triangle shape cut out of plywood.
You can paint the corkboard with chalk paint. The key is to use a few coats.
Recap:
