Last updated on
Exploring DIY large pots for plants ideas can radically transform your space because they offer creative and sustainable ways to display your favorite flora.
I’ve designed unique illustrations for these ideas. I hope you get inspired!
Unleash your creativity with DIY large pots for plants! This article promises to explore fresh and unique perspectives that’ll have your green thumb itching to take action. While it’s true the internet is rich with a myriad of existing DIY pot ideas, this article seeks to emerge from the mainstream. Not to worry! For those exceptional ideas you’re already in love with, consider there will be resources attached at the end.
What this piece aims to accomplish, above all, is breathing life into unfamiliar and ingenious pot-plant concepts, to change your perspective and challenge your technique. So, let’s dive into the world of botanical beauty and innovative design. Stick around and you might just stumble upon your next striking garden project.
Reclaimed Wood Stacked Planter
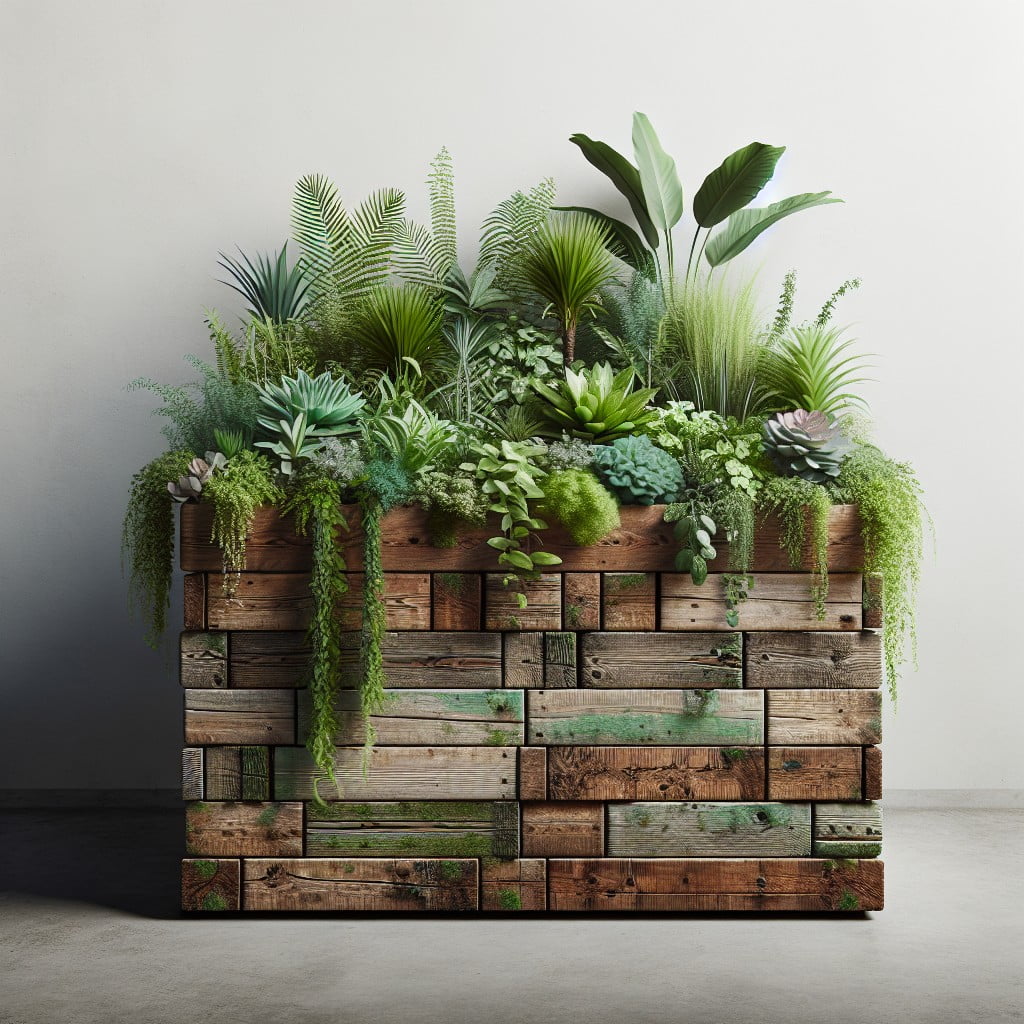
Creating a Reclaimed Wood Stacked Planter provides a rustic charm to any home garden, while also maintaining excellent functionality. Its structure is a set of stacked wooden elements, varying in size, to cultivate different plant types.
Here are a few steps to consider in creating this aesthetically pleasing and eco-friendly planter:
- 1. Gather Materials: Secure reclaimed wood, it could be from old furniture, construction scraps, or pallet wood. Also needed are nails, hammer, and waterproof sealant.
- 2. Plan the Structure: Decide on the number and sizes of box configurations. Stagger them for an interesting visual display.
- 3. Construct the Boxes: Construct each wooden box by nailing the planks together. Ensure each box has bottom planks with small gaps for proper drainage.
- 4. Apply Waterproof Sealant: To protect the wood from rotting, apply a coat of the sealant inside each box.
- 5. Assemble: Begin stacking the boxes on top of each other. Ensure each box is solidly affixed to prevent any toppling.
- 6. Plant: Choose a variety of plants according to the size of each box. Consider using vibrant flowers for visual interest, or aromatic herbs for a functional kitchen garden.
Remember, using reclaimed wood not only saves money but also reduces landfill waste, making this project an environmentally friendly choice.
Old Toy Truck Planter
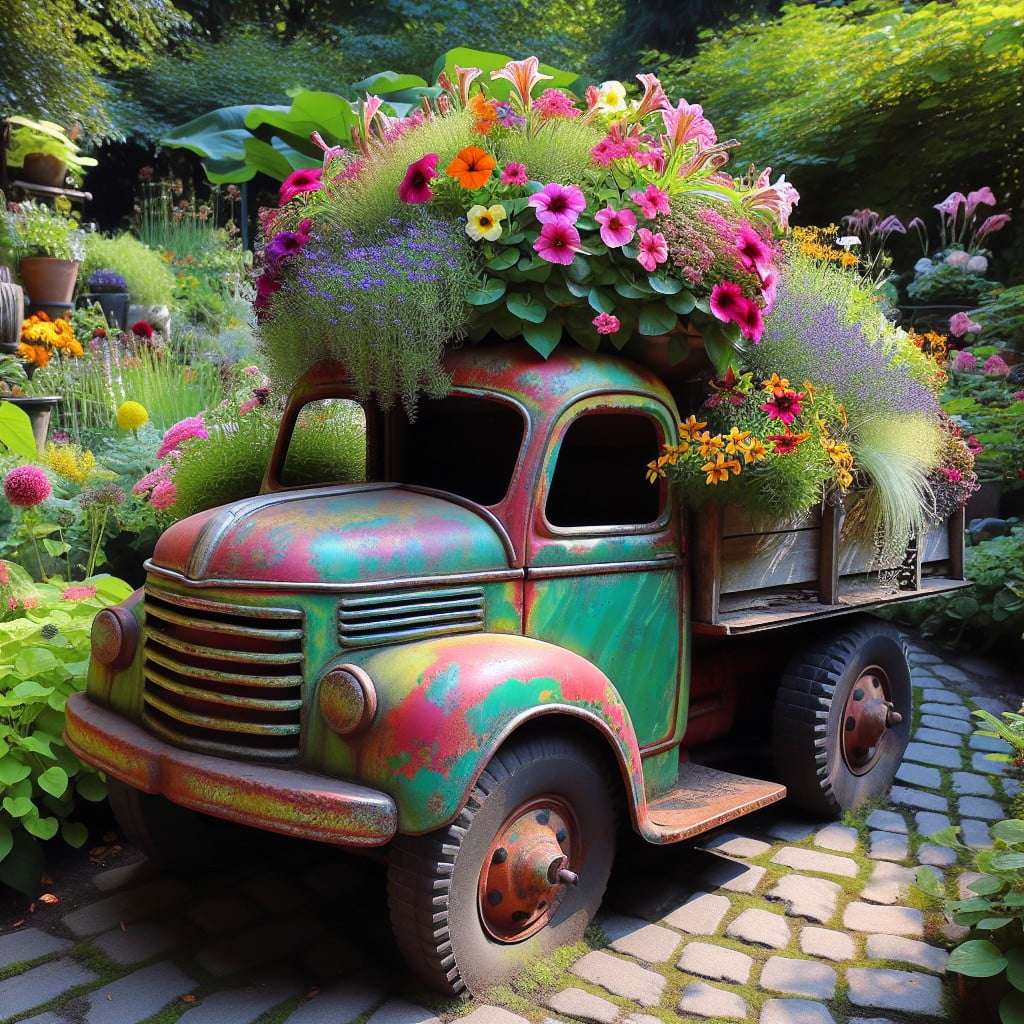
After collecting an old toy truck (the more vintage, the better), ensure it has a hollow compartment to contain the soil. The hollow part of the truck will house the plant, so size is significant. Larger trucks can accommodate bigger plants or a mini array of smaller plants for an organized, landscape look.
Once ready, fill the truck’s compartment with a layer of pebbles for drainage, avoiding water stagnancy. Add a good quality potting mix, ensuring the soil level isn’t too close to the top to avoid overflow during waterings.
Smaller, low maintenance plants suit this setup better due to the limited soil and root space available. Succulents, small ferns, air plants, and miniature cacti are excellent choices for your mobile garden.
Placement can create a delightful scene in your garden. The plant-truck can contribute to a playful, mini-landscape world on a garden table, or you can ‘park’ it among other plants to add visual interest. Lastly, be mindful of the necessary upkeep, notably watering and sunlight, according to plant needs.
Convert the Wine Barrel Into a Planter
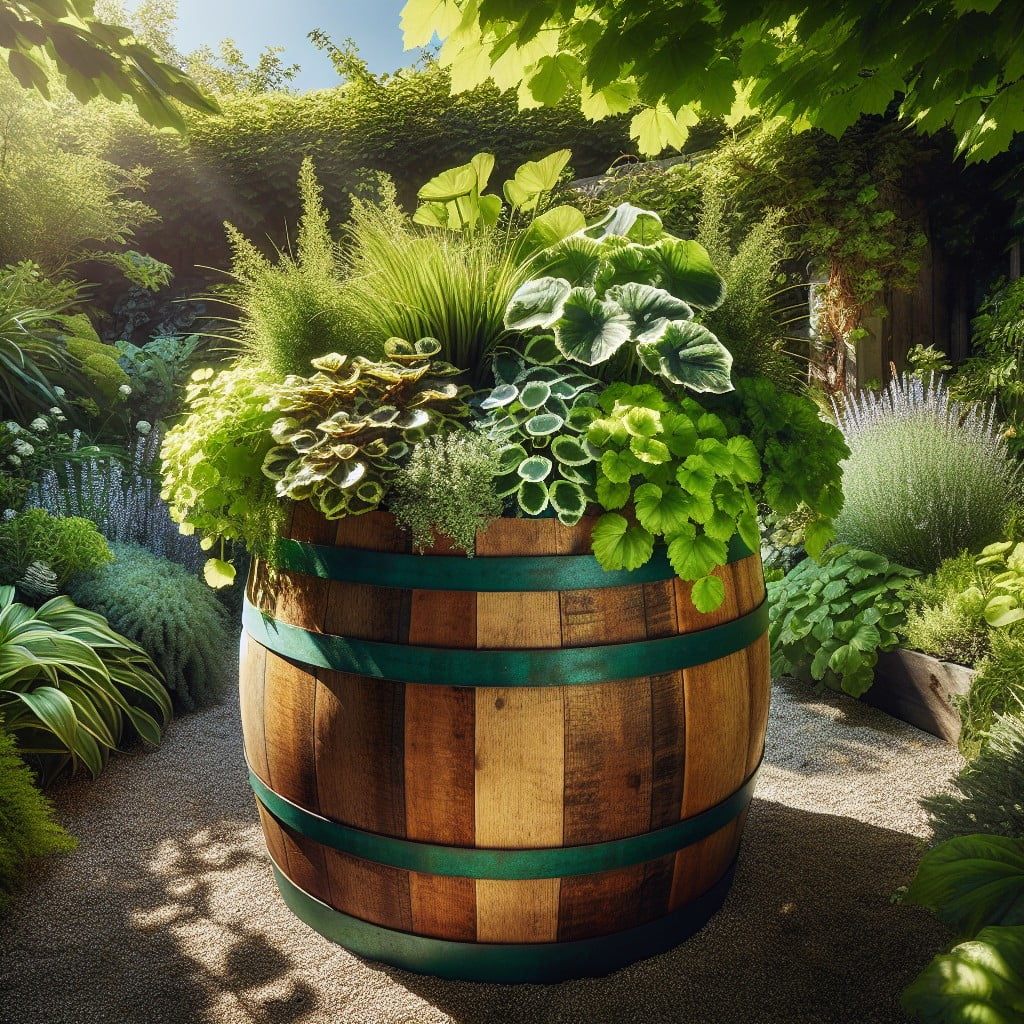
Utilizing a wine barrel as a planter offers a rustic and unique aesthetic to any space. Opt for a half-barrel, they’re perfect in size for most plants and relatively easy to source from local wine producers or garden stores. Here are a few steps on how to transform a wine barrel into a planter.
1. Drainage: Drill four to five holes at the base for proper water drainage, to prevent water stagnation, which can harm the plant.
2. Lining: To extend the life of the barrel, consider lining it with a heavy-duty landscape fabric. This prevents soil from falling out, and also immobilizes any pests present.
3. Placement: Determine the perfect location for your planter before filling. Wine barrels are heavy, and it will be more difficult to move once filled.
4. Filling: Begin by layering the bottom with rocks or gravel for added drainage. Fill the rest with a high-quality potting soil until it’s within a few inches from the top.
5. Planting: Choose plants that complement and thrive in the space where your planter will reside. From succulents to vegetables, your barrel garden is ready to bloom!
6. Maintenance: Regular watering, pruning, and seasonal fertilizing will ensure your plants remain healthy and vibrant.
Remember, constructing a wine barrel planter is not just about the plants, it’s about adding character and allure to your home. It’s a charming furniture piece perfect for turning corners into lush, green spaces!
Revamp Old Drawers Into Trendy Plant Containers
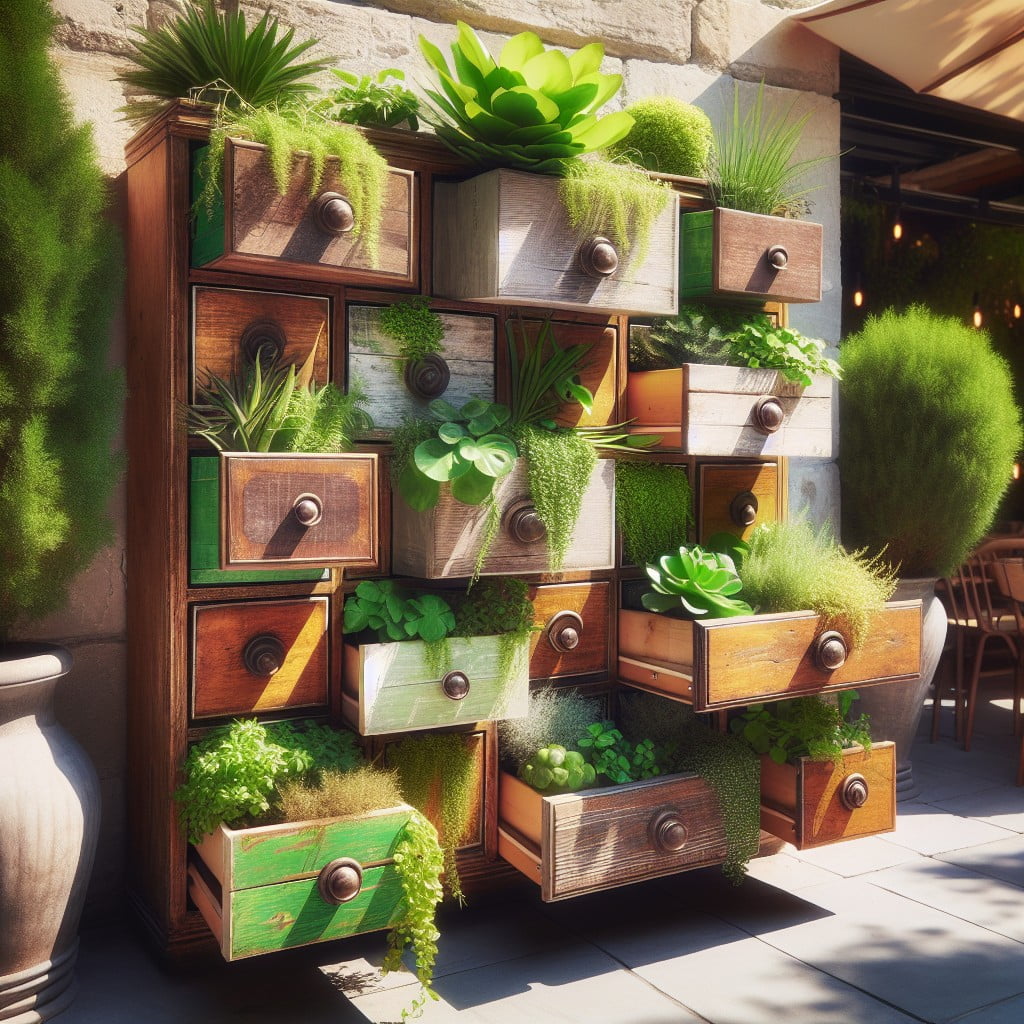
Firstly, give a distressed look to your old drawers with the help of sandpaper, this not only creates a rustic feel but also makes them more receptive for paint. Then paint the drawer with a color of your choice, pastels usually create a whimsical effect. Next, line the drawer with a plastic sheet to prevent leakage and dampness. Remember to poke a few holes for drainage of excess water.
Fill it with an appropriate soil mix depending on the plants you will use. Herbs, succulents, or annuals like pansies or violas work perfectly with this concept. After you have planted them, give them a nice drink of water. Lastly, consider the addition of vintage knobs or decals to add a character boost.
This approach is not only environmentally friendly but also a cost-effective way of adding significant aesthetic value to your gardens and patios. The novelty of these unique plant holders would certainly fetch you compliments from your guests. Enjoy the process of creating these gems as much as you will enjoy seeing them bloom and flourish.
Ceramic Bowl Planter
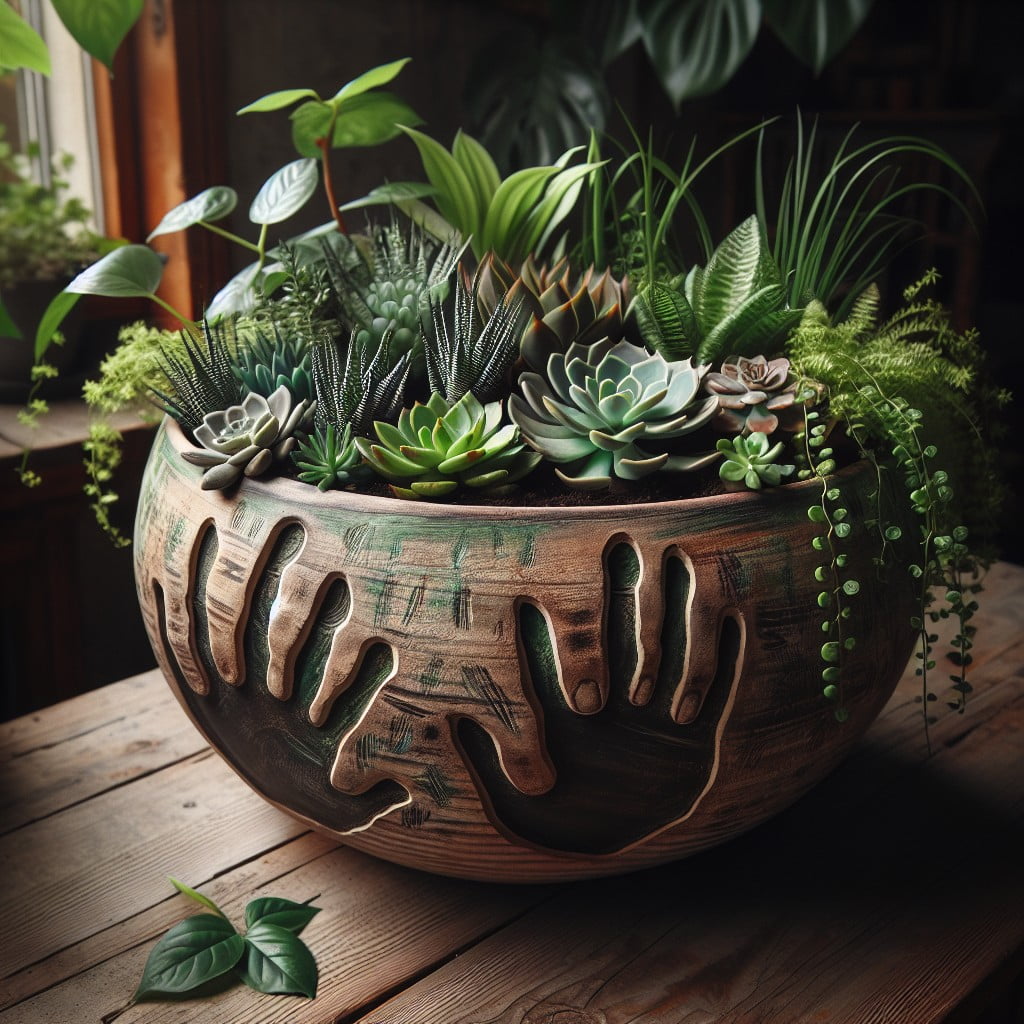
You’ll be delighted at how a simple ceramic bowl can take a new lease of life as a planter. Here’s how to get started:
1. Select a Bowl: Choose a bowl that suits your style; perhaps something ornamented, rustic, or even a sleek, modern design. Ensure the bowl is deep enough to accommodate the roots of the plant.
2. Prepare the Bowl: The bowl may need to be drilled to create drainage holes at the bottom to prevent waterlogging.
3. Layer Your Bowl: Begin with a layer of small stones or pebbles at the bottom, which help with drainage. Next, add a layer of potting soil suited to your plant’s specific needs.
4. Plant: Depending on the size of your bowl and the plants you’re using, you can create a single plant or multi-plant arrangement. Consider varying plant heights and colors for a visually engaging display.
5. Care: Water and place the bowl in an appropriate location based on the plants’ light needs. Periodically, check the soil for dryness as ceramic bowls can dry out quicker than their plastic counterparts.
There you have it—a ceramic bowl can easily become a beautiful, customized planter for your indoor or outdoor use. Just a few steps between you and your charming, DIY green space!
Turn Vintage Tea Cup Into a Planter
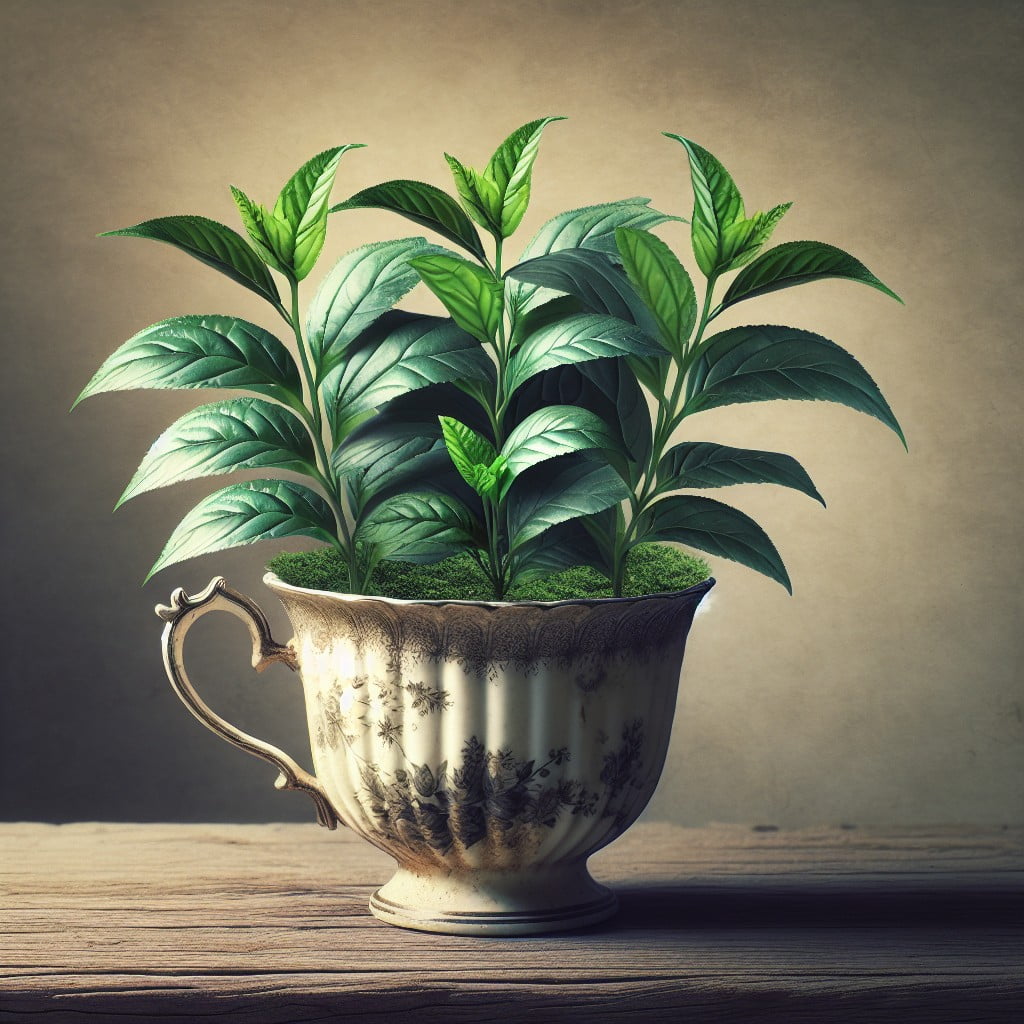
Starting this project requires very basic materials: an old-style teacup and saucer, potting soil, miniature plants or herbs, and potentially pebbles for drainage. Aim for teacups with intriguing patterns to make your planters striking.
1. Begin by laying some pebbles at the bottom of the cup. This promotes improved water drainage and prevents root rot.
2. Add a layer of potting soil above the pebbles, filling the cup about halfway.
3. Position the plant or herb into the teacup. Ensure the roots are covered; they should barely touch the layer of pebbles.
4. Sprinkle more potting soil around the plant, filling the cup to just below the rim. Press lightly to secure the plant.
5. For the final flourish, add a touch of moss, miniature garden decor or pebbles on the top soil.
Remember, these teacup planters are perfect for small spaces and make charming gifts, so don’t hesitate to create a few extra. Always ensure adequate sunlight and water. Note, overwatering can be harmful as there are no drainage holes in the teacup.
With these steps, you’ve successfully transformed an unused vintage teacup into a charming planter, enhancing your decor and green thumb credentials simultaneously.
Repurpose a Broken Umbrella to a Plant Holder
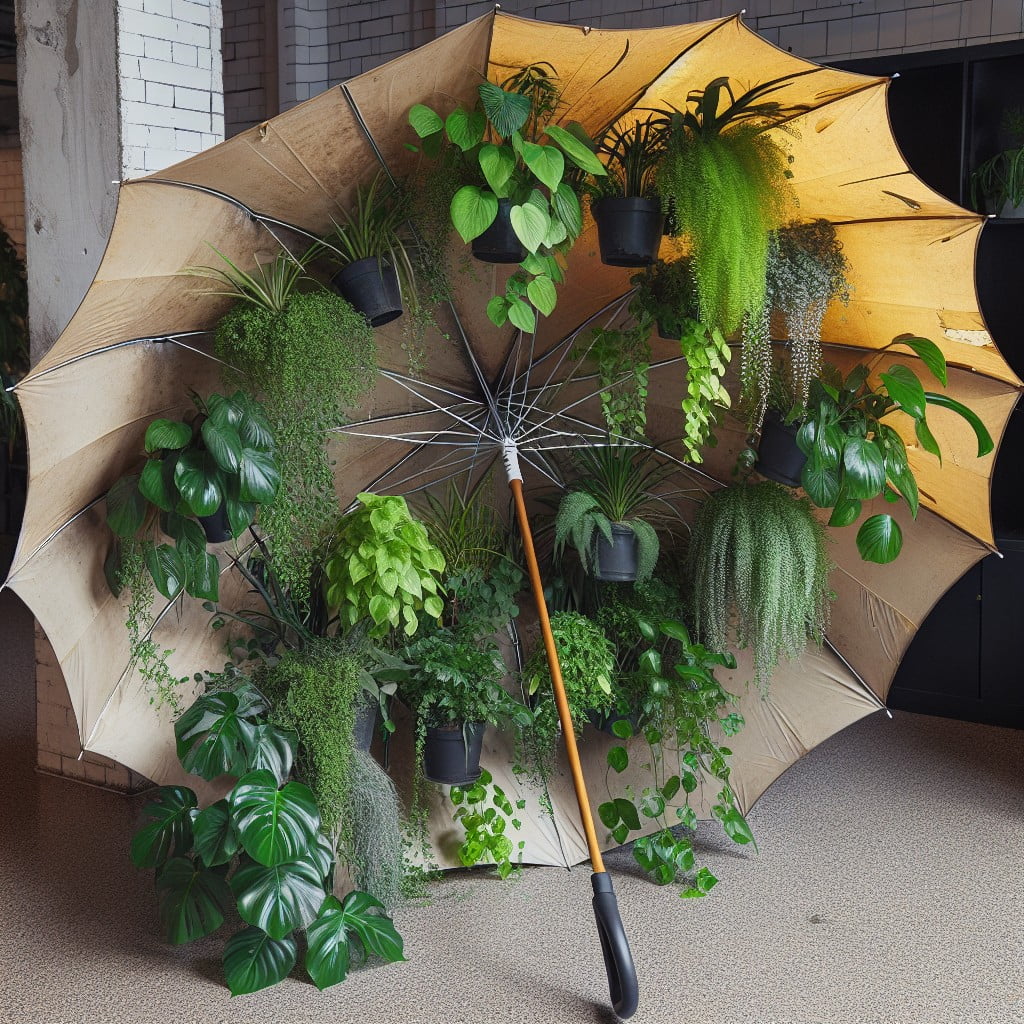
An old, torn umbrella that has been relegated to the back of the closet can find a fresh start in your garden. By giving it a second life as a planter, it can be a statement piece while remaining eco-friendly at the same time.
Here’s a step-by-step guide to accomplishing this:
- Remove Fabric: Start by separating the fabric from the frame of the umbrella, leaving you with a skeleton-like structure of the spokes.
- Paint Frame: If desired, the frame can be painted for a colorful or more polished look. Use weather-resistant paint to ensure durability.
- Attach Pot: A basket or pot can be attached to serve as a plant holder. Use sturdy twine or wire to securely fasten it to the umbrella frame. Consider the weight of the pot when filled with soil and plants when selecting the attachment material.
- Add Soil and Plants: Once the plant holder is in place, fill it with potting soil and plant your preferred greenery. Herbs, flowers, or cascading plants can make a delightful display.
Whether hanged from a tree or set on a porch, this inventive and attractive planter offers a unique twist to the typical home garden scenery.
Rustic Picnic Basket Planter
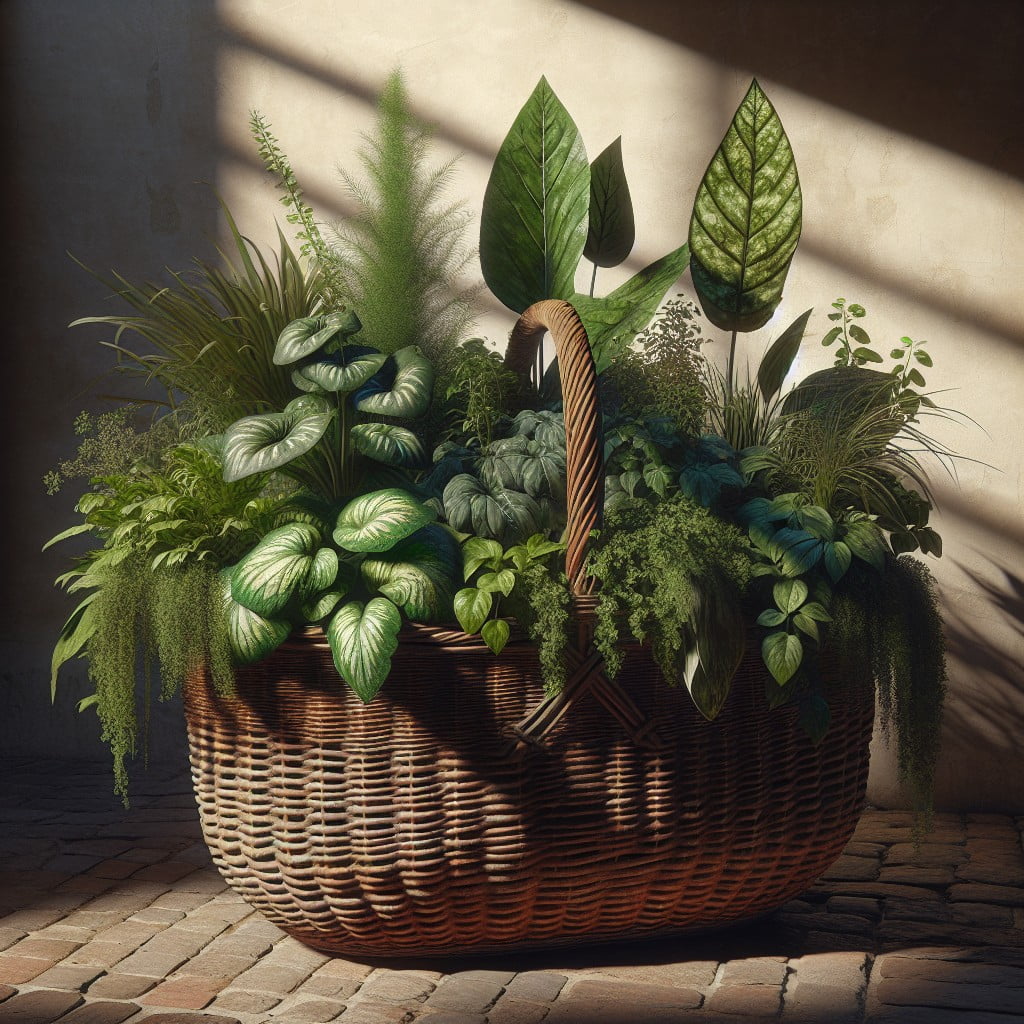
Incorporating a rustic picnic basket as a planter can add a charming and vintage touch to your home decor. It represents a blend of casual elegance and relaxed charm, enhancing the natural beauty of the plants within.
Here’s how to incorporate it:
1. Selection: Choose a durable picnic basket, ideally made of wicker or reinforced straw. Size will be determined by the intended plant’s required root space.
2. Preparation: Complete with a tight weave and sturdy construction, the basket needs no casing. A gentle wash and air drying in the sun are often sufficient for preparation.
3. Lining: Line the interior of the basket with a plastic bag or sheet with punctured holes. This will provide drainage, preventing root rot, and extending the life of the basket.
4. Planting: Fill with proper soil and plant your choice of species. Ensure the plant size is in scale with the basket, to keep balance in the presentation.
5. Placement: Place it where it can get the appropriate amounts of sunshine based on the plant’s needs. The handle can also be used to hang the basket if preferred.
Remember, maintenance depends on the plant choice. Our unique rustic picnic basket planter is now ready to display, offering not only a home for your plant, but a simple and vintage decorative touch to the surrounding space.
Pallet Shoe Rack Turned Green Corner
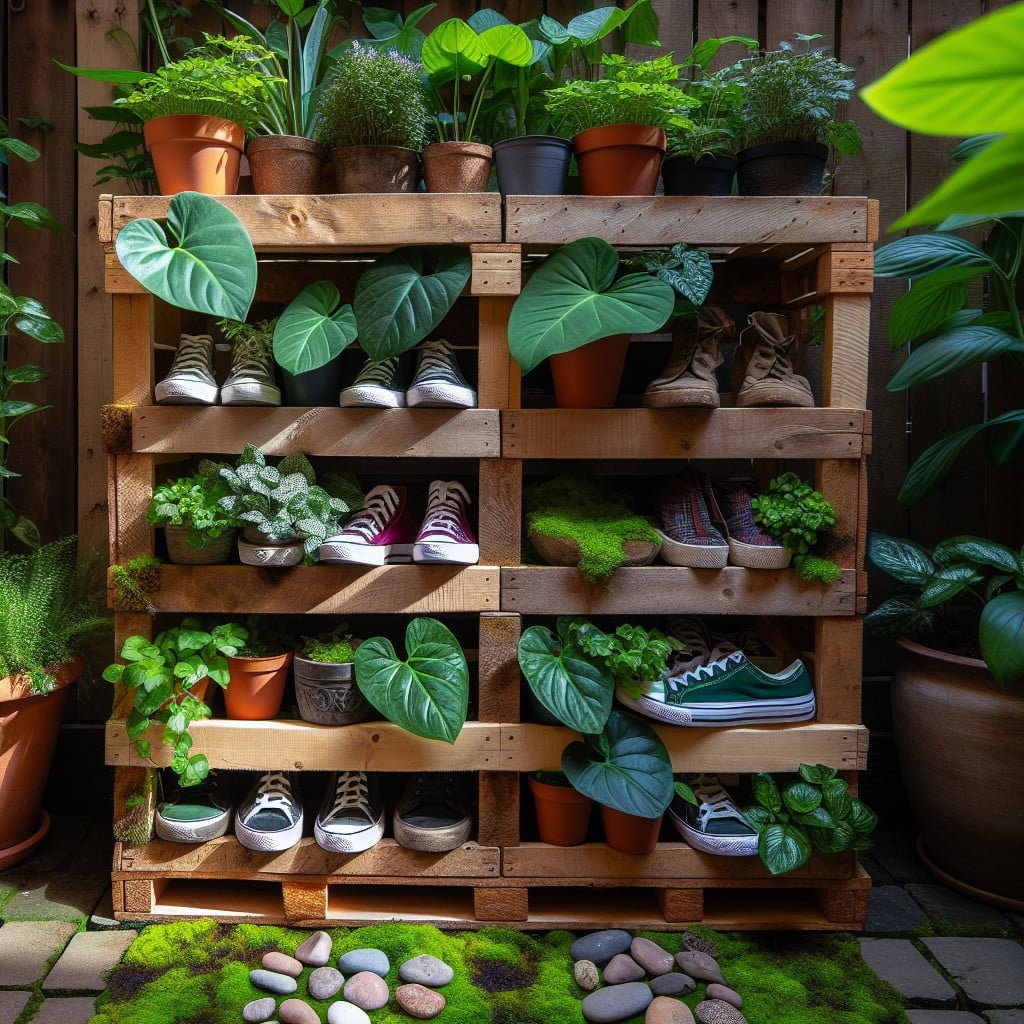
A pallet shoe rack can be a creative eco-friendly solution for maximizing garden space. To begin, find a sturdy, well-constructed pallet. Cleanse it thoroughly to ensure no dirt or unwanted insects inhabit your new green corner. Next, secure it to a wall or fence, whichever location best suits your space and sunlight needs.
Carve out spaces between the slats to hold your pots or, better, line the whole rack with landscape fabric making inbuilt plant holders. It’s an ideal spot for herbs or flowers with shallow root systems.
Using compost-rich soil, fill in your new ‘shelves’. Plant your desired flora and within no time, this recycled shoe rack will be a blooming testament to upcycling creativity. Ensure to give your green corner routine maintenance. Water and prune as necessary to let your plants thrive in their new home.
Fashion an Old Tree Stump Into a Planter
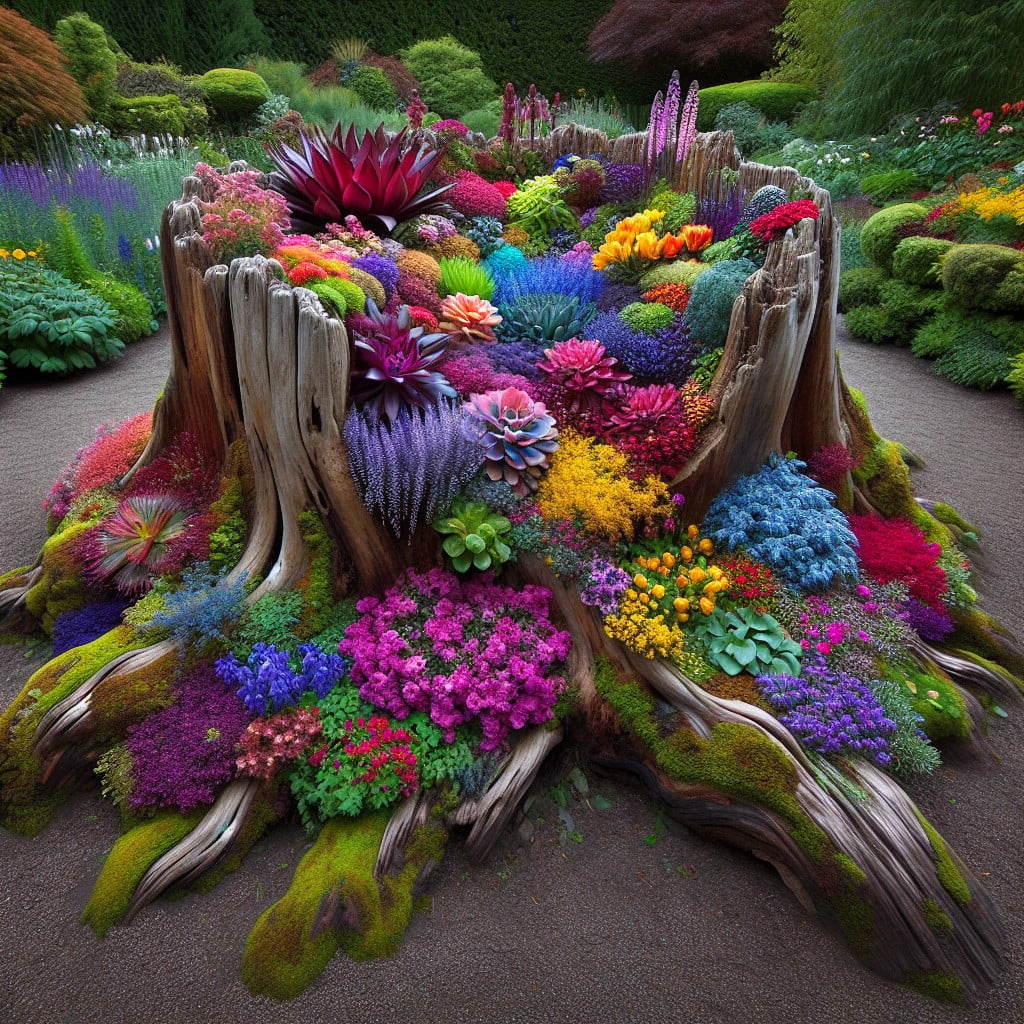
Capitalizing on the natural aesthetics of your garden, turning an old tree stump into a planter can create a perfect organic centerpiece. Firstly, carve out a hollow in the stump. Ensure it is deep enough to enable proper root growth for your plants. The size will vary based on the type of plant you wish to house within.
Once your hollow is ready, line it with a protective layer of activated charcoal. This component aids in preventing fungus and mold growth, maintaining a healthier environment for your plants. Follow this with a layer of fine mesh or landscaping cloth to minimize soil erosion over time.
Prioritize well-draining soil. Conditions which accommodate water drainage are essential for plant health, and a critical component to consider while utilizing tree stumps as planters. Mix your soil with elements like perlite or sand to increase drainage capabilities.
Lastly, select your plants. Succulents, flowering plants and ferns all add distinctive visual appeal. Remember, your plant selection should thrive in the surrounding environmental conditions and conform to the depth of your tree stump.
With your plants settled and soil packed in, you’ve successfully transformed your old tree stump into an eyecatching, natural planter. All that’s left is regular care and maintenance, and watching your new garden centerpiece thrive.
DIY Wooden Crate Planter
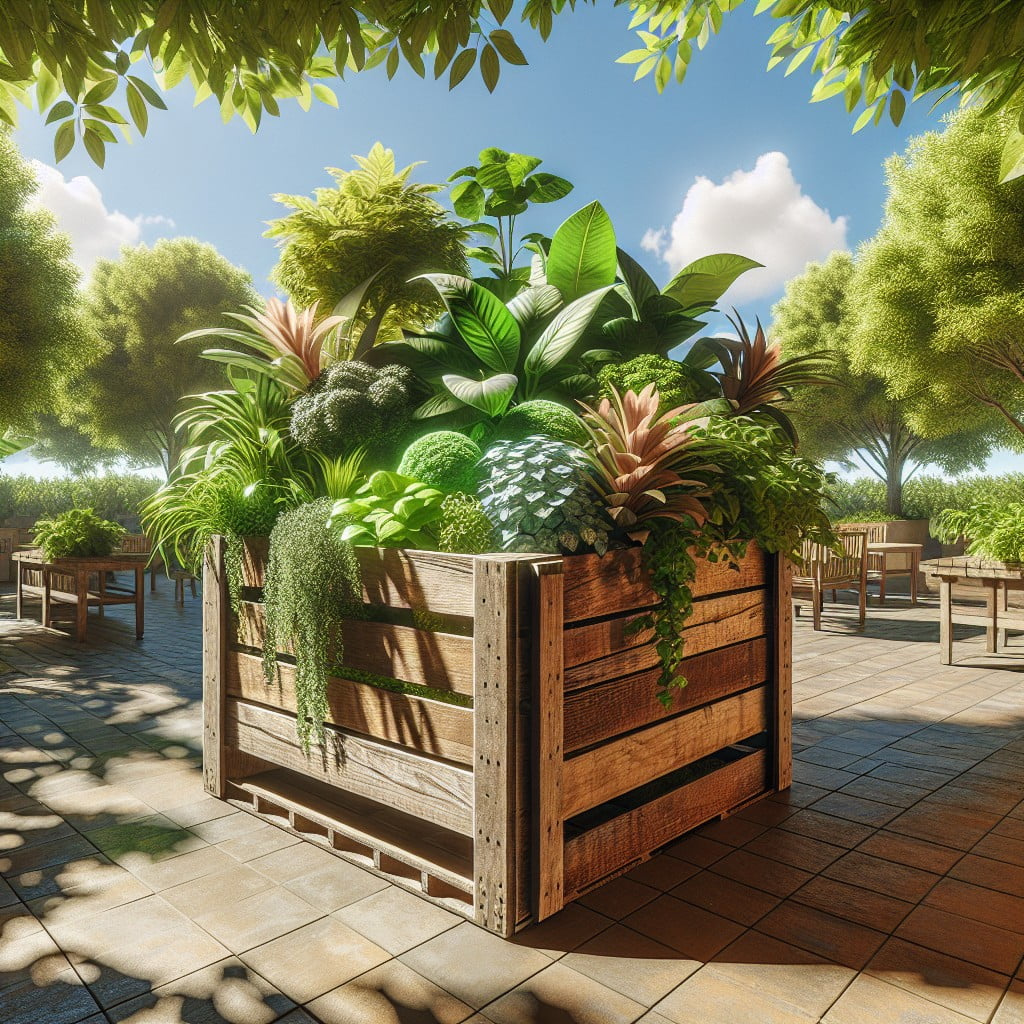
Creating this unique planter can be a gratifying DIY project. One of the many benefits of a wooden crate is its durability and rustic charm. Depending on the size of your wooden crate and the types of plants you wish to house, it can host multiple plants at once, making it ideal for creating mini gardens. They can also easily be painted or decorated to fit any design aesthetic.
Start by ensuring the crate is sturdy enough to hold soil and plants. Add a layer of landscape fabric inside the crate to prevent soil from falling out the spaces between the slats. Fill the crate with quality potting soil and select your plants. Consider plant size, light, and water requirements when choosing. Just remember, make sure the crate has appropriate drainage to keep plants healthy.
Hang it on a wall for an elevated garden or place it on your patio as a standalone feature. This versatile planter provides endless decorating possibilities.
Repurpose an Old Ladder Into Vertical Garden
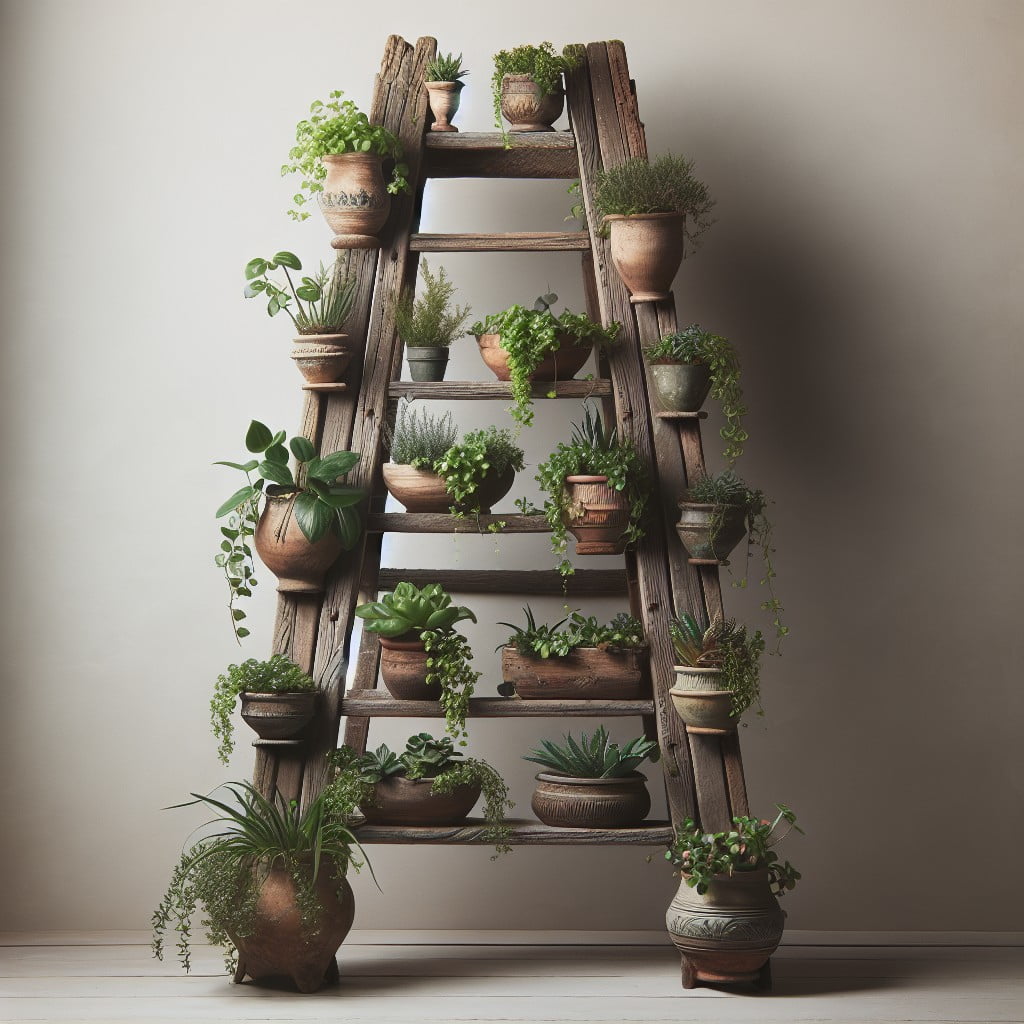
Get ready to add a new feature to your garden with the old ladder lying around in your garage. This ingenious idea enables you to utilize your vertical space, making it particularly useful for small backyards or patios.
First, ensure the ladder is strong enough to hold the weight of the pots. Apply a coat of weather-resistant paint to protect it from the elements and to add a fresh touch.
Next, arrange pot holder hooks along the rungs. Depending on the style of your backyard, these could range from rustic iron to sleek, contemporary designs.
Then, place a variety of small to medium sized pots on each tier. You can either hang them off the hooks or position them directly on the steps.
Finally, consider the plant types. Vines and trailing species look visually appealing draping over the sides, whilst herbs, succulents, or flowering annuals lend splashes of vibrant color.
Remember, one of the benefits of a ladder garden is the simplicity in rearranging. According to the season or your mood, you can quickly switch out pots to maintain a fresh and exciting display.
Safety tip: Ensure the ladder is stable and secure. If necessary, anchor it to a wall or fence to prevent tipping over, especially in windy conditions.
Old Bicycle or Wheelbarrow As Quirky Planter
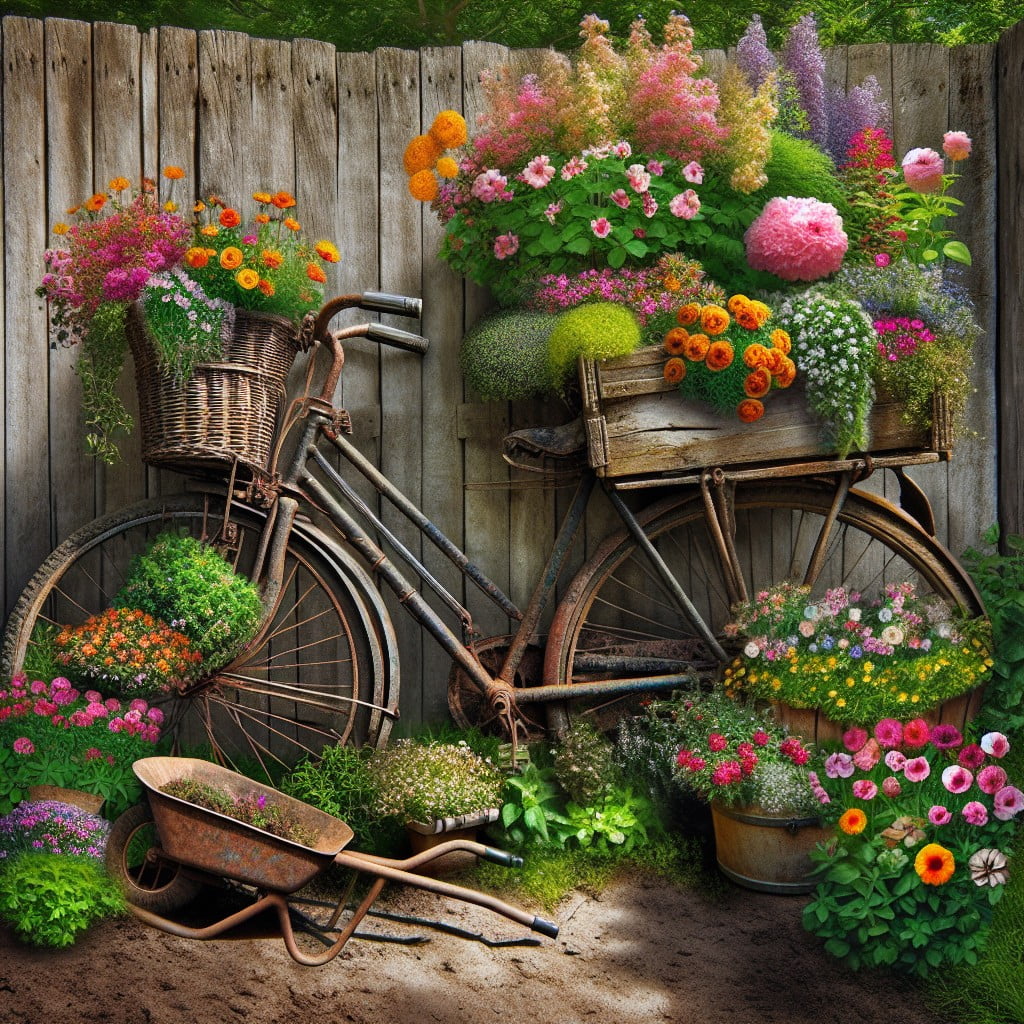
Transforming an unused bicycle or wheelbarrow into a garden feature not only adds a touch of whimsy to your outdoor space but serves as a functional piece.
1. Pick a Spot: Choose a location that complements the rustic aesthetic and allow easy growth of plants. Consider sunlight, soil quality, and accessibility.
2. Clean: Thoroughly clean the bicycle or wheelbarrow to ensure no harmful chemicals interfere with plant growth.
3. Select the Plants: Opt for hardy, resilient perennials or succulents that adjust well to this unconventional growing space. You can mix a variety of colors and textures to add visual interest and depth.
4. Prepare the Soil: Prepare a nutrient-rich soil mix, adding compost or fertilizer to promote growth.
5. Planting: Fill your bicycle basket or wheelbarrow with soil, and carefully introduce your chosen plants. For better aesthetic appeal, arrange taller plants towards the back, with creeping or trailing plant varieties around the edges for a cascading look.
6. Maintenance: Regular watering and thorough draining should be ensured as containers can dry out quickly. Despite their quaint appearance, these planters require the same care as traditional pots. Monitor plant health and provide necessary soil amendments to ensure flourishing growth.
Implementing this unique feature can be fun-filled and satisfying, and is anyone’s chance to bring out their creative gardening side.
Revitalize an Old Rain Boot Into Colorful Planter
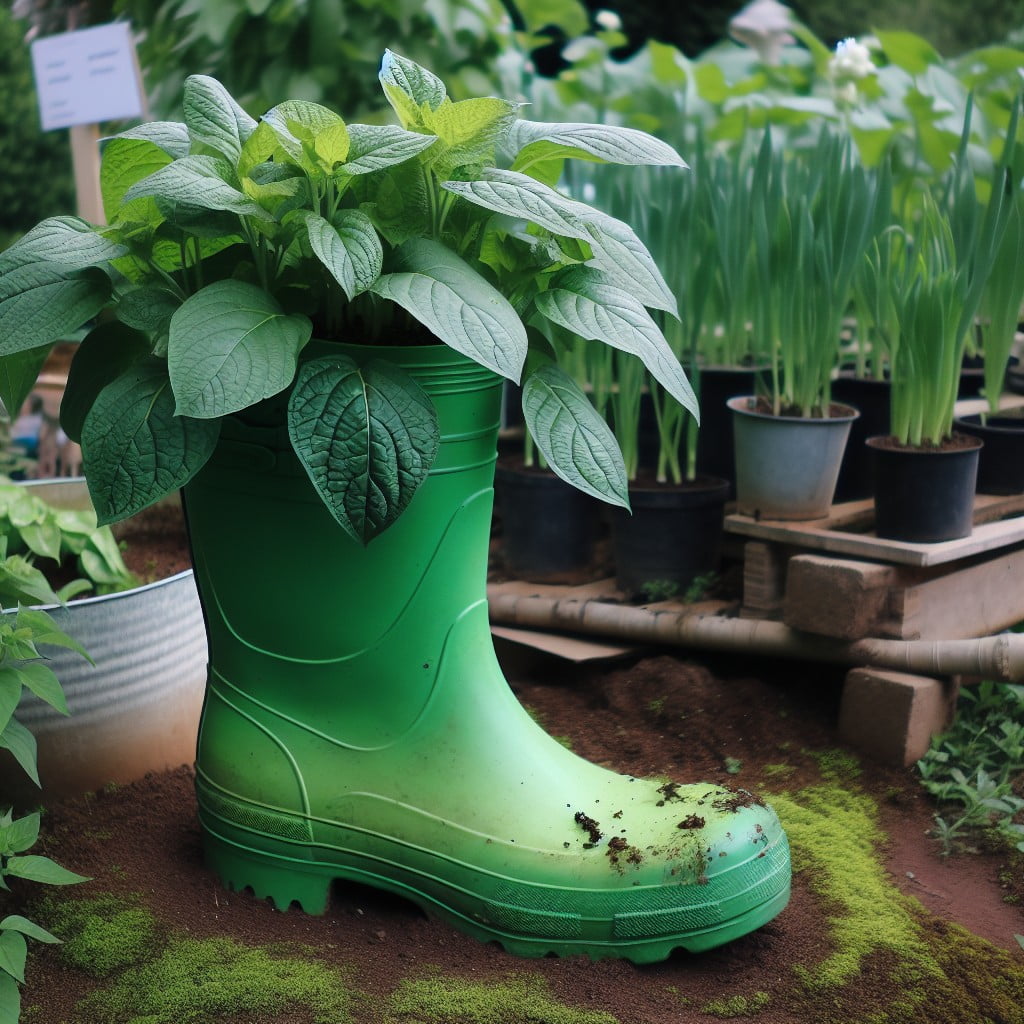
Repurposing old rain boots as planters can be a delightful blend of practicality and uncanny style. Start off by cleaning the boots and drilling small holes at the bottom for proper drainage. The larger the boot, the more room for potting soil and plants so pick your green friends accordingly. Small flowering plants, herbs or succulents are perfect as they need less room to grow. Once the soil is added, position your plants gently and close up the top with more soil.
Not only do these serve as unique plant homes, but their movable nature also gives you an edge when following the sun around the yard for providing your plants with ample sunlight. You can place them on steps, decking or even hang them from a fence for a vertical garden effect. Don’t be afraid to get creative. You can always paint them or add stencil designs to give them that personalized touch.
Converted Mini Car Into a Grand Planter
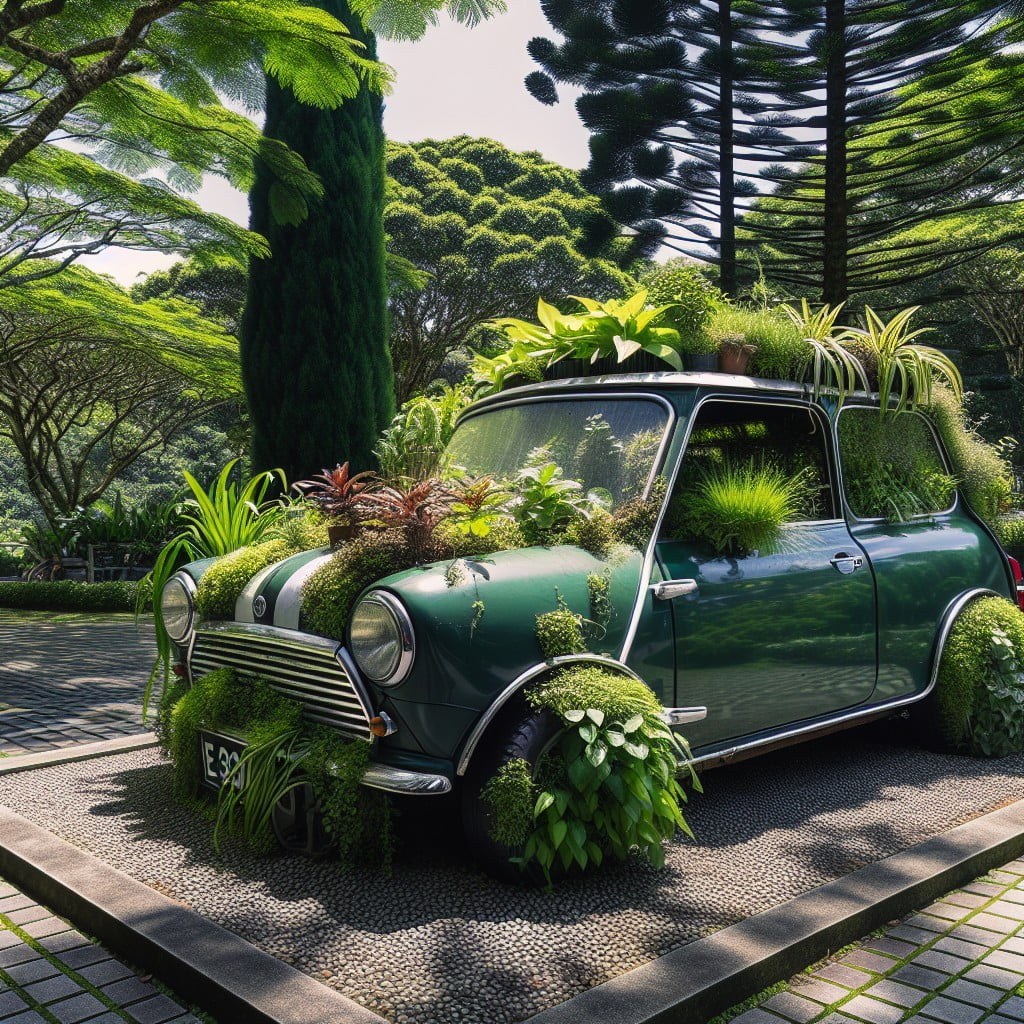
Venture into the realm of out-of-the-box creativity by choosing a miniature car, perhaps an old toy or garden decor, and turning it into a truly unique, grand planter. This method not only adds a fun, vintage touch to your collection, but also will leave a lasting impression on your visitors.
1. Select and Clean: Choose a reasonably sized mini car, ideally rust-resistant and capable of accommodating sizable plants. Use a damp cloth to clean it thoroughly.
2. Drill Drainage Holes: Drill a few holes at the base for drainage. This step ensures surplus water escapes, preventing problems such as root rot.
3. Remove Windows: To create more planting space, remove the windows carefully. This also allows your plants to peek out, giving a lush, bushy effect.
4. Place a Base Layer: Spread a layer of small pebbles or stones to aid drainage.
5. Add Soil: Fill the car with compost rich soil, making sure there’s enough space for planting.
6. Plant Away: Plant your favorites, considering shape, height, and color contrast for visual appeal. Succulents, ferns, or grasses are great options.
7. Position: Position this new planter where it can attract admiration yet won’t hinder any pathways. Consider the amount of sunlight the plants will be exposed to as well.
Remember, watering must be adjusted as per the plant’s needs but generally, less frequent, deep watering is recommended as the planter could tend to retain water and the car’s structure could otherwise sustain damage.
Use Ceramic Bathtub As Luxurious Plant Holder
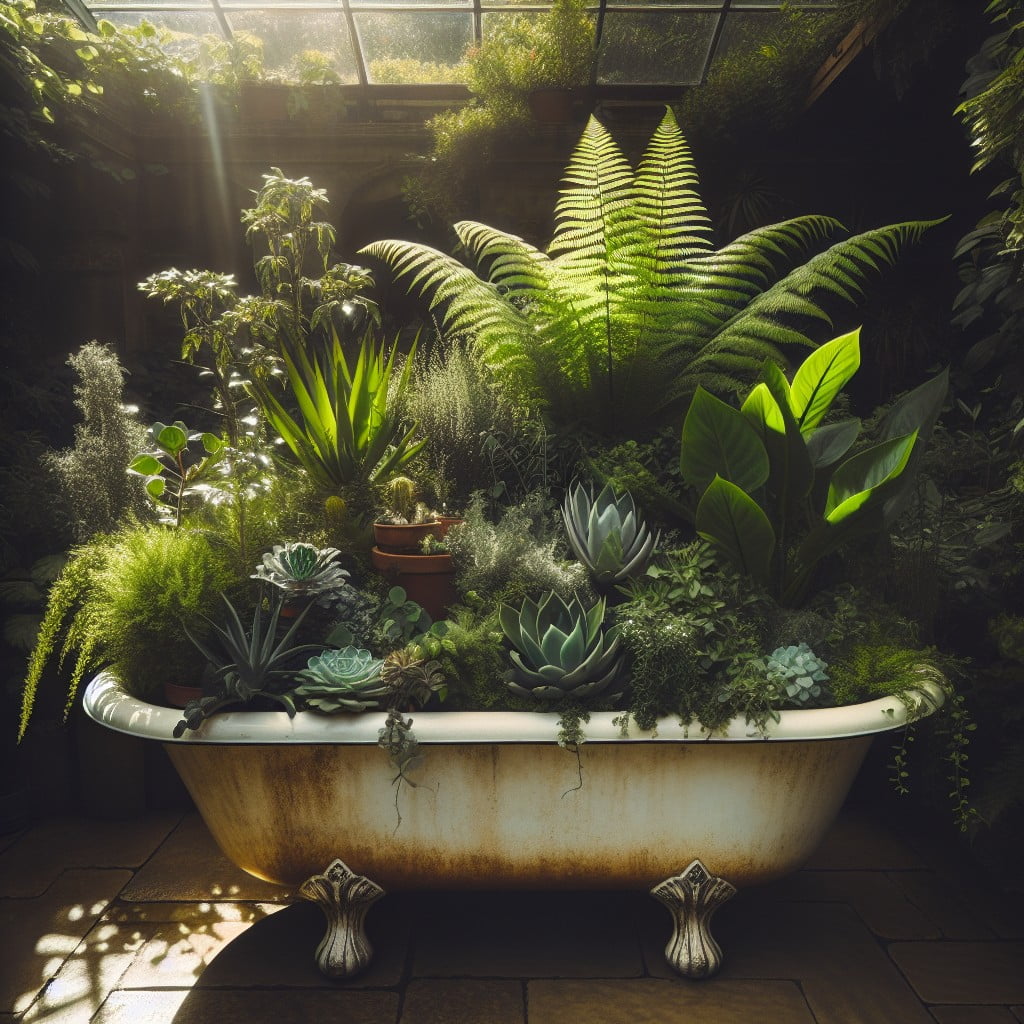
Opting for a ceramic bathtub as your plant holder can infuse a sense of luxury into any garden. Consider the following points when repurposing a bathtub:
1. Drainage: Make sure to plug the drain to prevent soil loss and use a layer of pebbles or broken pottery at the bottom, which assists in proper water drainage.
2. Soil: Fill the tub with a rich potting mix suitable for your chosen plants. It’s better to avoid garden soil as it often compacts over time, stifling root growth.
3. Plants: Consider plant height, size, and habit. For a visually appealing setup, use a combination of tall plants, trailing vines, and vibrant flowers.
4. Placement: Although bathtubs are heavy, choose its placement wisely. It could become a shade garden under a big tree or a sunny paradise near the patio, based on the selected plants.
5. Decor: An old-fashioned bathtub planter can complement vintage, boho, or rustic decor styles. A touch of paint, some decorative elements like stones, fairy lights or a garden statue can elevate its aesthetic charm.
Light Bulb Miniature Plant Holder
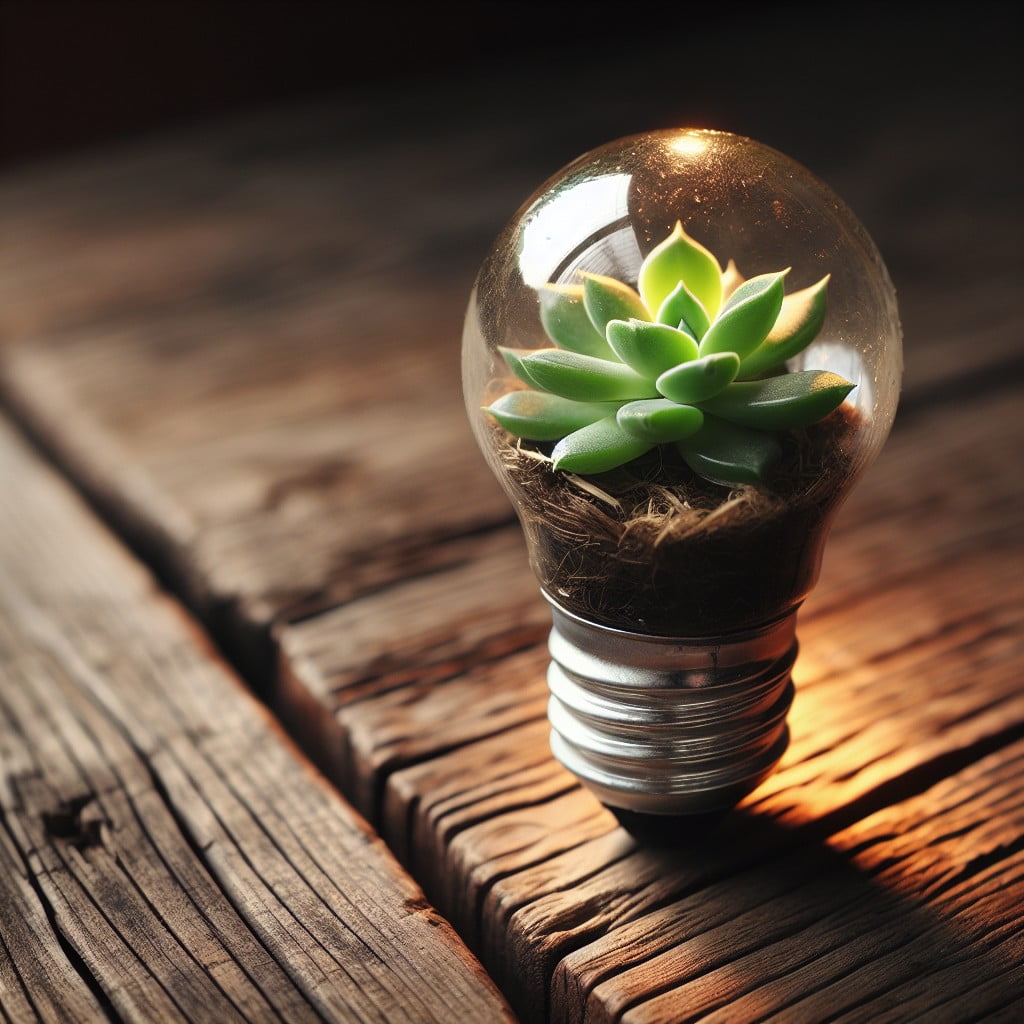
Transitioning into our next point, imagine the warmth and glow of old light bulbs, repurposed as unique, miniature plant holders. It may appear complex, but the DIY process is relatively simple and straightforward.
1. Selection: Carefully choose a bulb; an incandescent one is recommended for beginners due to its easier dismantling process.
2. Hollowing: Wearing safety equipment, remove the metal tip, black glass, and inner wiring of the bulb.
3. Cleaning: Rinse the bulb out, making sure all fragments from the hollowing process are removed.
4. Decorating: Use a thin, strong wire or twine to fashion a protective and hanging mechanism around the bulb.
5. Planting: Put a small amount of pebbles and activated charcoal at the bulb’s bottom for drainage, then add moss, dirt, and a tiny plant or seed.
6. Maintenance: Place your miniature garden in a space with moderate light and spritz with water when necessary.
Following this process, a quirky and ornamental planter will add fruitful charm to your home decor.
Vintage Suitcase Turned Planter

Exuding a sense of wanderlust, this plant holder concept begins by selecting a sturdy old suitcase. The charm lies in its vintage appeal; chipped paints, rusty latches, and distressed corners add an extra layer of character.
Start by drilling a few holes at the base for drainage to ensure the roots don’t get waterlogged. A waterproof lining within the suitcase safeguards against any leakage damage.
Next, fill the case with rich, organic compost, leaving enough space for plants to breathe. Consider low-maintenance plants like succulents, or a mix of seasonal flowers for a burst of color.
This grounded charm can be amplified by placing the suitcase on a wooden table or a vintage wrought iron stand. Versatile in nature, it can serve as a focal point in your garden, balcony, or a corner in your home.
The suitcase planter is an inventive nod to travel, adding both nostalgia and greenery to your living space.
Chandelier Planter for a Royal Garden Touch
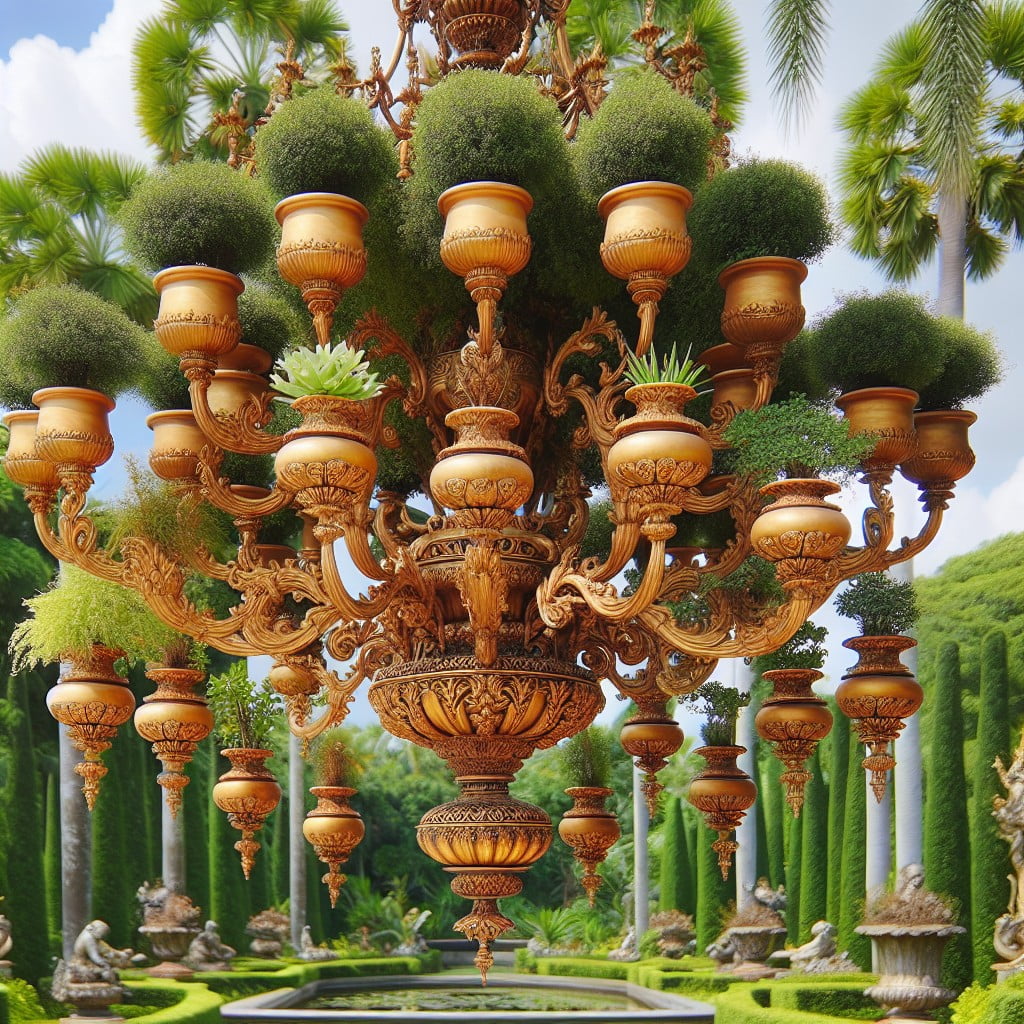
Transforming an old, ornate chandelier into a hanging planter can infuse a touch of royal elegance into any garden. This unique DIY project repurposes an item often disregarded once its initial purpose has run its course.
Here are some easy steps to bring this idea to life:
- 1. After ensuring the chandelier is free from electricity, remove all the bulbs and wiring.
- 2. Choose suitable small pots or containers that will fit the bulb sockets while allowing space for plants to grow.
- 3. Securely attach each pot to the bulb socket using a strong, weather-proof adhesive.
- 4. Allow the adhesive to dry before planting your favorite flowers or greenery in each pot. Succulents, ferns or trailing ivy are fantastic choices for this purpose.
- 5. Install sturdy hooks in the preferred hanging location and suspend the chandelier using strong chains or ropes.
This ingenious reuse of a chandelier brings functionality and sophistication to outdoor spaces, making the garden a standout feature. It’s eco-friendly, adds aesthetic appeal and a great conversation starter.
Woven Basket Planter Hanging From Macrame
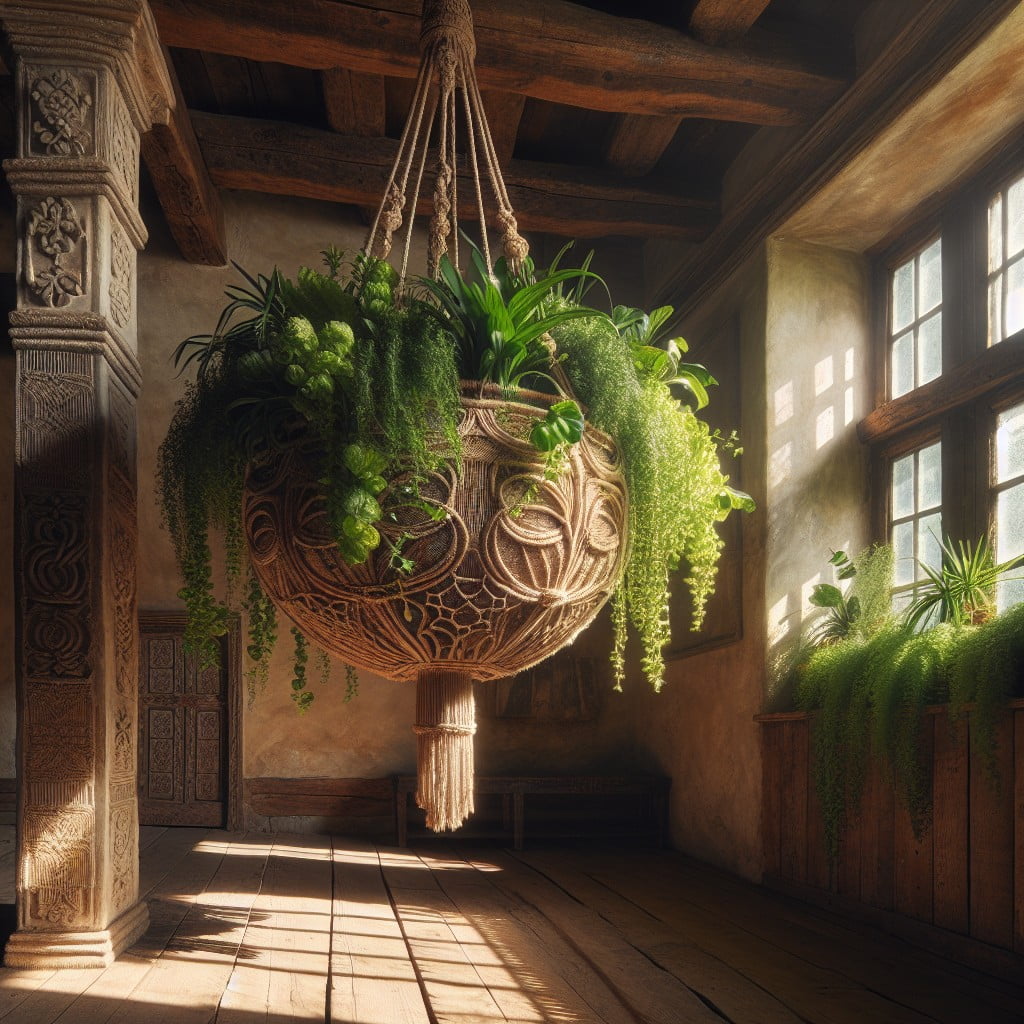
The transformative power of macrame and woven baskets transcends the boundary of miniature crafts. To achieve a rustic yet elegant look for your plants, simply utilize the strength of braided cotton rope to hang your greenery-filled woven basket.
Here are the steps:
- Choose a sturdy woven basket: Ensure it’s spacious enough to house your preferred plant. If it’s not lined, line it with plastic or coir to prevent soil leakage.
- Select your macrame rope: Cotton is recommended for its strength and resistance to fraying. Choose a length that matches the desired hanging height.
- Craft the macrame holder: There are various knotting techniques, from simple braiding to intricate patterning. For beginners, the basic square knot will do the trick.
- Secure the basket: Place plant-filled basket within your macrame holder. Ensure the basket is evenly centered and well balanced.
- Pick the right location: A sunny corner or in front of a window would do just fine. Install a sturdy hook to hang your alluring woven basket planter.
The charm of this DIY project is its modifiable nature. You can play with rope colors, basket designs, and plant types, all tailored to your personal liking. Create one or several to add an earthy appeal to brighten spaces with the freshness of your suspended garden.
Ideas Elsewhere
- https://www.hgtv.com/design/make-and-celebrate/handmade/3-diy-oversized-planters-to-make-this-weekend-pictures
- https://www.jennasuedesign.com/diy-large-fluted-cement-planters/
- https://houzewize.com/diy-large-concrete-planters-how-to-make-it-in-one-weekend/
- https://www.ohohdeco.com/50-easy-diy-planters/
Read More Like This
 15 Funny Graduation Cap Ideas to Make Your Big Day Unforgettable
 15 Unique DIY Christmas Decorations Ideas for a Festive Home
 15 Creative Science Fair Board Ideas to Amaze Your Audience
 15 Handmade Envelope Decoration Ideas for Creative Gifting
 10 DIY Gifts for the Whiskey Lover in Your Life
Recap: