Last updated on
I have been searching for THE perfect coffee table for over a year and haven’t found the “dream” coffee table. I wanted something a little rustic, but not too country. I like reclaimed wood but didn’t want something too industrial.
The table at Restoration Hardware was nice but the legs seemed a little too large for our room. Plus, the table was a bit pricey. This Restoration Hardware table was one of our inspirations though.
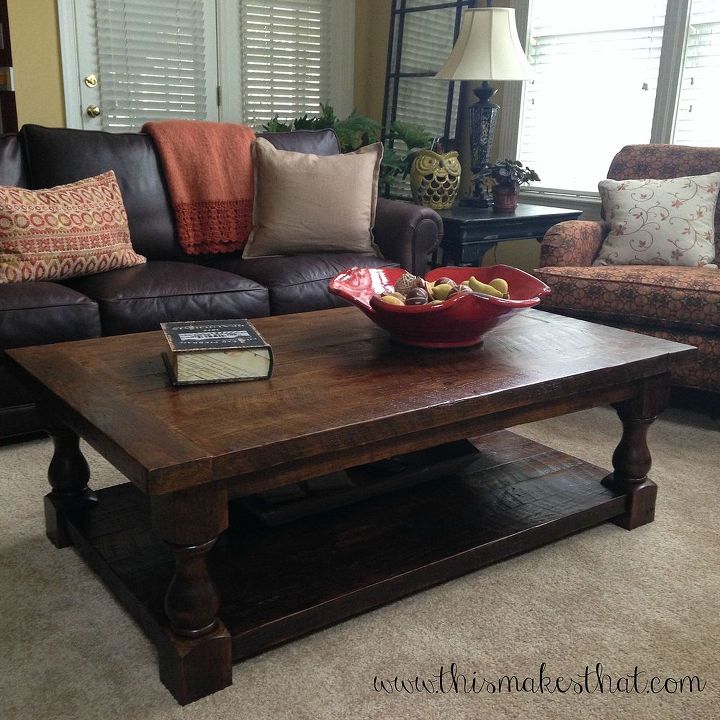
Since my dream coffee table didn’t exist, I asked my husband if he could make us one. He said, of course, in the same manner as Tim the Tool Man Taylor on Home Improvement would say. This scared me a little, but we proceeded. I searched all over the Internet and came across coffee table plans on Shanty 2 Chic’s website for a Pottery Barn inspired coffee table. I always liked Pottery Barn’s Cortona Coffee Table and it’s very similar to the Restoration Hardware table that we like. These plans were for a square table but we were able to customize the plans for a rectangular shaped table in the exact dimensions for our room.
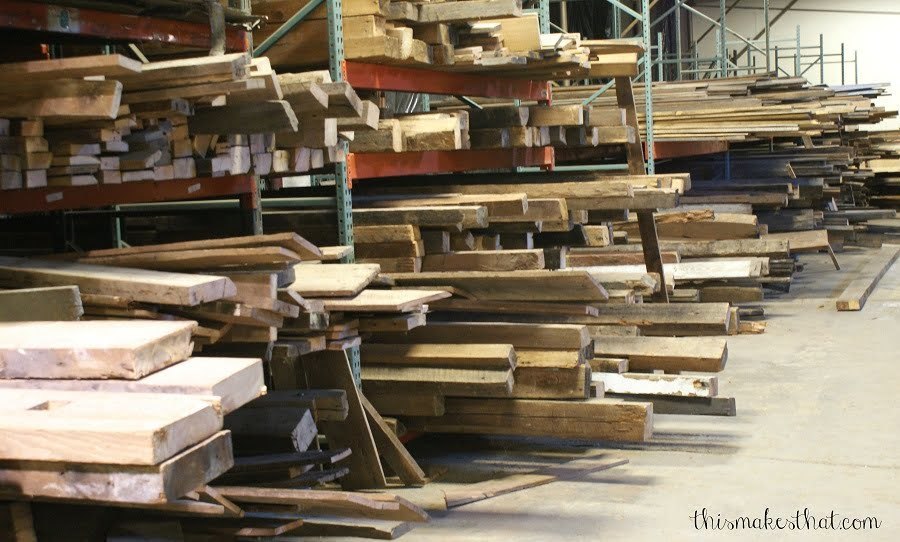
I always start off with simple ideas but my hubby expands on them. Take this coffee table that can be made for $200 in about 30 hours. Very reasonable. Well, he didn’t want to buy stocked pine wood from our local home improvement stores. Instead, he went to a re-use warehouse and purchased reclaimed wood that came from a 1906 schoolhouse. I do admit, that the reclaimed wood has so much more character and it’s fun that our coffee table will have a story that goes along with it.

Reclaimed wood isn’t always pretty at first. The wood is dirty and there are often nails in the wood. But all the markings and nail holes are what gives the wood character. Also, hubby had to go through stacks of wood to find the straightest pieces. Some were warped pretty badly.
He customized the plans for our table dimensions. Carefully measuring and labeling each board and determining the order to put the boards in.
Of course, we continued to deviate from keeping with my simple and inexpensive plans and decided to make our own table legs instead of ordering them from a wood company. That way the legs would be the same type of wood and match the tabletop exactly. Since we don’t own a lathe, we hired someone to make the legs for us. They turned out beautiful. Here is a picture after gluing on one leg.
Finding the right color stain wasn’t easy. The hubby bought many cans of stains and tried multiple combinations to get the right shade of brown. Here are some sample boards that he created. I highly recommend making sample boards on the wood you will be using for your project as the stain color can vary depending on the wood you use.

After a lot of experimenting, he came up with the winning formula. We pretreated the wood with Charles Neil’s Pre-Color Conditioner then used Minwax Special Walnut (satin) for the stain then used Minwax Polyshades Mission Oak (Satin) for the poly coat.

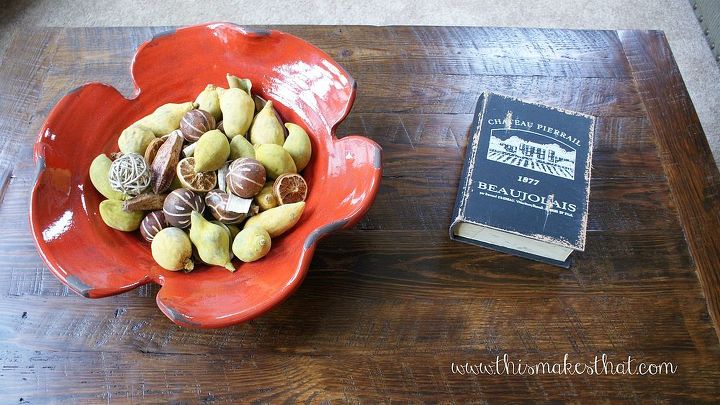
The table is so beautiful that I don’t want to hide it with a lot of stuff on top. So right now, I’m keeping it very simple with a decorative ceramic bowl and a “faux” book to store the remotes.
I like how I can hide the remotes in this box.

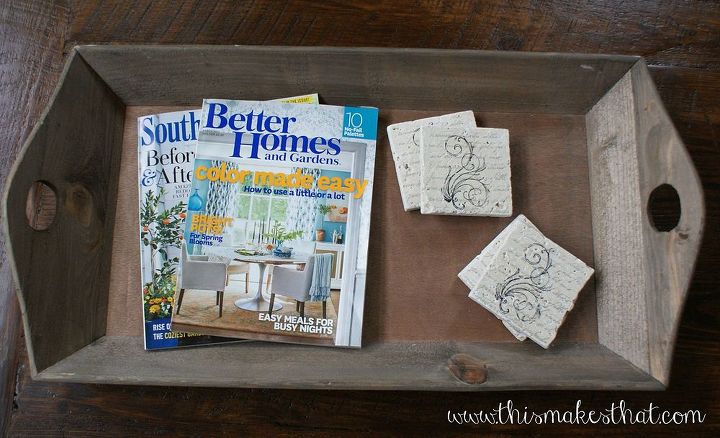
The reclaimed wood tray is perfect to hold magazines and my DIY stamped tile coasters. The tray fits nicely on the bottom shelf.
I’m so pleased with the results. It is EXACTLY the look and color I wanted for our family room coffee table.


