Last updated on
Explore the artistry of stamping tile coasters because this ingenious technique combines practicality with aesthetic appeal to transform everyday items into stunning homemade masterpieces.
I’ve designed unique illustrations for these ideas. I hope you get inspired!
Tile coasters are a charming and functional addition to any home, but it’s always refreshing to break the mould and introduce new, unique ideas into the design mix. Overlooked and undiscovered crafting techniques are spotlighted in this collection of stamping tile coasters ideas, providing a new spin for those seeking a creative flair.
While well-circulated methods have their own charisma, this piece zones in on the lesser-known gems. For enthusiasts eager to explore established ideas, relevant resources will be neatly compiled at the article’s end. However, the primary objective is to venture off the beaten path, offering a fresh array of stamping tile coasters ideas to invigorate your craft and bring novelty to your home decor.
Delve into these exclusive suggestions—the search for that perfect, unique tile coaster ends here.
“Unique Stamping Designs for Tile Coasters”
Creating tile coasters that reflect personal taste is made easy with unique stamping designs. First up is the abstract art, with its appealing simplicity and bold expression. It allows for a great deal of creativity whether its fluid brush strokes or uneven splashes of color.
Next, consider celestial themes. Stars, planets, and constellations can make for a mesmerizing coaster design, especially when paired with rich, dark colors and metallic accents.
Floral motifs are timeless. Use a variety of flower shapes to create a garden-esque feel or opt for a single bloom for a more minimalist approach. Combine with green hues for a naturalistic result.
Geometry lovers can play with their favorite shapes: think of circles, squares, triangles, and even complex polygons. Mix and match them for a dynamic, modern look that’s sure to catch the eye.
Finally, map enthusiasts don’t have to look far for inspiration. A detailed city grid, a country outline or even a world map can turn a simple tile coaster into a conversation piece. Use monochrome for a sleek, professional look or add color for a fun, travel-inspired palette.
Remember, the beauty of stamping lies in its inherent uniqueness, each imprint is a work of art!
“Using Old Tiles for Stamped Coasters”
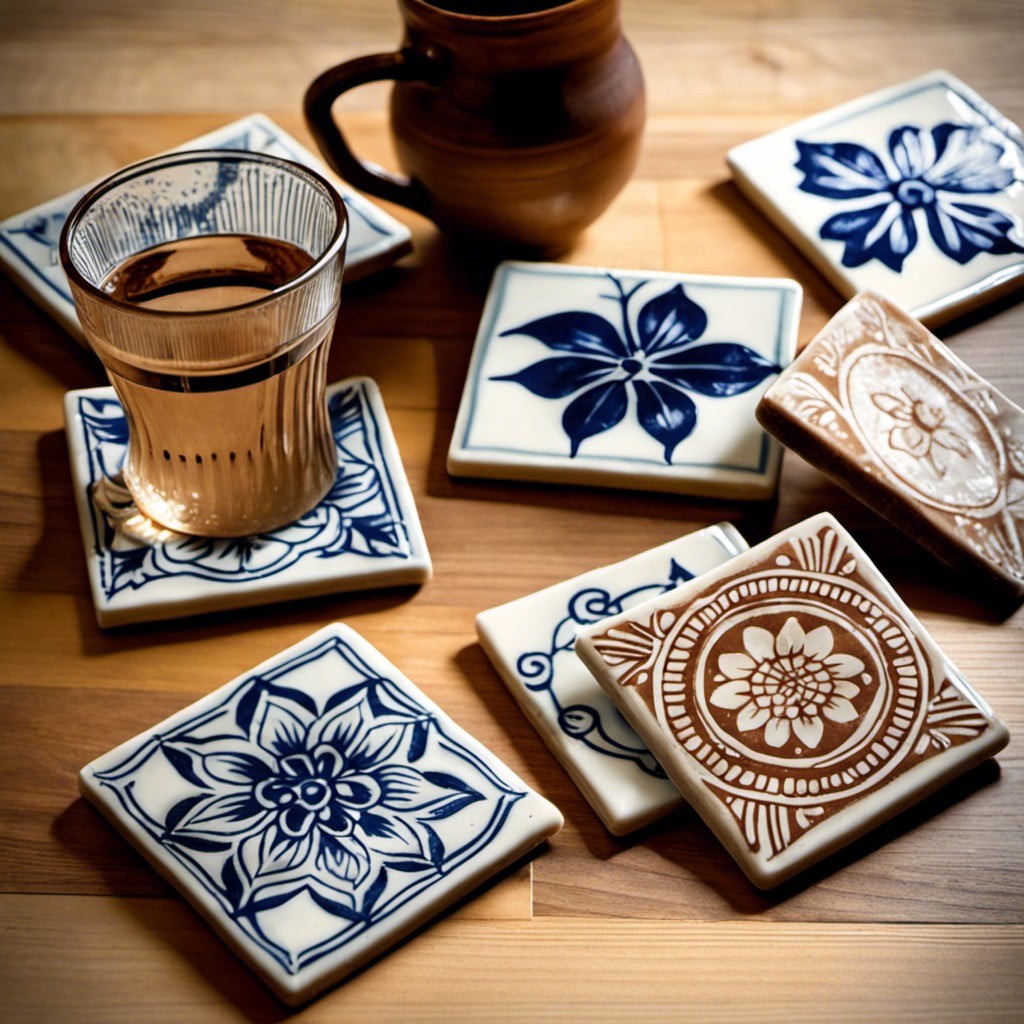
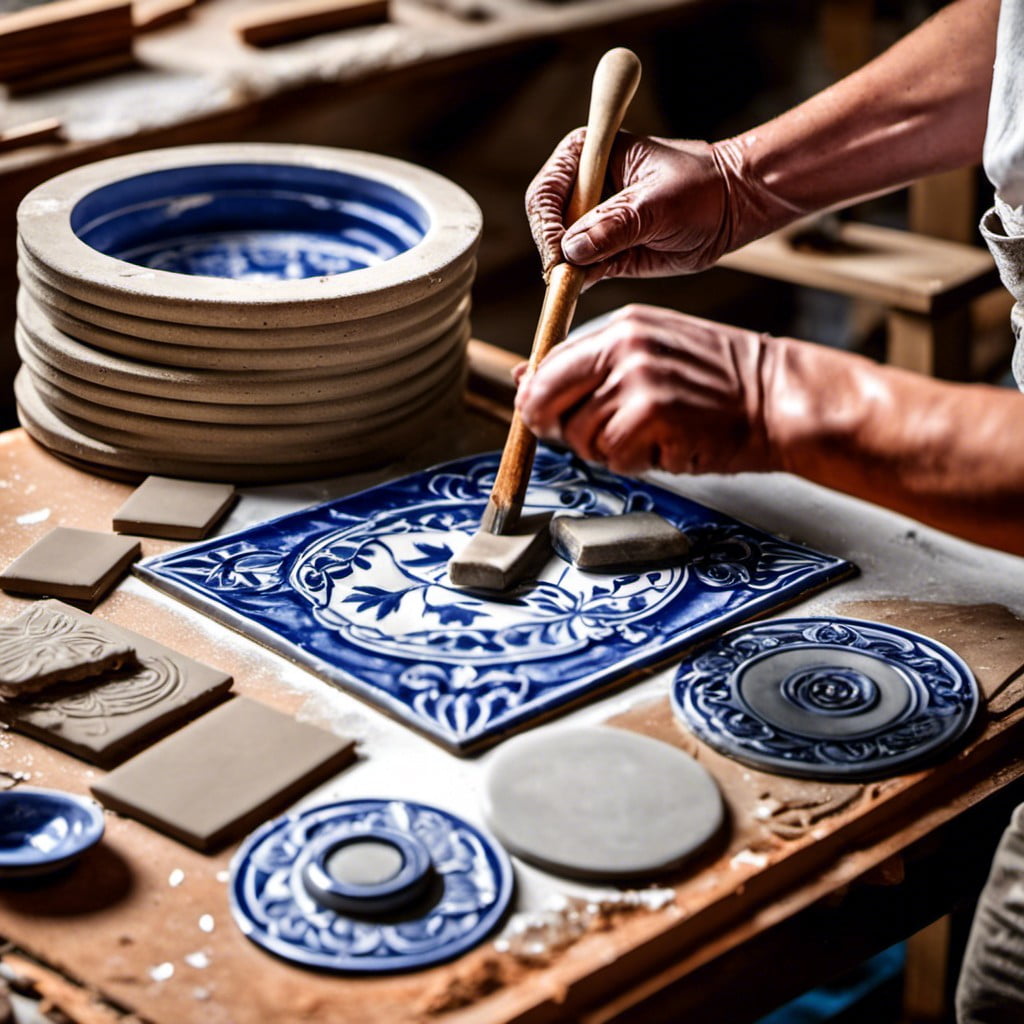
To transform old tiles into beautiful stamped coasters, a few key steps are necessary. First, thoroughly clean and dry the tiles, ensuring they are free from dust and any adhesive residue. If tiles are colored or patterned, a coat of white acrylic paint may serve as an ideal base.
Next, choose a stamp design that complements the size of the tile. The design should be simple yet captivating – think botanical motifs, geometric shapes, or monograms. Bear in mind that details may get lost on small surfaces, so opt for broad, clean shapes.
Using an acrylic, oil-based, or specialty ink suited for tile surfaces, apply the stamp evenly to ensure full coverage. Experiment with color combinations for a more dynamic effect. After stamping, allow the ink to dry completely.
Adhere cork or felt at the bottom of each tile for a refined finish while also protecting surfaces. A sealant is essential to preserve the design and improve durability. It also makes the coasters waterproof, allowing for easy cleanup of any spills.
This crafty endeavor lets you breathe new life into otherwise discarded tiles, making customized focal points for any coffee table or countertop. Each completed coaster is a small work of art and a testament to resourceful creativity.
“Beautiful Natural Scenes On Stamped Tile Coasters”
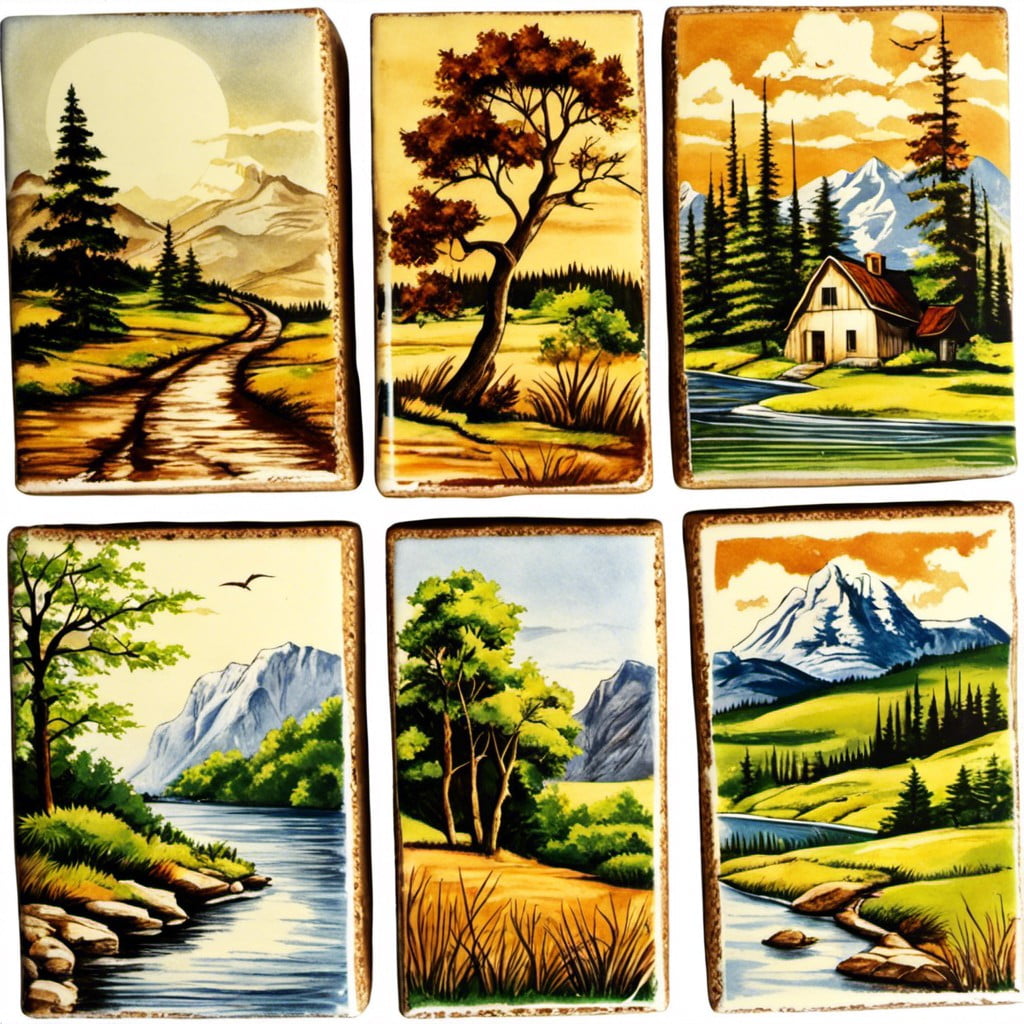
Capturing a landscape’s beauty on tile coasters is a wonderfully creative project. Start with a selection of stamps depicting various elements of nature; consider trees, flowers, mountains, or clouds. Remember to pick a versatile color palette that mimics the tones you find in nature.
1. Selection of Natural Scene Stamps: A wide array of stamps are available online, depicting everything from dainty flowers to mammoth mountains.
2. Choosing the Right Colors: Look for ink pads or paints in shades that most closely resemble natural elements – think deep greens, calm blues, and warm earthen tones. Don’t forget to add the occasional pop of color for an element of surprise.
3. Placement is Key: A haphazard placement of stamps might end up looking confusing; instead, aim to create a harmonious layout by carefully considering where each stamp goes. It could be a simple mountain scene with a tree in the foreground or an intricate blend of flowers and foliage.
4. Mix and Match: Have fun with it! Mix different scenes and elements to create a distinctive set of coasters, or stick to a single theme for a cohesive look.
5. Keep Scaling in Mind: To achieve a realistic depiction, keep things in perspective; for example, a tree in the foreground should be bigger than a mountain in the background.
Adopting these points can help bring nature into your home in a miniature, albeit charming way!
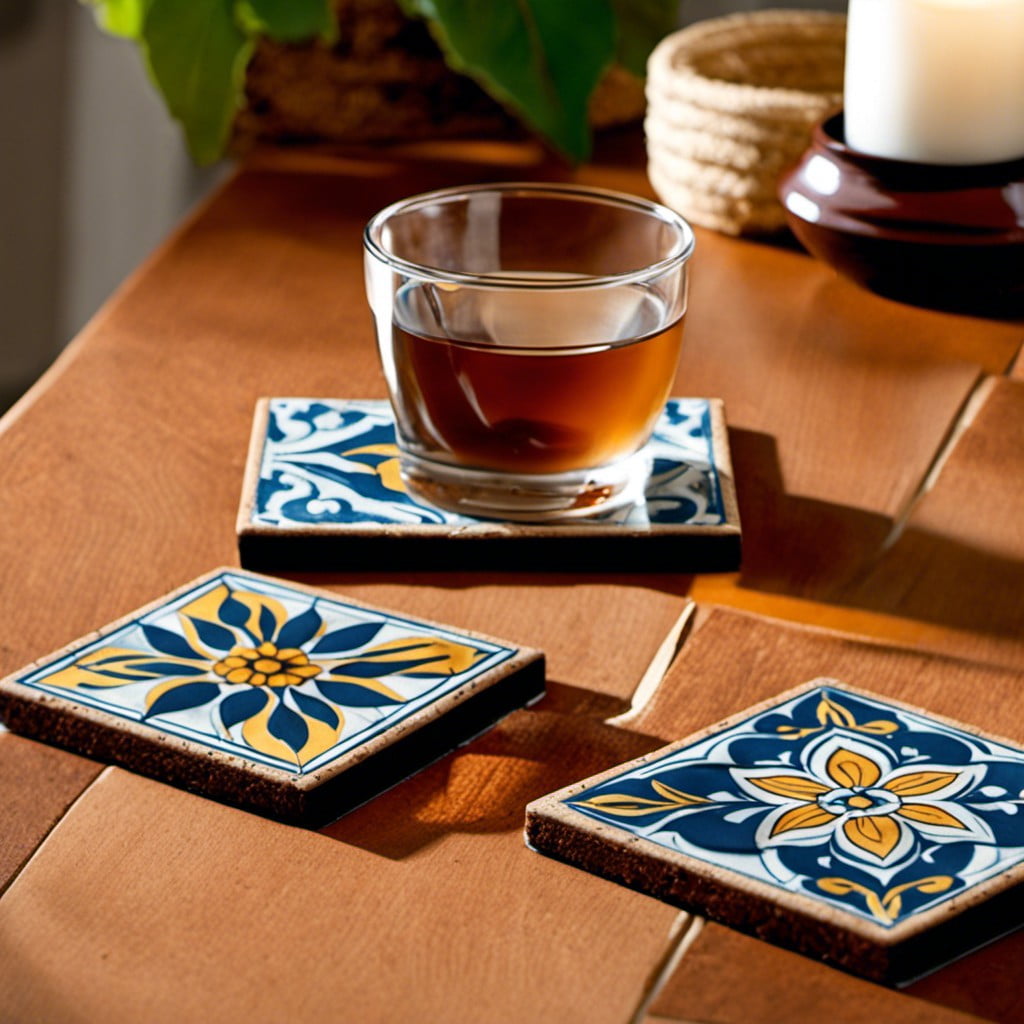
“Colorful Geometric Patterns for Stamped Tile Coasters”
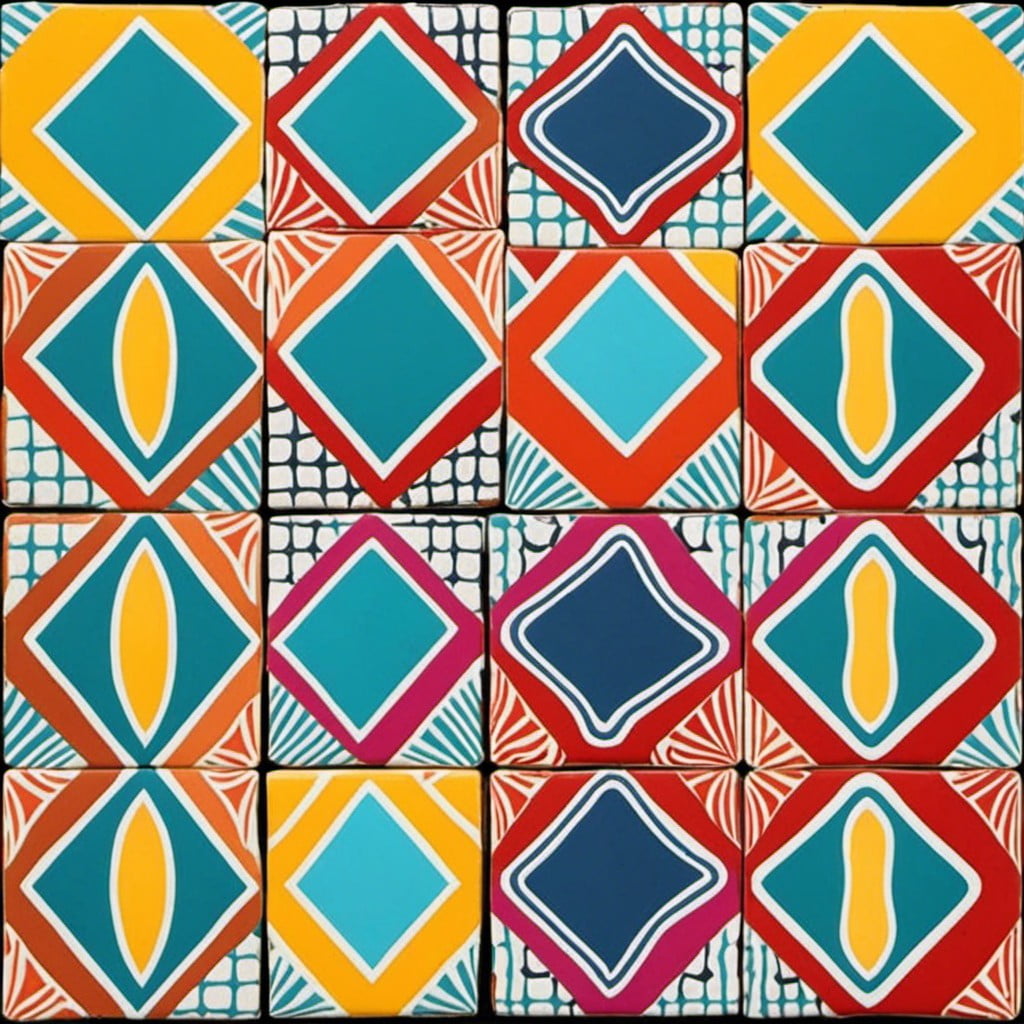
Geometric designs provide a stunning modern appeal for tile coasters. In using vibrant colors, you can create captivating, eye-catching coasters sure to impress your guests.
1. Contrasting Colors: Utilize shades that stand out against each other to make the geometric pattern pop. Black and white, or red and turquoise, are just a few examples.
2. Shapes Within Shapes: Incorporate smaller shapes inside larger ones for an impressive visual depth. A triangle within a square or circles within a hexagon can offer a contemporary look.
3. Symmetrical Design: Aim for uniformity by duplicating patterns on each side of the coaster. It adds balance and aesthetic appeal.
4. Color Gradients: Apply colors that blend beautifully together. A palette ranging from light to dark creates a ‘3D’ effect.
5. Overlapping Patterns: Create a dynamic design by letting shapes and colors overlap. It adds layers and complexity to the final product.
Remember, no defined rules exist when it comes to color choice and pattern design. Feel free to experiment and let your creativity run wild!
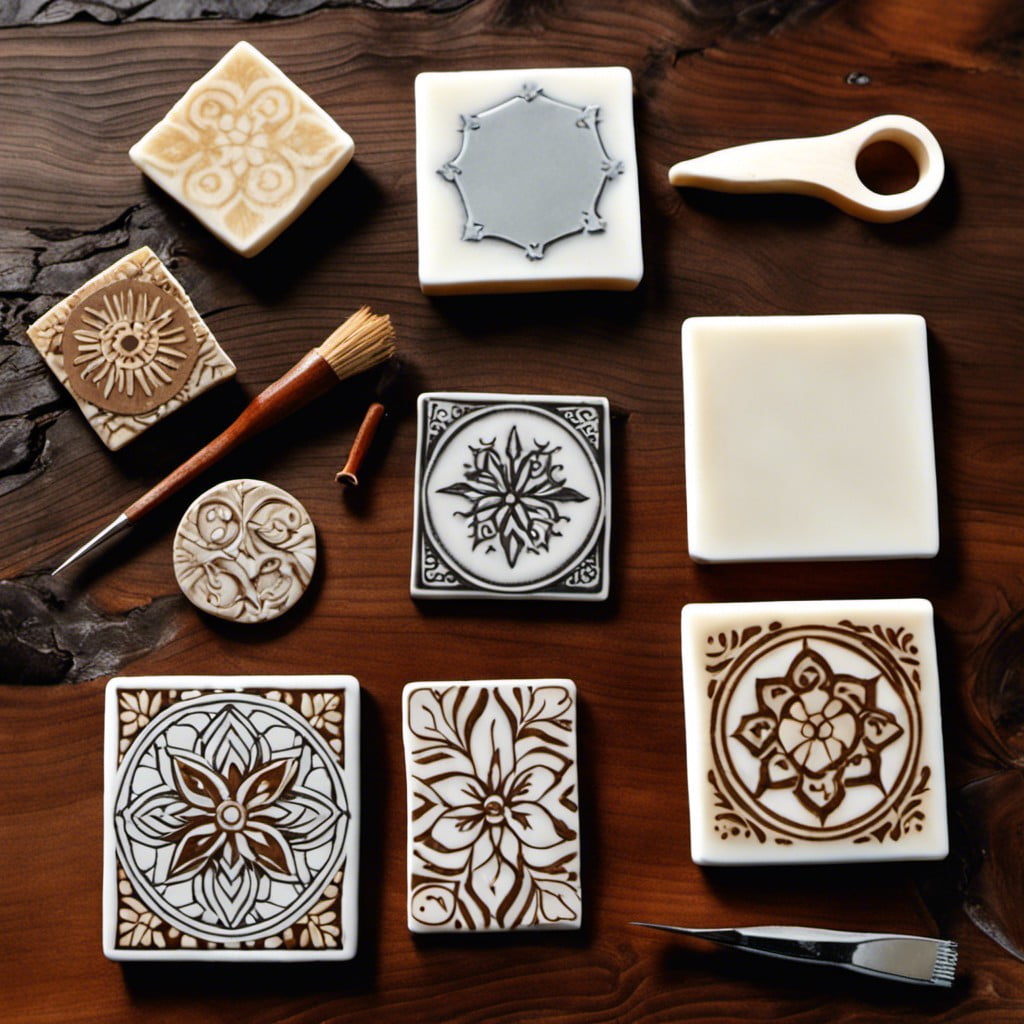
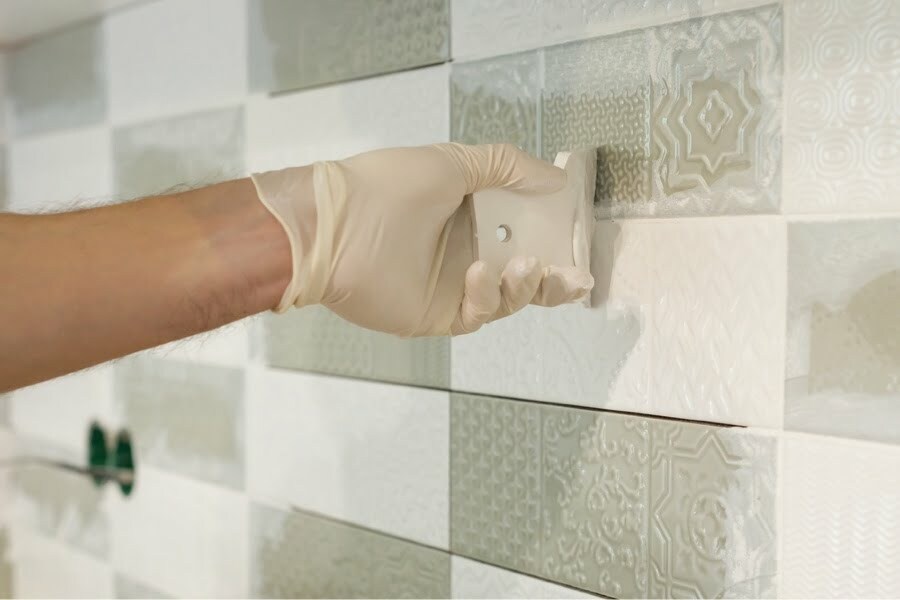
“Preparing Tiles for Stamping: Best Practices”
Before you unleash your creative energy on tiles, be sure to clean them thoroughly. Any dust or dirt could prevent your stamp from creating a clear, crisp image. A quick wipe with a damp sponge works great.
Using a base coat of paint or primer can make your design pop and last longer. While this step is optional, it may make a difference, especially if your tiles are dark or brightly colored. If you decide to use a base coat, let it dry fully before stamping.
Choose the right ink to ensure your design will be durable. Not all inks are the same; solvent-based inks are waterproof once dry, making them a great choice for tile coasters that will likely encounter condensation from beverages.
Lastly, place your stamp carefully on the tile. You only get one shot at making the impression, so aim well and press down firmly but not too forcibly which might result in smudging the lines. Consider stamping over a soft surface, such as a mouse pad. This will allow you to press down harder and achieve a better result without risking denting your tile.
Remember, practice makes perfect, so feel free to work on a scrap tile before moving on to one you intend to keep or gift. There’s no rush in creating these beautiful, personalized coasters.
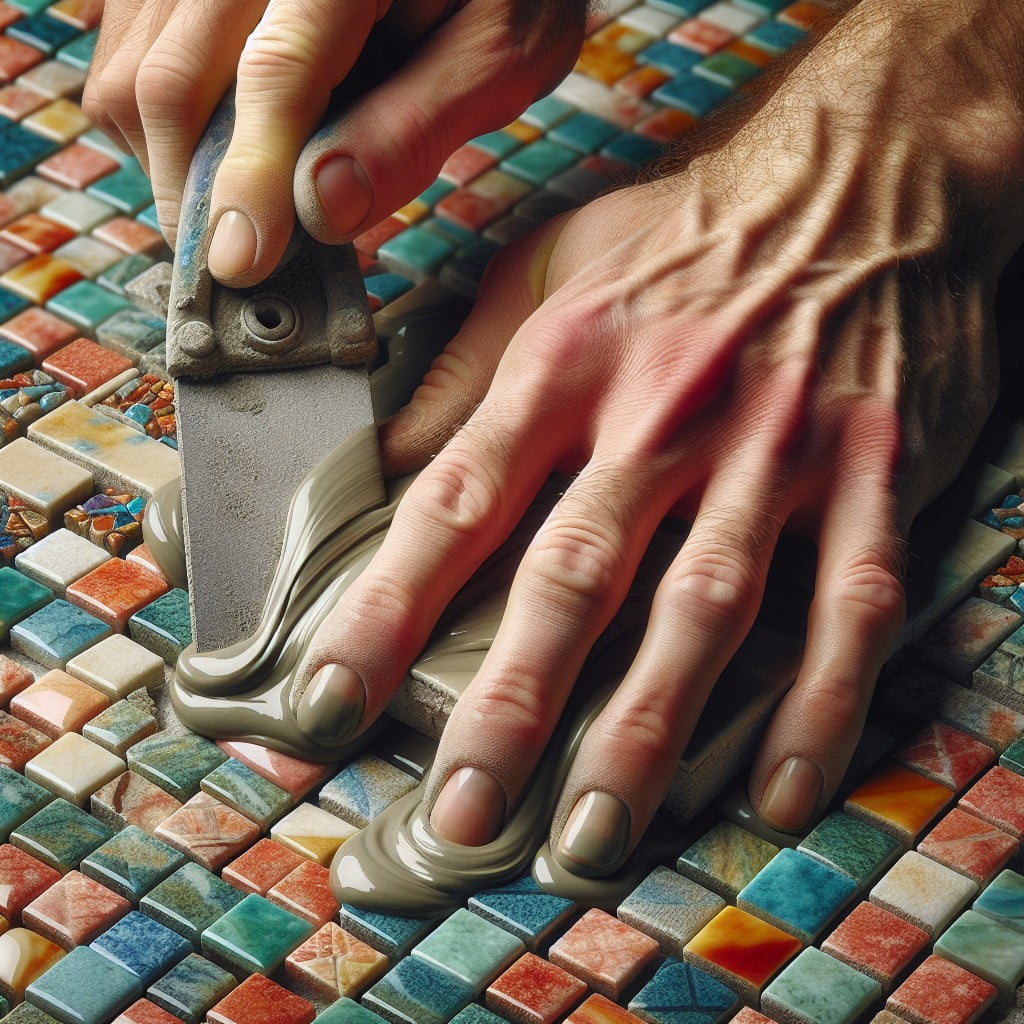
“Cork-backed or Felt-backed? Pros and Cons”
Cork and felt are popular choices for backing tile coasters due to their overall durability and surface protection qualities.
Starting with cork, it cradles the advantages of affordability and water resistance. This is perfect to prevent heat transfer from hot beverages, and its porous nature quickly absorbs any spillage or condensation. However, on the downside, its potential to wear down and crumble over the years can’t be overlooked.
Felt, on the other hand, comes with an elegant appeal and the ability to slide smoothly on any surface. It works exceptionally well for weight stability. However, it may not be the best absorber of liquid, and could stain or transmit heat if the beverage is too hot.
Ultimately, both provide good traction to prevent slipping or scratching surfaces, so your choice between cork or felt might depend on the overall aesthetics, as well as the degree of heat or spill-protection you require.
“Animal Themed Stamped Tile Coasters”
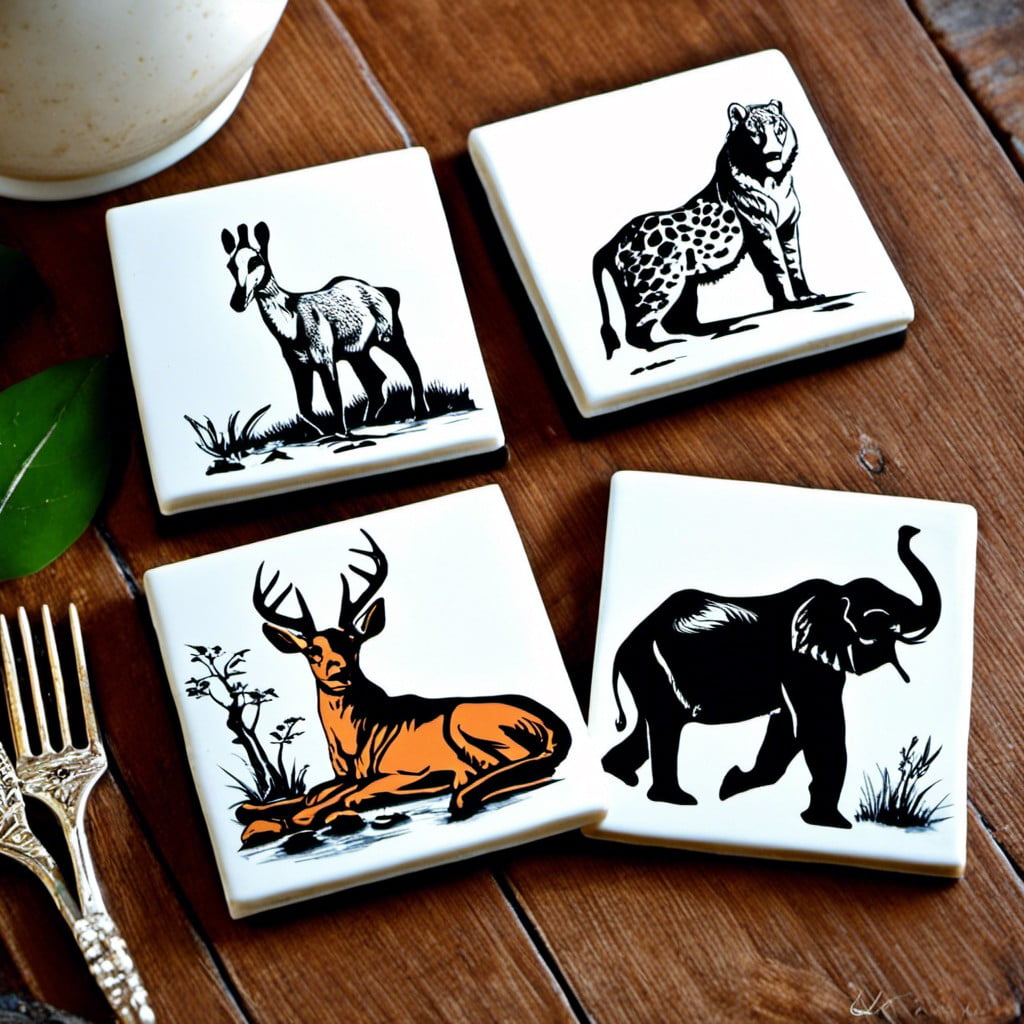
To craft these charming coasters, consider your favorite fauna. Maybe forest creatures encompass your love for the outdoors – imagine delicate deer, nimble rabbits, or wise owls in earth tones.
Those who lean towards sea life may opt for playful dolphins, colorful fish, or intricate seashells.
Finally, for the bird lovers, consider charming songbirds, regal eagles, or fun flamingos.
When utilizing animal themes, consistency is key. Choose a theme and stick to it, whether all coasters boast the same motif, or each coaster holds an animal of the same environment.
Don’t forget to play with the color palette – for instance, a collection of safari animals can be executed in bold, savannah-inspired hues.
When it comes to applying your stamp, remember to press evenly to capture each detail. Also, consider pairing your animal motif with a border or background design to further enhance its appeal.
By merging creativity with precision, your animal-themed stamped tile coasters will shine with unique charm.
“Tips for a Perfect Stamp On Tile Coasters”
To ensure a crisp, clear image, start by choosing a stamp with a strong, simple design.
A complicated pattern may not translate well onto the tile’s uneven surface. Always use permanent, waterproof ink.
Non-waterproof ink might run or fade, diminishing the aesthetic appeal of your coaster.
Next, press the stamp evenly onto the tile. Avoid rocking or twisting the stamp, which can lead to blurring.
If the image doesn’t come out right on the first try, simply wipe the tile clean with a damp cloth and try again.
Remember to let the ink dry completely before moving onto any sealing process.
Following these pointers will assist you in producing stylish and unique tile coasters every time.
“Incorporating Holographic Stamps On Tile Coasters”
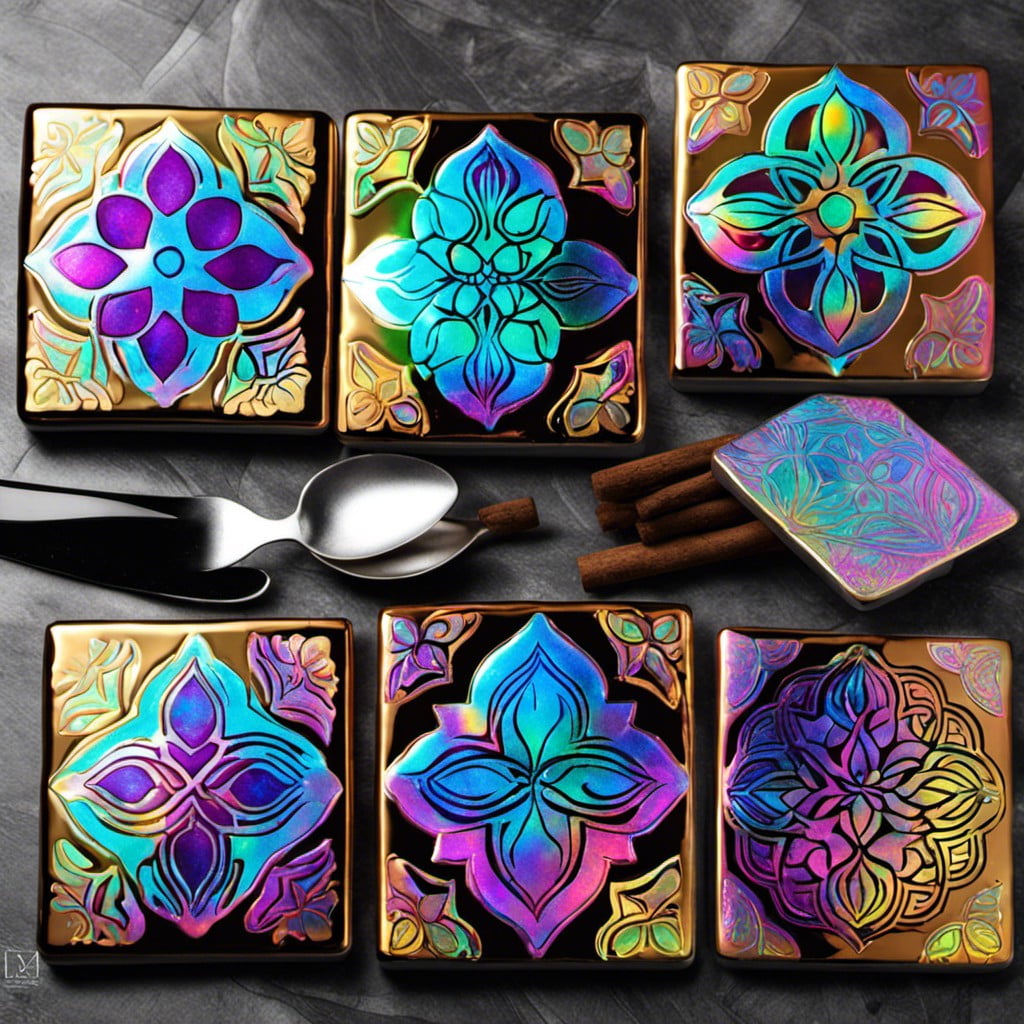
Leveraging the unique shimmer of holographic stamps can certainly elevate the aesthetic appeal of tile coasters. Here, let’s delve into how best to achieve a fantastic result.
1. Material Selection: Opt for tiles with a smooth, non-textured surface to allow the holographic design to shine brilliantly with minimal interference.
2. Stamping Choice: Choose stamps with bold and broader designs. This ensures the holography isn’t lost in the intricate details.
3. Ink Pads: Use pigment ink pads instead of the dye ones for a richly pigmented image.
4. Placement: Mix and match placement. Center the design on some tiles and offset it on others for variety.
5. Drying and Sealing: Give ample drying time before applying any sealant to avoid smudging. Follow this with a clear, glossy sealer to magnify the holographic effect.
Remember, the goal is to utilize the gleaming, color-shift properties of holographic stamps to create one-of-a-kind tile coasters. Don’t be afraid to experiment with different colors, stamp designs, and tile shapes.
“Top Materials to Use in Stamping Tile Coasters”
For exceptional results, it’s crucial to select high-quality inks, stamps, and sealants. Choose permanent inks such as alcohol inks or solvent-based pigment inks – these are water-resistant and won’t fade easily. Moreover, they provide a vibrant color output which will truly make your designs pop on the tile’s surface.
Rubber stamps, particularly unmounted ones, are highly recommended due to their flexibility and the high level of detail they can deliver. They’re perfect for stamping on rigid, uneven surfaces such as tiles.
Finally, don’t forget the sealant! Select a clear acrylic sealer that is water and heat resistant. It will not only protect the design but also give your coasters a finished, professional look. Clear sealants also allow the original color and design of the tile to shine through.
Remember, different types of tiles may react differently to these materials, so always make sure to test your materials on a spare tile first. By using the right materials, your tile coasters will not only be beautiful but also durable and functional.
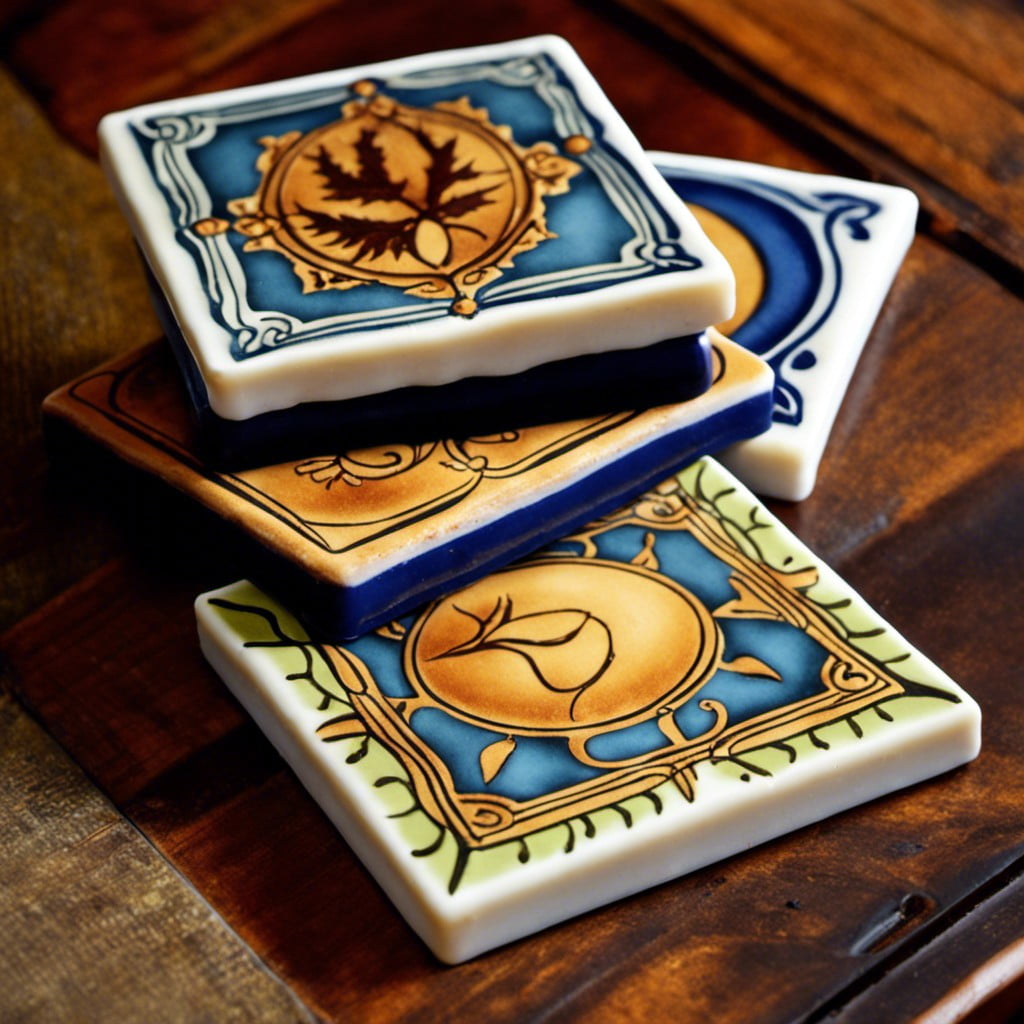
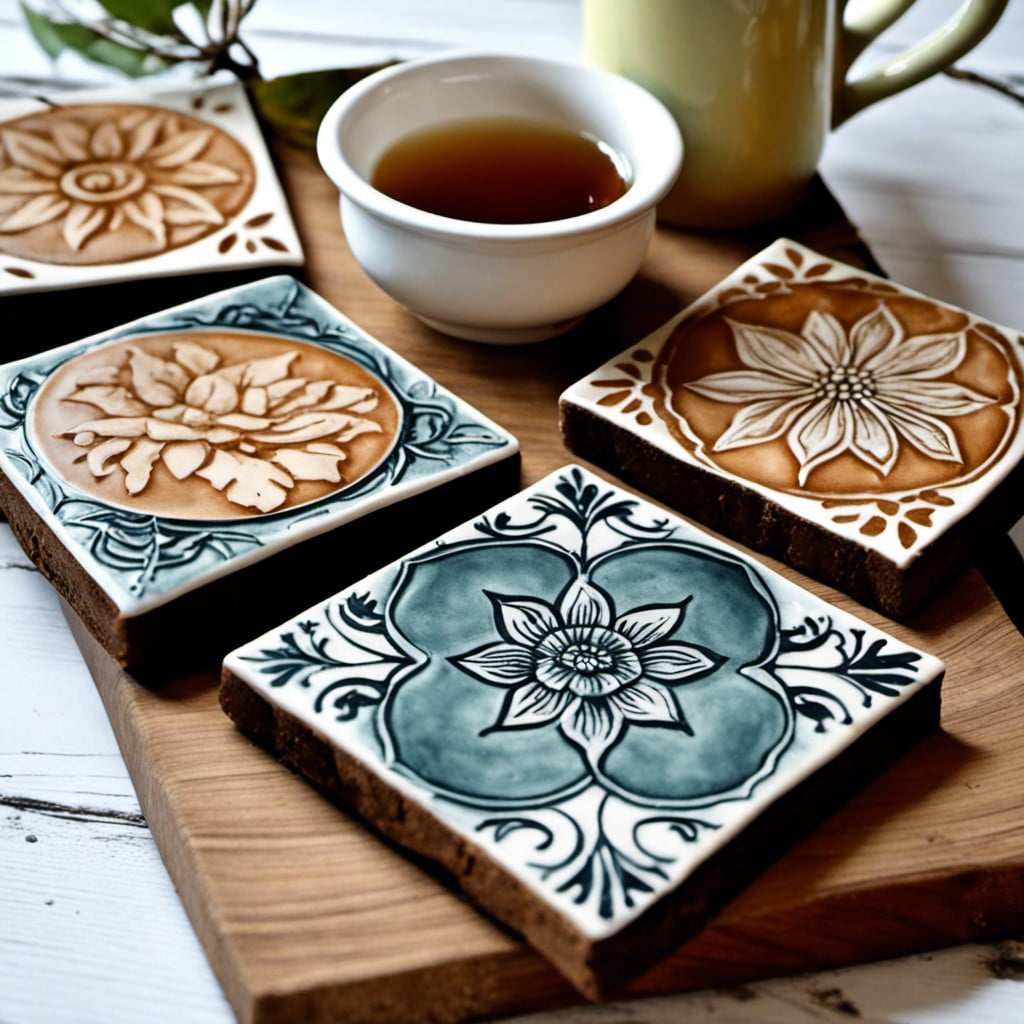
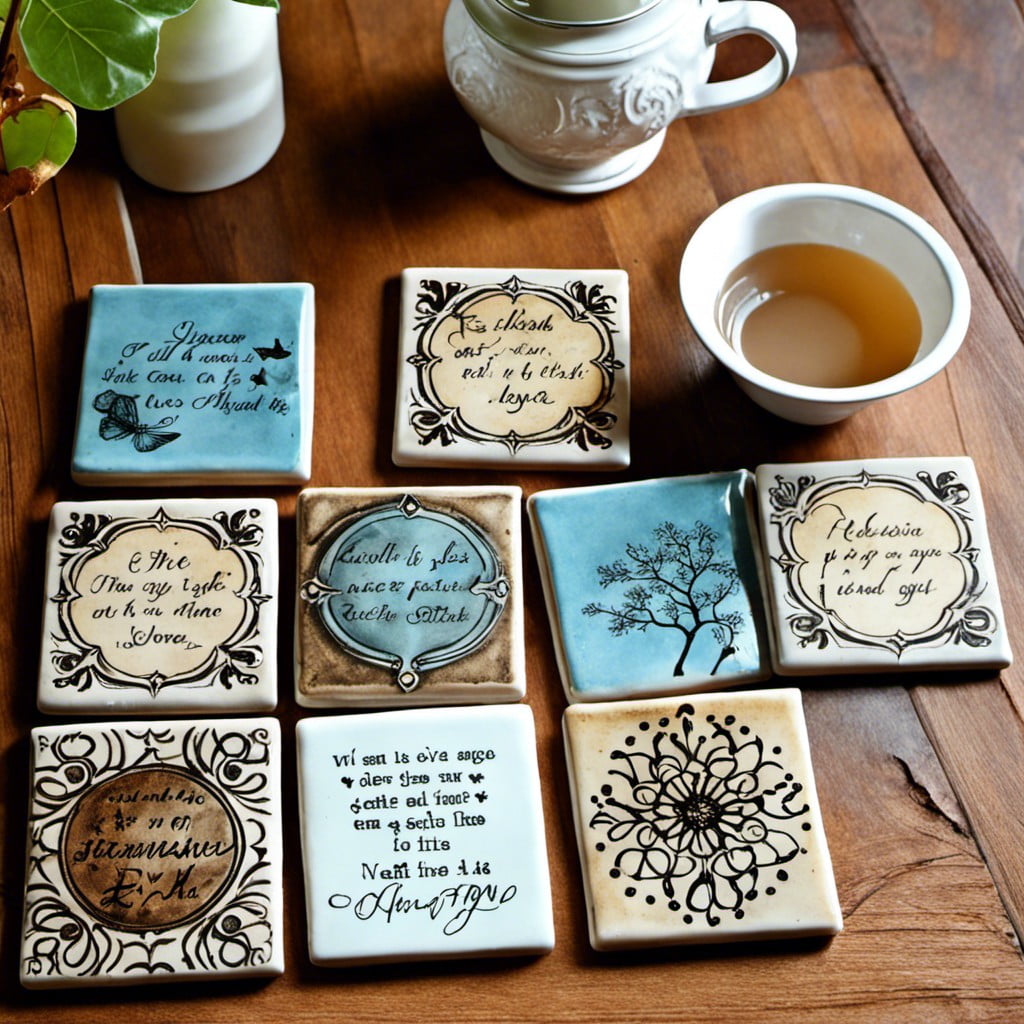
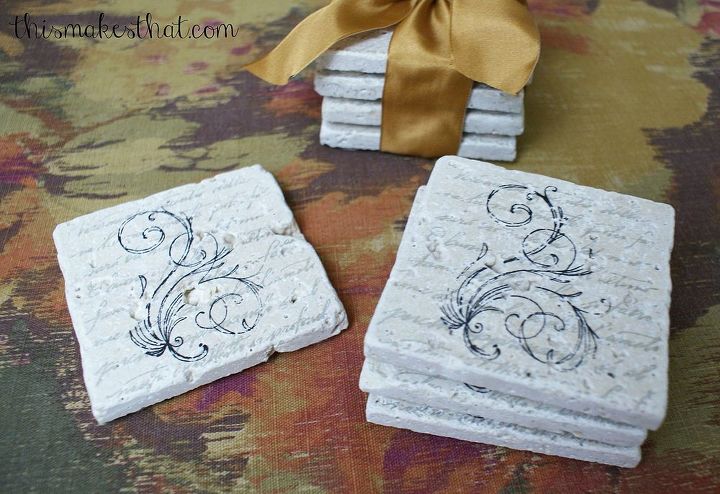
“Vintage Inspired Stamped Tile Coasters”
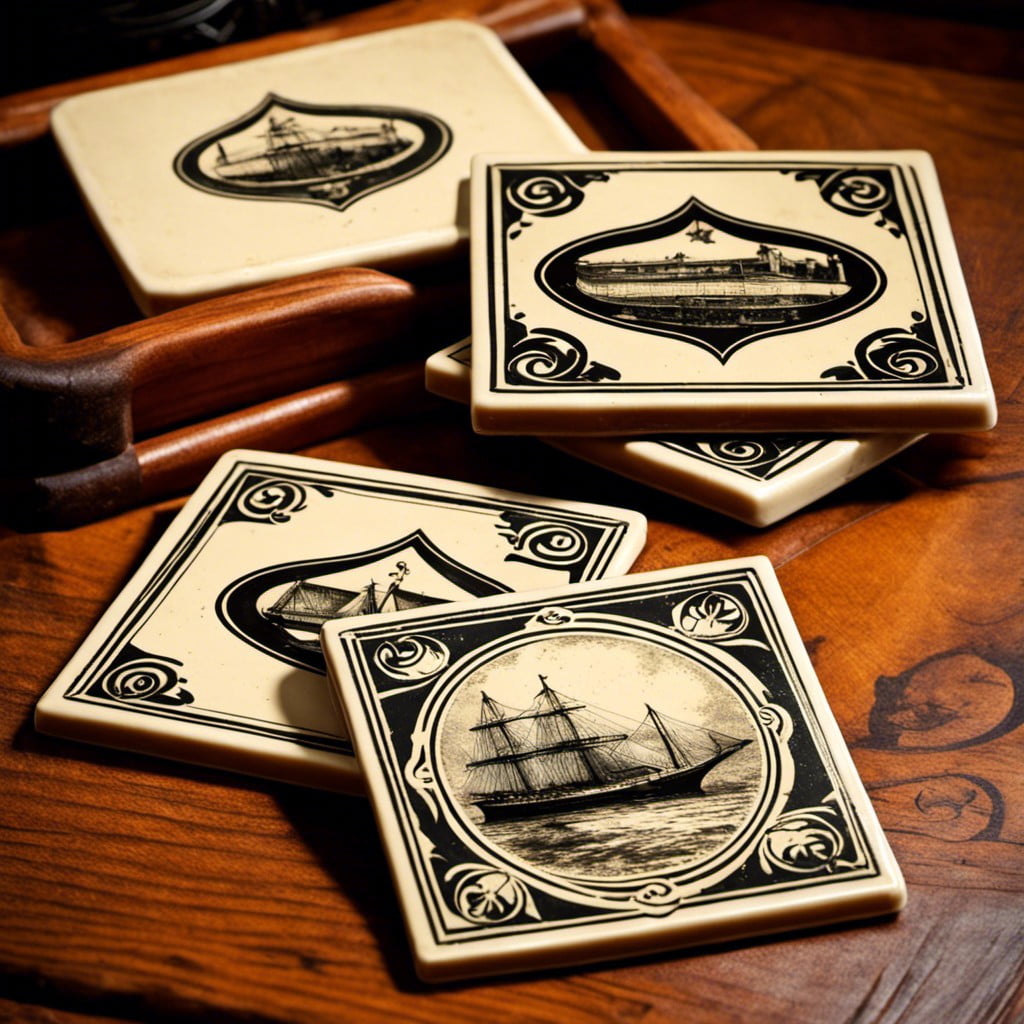
Reliving the past through design can bring an extra element of charm to your home decor. By incorporating classical elements into your tile coaster designs, you can achieve a vintage aesthetic that’s both inviting and nostalgic. Let’s delve into some key aspects of creating such designs.
1. Motif selection: Opt for designs that resonate with old-world charm. Consider flowers, script, and Victorian border prints for a truly classic look.
2. Color schemes: Complement designs with muted tones. Sepia, dusty rose, or antiqued white can render an authenticity to vintage themes.
3. Stamping techniques: Use distressed stamping methods. Feathering the edges or using a double-stamp technique can achieve a worn, aged effect.
4. Accessorizing: Pair with traditional tea sets or vintage trinkets for an overall old-time ambiance.
5. Stamped quotes: Incorporate timeless quotes or phrases to add a personal touch.
Remember, the vintage look is all about timelessness and character. Keep things simple and let the beauty of yesteryears shine through your creation.
“Thematic Stamped Tile Coasters: Ideas for Seasons”
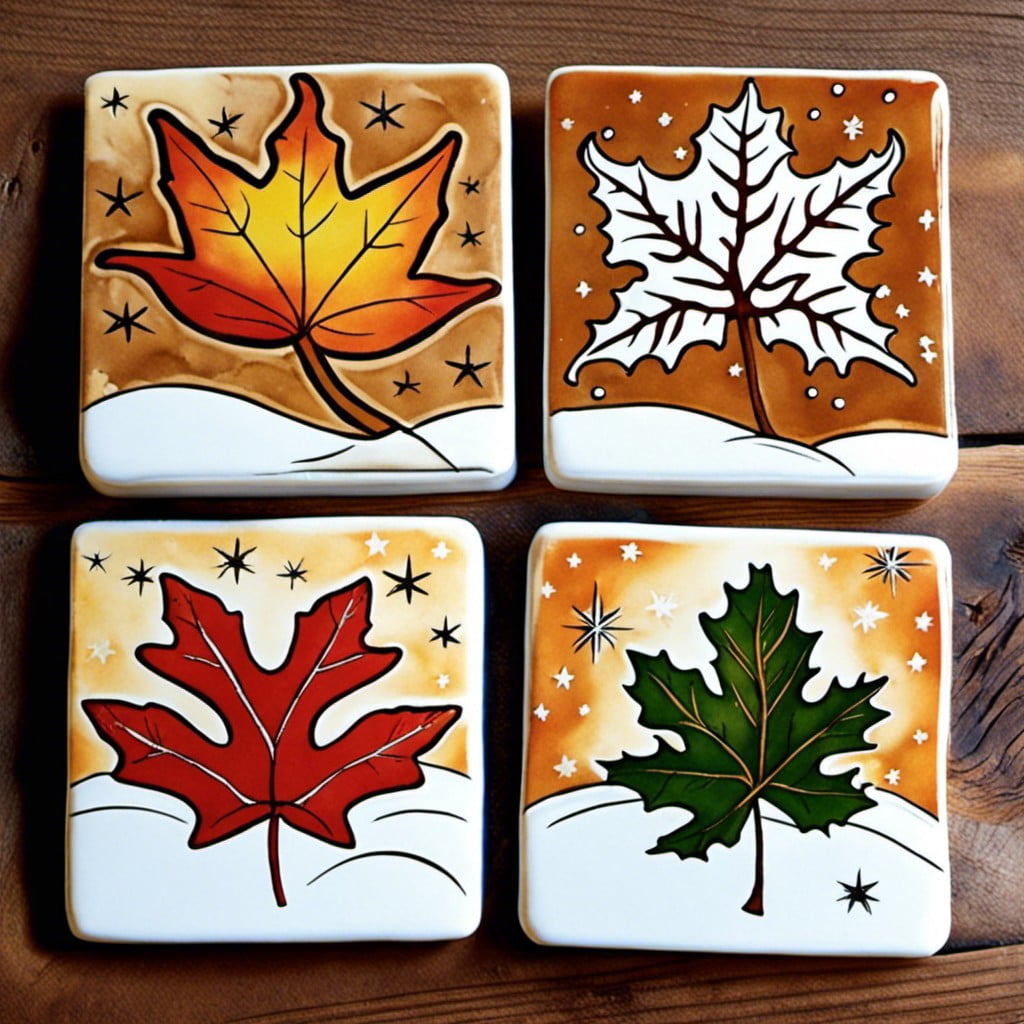
Exploring different seasonal themes can be a fun and refreshing approach to your stamped tile coaster designs.
1. Spring: Blossoming flowers, budding trees, or lively butterflies can be ideal representations. Soft pastel colors – pinks, greens, and yellows – could emphasize the fresh, lively aspects of spring.
2. Summer: Symbols like the blazing sun, tropical fruits, or beach scenes capture the vibrant energy of summer. Bright, bold colors, such as orange, bright yellow, or deep blues, can portray the season’s sultriness.
3. Autumn: Falling leaves, pumpkins, or rustic country scenes characterize the autumn season. Utilize orange, brown, dark green, or even burgundy colors to evoke an autumnal atmosphere.
4. Winter: Incorporate images like snowflakes, fir trees, or snow-covered houses for a winter theme. White, blue, silver, and some hints of red and green could give a chilly yet cozy feel on your coasters.
By focusing on seasonal themes, you can ensure that your coaster designs stay fresh and interesting throughout the year.
“Unique Stamping Technique: Watercolor Effect On Tile Coasters”
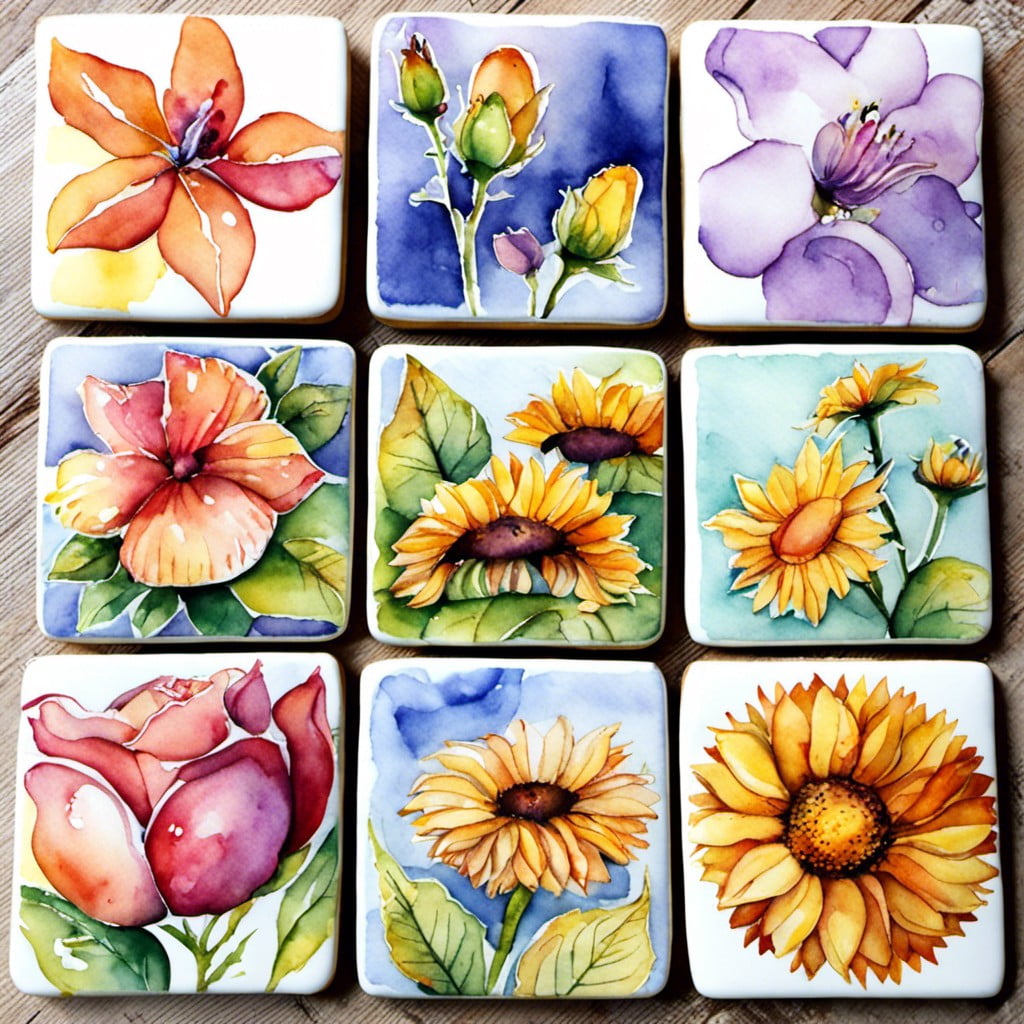
Creating a watercolor effect on your tile coasters through unique stamping techniques can elevate their visual appeal phenomenally. Here are the steps to get that captivating effect:
1. Start by selecting a few complementary colors of water-soluble stamp pads.
2. Dab your chosen stamp lightly onto each color, taking care not to mix them on the pad.
3. Press the stamp down onto the tile gently but firmly; a quick stamp provides a sharper image, while a longer press lets the colors flow and blend, creating a watercolor appearance.
4. Let your tile dry naturally; forcing it with a hairdryer might disrupt that beautiful, fluid look.
5. After it’s dry, apply a waterproof sealant to preserve the design and offer a gentle gloss finish.
Remember, practice makes perfect. Don’t be afraid to experiment on a few spare tiles until you are comfortable with the technique. And most importantly, let your individuality shine through your designs. It’s not just about creating coasters; it’s about expressing your artistic flair.
“Preserving the Design: How to Seal Your Stamped Tile Coasters”
Once your perfectly crafted coaster design is dry, sealing is a crucial step to keep it protected and enduring.
1. Clear Acrylic Finish: Aerosol sealants, like clear acrylic finish, are popular for their ease of use. Apply even coats to the tile, allowing it to dry between applications. It’s quick-drying and provides a sturdy, glossy finish.
2. Mod Podge: Apply a thin layer using a brush, ensuring that the design is covered entirely. Allow it to dry before adding additional coats. This sealer is available in both glossy and matte.
3. Water-Based Urethane: Water-resistant and durable, it’s the optimal choice for coasters that will be exposed to condensation. Ensure to cover the surface evenly and let it dry before handling your finished product.
4. Epoxy Resin: For a hard, glossy, glass-like finish, try an epoxy resin. Working with epoxy can be a bit trickier, so be sure to follow manufacturer guidelines for the best results.
5. Heat Setting: If using ink that works with heat setting, the design could be made permanent by baking in your home oven. However, this isn’t suitable for all stamps, so be sure to check ink details before opting for this method.
6. General Tips: Always work in a well-ventilated area when using sealants. Make sure the stamped design is thoroughly dry before starting to seal. Allowing each layer of sealant to dry fully before adding the next will maximize protection.
Remember, a well-sealed coaster will keep designs vibrant and fresh for longer, surviving both hot mugs and cold beverages alike.
“Workshop Ideas: Crafting Stamped Tile Coasters With Kids”
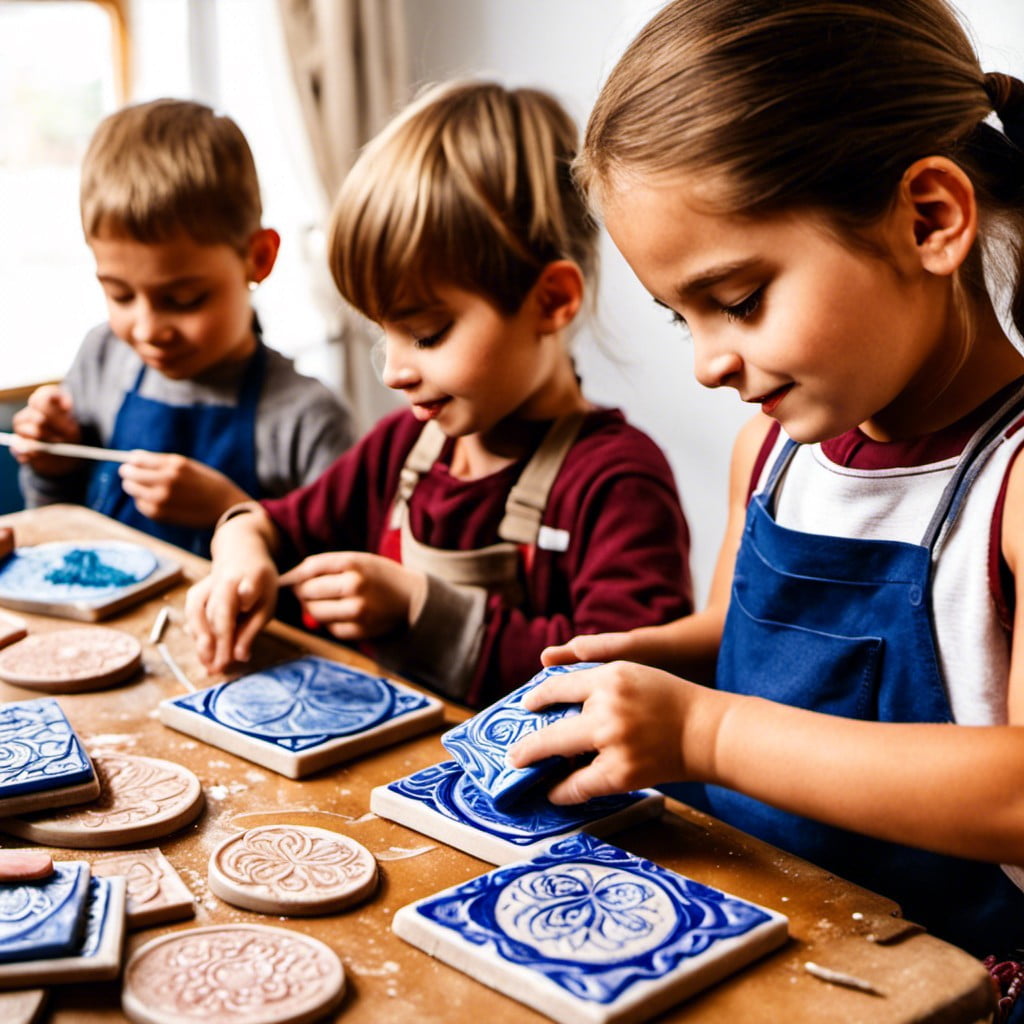
Organizing crafting sessions with children can be a delightful activity that fosters creativity, focus, and fun. Here are a few kid-friendly pointers to ensure a successful workshop:
- Start with Simple Designs: If the children are younger, encourage them to start with basic patterns like hearts, stars, or their initials.
- Use Safe Materials: Opt for non-toxic, water-based ink pads and child-friendly stamp designs. Avoid sharp-edged tools.
- Pre-stamp the Tiles: For very young participants, pre-stamp the tiles and let them fill in the colors.
- Hands-on Help: For their first few attempts, children might need assistance in pressing the stamp evenly onto the tile, ensuring clear and vibrant design imprints.
- Cleaning Up: Teach the children how to clean the stamps after usage, promoting good crafting habits.
- Drying and Sealing: Explain the importance of letting the ink dry properly before sealing the tiles, narrate this process as waiting for a cake to bake! Another opportunity to learn patience.
- Apply Control: Monitor the number of coasters each child tackles, to give everyone equal turns and also to ensure that the kids do not feel overwhelmed.
- Craft Presentation: Lastly, demonstrate how to present completed coasters, perhaps tied with a ribbon or in a cute box. These could be great handmade presents for parents or grandparents.
“Stamped Tile Coasters: A Great Gift Idea”
Choosing to gift these specially crafted items adds a personal touch that store-bought presents often lack. Personalization provides an opportunity to display thoughtfulness and effort, making the receiver feel appreciated.
From birthdays to housewarming parties, these unique coasters serve as ideal gifts for various occasions.
Here are a few quick points to keep in mind:
- 1. Personalize with Initials or Special Dates: Marking the coaster with the receiver’s initials or a significant date makes an ordinary item an extraordinary keepsake.
- 2. Tailor the Design to the Receiver: Muse over the person’s interests when deciding the design. A nature lover might appreciate a leaf print, while a music enthusiast may prefer musical notes.
- 3. Craft Sets with a Theme: Creating a set of coasters that together contribute to a theme not only offers practicality but also a charming novelty.
- 4. Add a Handwritten Card: A short, heartfelt note accompanying your handmade gift can add a special touch and convey your warm wishes.
Remember, the most valuable aspect of such a present is the thought and care that went into making it. The receiver is sure to appreciate this earnest effort.
“Inspirational Quotes On Stamped Tile Coasters”
There’s undeniable charm in having words of wisdom under your cup, isn’t there? Think of your favorites, or perhaps you’d prefer something witty for a laugh? Consider the ambiance of your space when choosing these sentiments.
1. “Seize the Day” – Classic and motivational. Best for a morning tea.
2. “Life Happens, Coffee Helps” – Ideal for all the caffeine lovers out there.
3. “Eat, Drink and Be Merry” – Suitably festive for a dinner party or holiday gathering.
The possibilities are endless. Browse through books, songs, or online for inspiration. Keep in mind that brevity ensures your quote fits neatly, and clarity must be maintained once shrunk to coaster size. Don’t forget readability – contrast is your friend here. A black stamp on white tile or gold on black for that extra sparkle. Using a script or calligraphy-style stamp can add a touch of elegance to your project.
“Recipe-Themed Stamped Tile Coasters”
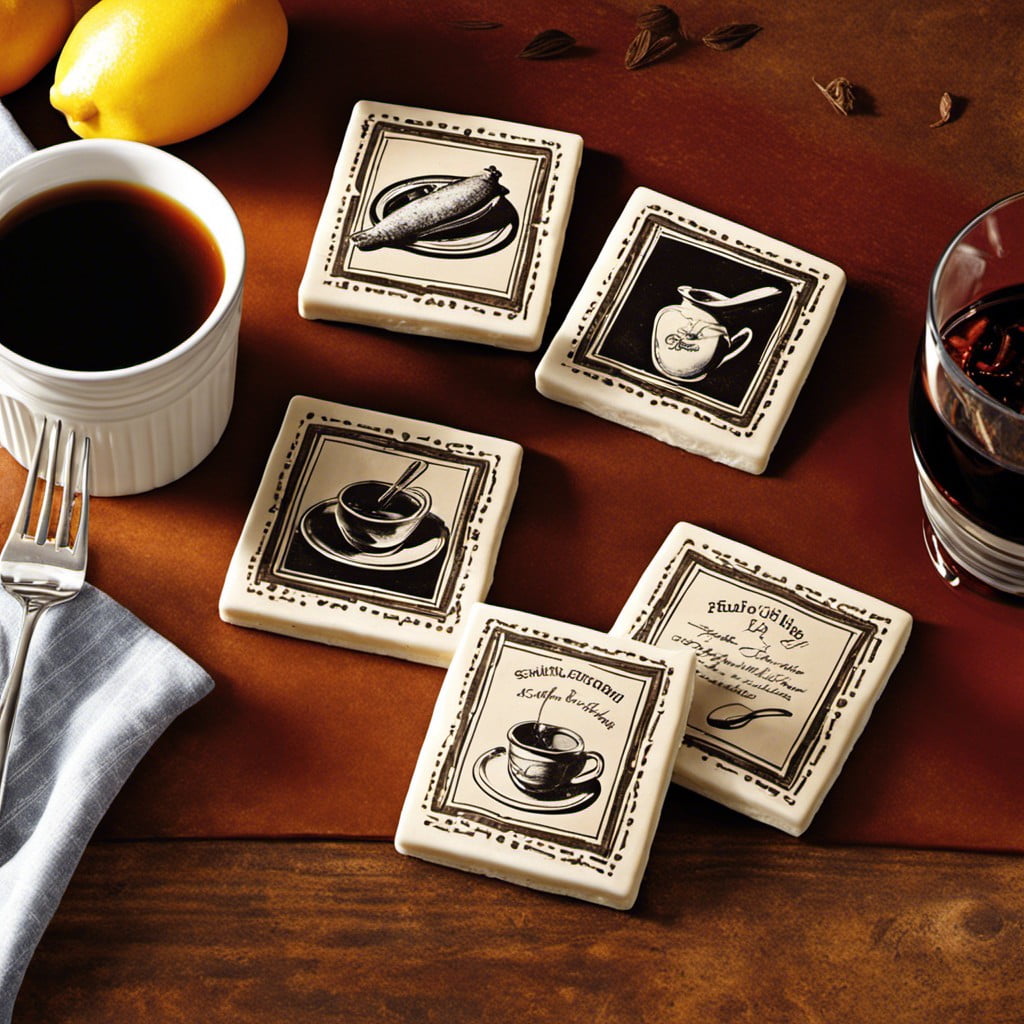
Adding a personal touch to your coasters helps them stand out. A fun, unique option is to showcase favourite recipes. Use actual text from a cherished recipe as a stamp or commission custom stamps featuring recipe illustrations. You could select classic recipes like Chocolate Chip Cookies or Grandma’s Favourite Apple Pie. Perhaps a cocktail recipe for a cosmopolitan or old-fashioned might strike your fancy!
For those who enjoy a more visual approach, illustrative stamps showing the ingredients and steps can be considered. Picture a line of cookies cooling on a rack, or the elements of your best-loved cocktail assembled in order.
Whichever route you choose, ensure your ink is waterproof to avoid smudges and spills. Always seal your design properly for longevity.
Adding this culinary flair to your coasters not only represents your love for cooking but also doubles up as a great conversation starter. You may even find guests leaving with a new recipe to try out themselves!
“Monogram Ideas for Stamped Tile Coasters”
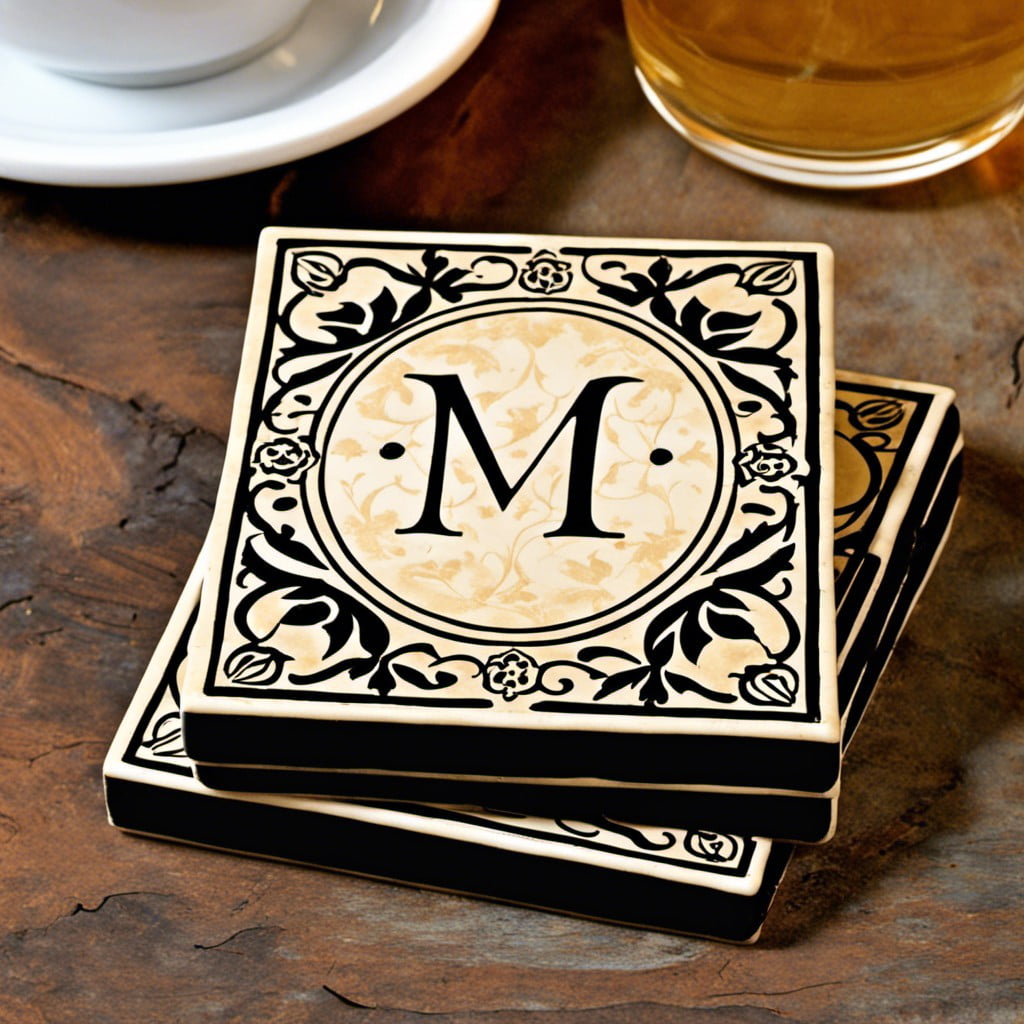
To achieve a personalized touch for your coasters, considering monogram stamps is an excellent idea. You can opt for single-letter monograms for simplicity. They are not only classic but resonate well with both minimalist and extravagant décor themes.
Dual-letter monograms, representing first and last name initials, are also popular and make the coasters great for gifting.
When choosing a font for your monogram, readability is key. A sharp contrast between the font color and the tile color ensures that the monogram is legible. Decorative fonts or scripts add an elegant touch, especially for formal settings. For a modern or casual look, consider block letters or sans-serif fonts.
It is also possible to surround your monogram with a decorative stamp. A simple circle or square border often works well. Alternatively, natural motifs, such as vines or leaves, add a touch of fluidity and visual interest to the design. A dash of creativity in arranging these elements will definitely lead to diverse aesthetically pleasing monogram coasters.
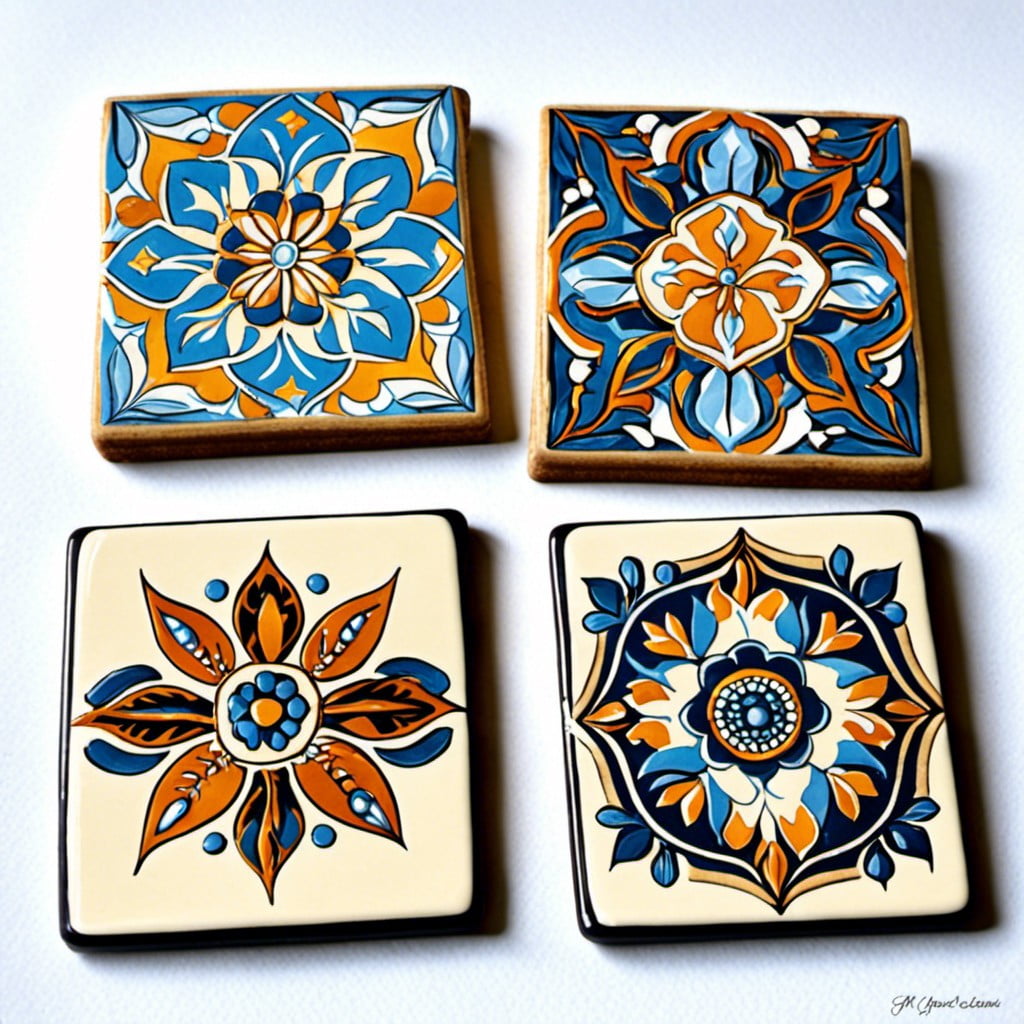
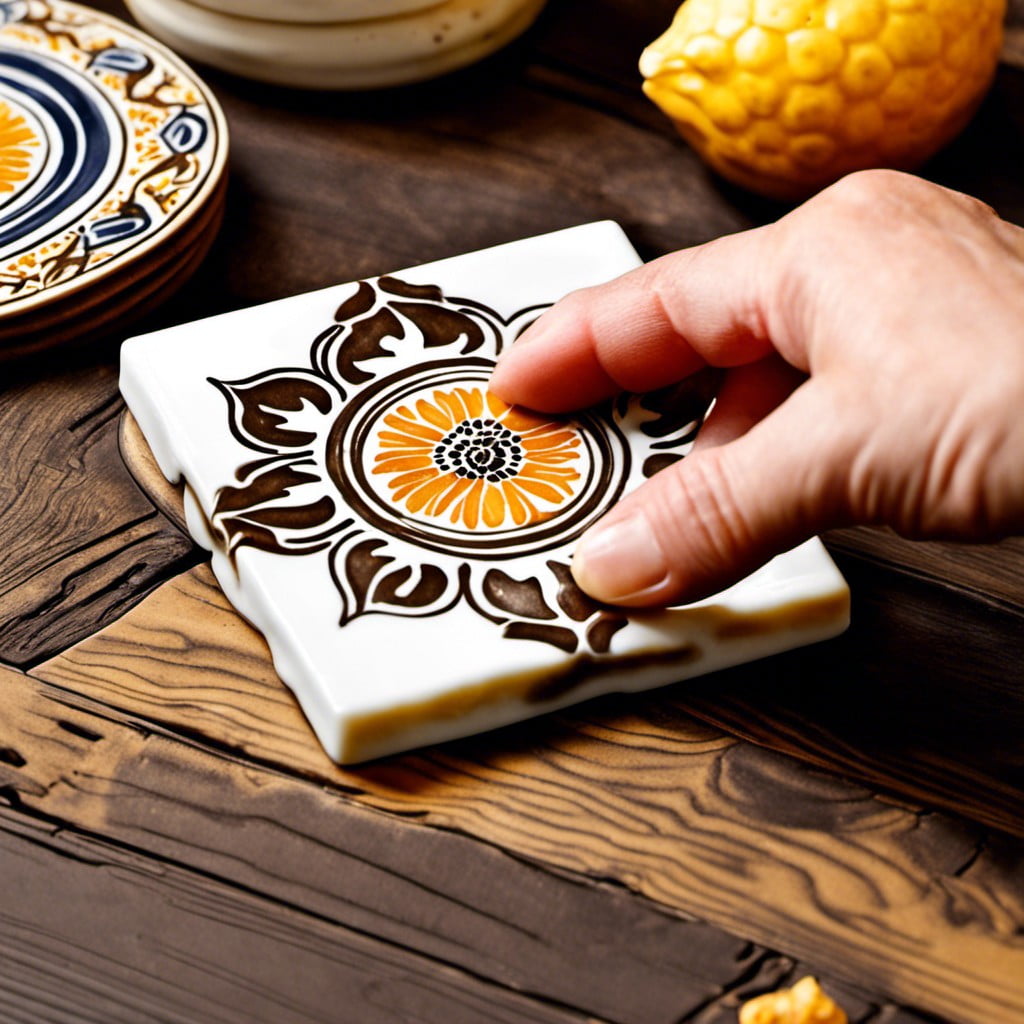
“Intricate Mandala Designs On Stamped Tile Coasters”
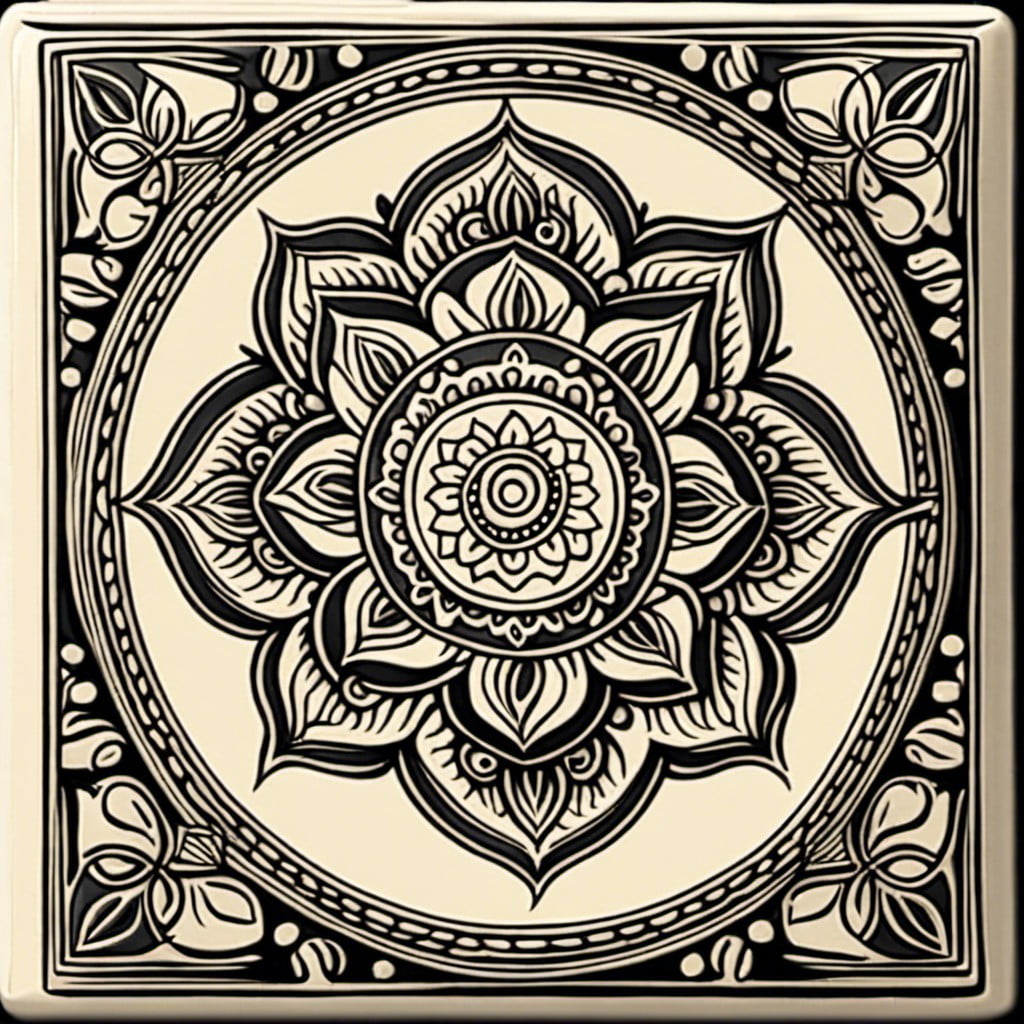
To create intricate mandala designs on your tile coasters, begin with a rough draft on paper to note down your idea. Ensure symmetry and balance in your pattern as mandalas are often seen as a representation of the universe. Select harmonious, complementary shades for visual impact.
Start from the center of the tile, stamping circularly outwards following the drafted pattern. Use a finer detailed stamp for the smaller, more elaborate parts of the mandala. Remember, perfection is not the key, but rather the creativity and emotion infused into each radial balance of the design.
Heat set or allow the stamped ink to dry completely before sealing it. Use a clear, non-yellowing and heat-resistant sealant to protect your mandala design. The end result is a stunningly intricate, individually handcrafted tile coaster that showcases both your artistry and personal style.
Ideas Elsewhere
- https://www.scatteredthoughtsofacraftymom.com/gift-idea-stamped-tile-coasters/
- https://www.splitcoaststampers.com/forums/general-stamping-talk-17/how-do-i-501082/
- https://www.splitcoaststampers.com/forums/general-stamping-talk-17/stamping-coasters-39558/
- https://anartfulmom.com/stamped-tumbled-tile-coasters/
- https://thegirlinspired.com/stamped-tile-coasters-diy/
- https://jenniferrizzo.com/hand-stamped-tile-coasters/
Liked reading this? Here’s more:
Recap: