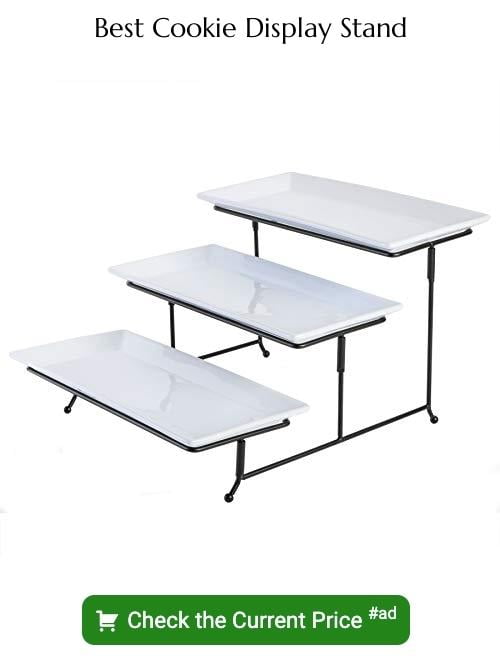
Last updated on
Explore these creative cookie display ideas because a well-presented cookie not only tempts the taste buds but also delights the eyes!
Cookie Display Ideas for a Children’s Party
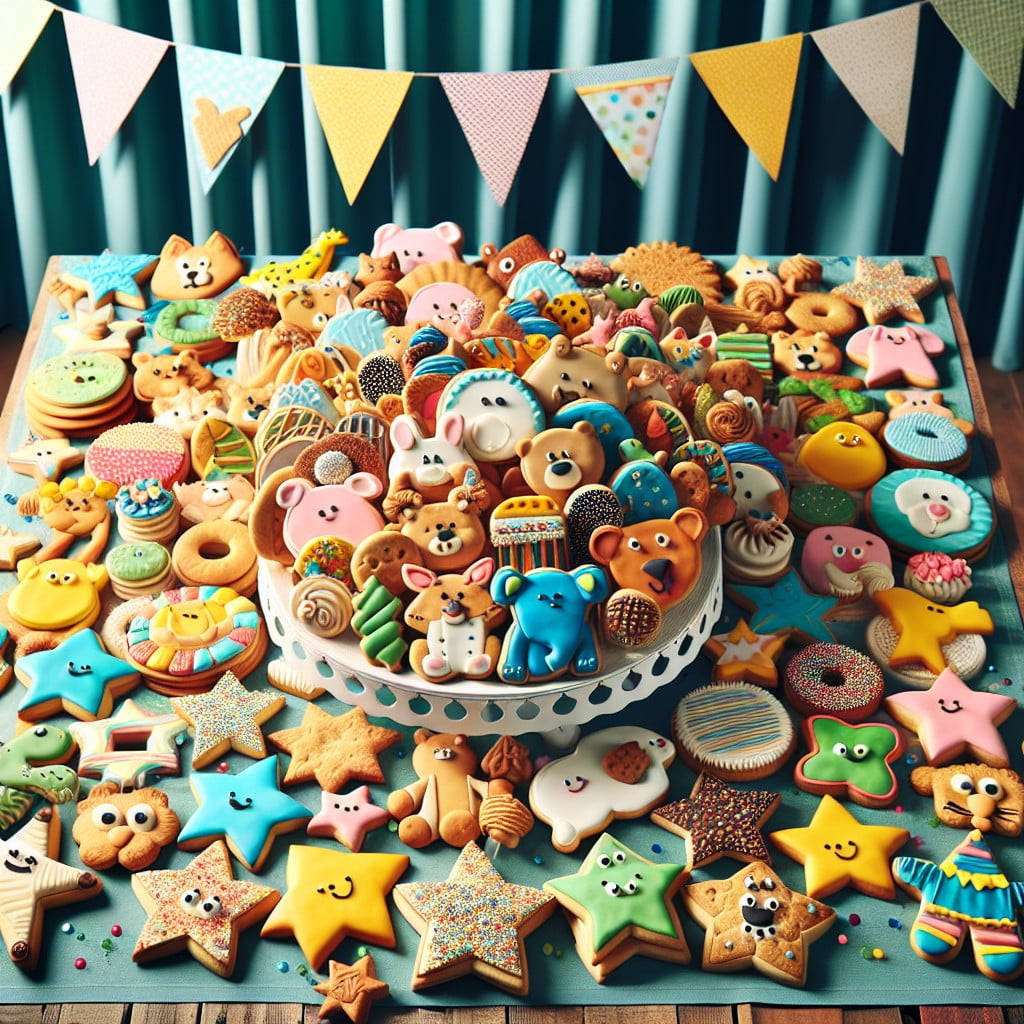
Transform the cookies into a playful centerpiece by organizing them on a multi-tiered stand, mirroring a carousel, to captivate the young guests.
Incorporate their favorite characters by using themed cookie cutters and coordinate the icing colors with the party’s palette for a cohesive look.
Keep treats within reach by spreading them on low platters, allowing little hands easy access.
For an interactive experience, set up a decorate-your-own-cookie station with various sprinkles and edible decorations, sparking both creativity and excitement.
Ensure that cookies are displayed at different heights to create visual interest and make the table look abundant and festive.
Displaying Cookies in Glass Domes
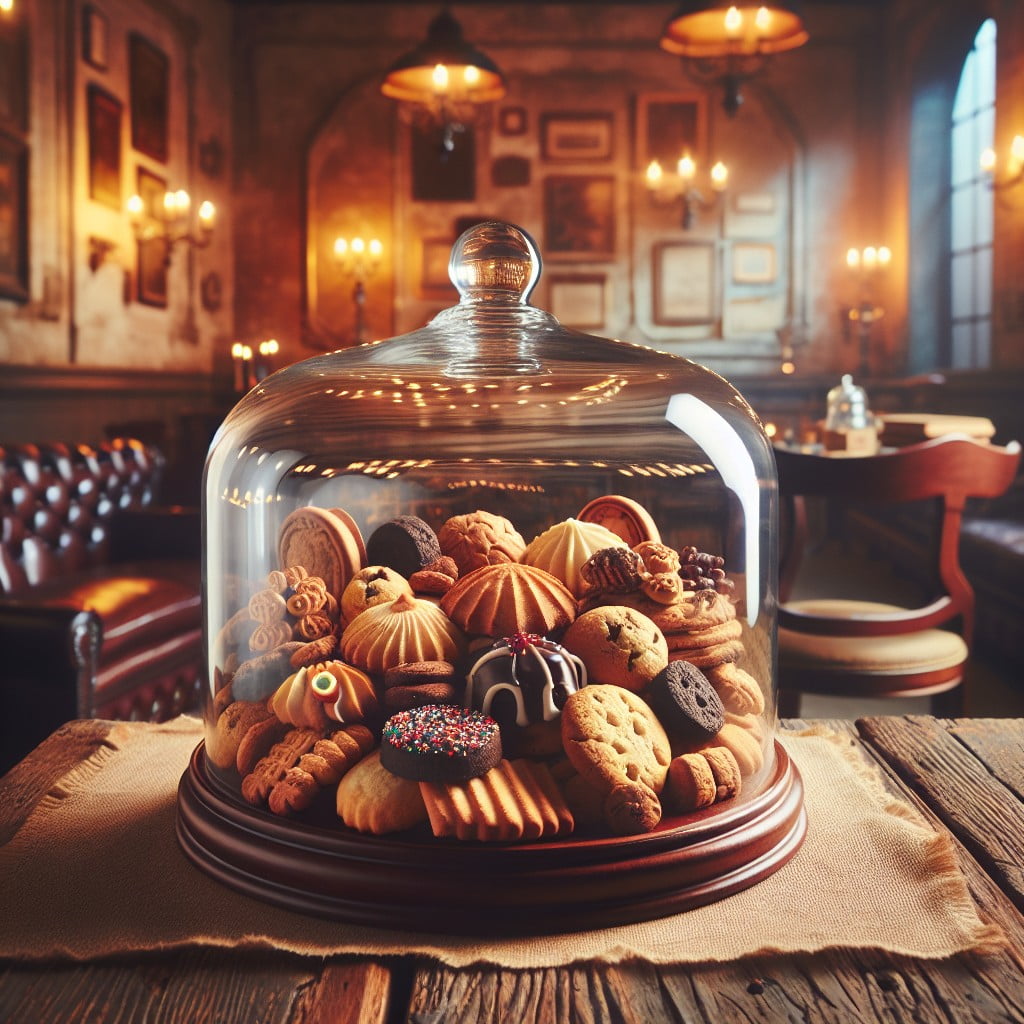
Glass domes serve not only as protective covers but also add elegance to your cookie presentation. By creating a visible boundary, they focus attention on the confections beneath, turning ordinary cookies into eye-catching displays.
Here are some ideas to consider:
- Size Variation: Utilize a mix of different-sized domes to create a dynamic display. Place larger cookies under bigger domes and smaller ones beneath petite covers.
- Thematic Backdrops: Line the base of each dome with thematic elements, such as colored paper or fabric, to complement the cookie design. For example, a red velvet liner can enhance the appeal of Christmas cookies.
- Layering Technique: Within the dome, you can layer cookies using cake stands or tiered servers to add depth and make effective use of the vertical space. Arrange in a cascading style for visual impact.
- Personalization: For added charm, tie a ribbon around the dome’s handle or base that matches the event’s colors or theme. Consider attaching a label or a tag with the cookie type or a personalized message.
- Careful Placement: Select a central, well-lit location for the glass-domed cookies to become a focal point. Ensure the dome is placed on a stable surface to avoid accidents.
By keeping these points in mind, your glass dome cookie display will not only protect the treats but also transform them into a centerpiece worth admiring.
Displaying Cookies On Christmas Tree Shaped Stands
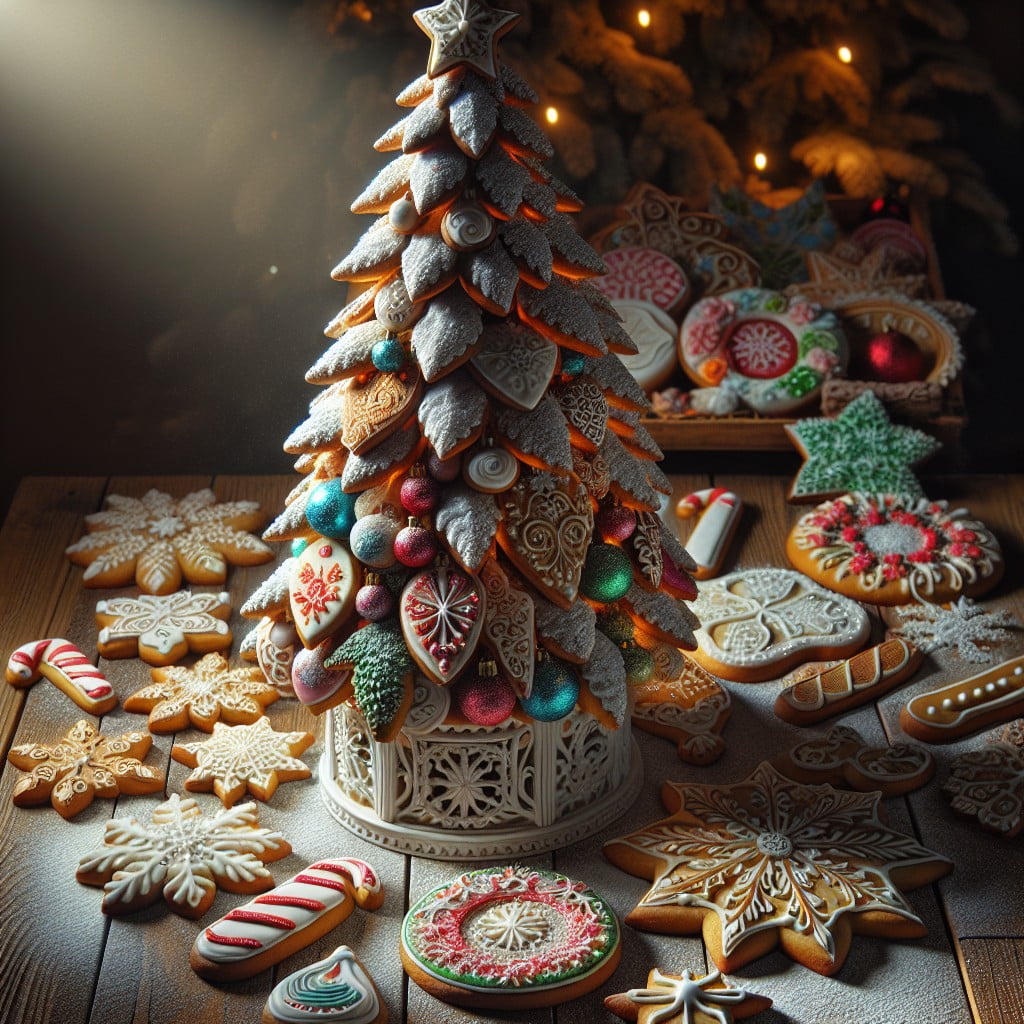
Transform your holiday dessert table into a winter wonderland by using Christmas tree-shaped stands as the focal point for your cookie presentation. These tiered stands offer a fun, festive way to showcase a variety of cookies while maximizing table space. Imagine gingerbread stars, snowflake sugar cookies, and green-red sprinkled butter cookies hugging each tier, creating a delightful and edible Christmas tree.
For a cohesive look, consider arranging the cookies by size, placing the larger cookies on the bottom tiers and topping off the stand with the smaller treats. Not only does this support stability, but it also mirrors the natural shape of a tree. Incorporate a dusting of powdered sugar to mimic a fresh snowfall or edible glitter for a touch of sparkle.
Remember, the creativity doesn’t stop at cookie selection; enhance your display by weaving strands of cranberries or fairy lights between the tiers. This charming approach to presenting your baked goods is bound to draw guests and add a twinkling, cozy touch to your holiday gathering.
Stacking Cookies in a Spiral Tower Display
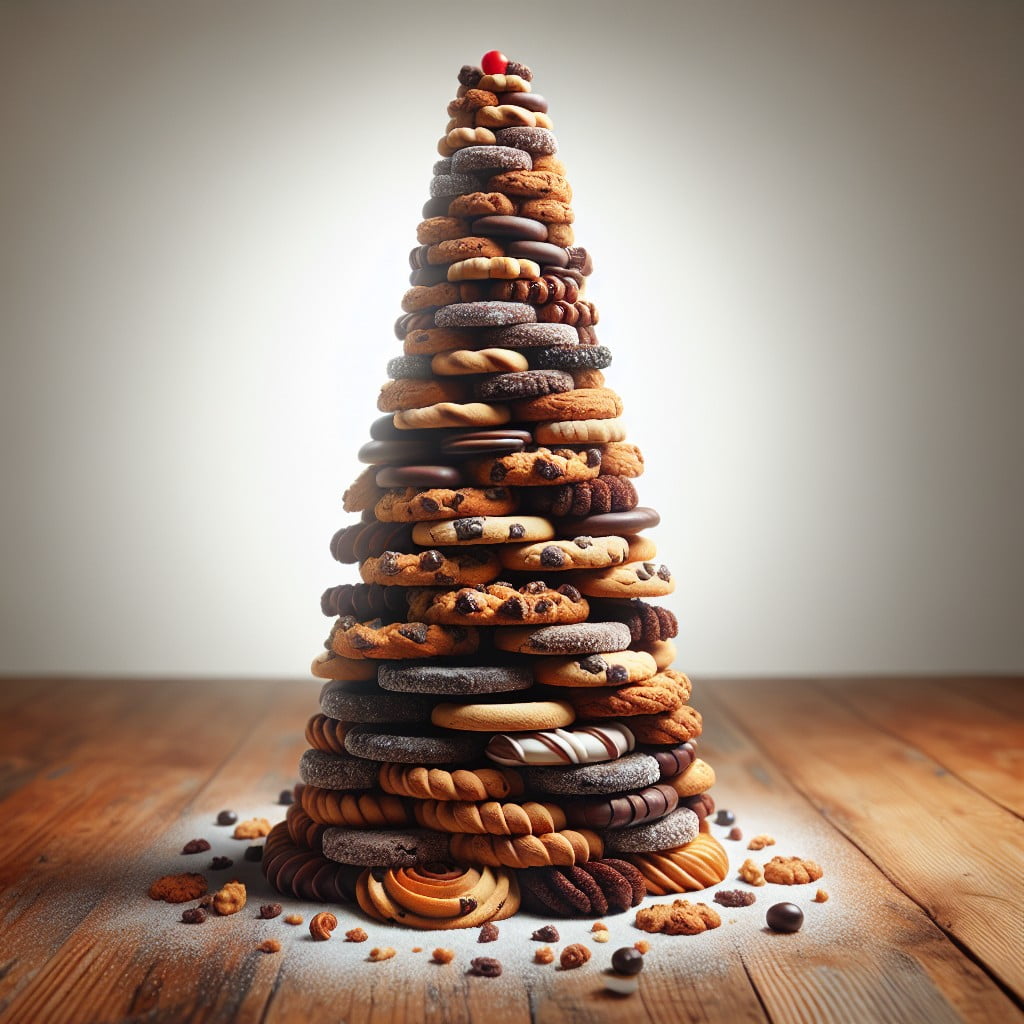
Creating a visually striking centerpiece for your event can be easily achieved with a spiral tower display. To construct this elegant presentation:
- Choose cookies with a consistent size and shape for uniformity.
- Begin with a sturdy base; a round cake stand can serve as a reliable foundation.
- Stack cookies at a slight angle in a circular pattern around the edge of the stand, gradually working upwards.
- Ensure each cookie overlaps the one below it to create the spiral effect.
- Continue stacking until you reach the desired height, with the option to top the display with a special cookie or decorative element.
- Use a dab of icing between cookies if additional stability is needed.
- This method maximizes space and showcases the cookies from all angles, making it easy for guests to admire and select their desired treat.
How to Decorate a Cookie Booth for a Bake Sale
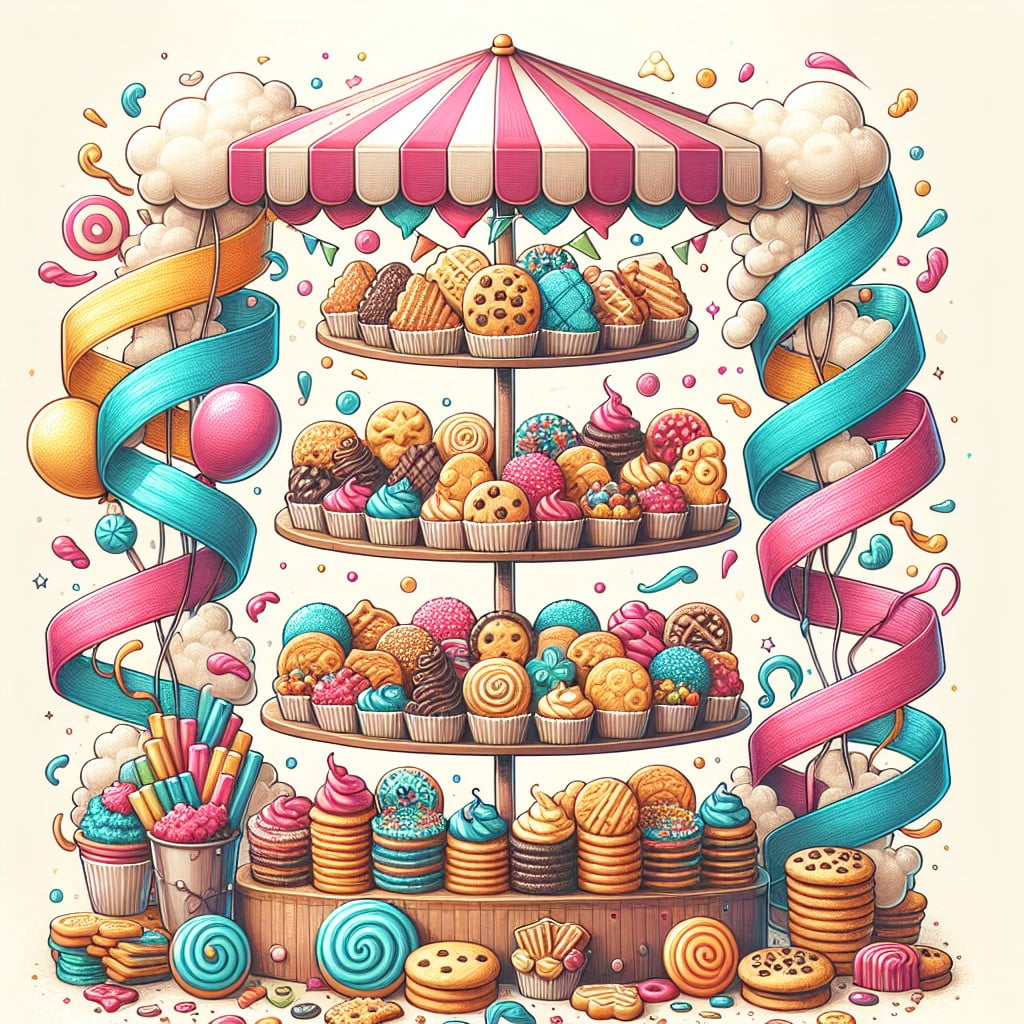
Achieving an attractive and inviting cookie booth at a bake sale is essential to draw attention and entice customers. Begin by selecting a color scheme that complements your cookies, creating a cohesive visual appeal. A well-chosen tablecloth can serve as the base of your display. Consider adding a banner or signage with eye-catching fonts to highlight the name of your booth or to advertise your baked goods.
Use tiered stands or stacked boxes to create varying heights, which make your cookies more visible and accessible. This not only adds dimension to your display but also allows for a more organized presentation of different cookie varieties. Incorporate price tags that match your theme and are easily readable to streamline the purchasing process for buyers.
Interactive elements, like free samples on a separate platter, can engage customers and encourage them to try before they buy. Be sure to maintain a clean and tidy space, regularly sweeping away crumbs and replacing any sold-out items to keep your booth looking abundant and fresh.
Finally, personal touches, such as twine or ribbon-tied packaging and handwritten labels, can add charm to your cookie booth, making your treats irresistible to bake sale patrons.
Cookie Display Ideas for a Baby Shower
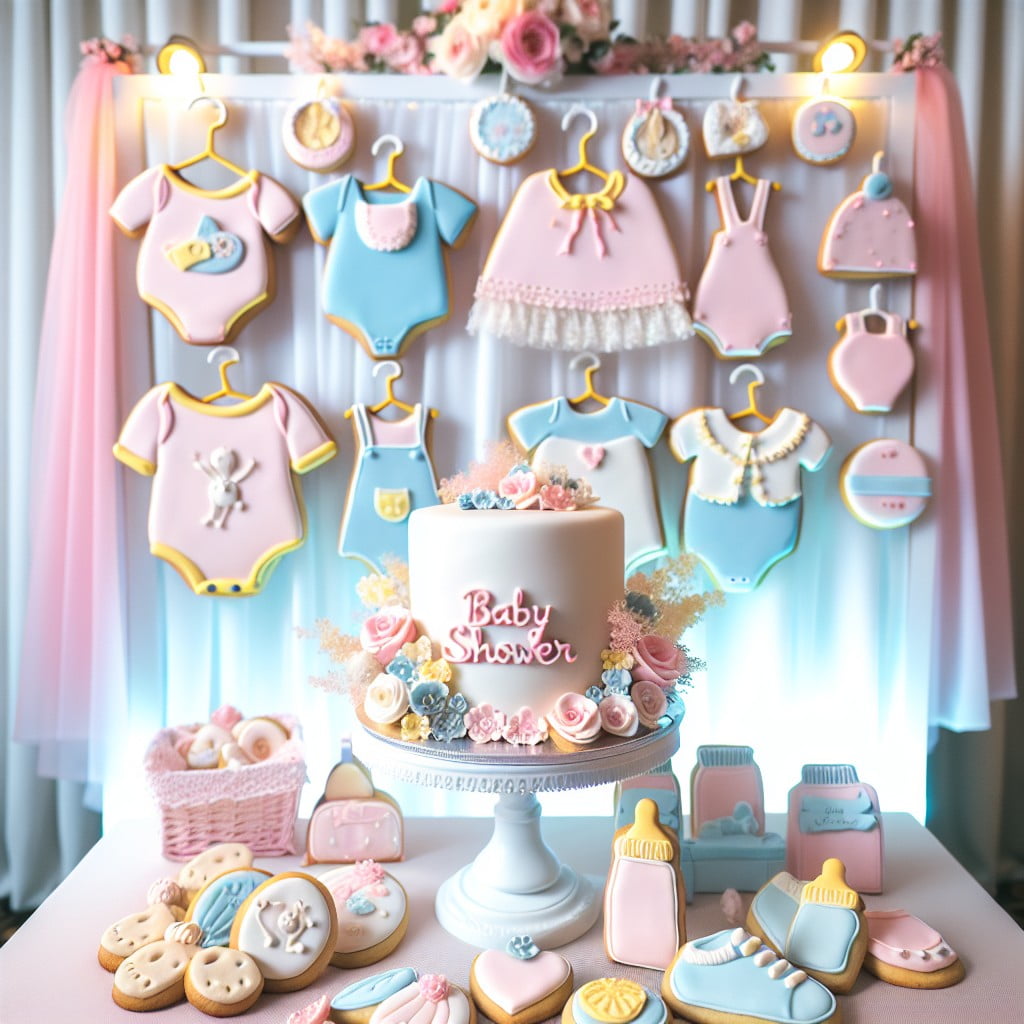
Expectant creativity flourishes when cookies double as both treats and decor at a baby shower. To marry form with function, consider pastel-colored macarons arranged in the shape of a baby rattle, each delicate cookie contributing to the larger picture when viewed from afar.
Alternatively, cookies iced to mimic baby items such as onesies, booties, and bibs can be presented in a tiered fashion, each level a canvas for these edible art pieces.
For a touch of whimsy, use clear baby bottles as cookie holders, their transparency showcasing the goodies inside. Cookies held upright in custom stands also offer guests easy access and an appealing visual; plus, they can double as adorable take-home favors.
A dessert table centerpiece might feature a bouquet of cookie pops, frosting-decked and sprinkled, poking out of a decorative vase. Personalized sugar cookies with guests’ names serve dual roles as placeholders and snacks, bridging the gap between utility and delight.
In the realm of practicality, ensuring cookies of different flavors and dietary options are labeled is key. Small signs help guests navigate the offerings with ease, making taste matching a breeze. It’s these thoughtful details that transform a simple cookie offering into a shower highlight, sparking joy and satiating sweet tooths.
Using Vintage Tins to Display Cookies
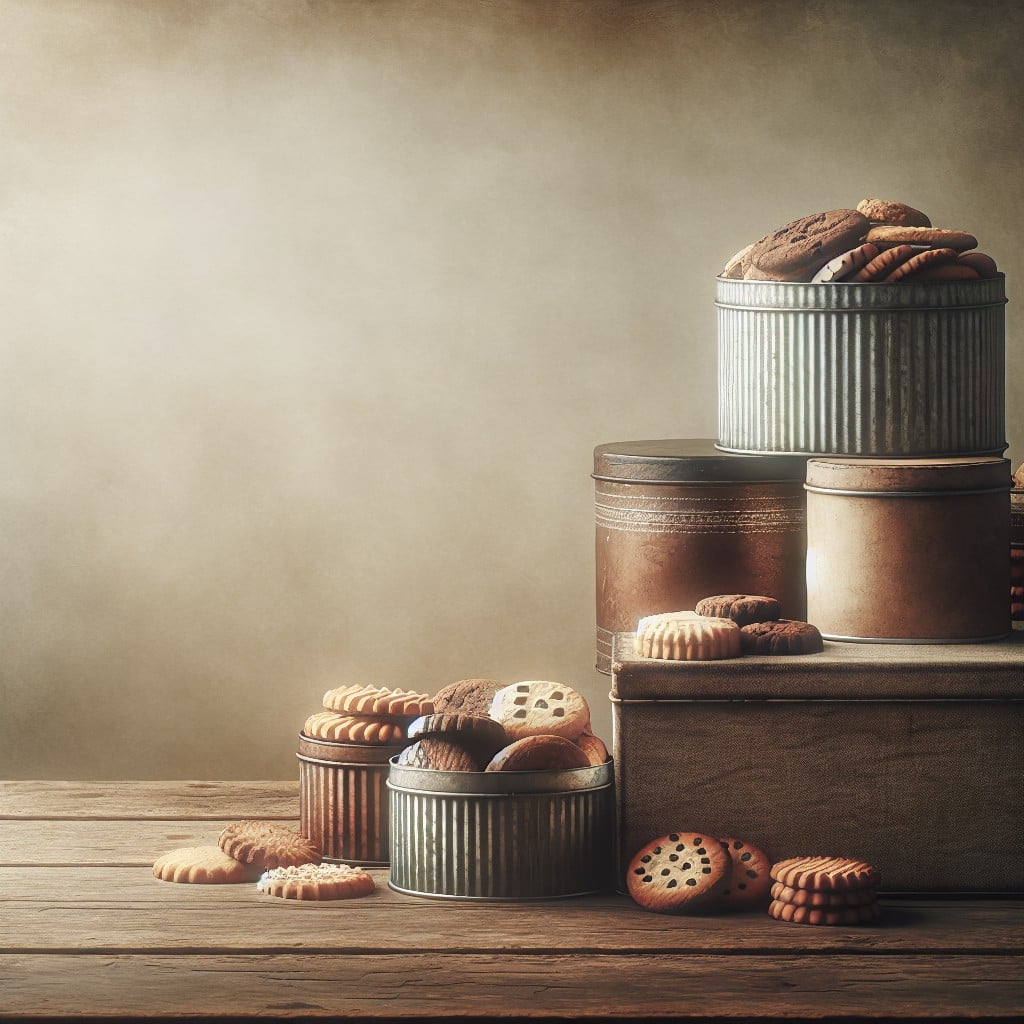
Transform quaint vintage tins into charming showcases for your baked treats. Start by selecting tins with colors and designs that complement the event’s theme.
Arrange them at varying heights to create dimension on the table. If possible, stack smaller tins atop larger ones or use books to elevate them for visual interest.
To ensure hygiene, line each tin with parchment paper or doilies before arranging your cookies inside. This also adds a decorative touch and makes it easier to pick up the cookies.
Mix and match shapes, sizes, and patterns of tins for a whimsical, eclectic look, or keep it uniform for a more classic feel.
For added nostalgia, consider using tins that hint at the cookie flavors within, such as vintage cocoa tins for chocolate chip cookies.
When guests reach for a cookie, they’ll not only enjoy the flavor but also the unique presentation that harks back to a bygone era.
Rustic Log Slice Cookie Displays
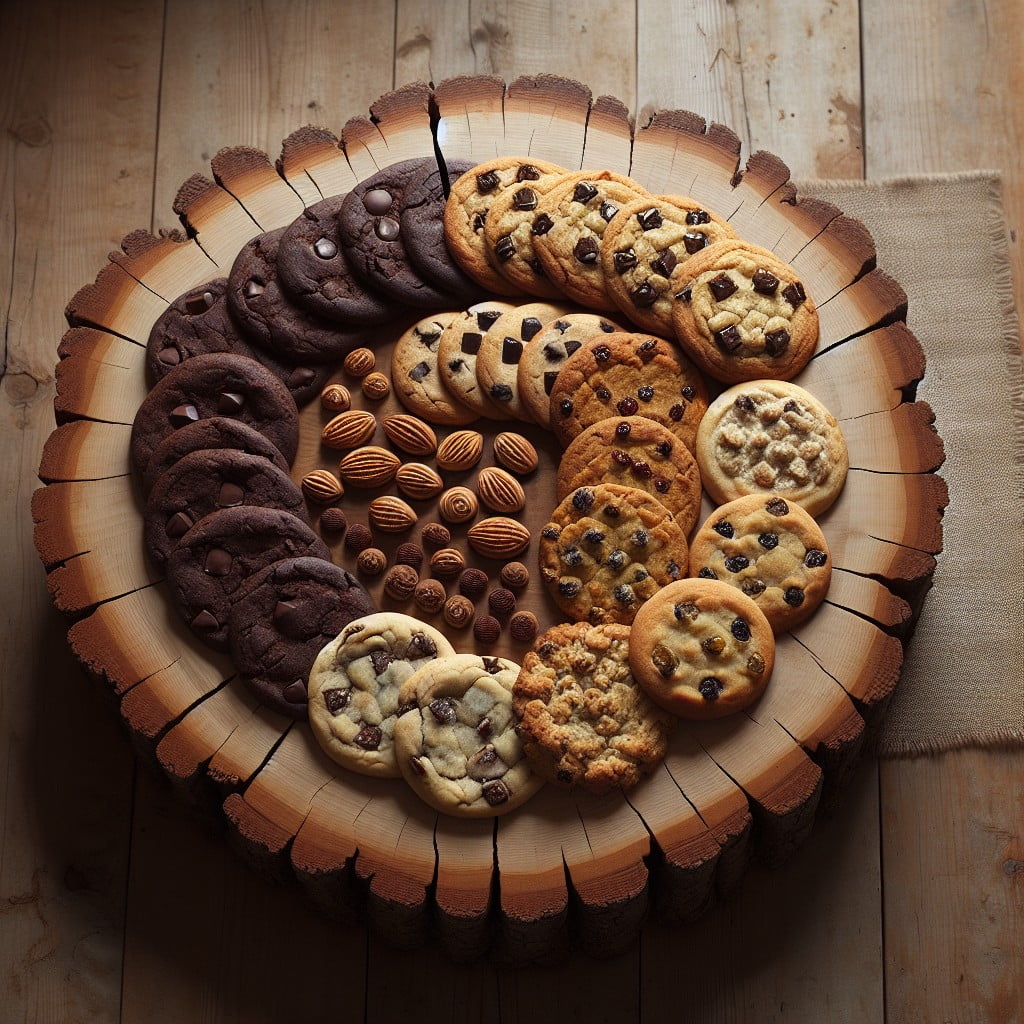
To create a charming and earthy setting for your cookies, consider using log slices as platforms for your treats. The natural wood rings and bark edges of log slices add a touch of rustic elegance and bring an outdoor, woodland vibe to your table setup.
Here are some tips to effectively use log slices in your display:
- Choose logs with flat surfaces: Ensure stability by selecting slices that lie flat on the table so that cookies can be arranged without wobbling.
- Vary the heights: Use multiple slices of different thicknesses or stack them to create a dynamic, multi-level display.
- Protect the wood: To prevent oils or cookie crumbs from seeping into the wood, place a clear food-safe sealant on the wood or use doilies or parchment paper under the cookies.
- Arrange cookies with care: Space cookies out evenly, and consider the arrangement—perhaps in a circular pattern that mimics the rings of the log for a harmonious look.
- Accent with greenery: To enhance the natural theme, tuck sprigs of greenery or flowers around the cookies, ensuring they are non-toxic and food-safe if they come in direct contact with the display.
The key is to let the simplicity of nature do the talking, allowing the cookies and the log’s natural beauty to coalesce into an inviting presentation.
How to Make a Cookie Wall Display
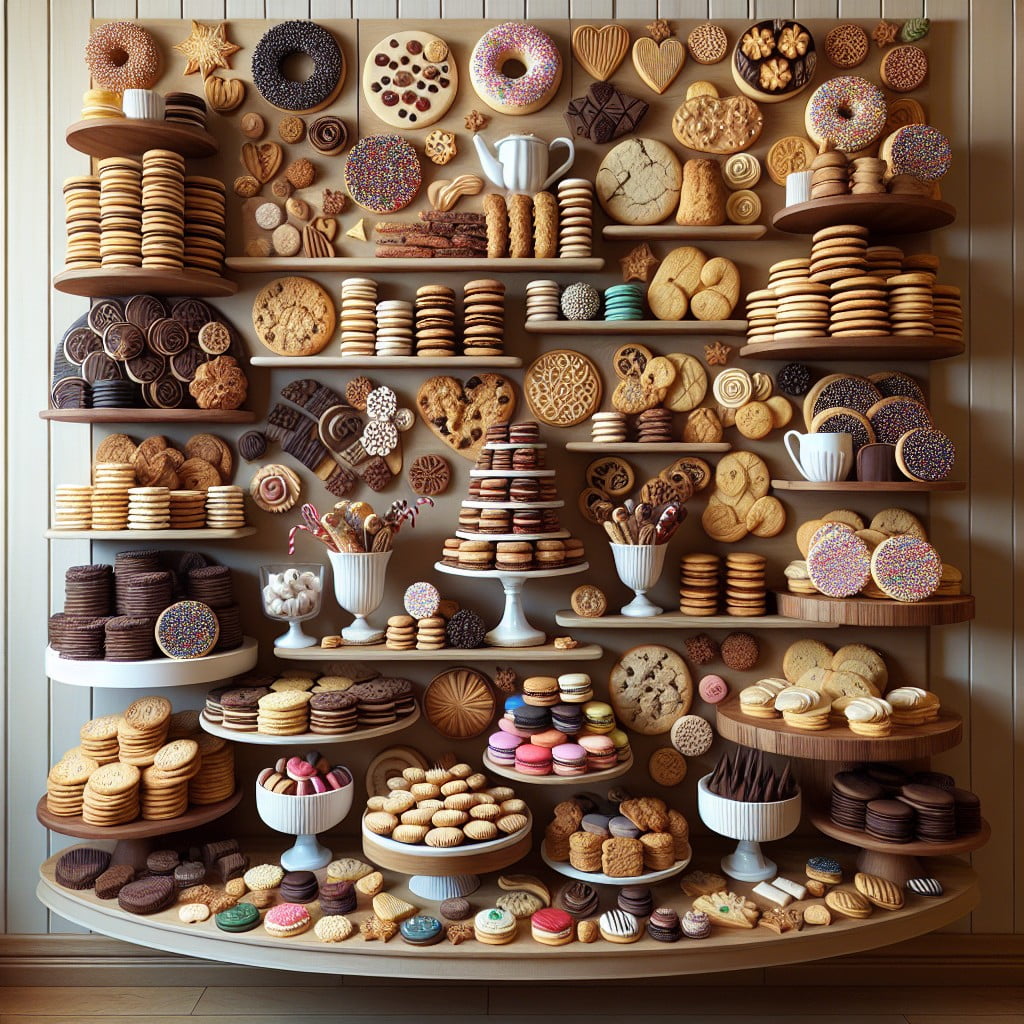
Creating a cookie wall involves a combination of culinary art and visual design. Begin by selecting a sturdy backdrop, such as a pegboard or wire grid panel, which allows you to attach cookies using hooks or clear fishing lines. Ensure that the board is clean and food-safe before beginning your display.
Choose cookies that have a hole in the center to hang them easily; think classic donut-shaped cookies or customize your own with a small hole before baking. If holes are not possible, use small clear bags to hang cookies by their corners.
Arrange cookies in a pattern or shape to match the theme of the event. You could spell out a name, create a heart, or simply design an ombre effect by using different shades of icing. Use ribbons or small, decorative clothespins to add extra flair to your display, ensuring they complement your event’s color scheme.
Remember to place your cookie wall at eye level for easy access and maximum impact. Provide small takeaway bags or boxes nearby, so guests can enjoy the cookies at their leisure. This interactive display not only serves as a focal point but also engages guests in an unforgettable sweet experience.
Edible Cookie Displays: Using Cookies to Make the Display
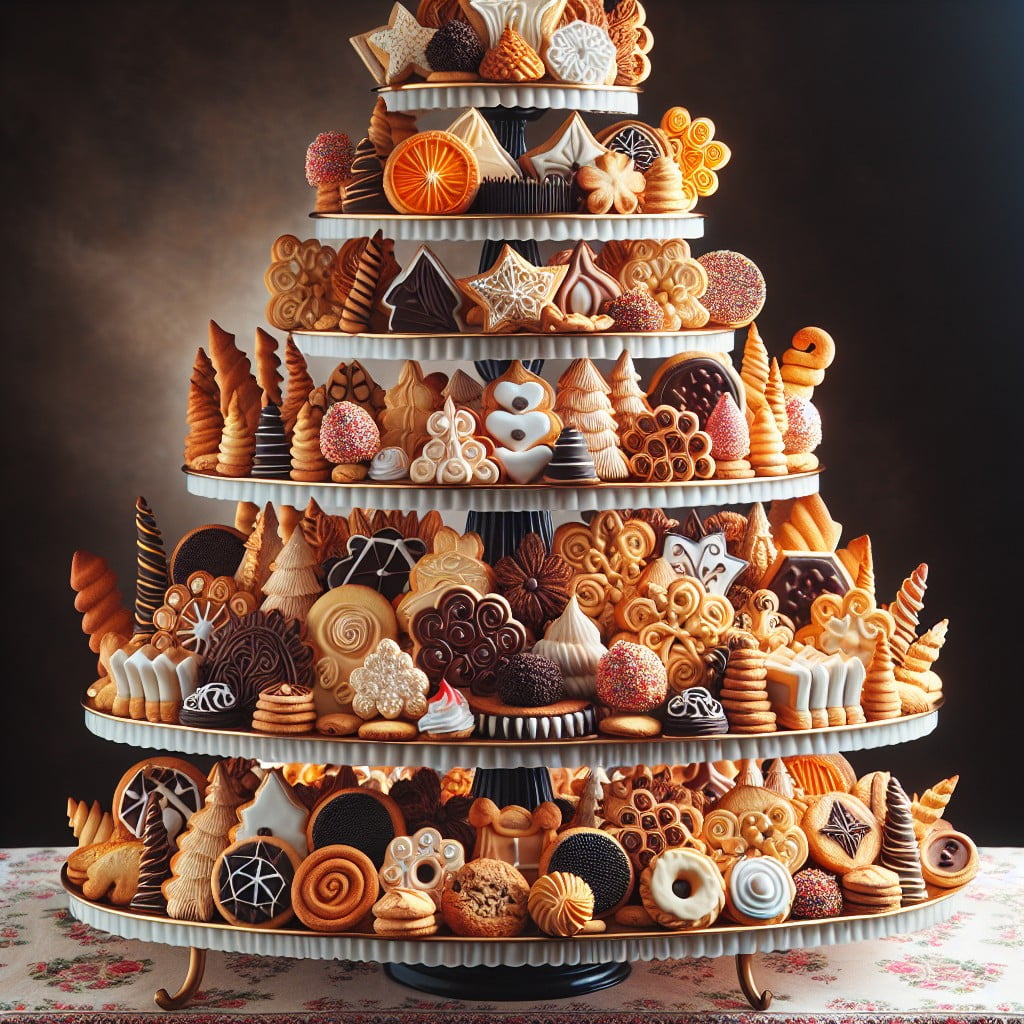
Transform your cookies into both the treat and the centerpiece by constructing the display out of the cookies themselves. Consider the following:
1. Create a cookie tower by stacking sturdy cookies like shortbread in a conical shape, mimicking a tiered cake.
2. Design a cookie puzzle where cookies interlock to form a larger image or shape, serving as an interactive centrepiece that invites guests to disassemble and enjoy.
3. Fashion a cookie bouquet by attaching cookie pops to sticks and arranging them in a vase, offering an eye-catching and edible floral stand-in.
4. Build a cookie box by gluing together cookies with royal icing to form a container, which can be filled with loose candies or smaller cookies.
These creative constructions not only enhance the visual appeal but also add a playful, interactive element to your event, allowing guests to admire and then dismantle the edible art. Always ensure that the structural cookies are of a denser variety to support the display, and use edible adhesives like melted chocolate or icing to secure the arrangement.
Cookie Display Ideas for a 4th of July Party
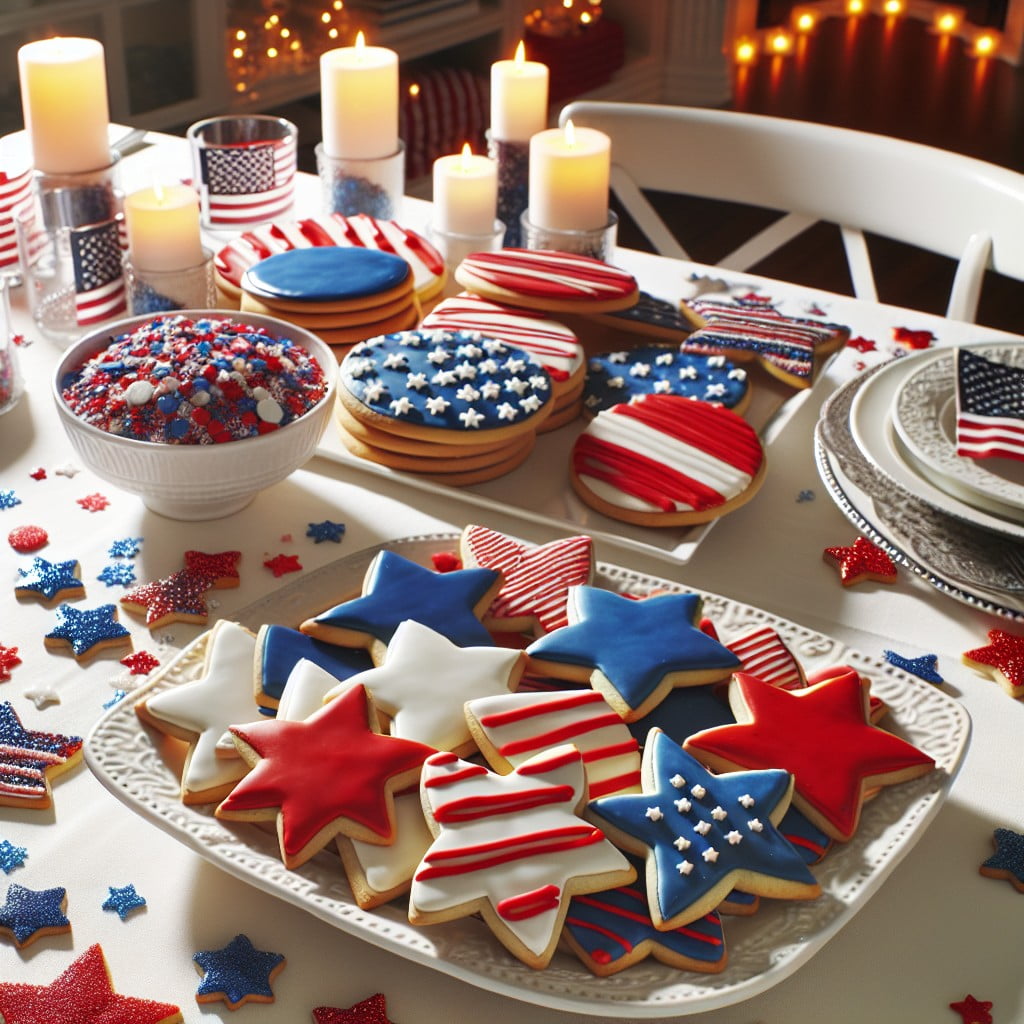
Celebrate Independence Day with a patriotic spread that’s as visually appealing as it is delicious. Opt for red, white, and blue cookie arrangements to pay homage to the American flag.
Use star-shaped cookies glazed in vibrant colors and displayed on a bed of navy blue or white linen to evoke the feeling of fireworks in the night sky.
Incorporate stripes by layering cookies in rows of red and white on trays, echoing the flag’s stripes.
To add a playful element, fill clear jars with alternately layered colored cookies, mimicking the look of sand art.
For an interactive twist, consider setting up a DIY cookie decorating station with icing, sprinkles, and toppings in patriotic colors, allowing guests to create their own edible masterpieces.
Anchor the display with a centerpiece of a large cookie cake iced like the flag or a replica of the Liberty Bell, ensuring the table is as festive as the fireworks that cap off the night.
A Whimsical Fairy Tale Cookie Display
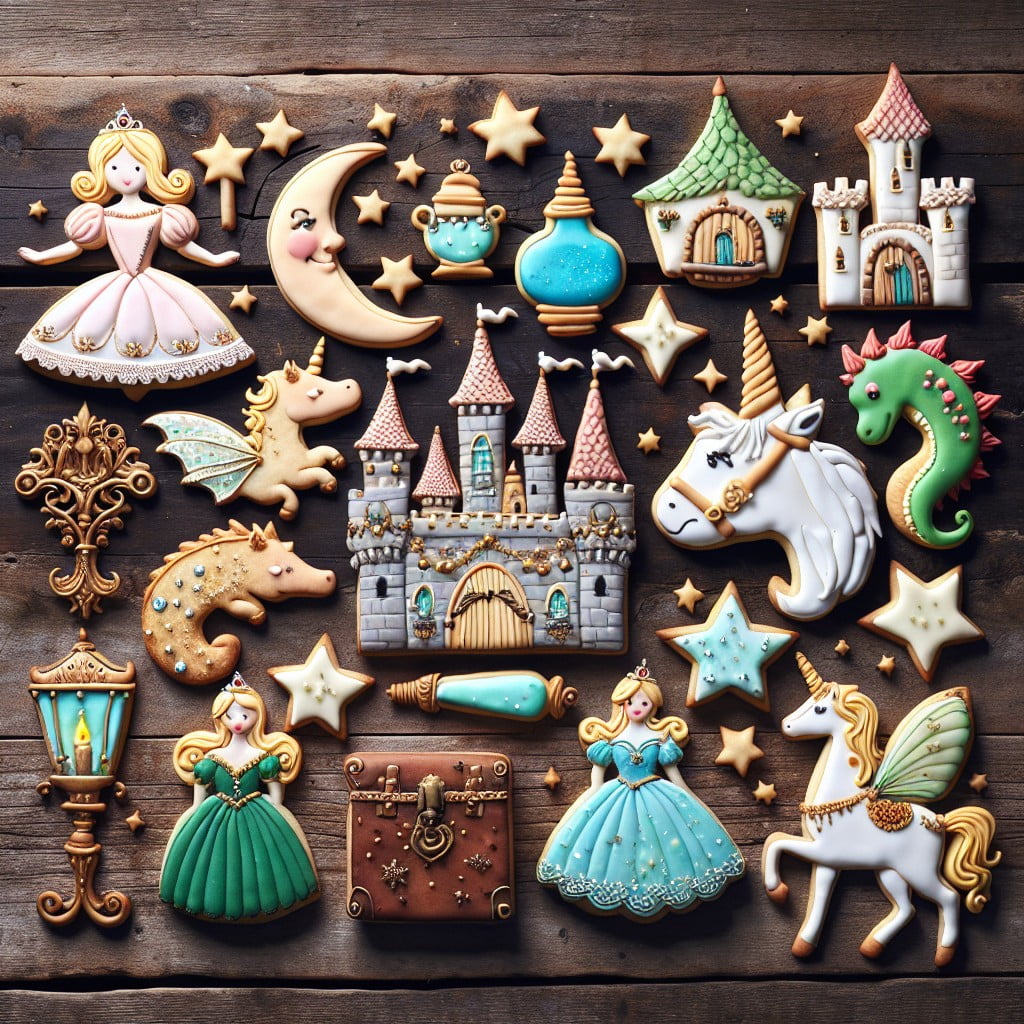
Transport your guests to an enchanted land with cookies that tell a story. Opt for shapes like stars, moons, castles, and magical creatures.
Adorn a wooden table with moss and faux vines to set the scene. Elevate some cookies on tree stumps and others in clear, bell jars to create depth. Accentuate the display with fairy lights and thematic props, such as a princess tiara or a toy dragon, to bring the fairy tale to life.
Use pastel-colored plates and napkins to complement the whimsical theme. Adding small, hand-painted signs with quotes from beloved fairy tales can serve as charming labels for the different cookie varieties.
Cookie Basket Displays for a Picnic-Themed Event
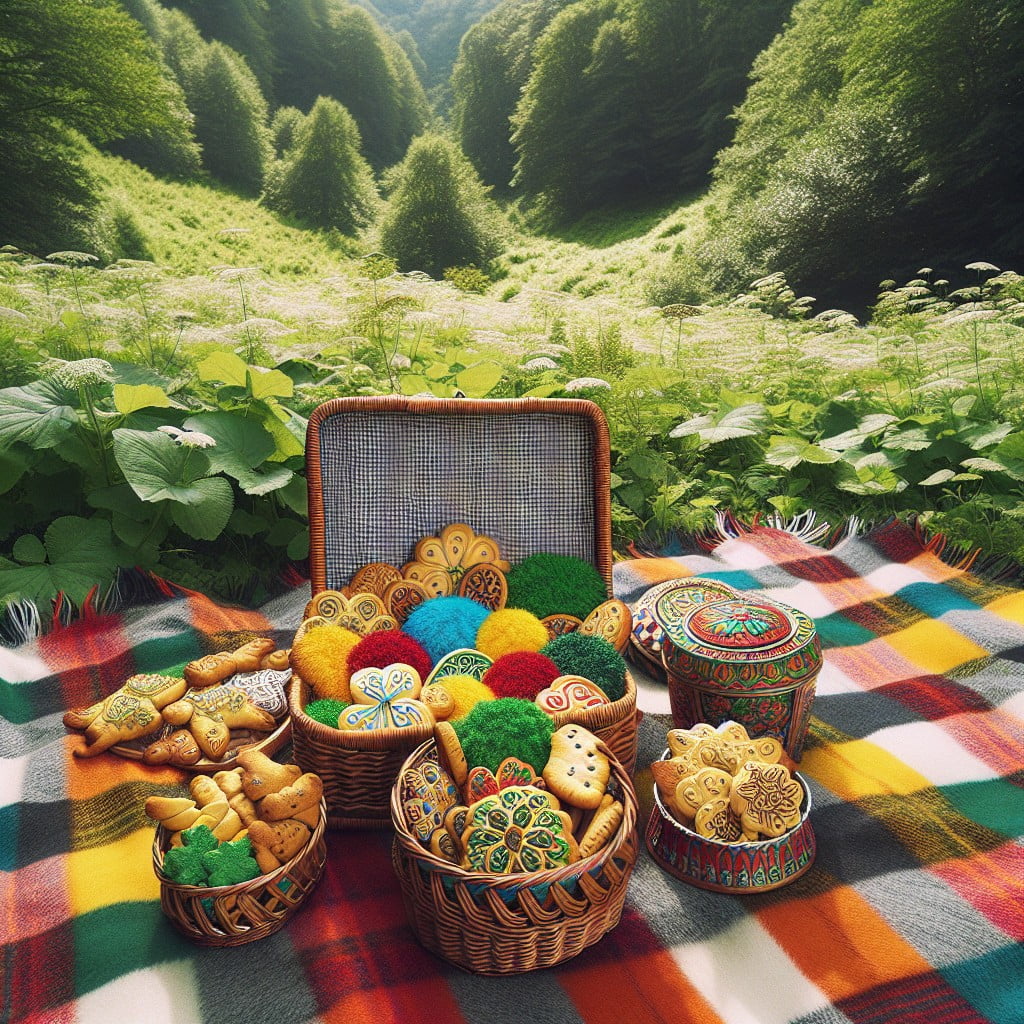
Imagine a sunny day, a checkered blanket spread on the grass, and a wicker basket brimming with an assortment of delectable cookies—a perfect complement to a picnic-themed event.
To enhance this idyllic setting, select baskets of varying sizes to create a sense of depth and interest on your display table.
Line each basket with gingham or brightly-colored linens that evoke the spirit of a traditional picnic.
Fill the baskets with a mix of cookie types—sugar cookies shaped like flowers, sandwiches filled with cream, or chocolate chip classics.
For a touch of whimsy, you could add miniature flags or tags to each cookie, indicating the flavor or a friendly message like “Bon Appétit!“
To encourage guests to mingle and try different varieties, place the cookie baskets at various points around the event space.
Not only will this add a decorative touch, but it will also disperse the crowd and create flow.
Consider using elevated surfaces like stacked crates or hay bales to vary the height of your cookie displays, making them visible and inviting.
Now, let the cookies be the centerpiece of connection and enjoyment, truly embodying the leisurely and joyful essence of a picnic.
Using Antique Furniture for Cookie Displays
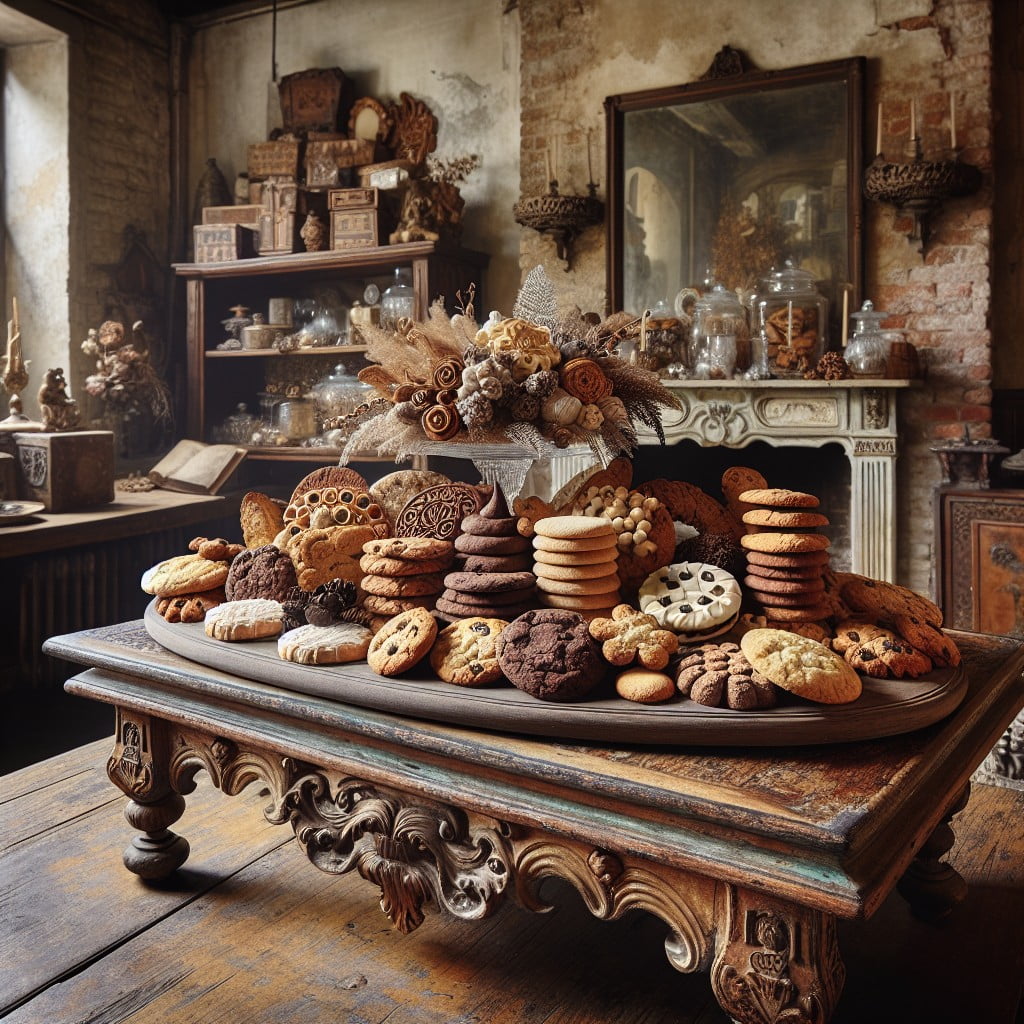
Incorporating antique furniture into your cookie display adds a touch of elegance and nostalgia. A well-chosen piece serves as both a conversation starter and a unique showcase for your treats.
Consider these points to effectively use antique furniture for displaying cookies:
- Buffet Tables & Dressers: Select a vintage buffet table or dresser with a flat surface to arrange your cookies. The intricate woodwork and period style will provide a sophisticated backdrop.
- Tiered Stands & Trays: Utilize tiered stands and decorative trays on top of antique tables to create an attractive multi-level display that draws the eye upwards.
- Drawers as Bins: Open the drawers of an antique cabinet to house individually wrapped cookies, turning each drawer into a self-service cookie bin.
- Painted Antique Chairs: Place a painted antique chair next to your display table, and use its seat to hold a basket or tray of cookies for an unexpected element.
- Proper Linens: Drape vintage lace tablecloths or embroidered linens over the furniture. This will not only protect the surface but also complement the antique vibe.
- Lighting: Soft lighting can enhance the ambiance. Position string lights or a classic lamp to illuminate the displayed cookies and add a warm glow.
Antique furniture can elevate a cookie display from simple to extraordinary, seamlessly blending your delectable creations with the charm of yesteryear.
Hang Cookies On a Cookie Tree Display
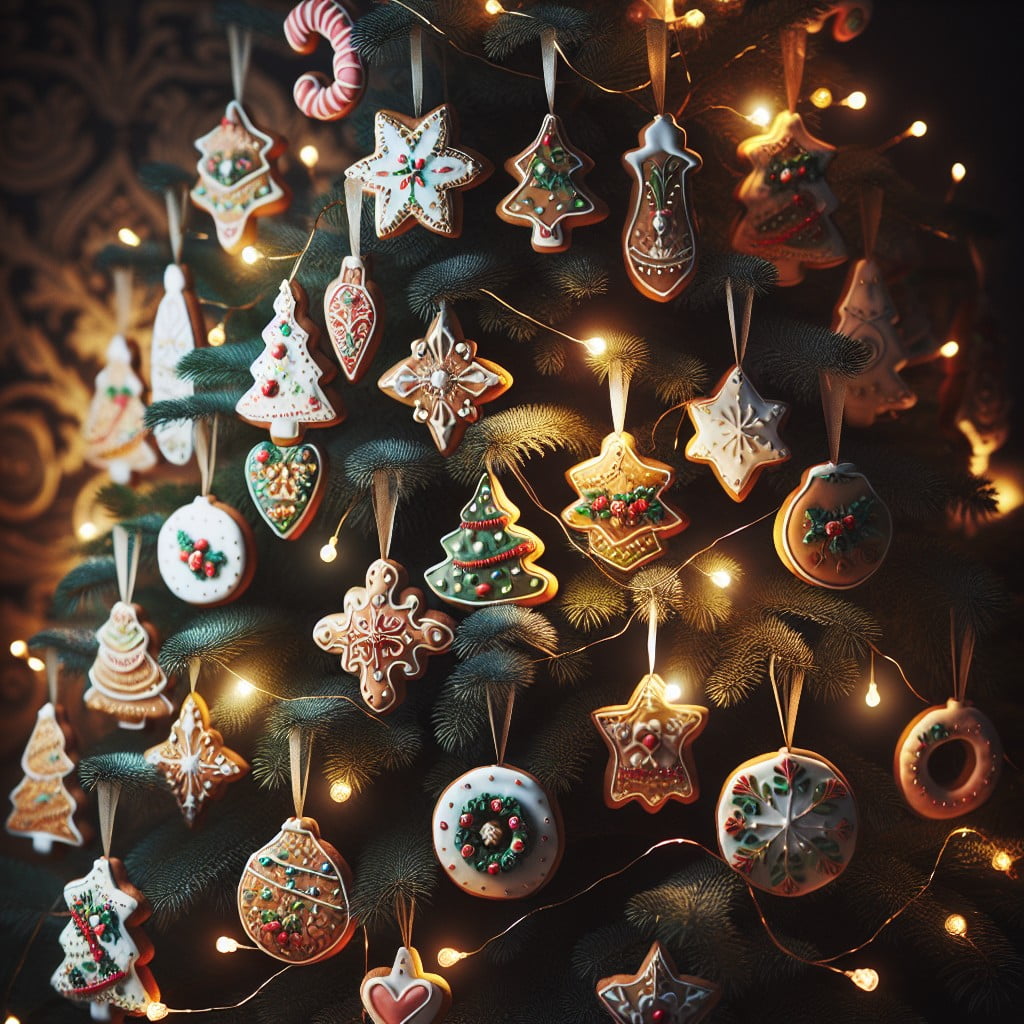
A cookie tree display enchants guests by combining the novelty of a Christmas tree with the indulgence of homemade cookies. To achieve a delightful presentation, follow these tips:
- Choose a sturdy tree-shaped stand, ensuring it can support the weight of your cookies.
- Select cookies with a small hole on top, created prior to baking, which allows them to be hung comfortably.
- Use decorative ribbons or twine to suspend cookies, adding a touch of elegance and ensuring they are easy to remove.
- Vary the cookie types and decorate them according to the party theme for a cohesive look.
- Opt for clear bags if you prefer individual wrapping, which provides a hygienic option and preserves freshness.
- Intersperse the cookies with small baubles or lights for an extra festive sparkle.
- Balance the display by hanging cookies evenly around the stand to avoid tilting.
By following these steps, you’ll have a functional and eye-catching centerpiece that encourages guests to pluck their favorite treats from the branches.
Seasonal Cookie Display Ideas
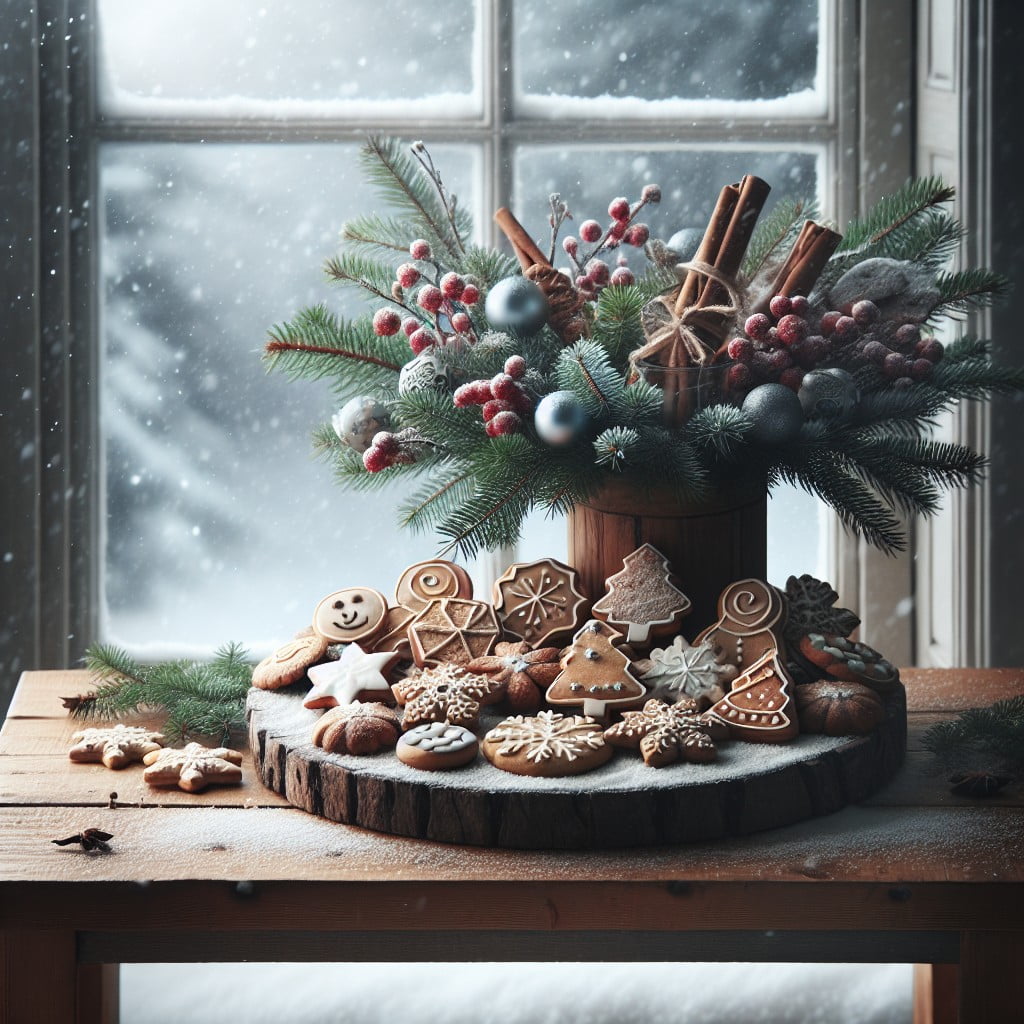
As the seasons change, your cookie displays can reflect the festivities and colors of the times. For spring, consider pastel-colored cookies arranged on tiered stands amid fresh blooms. Summer might inspire a beach-themed arrangement with cookie sandcastles and seashell-shaped treats laid out on a bed of brown sugar “sand.”
When autumn rolls in, a palette of rich oranges, reds, and browns alongside pumpkins and leaves can enliven your setup. A winter wonderland display becomes a focal point with snowflake cookies, dustings of powdered sugar to mimic snow, and twinkling lights to mimic the icy glimmer of the season.
Tailoring your cookie displays to the seasonal ambiance adds a certain charm and can make your treats even more appealing.
How to Present Cookies in a Floral Arrangement
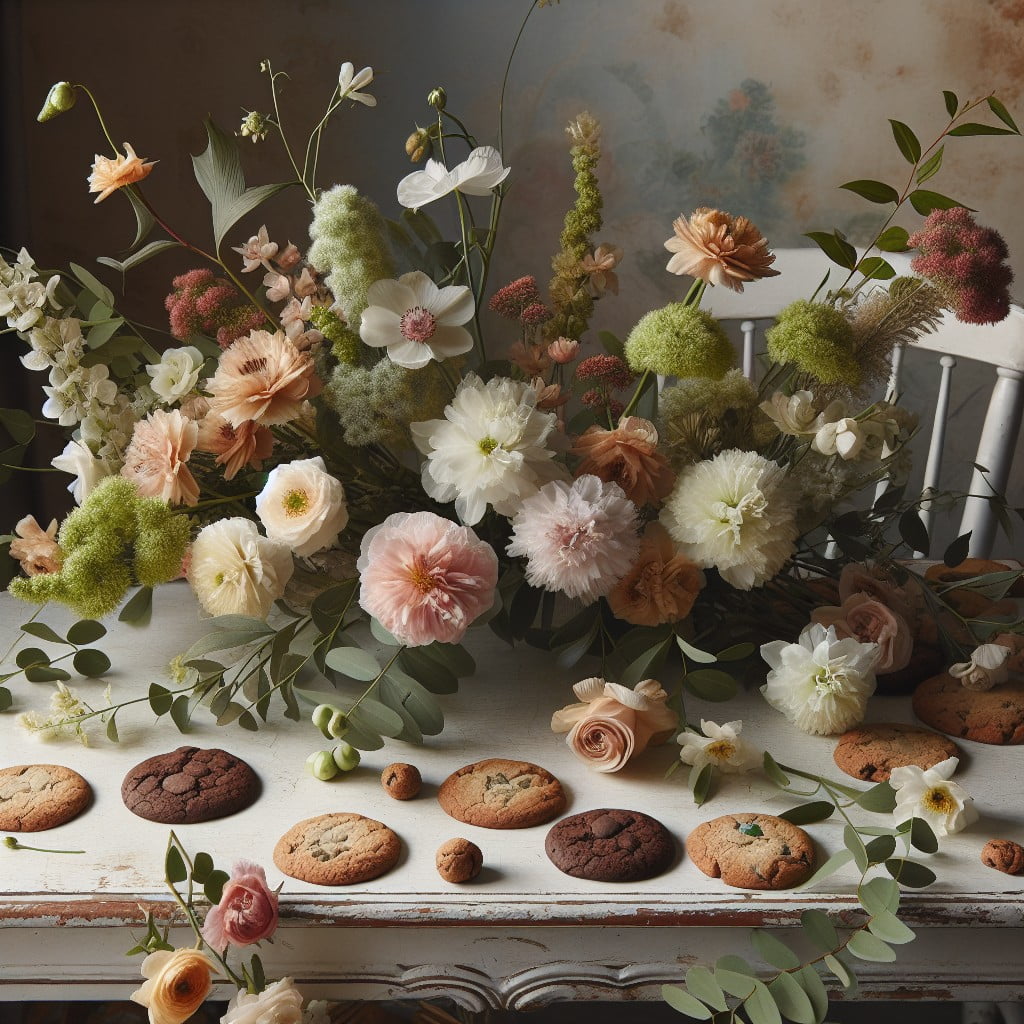
Incorporating flowers with cookies in a display enhances the visual appeal and brings a touch of elegance to any event. Choose edible flowers or food-safe blooms to ensure the arrangement is safe for consumption.
Lay out your floral foundation, like a bed of moss or a wreath of greenery, to create a base for your cookies. Position the cookies artfully among the petals, using small vases or floral foam to elevate them at varying heights. Select cookie colors that complement the flowers for a cohesive look.
If you’re using a floral foam, insert the stems of flowers and greenery first, then add the cookies on sticks, like a bouquet. For a multi-tiered effect, intersperse cookies and flowers on a tiered cake stand.
Lastly, ensure all floral elements are non-toxic and have not been treated with pesticides if they will be in direct contact with the cookies.
Cookies On Ladder Shelves: A Creative Display Idea
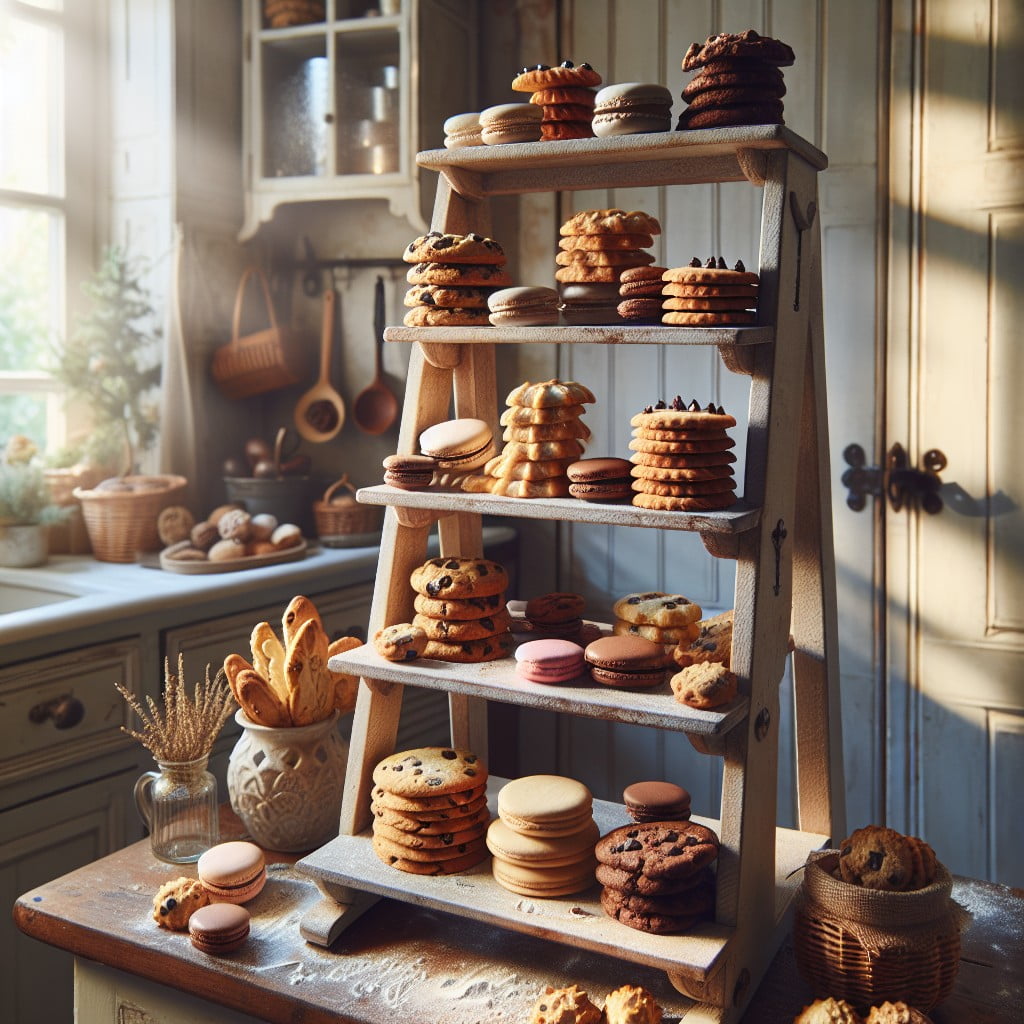
Transforming ladder shelves into a unique showcase for cookies can bring a touch of rustic charm to any event. The staggered layout of the shelves allows for visibility at various heights, making each cookie an eye-catching treat.
To enhance your ladder display:
- Ensure stability: Secure the ladder firmly to avoid any accidents, especially if children will be within reach.
- Theme coordination: Match the cookie presentation to your event theme through color-coordinated linens or decorative elements.
- Size variety: Mix different sizes of cookies and vary their placement to create visual interest.
- Packaging options: Provide clear cellophane bags or decorative boxes close by, so guests can easily take their chosen cookies home.
- Labeling: Use small tags or chalkboard signs to label the different cookie flavors and ingredients for those with dietary restrictions.
- Safety: Place the cookies on food-safe paper or trays, keeping them clean and ready to eat.
- Decorate creatively: Add lights, flowers, or figurines among the cookies to further tie them into your event’s aesthetic.
How to Use Candle Holders As a Cookie Display
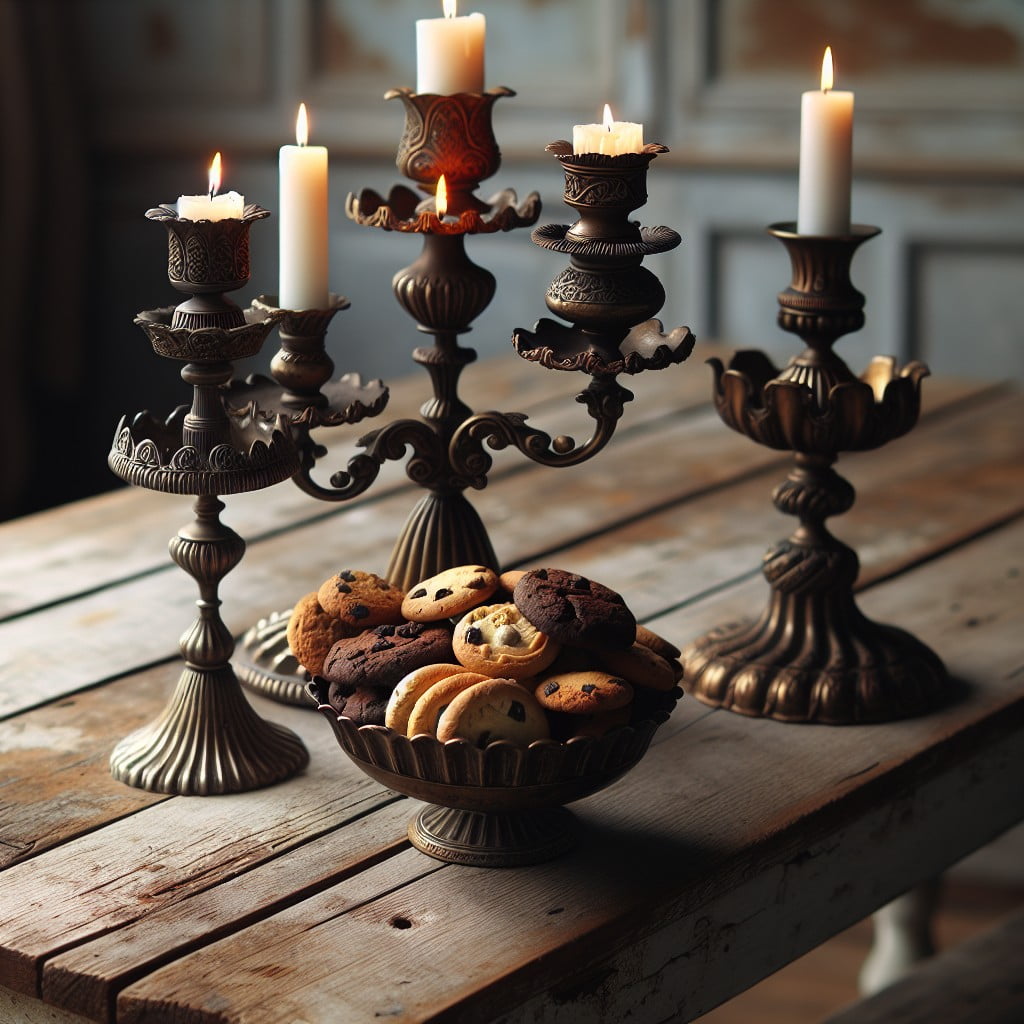
Transforming candle holders into cookie displays adds an unexpected and elegant touch to your event. Here are a few ideas to get you started:
1. Choose the Right Holder: Opt for sturdy candle holders that can support the weight of cookies. Flat-topped pillar holders are best for stability.
2. Coordinate with Your Theme: Select candle holders that complement your event’s aesthetics—sleek silver for modern vibes or ornate gold for a touch of glamour.
3. Arrange Cookies Tastefully: Display cookies in a single layer around the candle holder’s rim, ensuring each treat is easily accessible and visually appealing.
4. Accent with Edible Decor: Incorporate edible flowers or sprinkles alongside the cookies for a cohesive and appetizing presentation.
5. Safety First: If you wish to combine cookies and candles, place the cookies on a higher level and the candle below to prevent any heat from affecting the treats.
Remember, candle holders offer varying heights that create a dynamic display, drawing the eye across your scrumptious spread.
Interactive Cookie Display Ideas
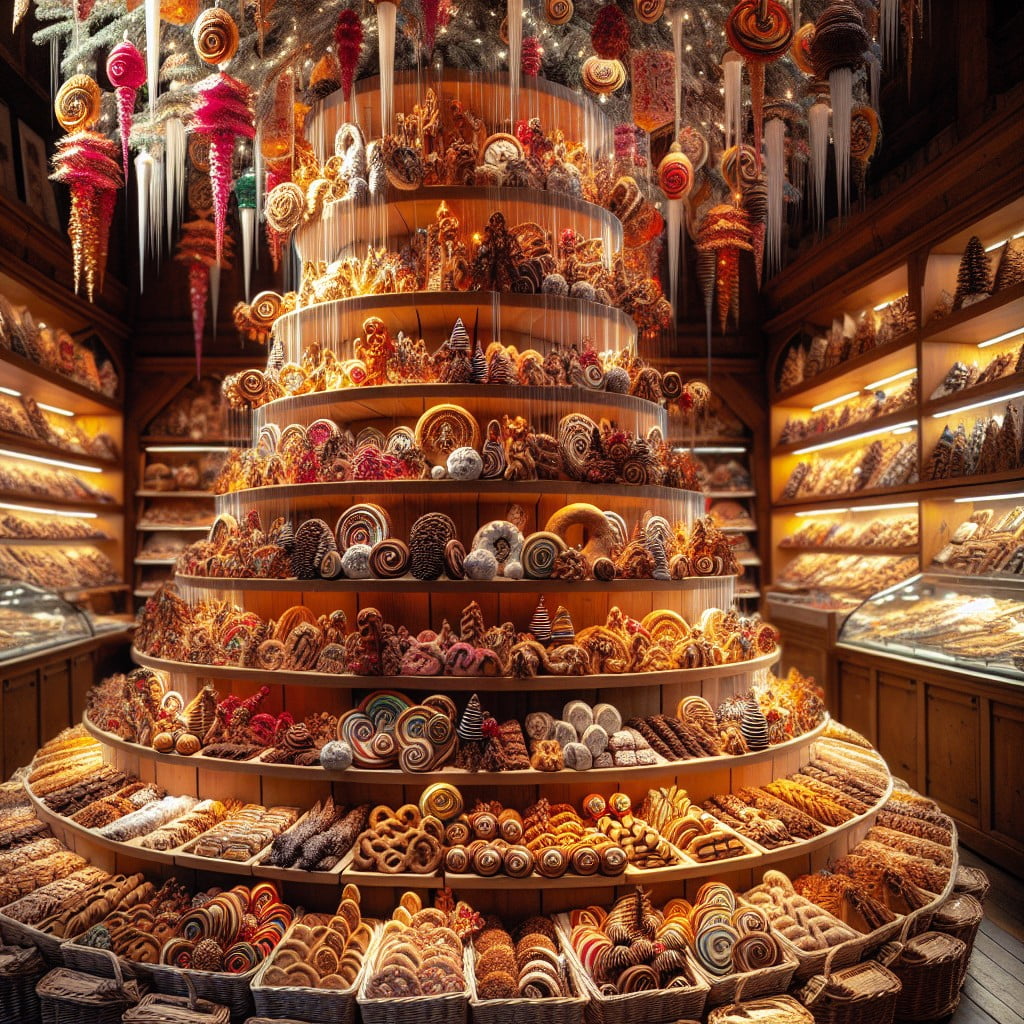
Create a cookie decorating station where guests can personalize their treats with various frostings, sprinkles, and edible decorations. This hands-on experience encourages creativity and fun interaction.
Implement a “guess the flavor” game by offering a selection of cookies with unique flavors. Provide small bite-sized samples and let guests try to identify the ingredients, with a prize for the most accurate palates.
Organize a cookie puzzle challenge where cookies are designed to fit together like pieces of a puzzle. Assemble the cookies to reveal a message or a pattern, giving guests a collaborative activity that’s both engaging and tasty.
Set up a voting booth where attendees can sample different cookie varieties and vote on their favorite. Tally the results and announce the winning flavor, fostering a lighthearted competition.
Incorporate a cookie scavenger hunt by hiding clues around the venue, each leading to a different cookie variety. This encourages guests to mingle, explore, and enjoy a variety of flavors along the way.
Ideas Elsewhere
- https://betterbakerclub.com/cookie-display-ideas/
- https://stayingclosetohome.com/best-cookie-exchange-cookie-displays/
- https://www.weddingwire.com/wedding-forums/cookie-bar-how-to-display/c24924acfeb82516.html
- https://babyshowerideas4u.com/what-are-some-creative-ways-to-display-cookies/
- https://www.cookietakeabite.com/get-creative-with-cookies/4-creative-cookie-displays/
Recap:
