Last updated on
Dressing up your mailbox can significantly boost your home’s curb appeal, because unique and stylish mailbox designs serve as the perfect personal touch to make your house stand out.
I take great pride in curating this collection of twenty unique mailbox makeovers, and I hope you derive as much inspiration and delight from them as I enjoyed in their creation.
Sprucing up your mailbox can add charm and personality to your home’s exterior. Whether you prefer a rustic look, a floral design, or something more modern, there are countless ways to transform your mailbox from ordinary to extraordinary.
This article will delve into a variety of creative and unique mailbox decorating ideas. From simple paint jobs to more elaborate adornments, we’ll cover a range of styles and techniques that cater to different skill levels. Stay tuned to explore the perfect inspiration for your mailbox makeover.
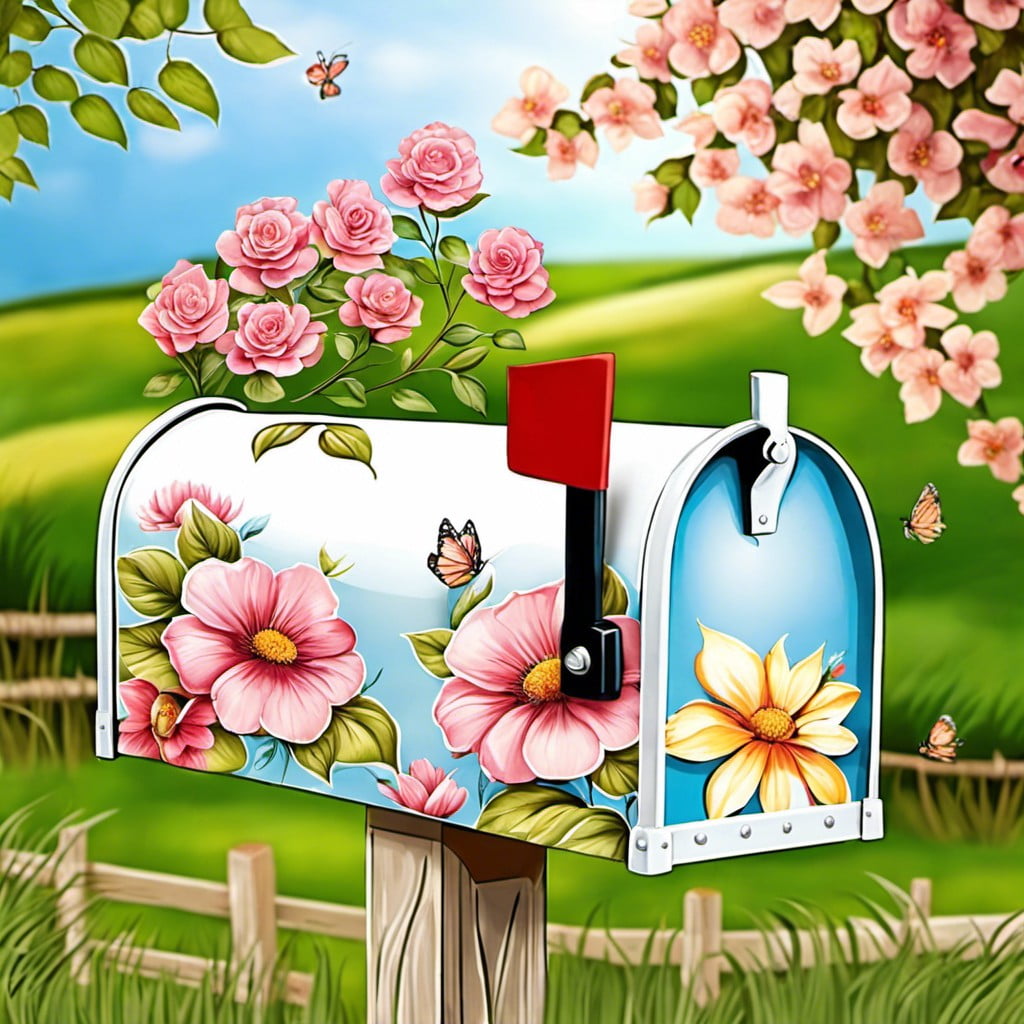
Floral Vine Wrapping
To get started with this stylish decoration, select an evergreen vine, such as English ivy or jasmine. Both are wonderful options due to their year-round beauty and fragrant aroma.
Attach these to the post and allow them to naturally twine around the structure. A trellising net could prove helpful in guiding their growth, creating a controlled yet organic look.
This eco-friendly décor not only enhances the visual beauty but also attracts butterflies and hummingbirds to your front yard.
Remember to periodically prune and manage the vines to prevent them from overtaking the mailbox. The end result is an enchanting, living piece of art that blends seamlessly with any garden setting.
Themed Sticker Adornments
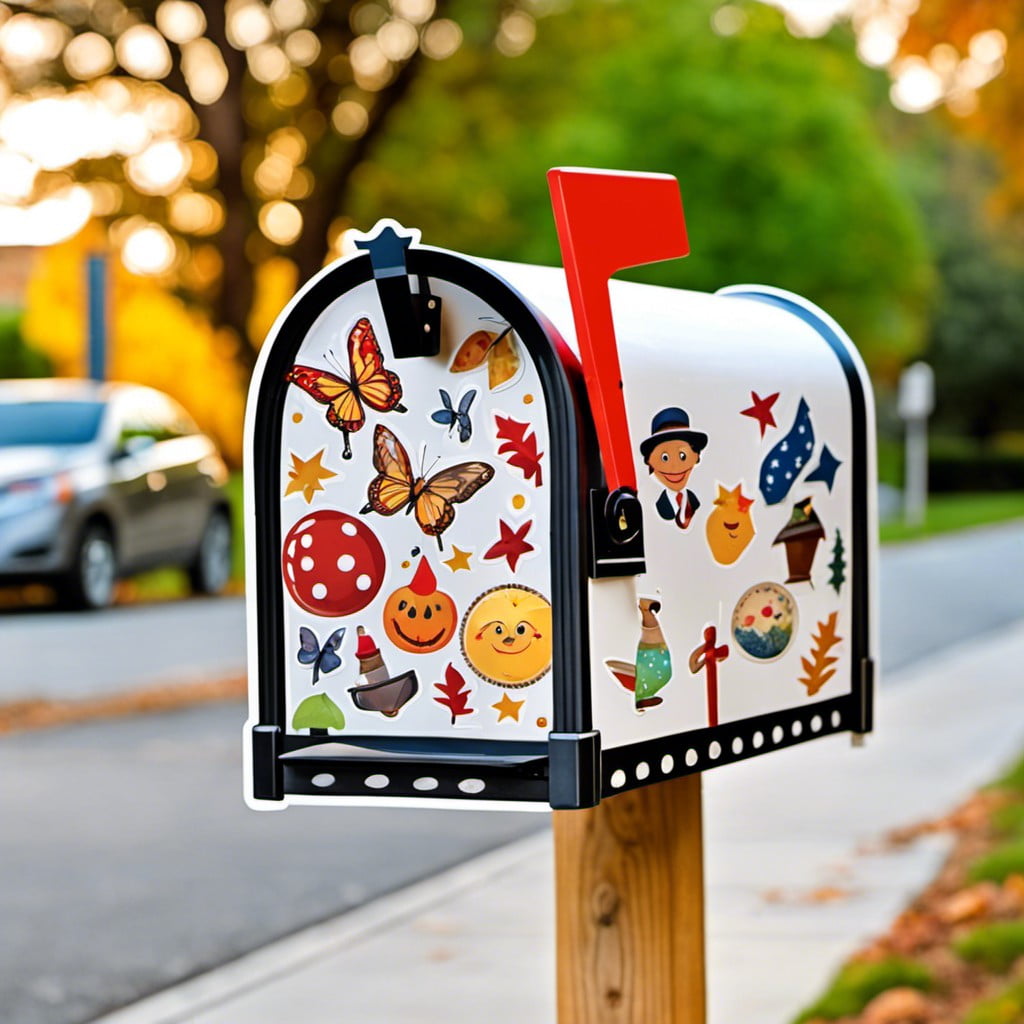
First, select stickers that resonate with your personality or home’s aesthetic. Cartoon characters, floral patterns, or even holiday-themed stickers can add a playful or festive touch. Ensure they’re weather-resistant for durability.
Easy to apply, simply peel off the backing and firmly press onto a clean, dry mailbox surface. Arrange them creatively- in a pattern or randomly for an eclectic effect.
Apart from offering a fun factor, they can be replaced frequently, making your mailbox a fresh sight with every update. Remember, the customization possibilities are certainly endless with this project!
Bright Paint Facelift
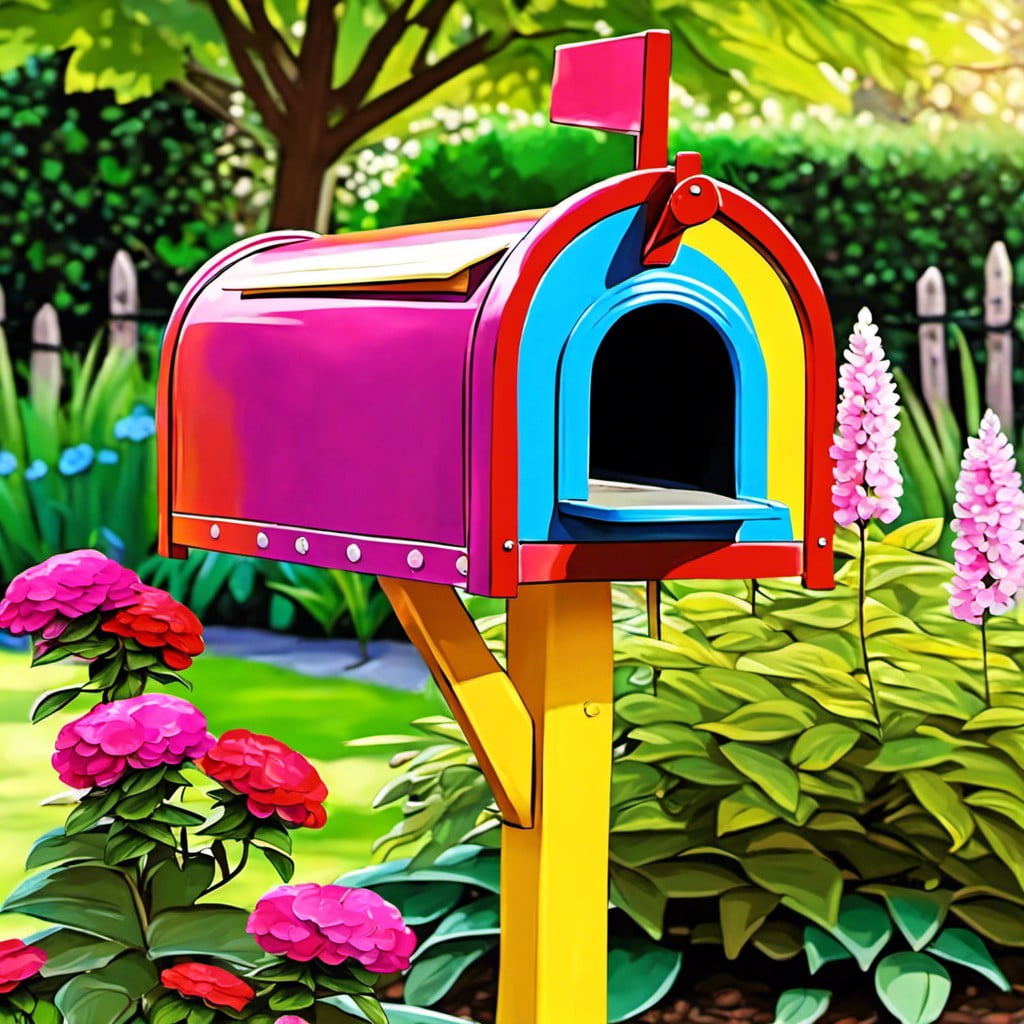
To revitalize a tired-looking mailbox, consider a coat of high-gloss or semi-gloss paint. Choose a hue that complements the colour palette of your property.
1. Preparation: Properly clean the mailbox, removing any dirt or rust. Primer is key for longevity and vibrancy, so apply a coat before painting.
2. Paint Selection: Acrylic latex is typically recommended due to its durability and fade-resistant properties.
3. Application: One or two coats usually suffice but ensure it dries thoroughly before adding a new one. Avoid painting in direct sunlight, as this can cause the paint to blister or crack.
4. Protection: Seal the paint job with a clear coat. This adds protection from the elements, ensuring the vibrant colour lasts for years.
This simple modification can make a remarkable difference. The mailbox will radiate curb appeal, creating the first, dazzling impression of your home.
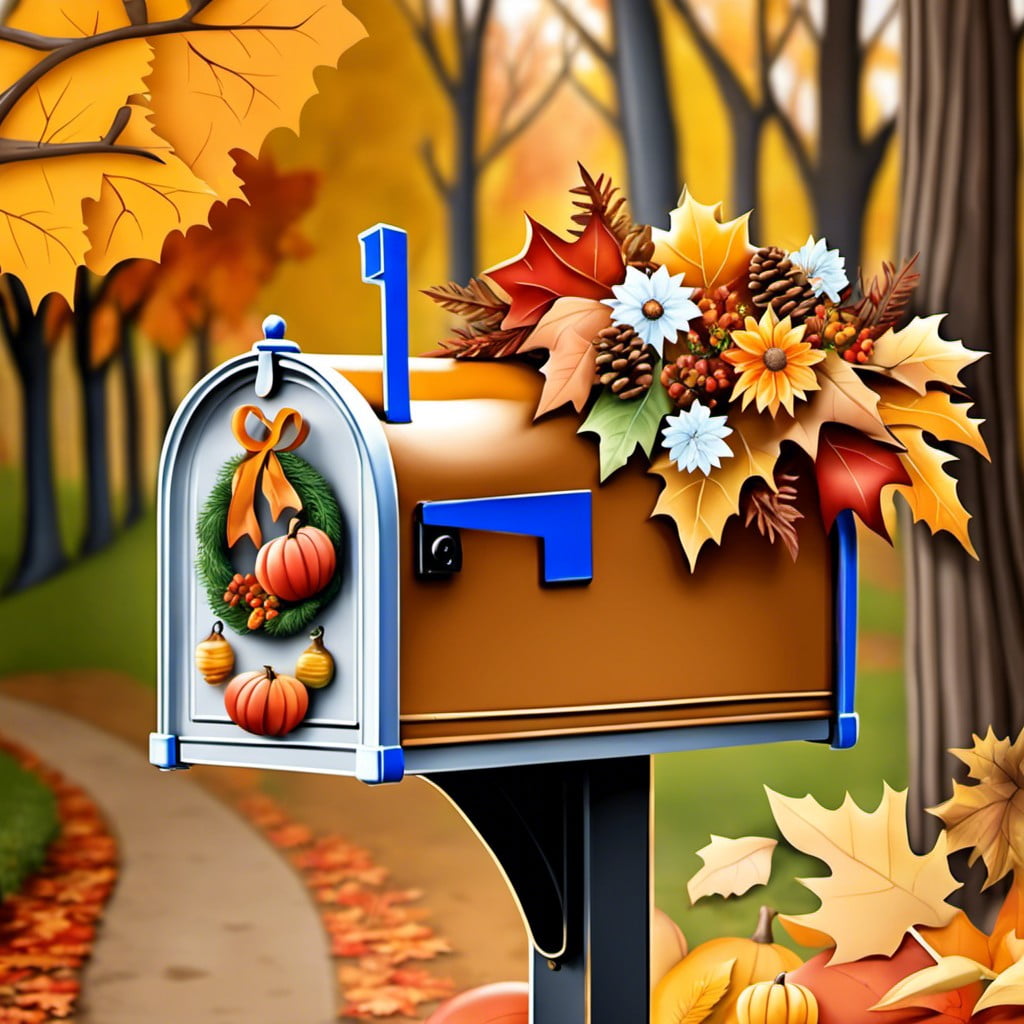
Seasonal Decoration Changes
Incorporating seasonal decorations can breathe fresh life into your mailbox. This technique provides limitless options, as you can switch up your style every few months.
For spring, consider a fresh pastel palette adorned with faux tulips or baby’s breath. Incorporate nest motifs or Easter-themed elements to add a playful touch.
Summer schemes could involve tropical elements such as shells or bright faux flowers to heighten the sunny, outdoor spirit. Perhaps dovetail this with patriotic décor for Fourth of July festivities.
Fall affords opportunities to lean into warm colors, pumpkins and fallen leaves. A cute scarecrow or cornucopia design could match perfectly with the harvest season.
Winter is an ideal time for a festive makeover, from a cozy plaid design to snowflakes or icicles. Don’t shy away from adding sparkling Christmas lights or a wreath circling the mailbox post.
These easy to implement ideas help ensure your mailbox adds charm to your curb all year round. Remember to use weather-resistant materials to guard your artistic work against the elements.
Chalkboard Paint Application
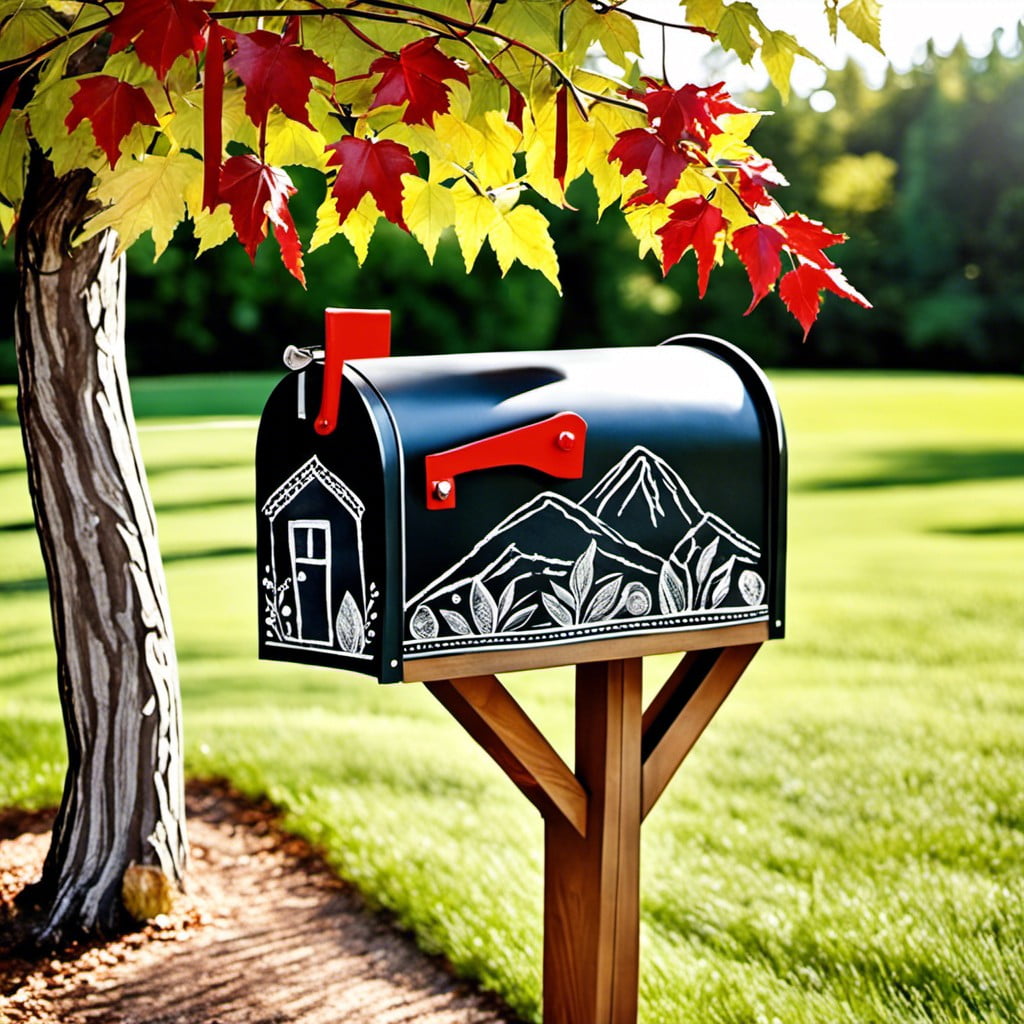
Starting with a clean, dry surface, apply a coat of chalkboard paint, found at most crafts stores or home improvement centers. Be sure to use a brush with fine bristles to leave a smoother finish.
Allow adequate drying time, typically 24 hours. Once completely dry, condition the painted surface by rubbing the side of a piece of chalk over the entire surface and wiping it off with a soft cloth. This process ensures that future chalk markings can be easily erased.
Remember, you’ll need to keep an eraser and chalk nearby so you can change your message intermediately. This setup provides an interactive and fun addition to your home’s exterior, allowing messages to be changed to suit holidays, birthdays, or just the changing seasons.
Rustic Wooden Mailbox
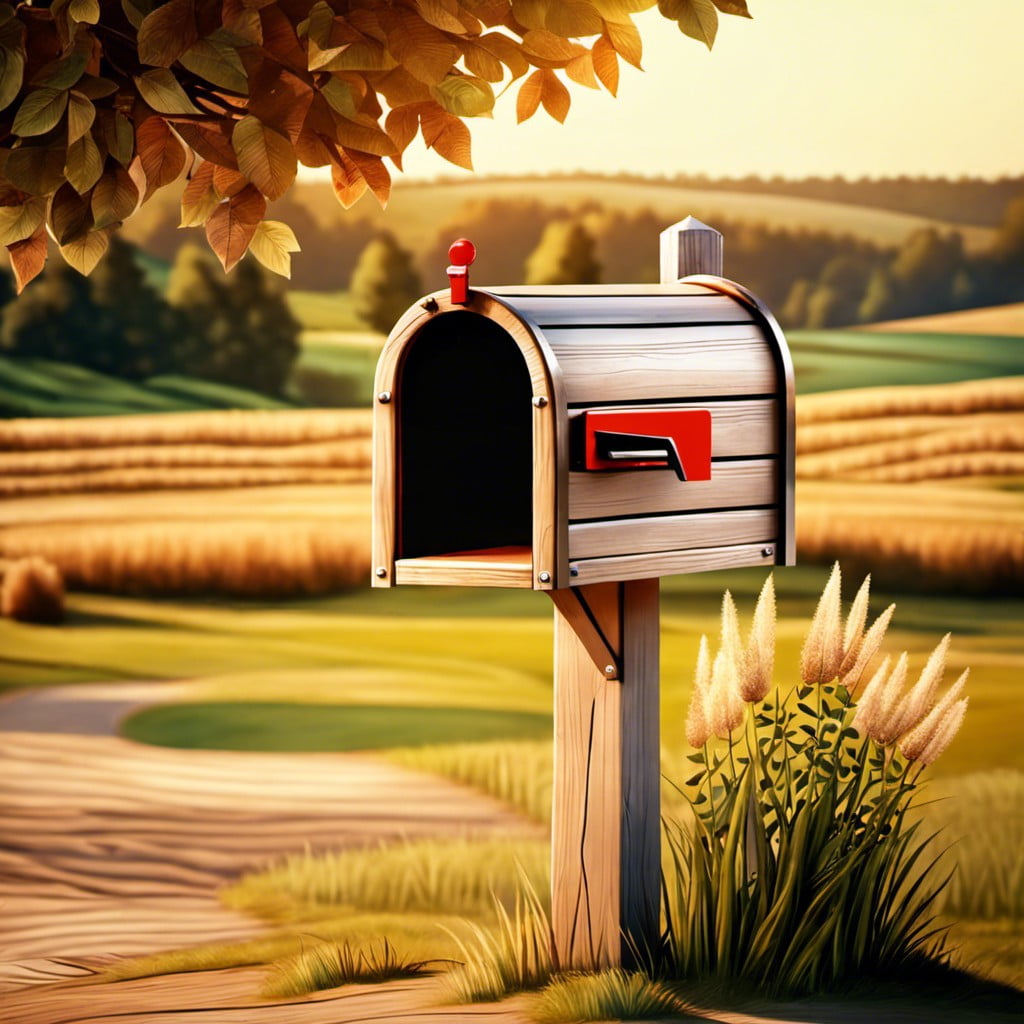
Venturing into the realm of repurposed wood can avow a charm-filled aesthetic that is as expressive as it’s practical. Consider using weathered planks or reclaimed lumber for an authentic touch. A bit of sanding and varnishing can enhance the wood’s natural textural richness while ensuring durability.
When selecting your structure design, remember functionality is key. A slanted roof, for example, helps with rainwater runoff. Add a reliable lock to keep your mail secure.
The aesthetic potentials are numerous. For a humble, countryside vibe, leave the wood unfinished. Conversely, a layer of muted, earth-toned paint adds to the aged appearance associated with a rustic theme. Complement it with vintage brass numbering or a small carved signpost.
Preferably placed near a garden pathway, surrounded by wildflowers or resting against an old picket fence, this design infuses your landscape with a classic rustic charm indeed.
Mosaic Tile Design
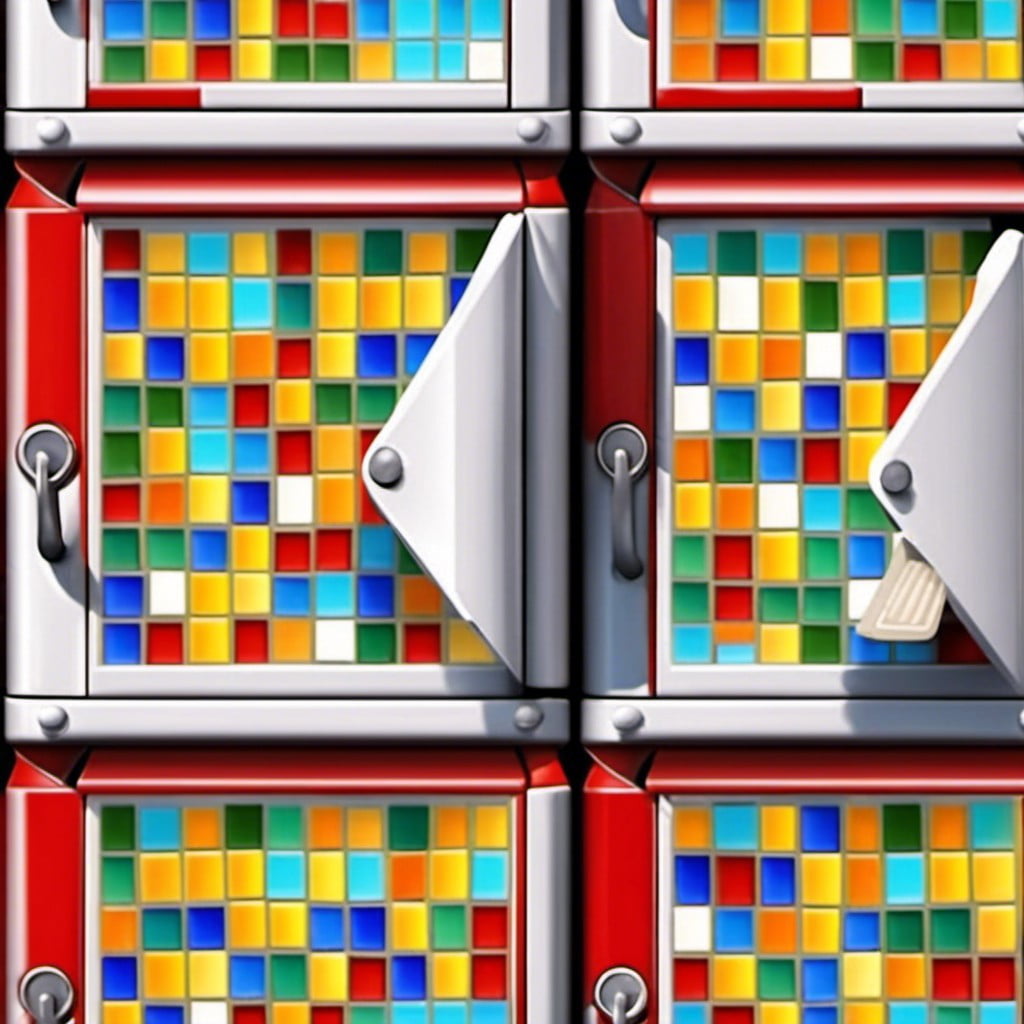
Implementing a mosaic tile design offers an artistic transformation to ordinary mailboxes. Start by choosing a combination of colors and sizes to reflect personal style. Tiles made of glass or ceramic work best due to their resilience against weather conditions.
Using a durable adhesive, arrange the tiles directly on the mailbox surface. Be creative; patterns or random arrangements contribute to the uniqueness of the design. Maintain regular gaps between tiles for grouting. Use weather-resistant grout to fill these spaces, which helps secure the tiles and complete the mosaic look.
Always ensure tiles and grout are set and dry before exposure to outdoor conditions. This design process enhances the visual impression of your mailbox, transforming it into a piece of art that stands out uniquely along your neighborhood street.
Fence Post Banner Attachment
Transforming your mailbox into a striking visual element is a great way to express creativity. A simple, yet effective, method involves the use of banners. Start by selecting a banner that resonates with your personality, it could be anything from intricate patterns to vibrant color gradients. Have it fit snugly around your fence post, ensuring that it doesn’t interfere with the mailbox’s function.
Opt for weather-resistant materials to withstand the elements. Consider tying in seasonal elements for added charm – a blooming spring design or autumn leaves can work wonders. For uniqueness, consider personalized banners reflecting your interests or showcasing your hobbies.
Remember, aside from aesthetic purposes, the banner should not obscure the visibility of your house number. Also, it’s crucial to adhere to local community guidelines about mailbox decorations. With this concept, let the mailbox proudly stand as a unique marker of your residence, simultaneously serving a practical purpose and accentuating the aesthetics of your home.
Birdhouse-Inspired Look
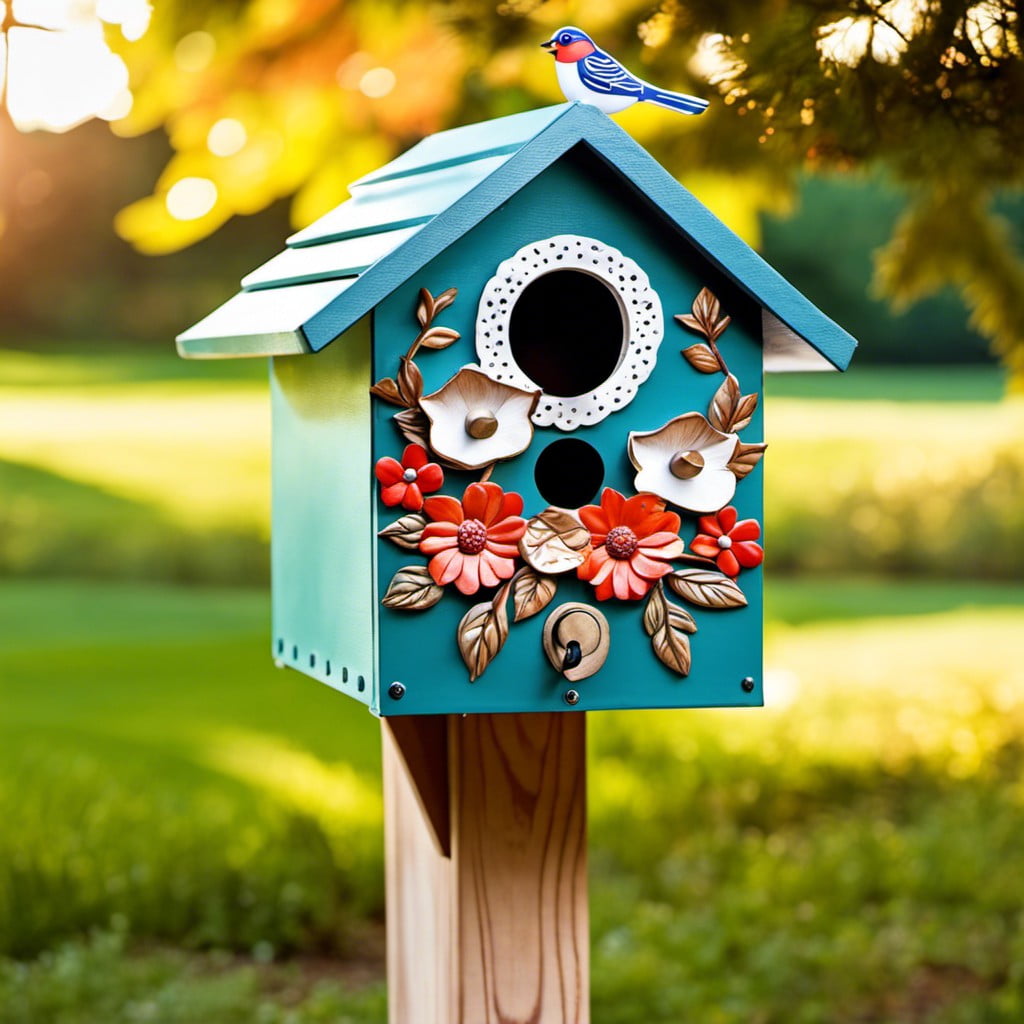
Creating a birdhouse-inspired mailbox design can lend a quaint, whimsical touch to the exterior of your home. Here’s how:
- Select wood as your primary material – it resembles the look of a typical bird’s abode.
- Opt for a peaked roof design to mimic the birdhouse style further.
- Add small decorative details, such as faux bird perches or miniature windows, for authenticity.
- Paint it in earth tones or pastel shades to blend into the landscape, or a brighter hue for a more striking effect.
- Apply a protective, weather-resistant finish to ensure the design withstands the outdoor elements.
Custom House Number Display
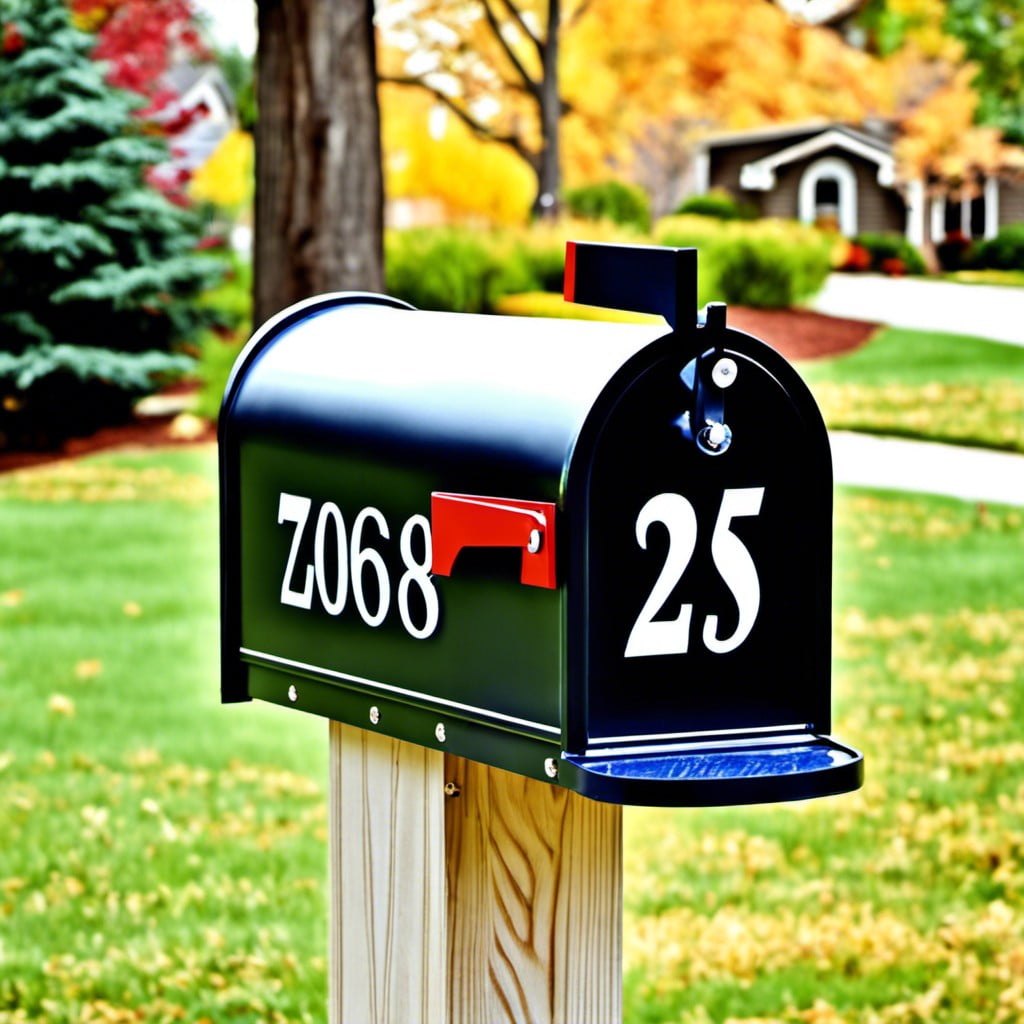
Diving straight into the concept, it’s essential to understand that a unique house number display brings an individualized aesthetic, making your mailbox easily identifiable.
Here are a few insightful points:
- Choose materials that add to your home’s overall style, be it brass numbers for an elegant look, mosaic tiles for a splash of color, or wood for a rustic feel.
- Consider the size of the numbers. They should be large enough to be easily seen from the road, yet proportionate to the size of the mailbox.
- The location of the numbers is critical. Place them on a contrasting background to ensure visibility. They can be mounted on the front, side, or top, depending on the mailbox design.
- Adding a backlight or reflective coating to your numbers can make the mailbox easier to find at night.
- Lastly, the arrangement of numbers provides character. They can be lined up vertically, horizontally, or even in an abstract pattern to elevate the curb appeal of your mailbox.
Remember, a custom house number display on your mailbox not only enhances its look but also serves a practical function.
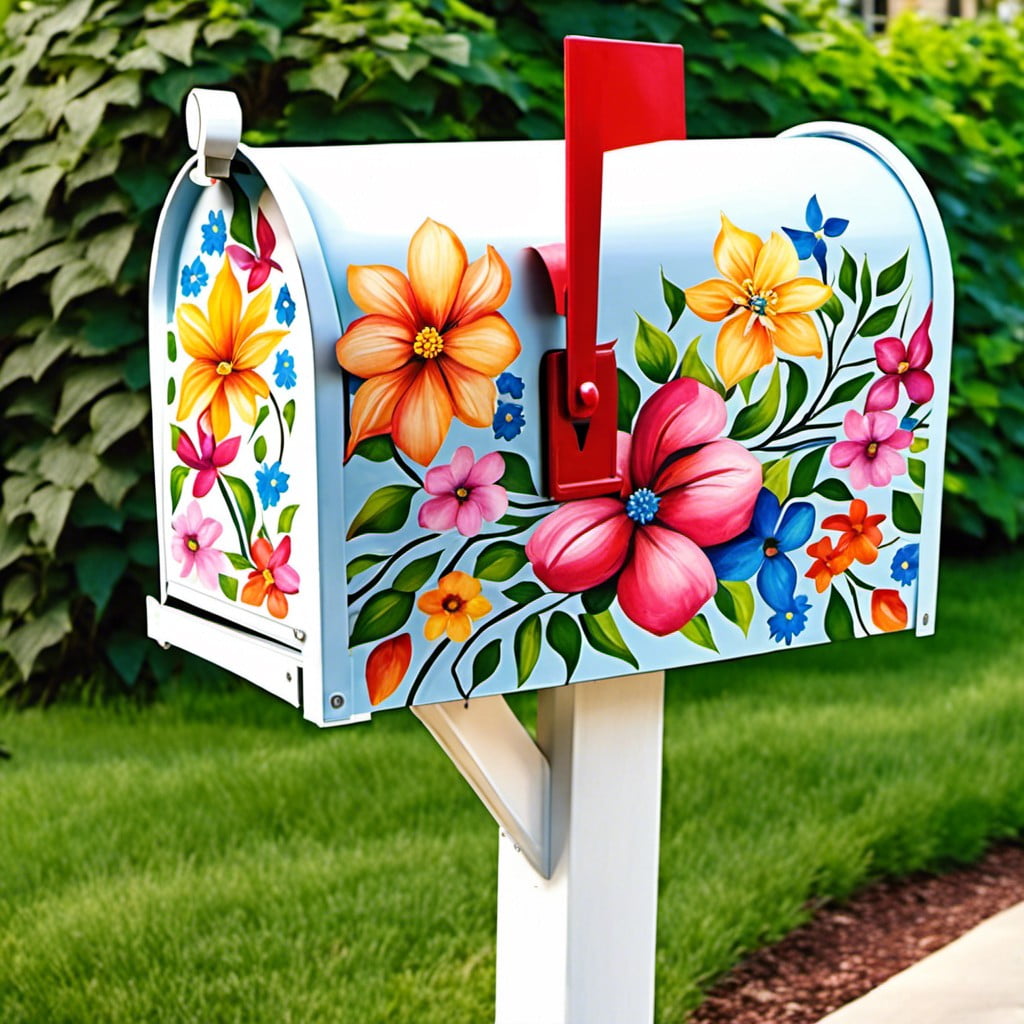
Hand-Painted Murals

Taking personalization to a whole new level, you can transform your mailbox into a piece of art. A great way to express creativity, this approach allows for complete freedom of design, matching your artistic vision or home aesthetics.
The steps are simple:
- 1. Choose a design: This might be a favorite plant, animal, abstract design, or anything that brings you joy.
2. Prep the surface: Clean the mailbox thoroughly before painting. Sand lightly for better paint adhesion.
3. Select your paints: Use exterior-grade acrylic paints to create your mural, they’re weather-resistant and come in various colors.
4. Paint your design: Start painting, keeping intricate details for last. If not confident in your painting skills, consider using stencils.
Remember, to let your paint dry fully between layers, and finish off with a clear sealer to lock in your work and protect it from weather elements. It’s also advisable to check local regulations to ensure your artistic endeavor meets postal guidelines. This customization doesn’t just make your mailbox stand out, it injects a delightful personal touch to your curb appeal.
LED Light Accents

LED lights are a versatile embellishment that can significantly elevate the style and functionality of your mailbox. They’re especially handy during nighttime, offering an added sense of visibility and safety.
Firstly, consider string lights. Durable, waterproof, and often solar-powered, these models intertwine effortlessly around the post or box. Meanwhile, other types integrate directly into the mailbox structure. It could be backlit numbers, a subtle strip lining, or a spotlight effect.
Secondly, select lights complementing your property’s aesthetics. Bright whites confer a modern feel, while softer yellows cast a cozy, inviting aura.
Lastly, ensure installation follows safety measures. Route wires carefully not to become tripping hazards or entanglement issues. Opt for solar or battery-powered lights to avoid many wiring problems. All these points ensure your LED light accent will enhance your mailbox creatively and practically.
Vintage Metal Finishing
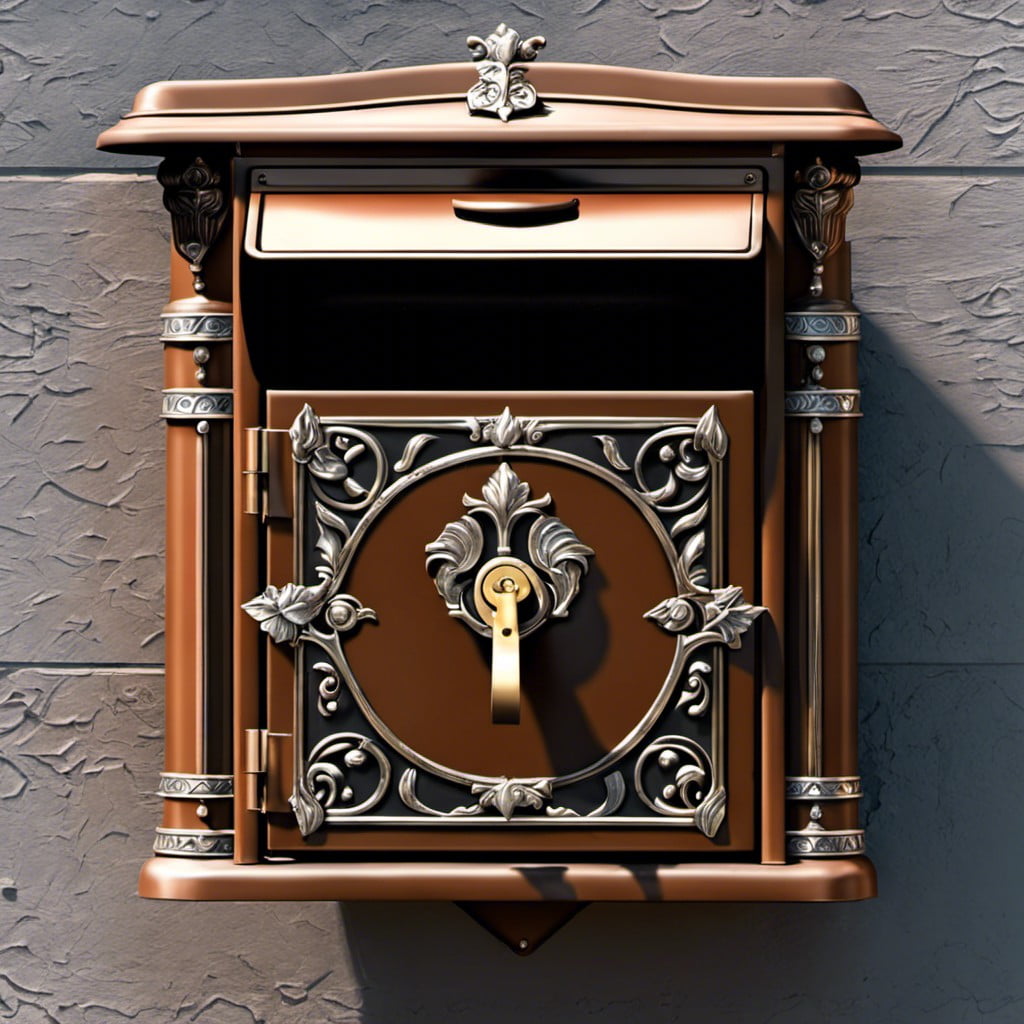
Embracing the charm of bygone eras can be a rewarding process. For this project, begin by selecting a mailbox with detailed metalwork that exudes vintage appeal. An antique bronze or copper finish typically emits that vintage vibe.
Before applying any finish, it’s crucial to prep the surface properly. Sand down the existing paint or rust to a smooth surface. After cleaning the dust, apply an oil-based primer which works well with metal and gives better adhesion for the finish.
Choosing a patina finish can lend a naturally aged appearance to the metal. You can create this look with certain paints that react with the metal to form a verdigris (green-blue) rust.
Alternatively, if you prefer a shiny metallic look, select a high-quality spray paint specifically designed for metal. Brass or antique gold are great options. Remember, multiple thin coats offer a better finish than a single thick coat.
Lastly, to protect the mailbox from weather elements and prolong its lifespan, seal the finish with a clear lacquer or varnish. These create a barrier against any significant impact and can increase the mailbox’s resistance to rust.
Floral Planter Mounting
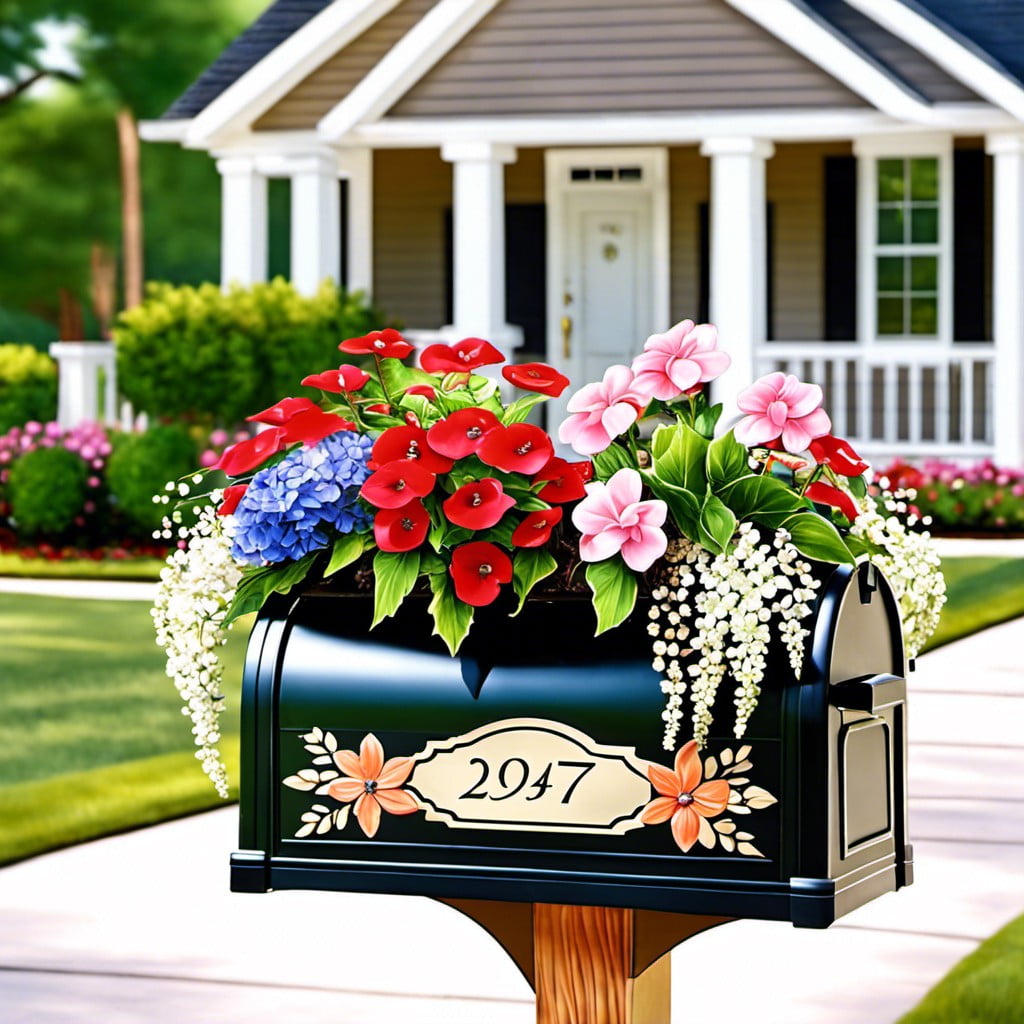
To effectively implement this design, begin by selecting a versatile planter box that complements your mailbox. Most prefer wooden boxes for their rustic charm, while others go with metal or ceramic options for durability.
Next, secure the planter to the base of your mailbox post. Ensure to assist proper water evacuation, drill several small holes in the bottom of the planter if it doesn’t already have them.
Fill your planter with a mix of soil and compost before introducing your plants. Annuals, such as petunias or marigolds, offer bright, seasonal color, while succulents provide a low-maintenance, year-round option.
Finally, remember to water and care for your plants routinely, as their health and vibrancy will greatly contribute to the overall aesthetic of your mailbox. Also, consider the light requirements of your chosen plants. If your mailbox is in direct sunlight, go for sun-loving bloomers. If it’s in the shade, ferns and other shade-appreciative plants would be your best choice.
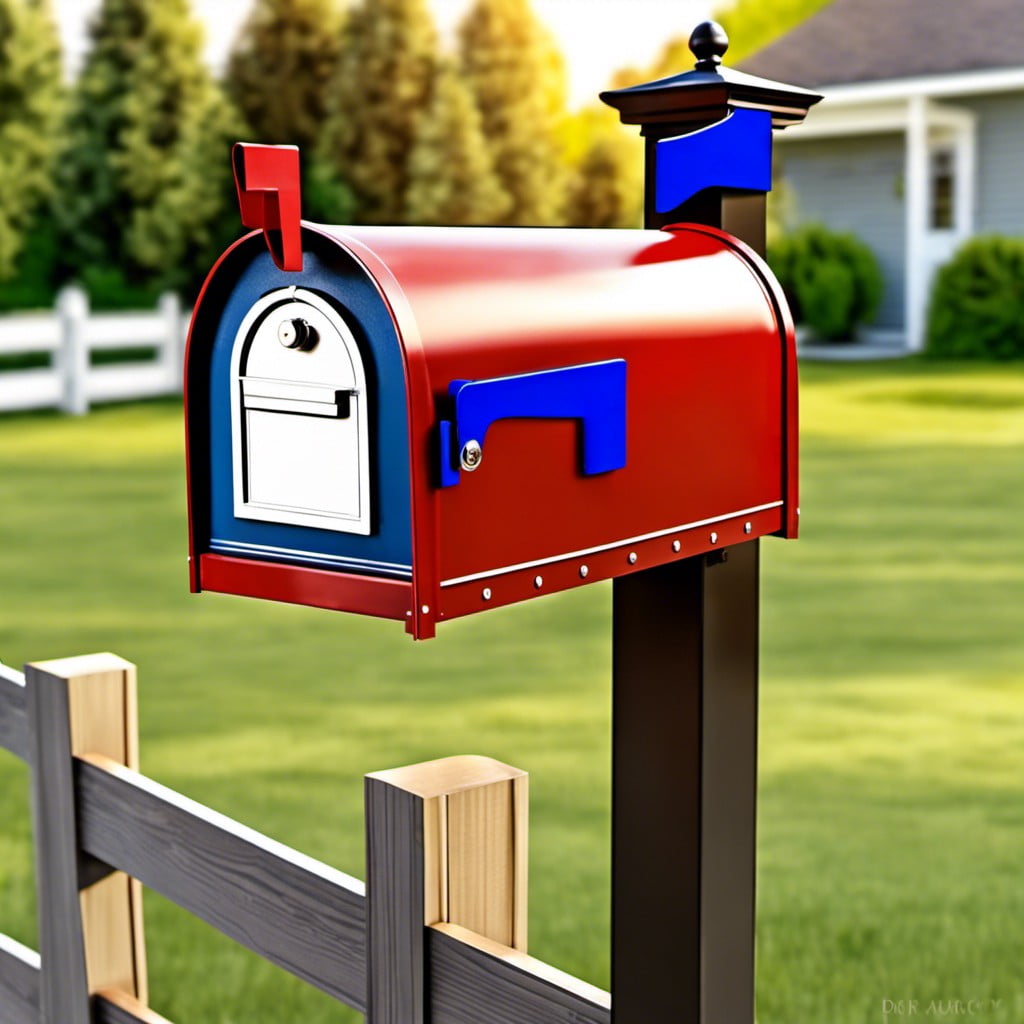
Patriotic Flag Display
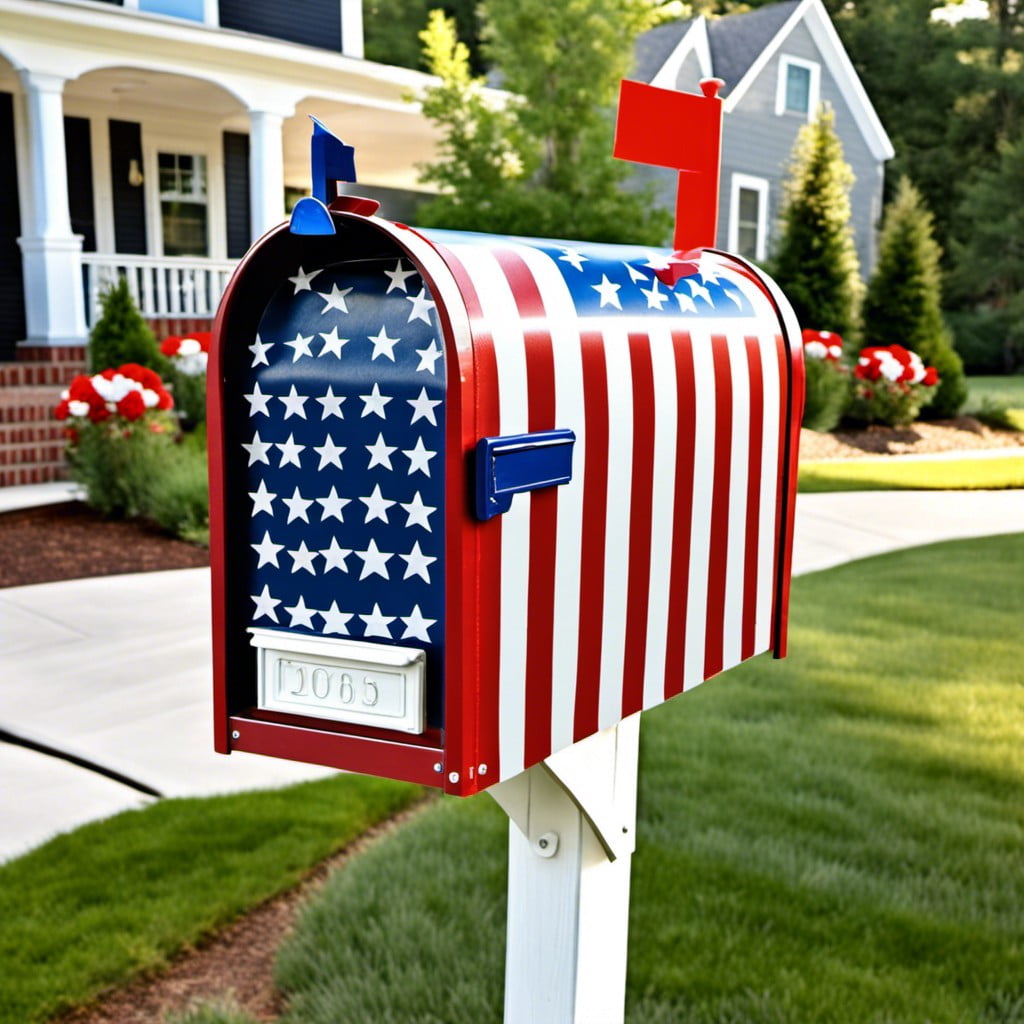
Honor your country with an exemplary display of national pride. Adorn your mailbox with miniature flags, or consider painting the mailbox in your national colors.
When choosing this design, ensure the flag and its colors are displayed in compliance with applicable national flag laws and traditions.
You can arrange the flags symmetrically alongside the mailbox or experiment with an ensemble display.
It’s also a good idea to use weather-resistant materials or treatments to ensure that your patriotic display endures through the various seasons.
Remember, your end result should remain both respectful and eye-catching.
Glow in the Dark Paint
With a few simple steps, this innovative idea transforms your regular mailbox into a nocturnal beacon. Select a high-quality, weather-resistant glow in the dark paint. Brands with phosphorescent properties are recommended for a higher glow intensity.
First, ensure the mailbox surface is clean and dry for optimal paint adherence. Now, apply an undercoat of white paint. This aids in the glow-effect intensification and ensures uniform color coverage.
Give it enough curing time before applying your glow paint. For an even glow, apply multiple thin layers rather than one thick one, allowing adequate drying time in between. Reapplication every few years maintains its glowing character.
Remember, for a dramatic effect during the night, placing it under direct sunlight or artificial light will “charge” it during the day. Pair it up with solar-powered landscaping lights for an extra dash of magic. It’s a practical decor hack that also assists your postmen at night.
Nautical Theme Design
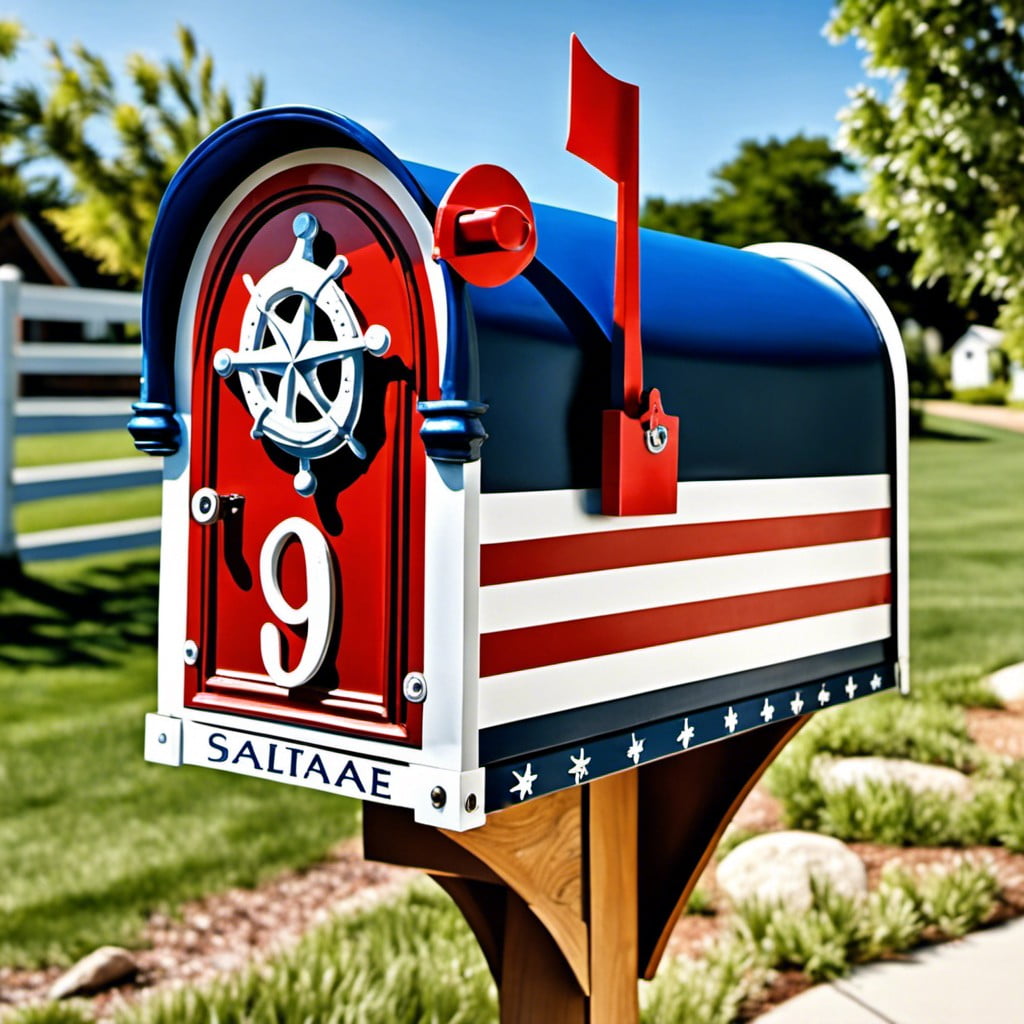
Incorporating a nautical theme can infuse your mailbox with a sense of seaside whimsy. Start by selecting a base color that evokes the ocean, like varying shades of blue or white. Consider adding marine-themed decals – anchor, starfish, or ship wheel designs – for a more explicitly nautical touch.
You might even add a miniature lighthouse or ship’s lantern replica atop the mailbox, providing both decoration and functional nighttime visibility. Rope, either real or faux, can be used to accent corners or wrapped around the post for a distinctive seafaring look. Remember to use weather-resistant materials and paints to endure outdoor conditions. A nautical design will definitely make your mailbox a unique point of interest and conversation.
Decoupage Mailbox Cover
Decoupage can bring life and personality to any mailbox. Essentially, this method involves applying decorative paper cutouts with a special kind of varnish or glue. From simple patterns to complex landscapes, the scope for creativity is enormous.
Follow these steps to get started:
- Choose a design: The first step is to pick a design. This could be anything from vintage motifs to abstract patterns or personal photos.
- Prepare the surface: Next, clean and sand the mailbox to create a smooth base for the decoupage. It’s also good practice to apply a layer of primer paint.
- Cut and arrange: Then, cut out your chosen images or patterns and arrange them on the mailbox. Once you’re happy with the layout, use decoupage glue to fix them in place.
- Seal with varnish: Lastly, to protect your design from the elements, apply multiple coats of a clear varnish. Allow each coat to dry completely before adding the next.
Decoupage offers a unique way to customize your mailbox and requires relatively minimal skill or experience. Plus, the materials are easily accessible, ensuring you can keep costs low while still achieving a bespoke look that stands out from the crowd.
Hanging Air Plants Decoration
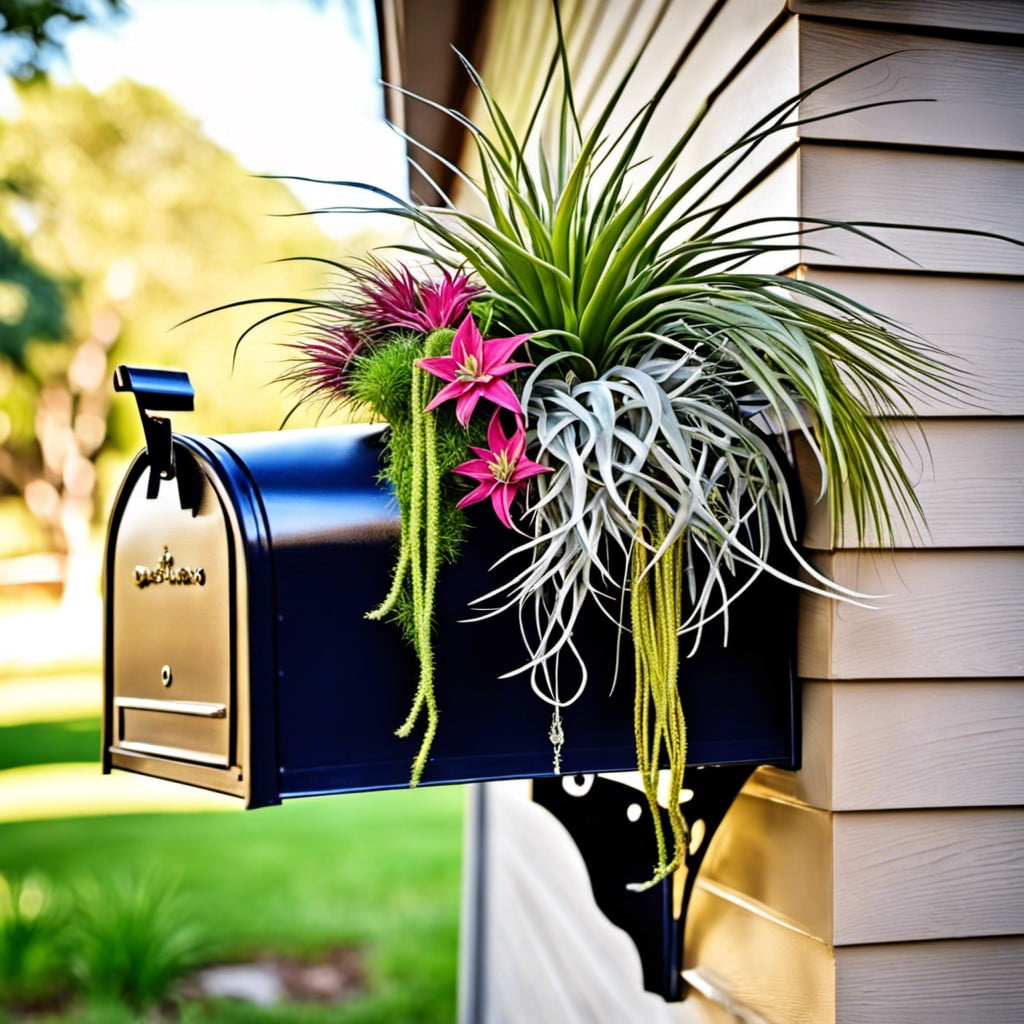
Cultivating air plants in and around your mailbox is an innovative, eco-friendly way to keep it visually appealing. Air plants, or tillandsia, require minimal garden space and thrive in indirect sunlight, making them excellent choices for this project.
1. Selecting your plant: Opt for species like T. xerographica or T. ionantha which are hardy, adaptable and enhance visual appeal.
2. Attachment: Attaching the plants directly onto the mailbox surface helps in avoiding congestion and maintains the mailbox’s functionality. You can use an organic adhesive for this purpose.
3. Maintenance: Depending on the local climate, mist the plants with water bi-weekly during warmer months and less frequently during colder seasons.
4. Add variety: Mix and match different species to create a visually dynamic façade. But remember, all chosen plants should have similar care needs.
This style not only beautifies your mailbox but also serves as an engaging conversation starter!
Modern Minimalist Metal Design
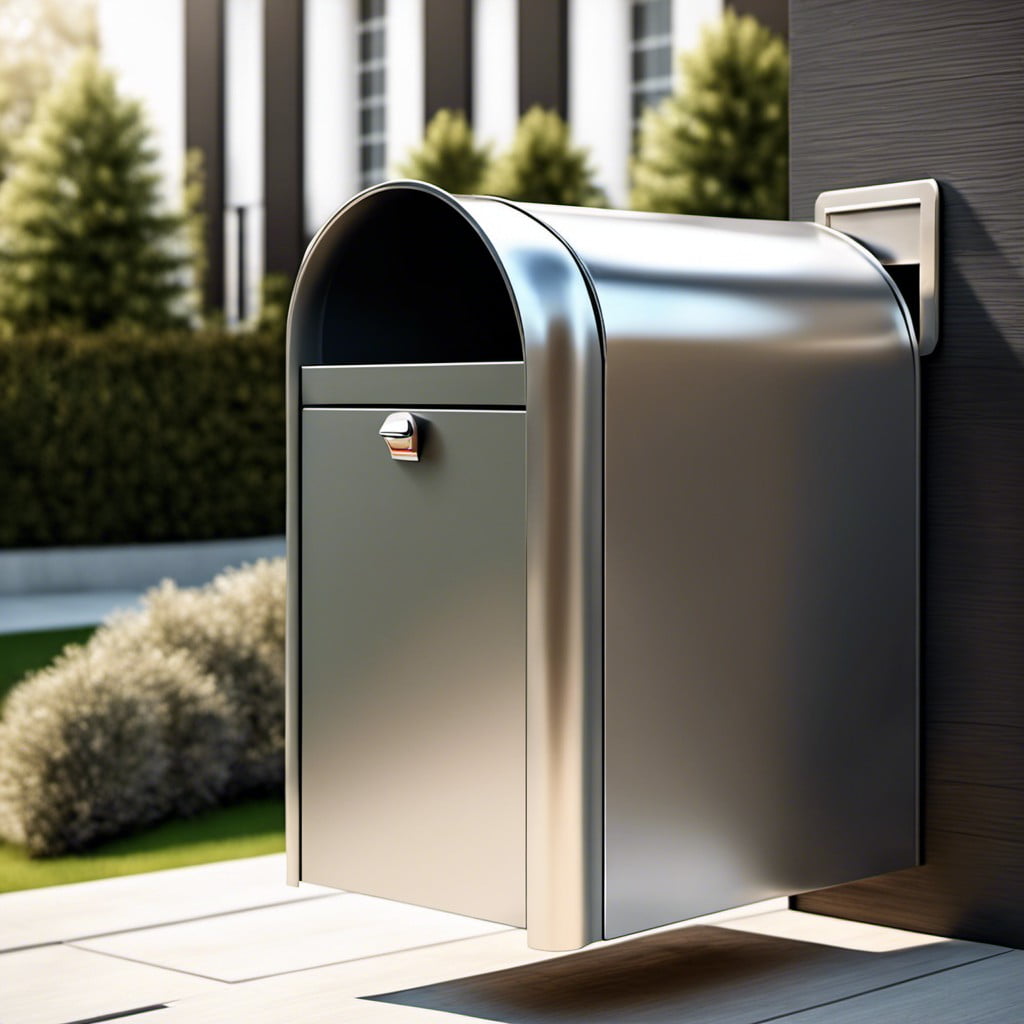
A fresh, straightforward aesthetic, the minimalist design focuses on functionality while bringing a sleek, contemporary look to any mailbox. For a metal mailbox, consider clean lines and a monochromatic color scheme. This keeps the design simple, allowing it to smoothly integrate into multiple types of surroundings.
Brushed or matte finishes typically work best, giving a subtle allure without creating unnecessary distractions. Strike a balance between bare essentials and aesthetic appeal by opting for minimal details like a subtle engraving for your house number.
Pair this design with a robust metallic stand – perhaps in a matching finish – to enhance that minimalist appeal. Ensure simplicity, negotiability, and charm. Complement it with a landscaping design that uses indigenous plants and neutral tones to complete this modern, minimalist approach.
Ultimately, a modern minimalist metal mailbox is an excellent way to make a subtle statement about your aesthetic sense to your visitors before they even step into your house.
Read More Like This
 15 Funny Graduation Cap Ideas to Make Your Big Day Unforgettable
 15 Unique DIY Christmas Decorations Ideas for a Festive Home
 15 Creative Science Fair Board Ideas to Amaze Your Audience
 15 Handmade Envelope Decoration Ideas for Creative Gifting
 10 DIY Gifts for the Whiskey Lover in Your Life
Recap: